|
These spinach cakes are a great way to eat your vitamins, and still enjoy the comfort of a savory pancake...with a twist.
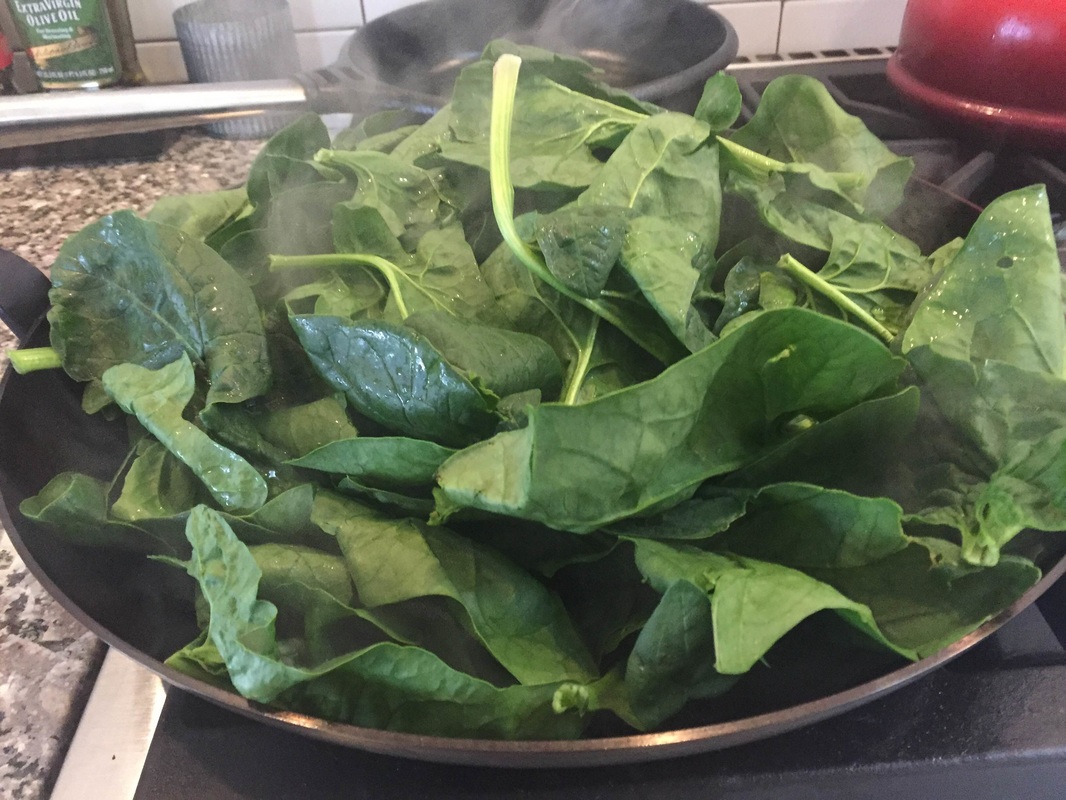
Method: Chop the spinach and sautée in a medium size pan. Just enough to slightly wilt. (Use a splash of water to keep from burning). Remove from pan and press out excess water.
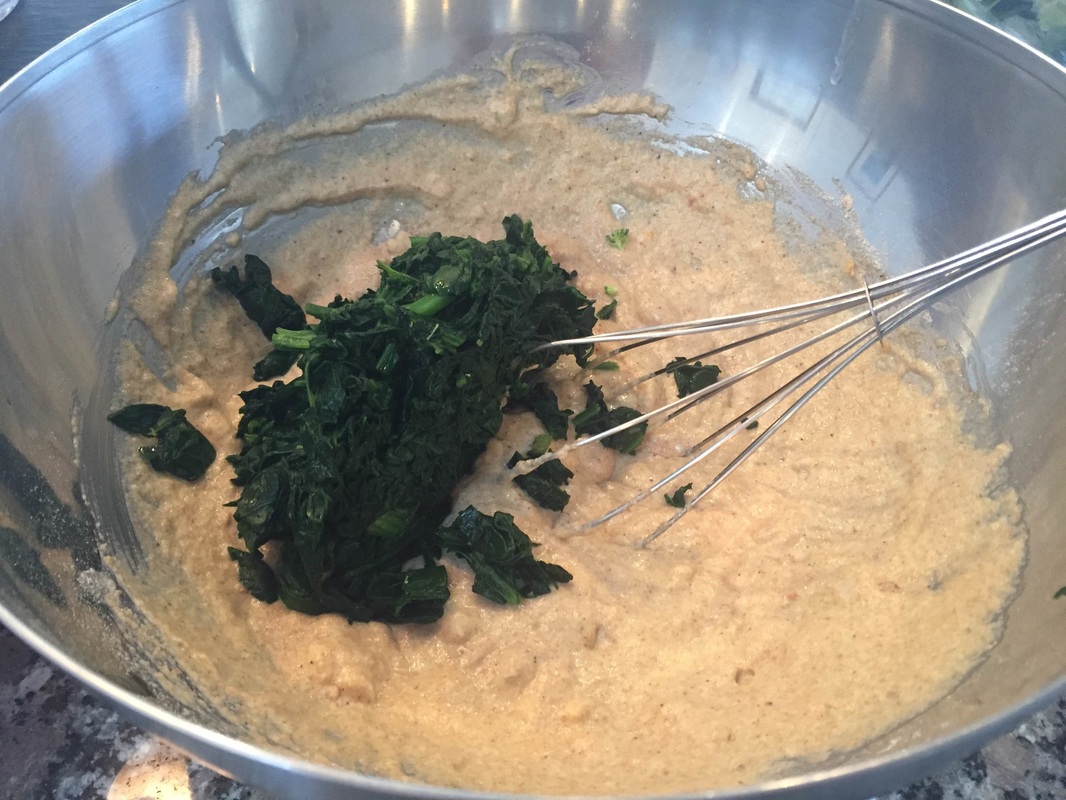
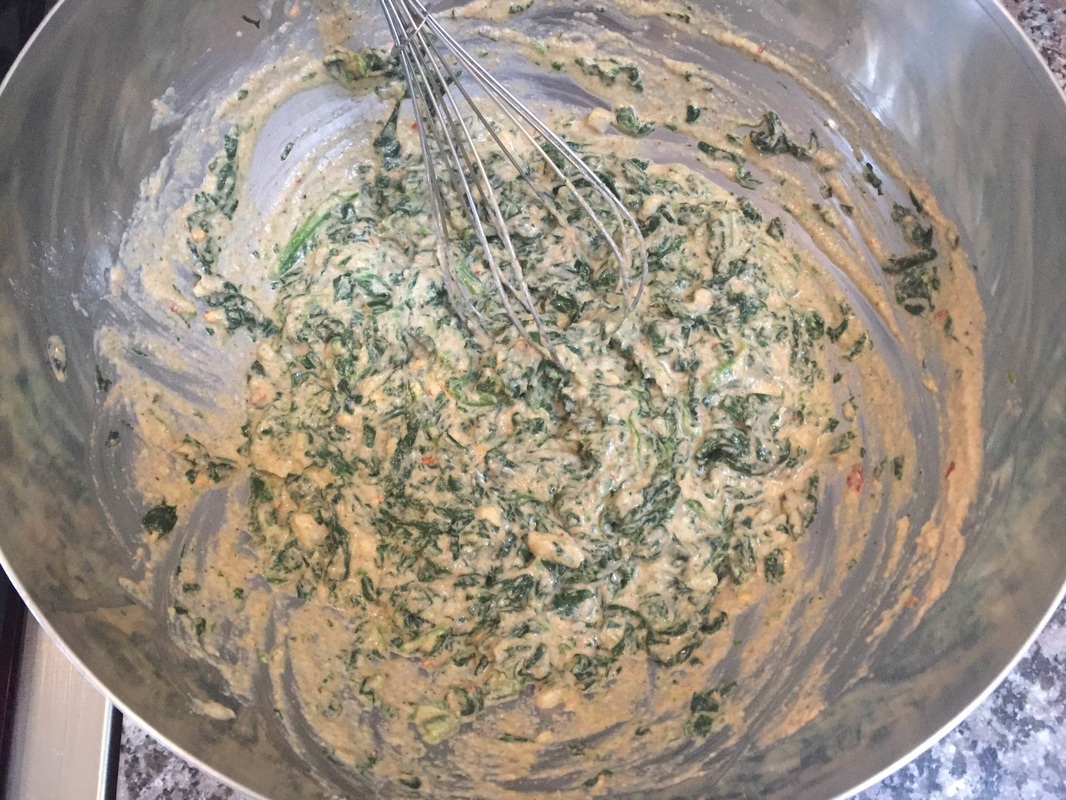
Now: Melt the butter in a sauce pan. While that melts, whisk all of the dry ingredients together in a large bowl, then add the melted butter and whisk until you have a nice, smooth mixture. Next add the spinach and stir well. Let set for 5 minutes. Make the sour cream by mixing together the sour cream, lime and cilantro. Set aside. Wash and thinly slice the radishes. 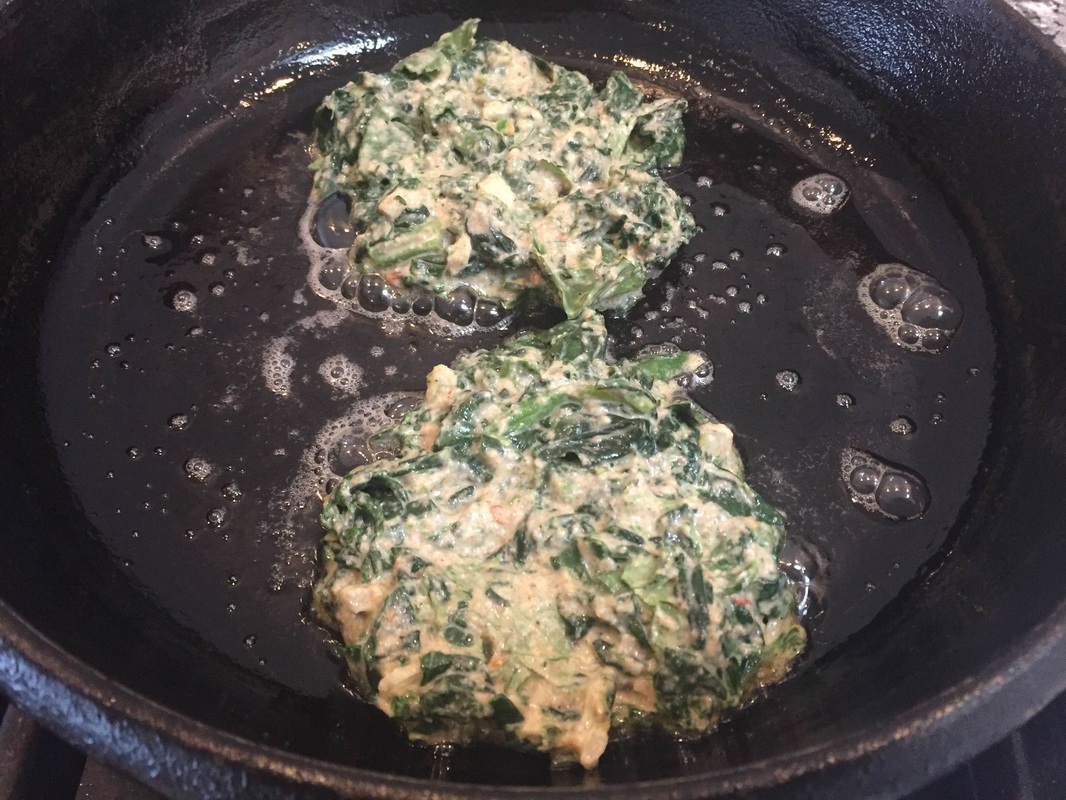 To make the cakes: Heat 1 Tsp olive oil in a large skillet over high heat. Use about 1⁄3 cup of the batter per cake. The batter should sizzle as you place it on the skillet. Cook for 3-4 minutes. Watch closely as to not burn the batter edge. Flip the cake and press firmly with a spatula. Let cook for 3-4 more minutes. Heat should remain between medium and high. Repeat until all the batter has been turned into cakes! This will make about 5-6 cakes. 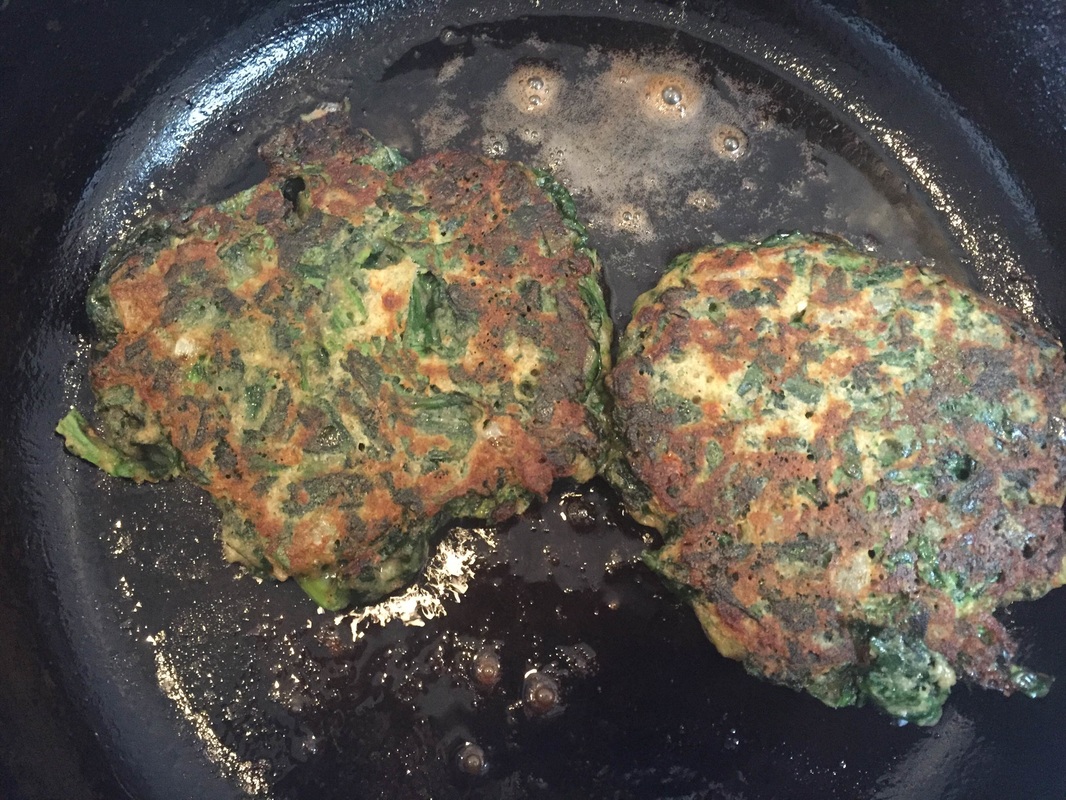 Top each cake with sour cream garnish and a sliced radish!
0 Comments
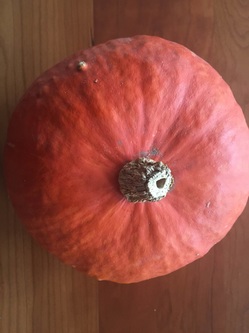
Ingredients: 2-3 lbs roasted winter squash (I used kabocha squash here) 1 onion, diced 4 cloves garlic 1-2 stocks celery (optional) 2 apples peeled/cored and chopped 2 tsp salt 2 tsp pepper 2 tsp butter 4 cups water 1 tsp rosemary 1 tsp thyme 1 cup grated/aged cheddar cheese 2 cups whole milk Nutmeg for garnish
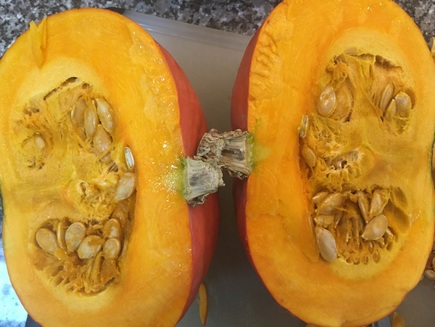
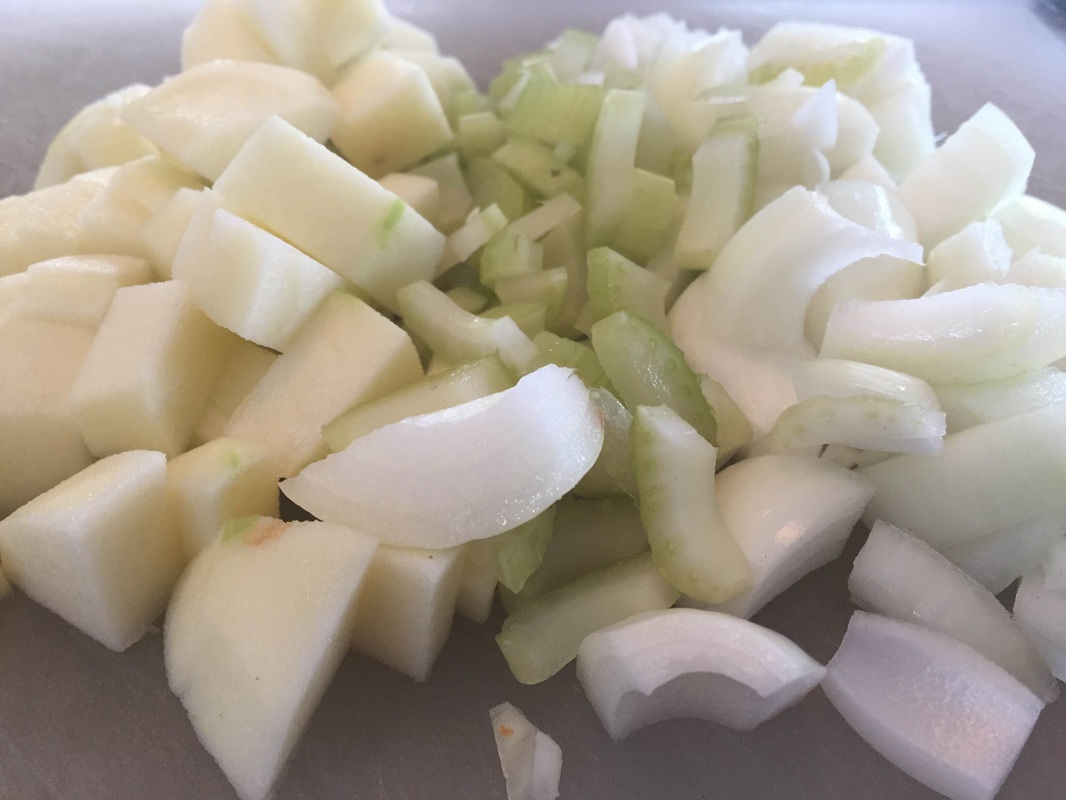
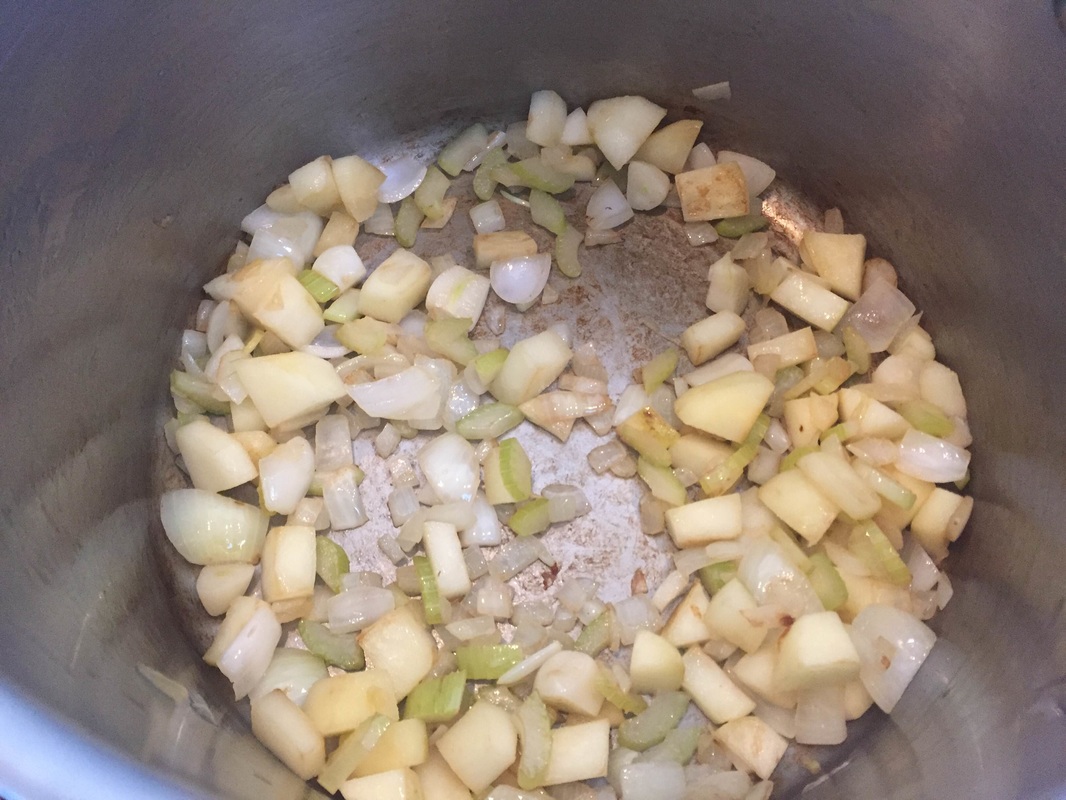
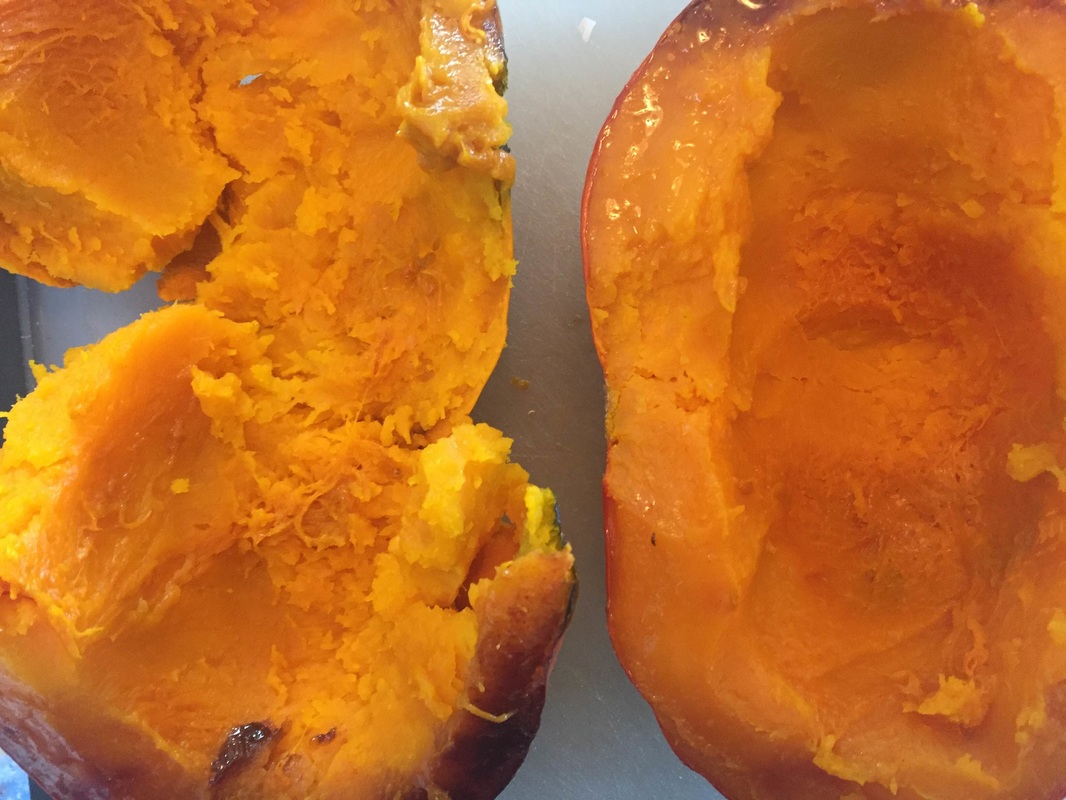
Method: Heat oven to 450 degrees. Cut the winter squash in half, scoop out the seeds and flip face down on a baking sheet. Roast for about 1 hour, or until you can easily poke through with a fork. While the squash roasts, chop the onions, celery and apples. Ready the garlic. Once you have these items prepared, heat butter over medium heat in a large soup pot. Add onion, celery, apples and garlic. Sauté over medium heat for 10 minutes. Add the salt and pepper. Stir well. Reduce heat to low and cover. Let cook for 10 more minutes.
Remove the lid and add 2 cups of water and the herbs. Bring to a boil. Cover again and let the mixture gently boil for 8-10 minutes. Reduce to low and let simmer until the squash is ready. (You can also prepare the squash ahead of time so this timing works out better).
Once the squash is ready, scoop the squash out of it's skin into the pot. Add the additional 2 cups water and stir well. Allow this to cook over medium heat for 10-15 more minutes. Stirring occasionally. 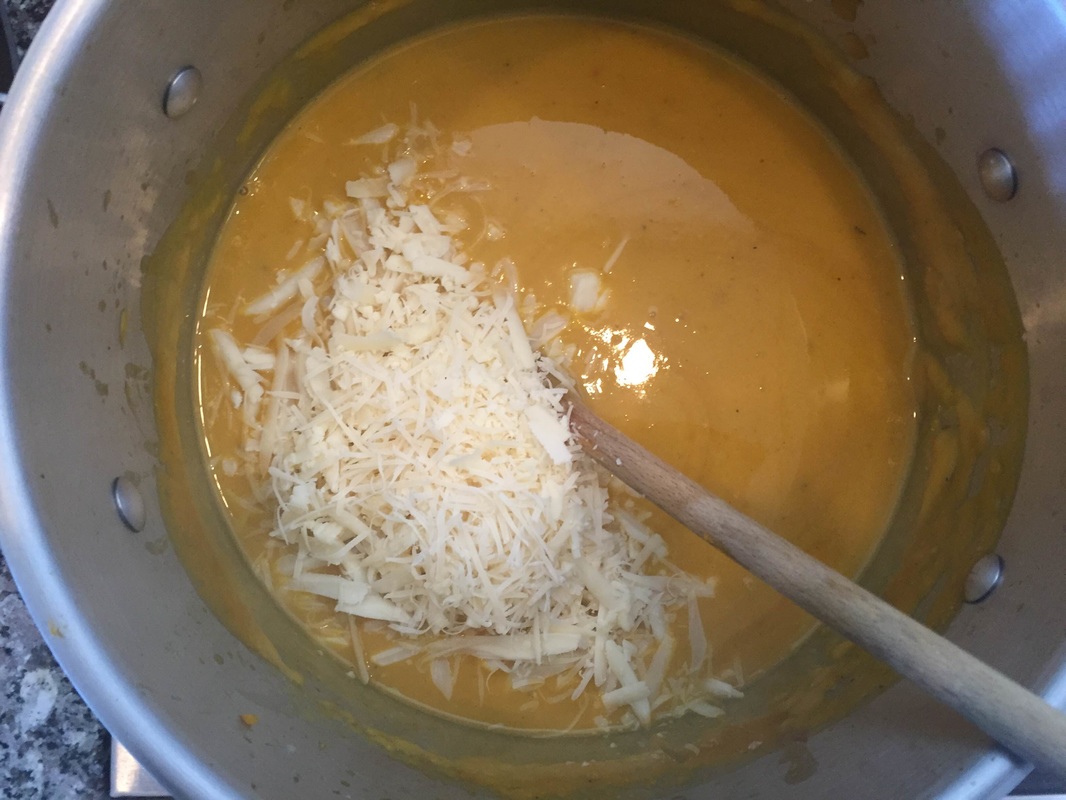 Reduce heat to low and uncover. Use an immersion blender (or food processor) to liquify the soup. I like to keep it semi-thick. If you're using a food processor, be sure to not over mix, and then transfer soup back to pot after blending. Add the milk slowly while stirring until you reach the desired consistency. Now add the cheese. While heat is set to low, allow the cheese to melt completely into the soup! Taste and add salt or pepper as needed. Garnish with a dash of nutmeg. Enjoy! 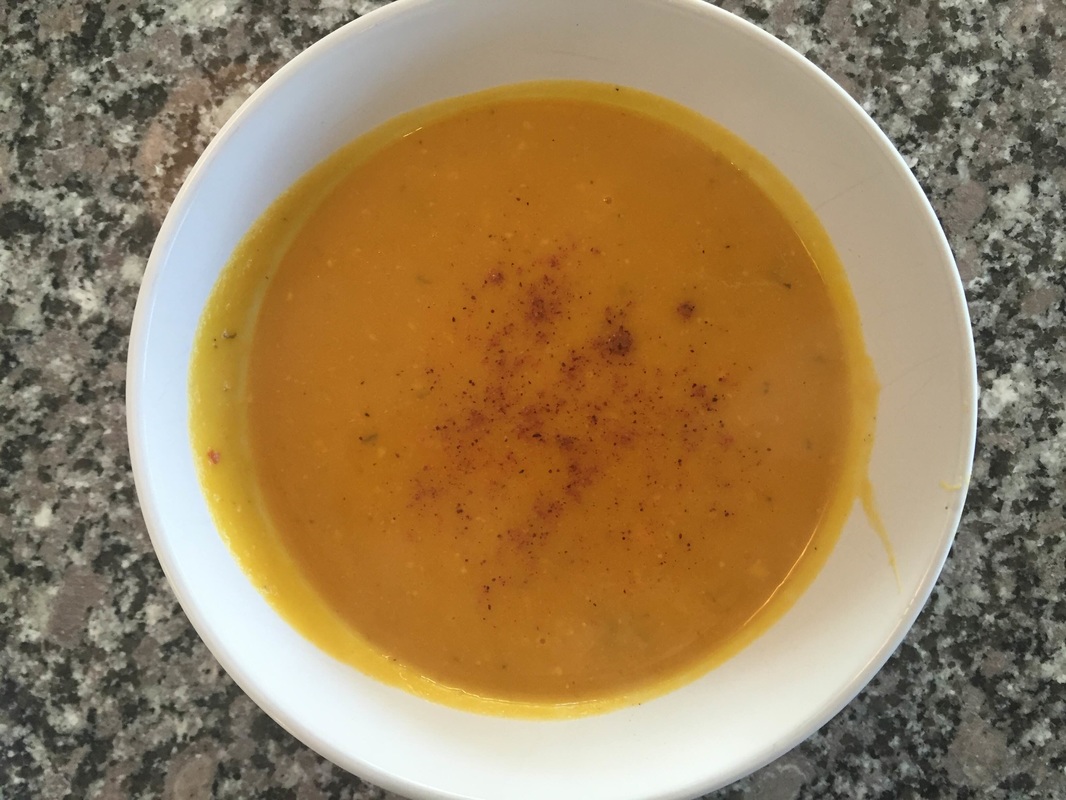 As I approached the Root 5 Farm stand at the Market on Saturday, my face lit up...the beautiful stock of brussels sprouts sticking out of the red CSA bin made my day! If you're not sure how to cook brussels sprouts, start with this roasting recipe. It's a super simple and crowd pleasing way to go. If you're not going to cook your brussels sprouts right away, simply snap them off the stalk and store them in a plastic bag in your fridge to save space. They'll keep this way for several weeks. 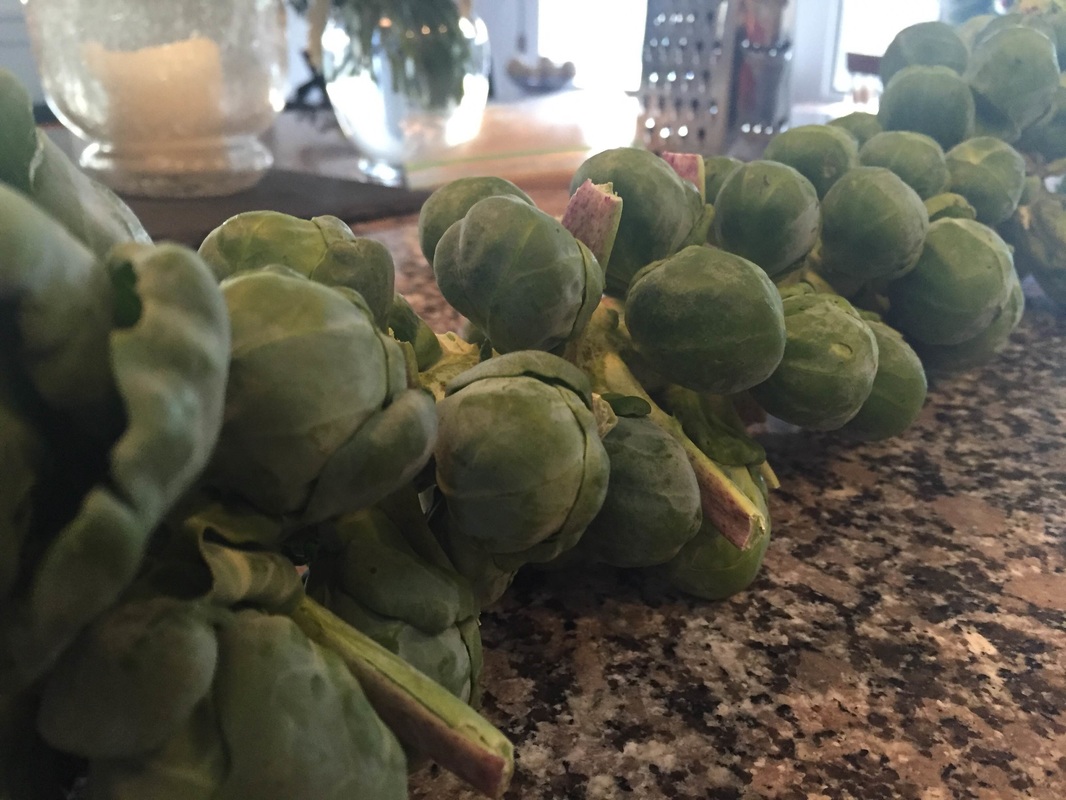 Ingredients: ½ Stock of brussel sprouts, washed, trimmed and halved* 2 Tbsp Maple Syrup 1 Tsp salt 2 Cloves garlic, crushed 2 Tbsp olive oil
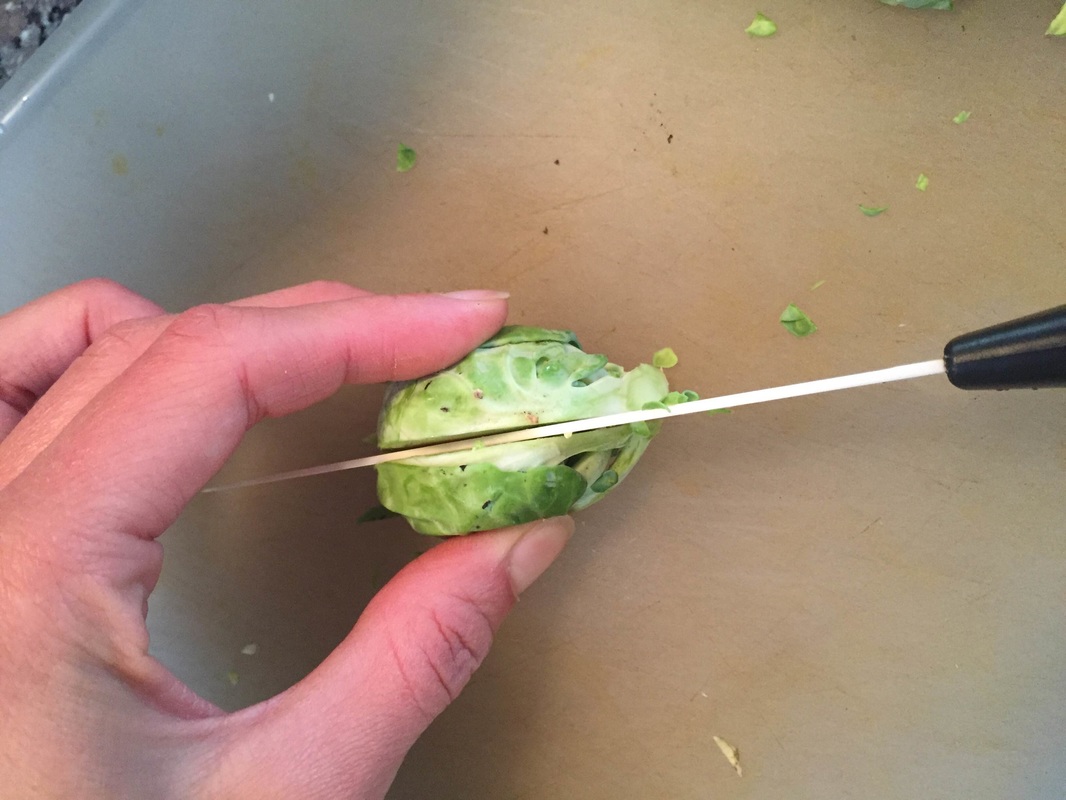
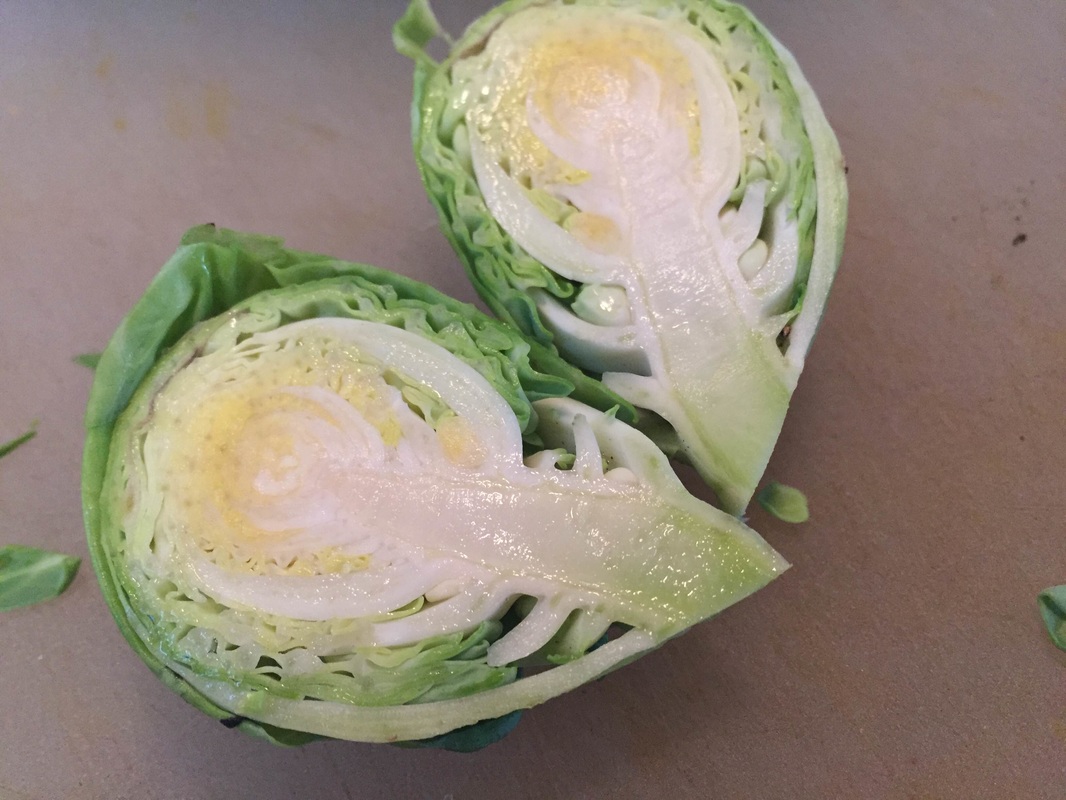
Method: *To trim the brussels off the stock: snap the individual bulbs off the stock. Then cut each sprout in half, trim the base of the sprout, and remove the outer layer of leaves if necessary. 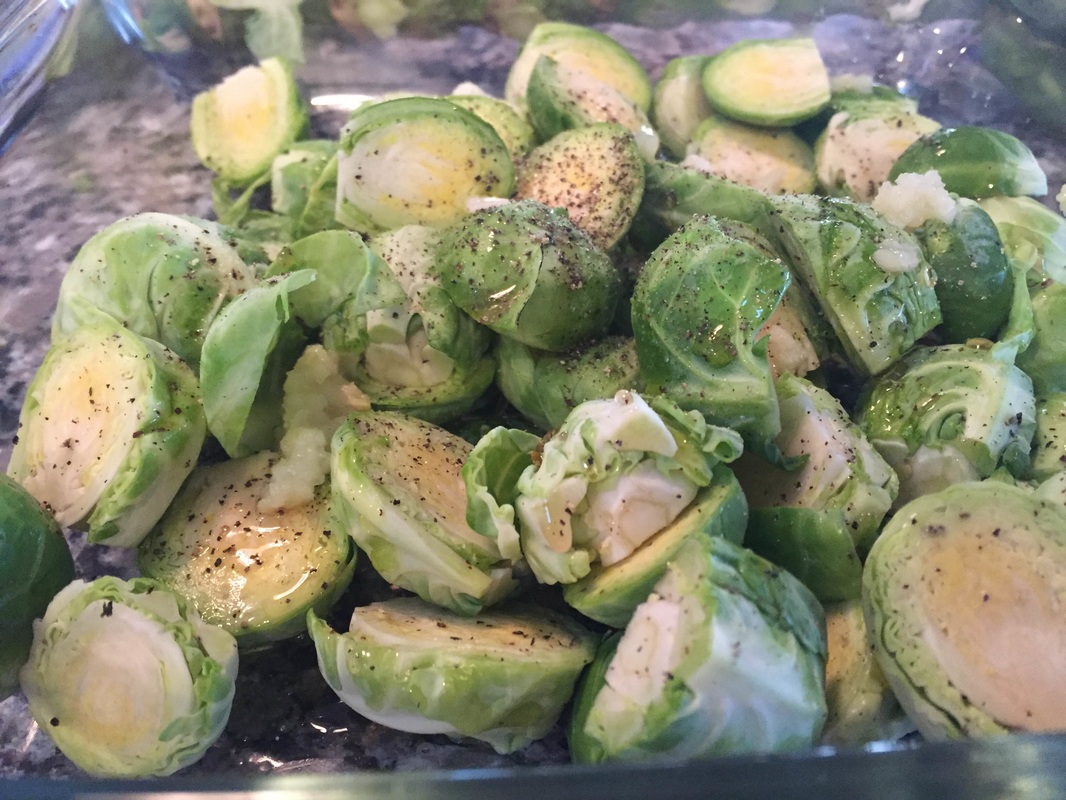 Now: Toss the prepared brussels in the maple, slat, olive oil and garlic. 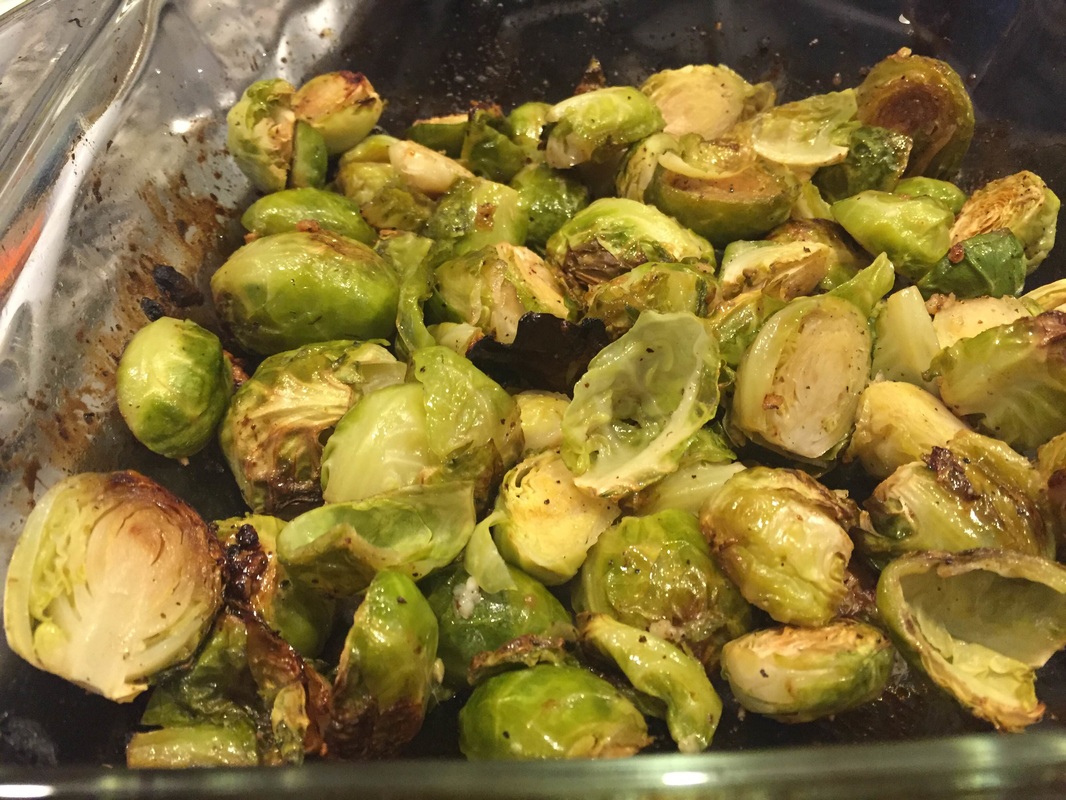 Next: Transfer onto a baking sheet or dish. If you prefer a crispy finish a dark baking sheet is
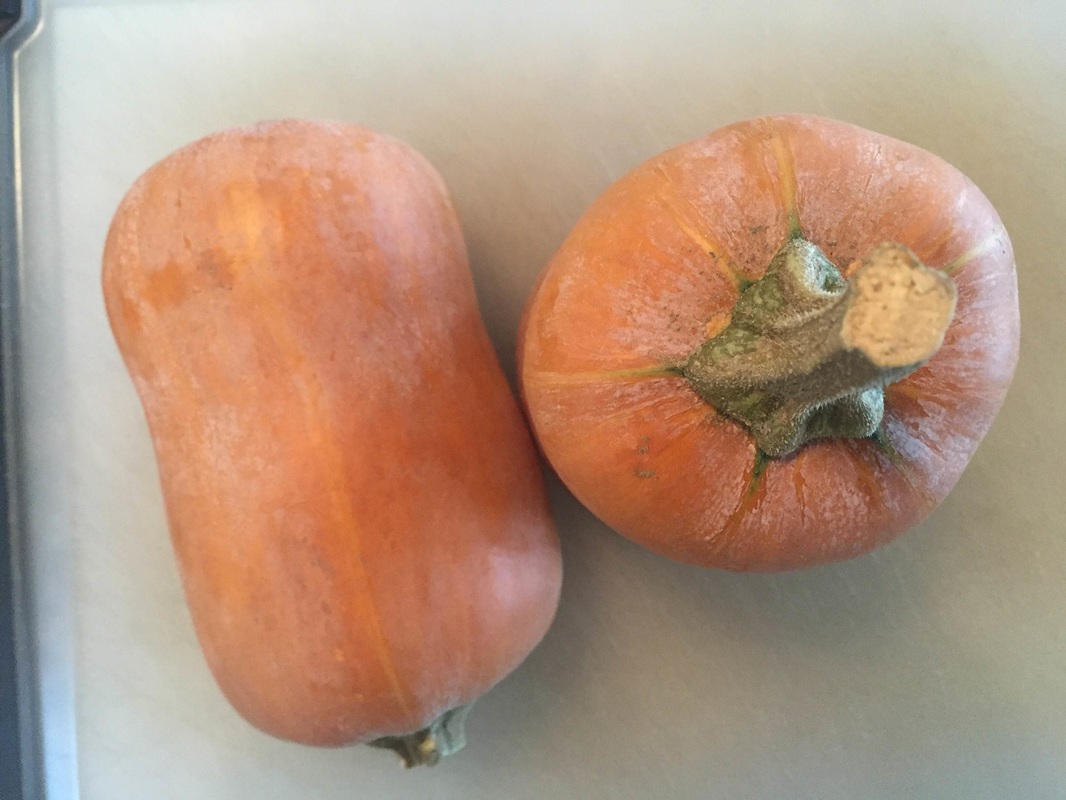
best. For a softer outcome, a baking dish works well. Bake for 45-50 minutes, or until cooked to desired crispiness! We have a special variety of butternut squash in our CSA boxes this week called Honey Nut. They're an adorable serving-sized mini butternut with dark tan skin and great sweet flavor. You can simply cut them in half and bake. Add some herbs and butter, and you have a dreamy side dish! If you've got time to get a little more elaborate, definitely make these pirogies, they make an irresistibly delicious meal and kids love them too!
Ingredients (for the filling): 2 baby butternut squash peeled, seeded, and cubed. (You could also substitute sweet potatoes, or another type of winter squash here). 3 Cloves chopped garlic 2 Tbsp butter 1 Tsp salt 2 Tsp black pepper 1 Tsp nutmeg 4 cups water or veggie stock 3 Tsp herbs of choice, chopped (I used rosemary and sage)
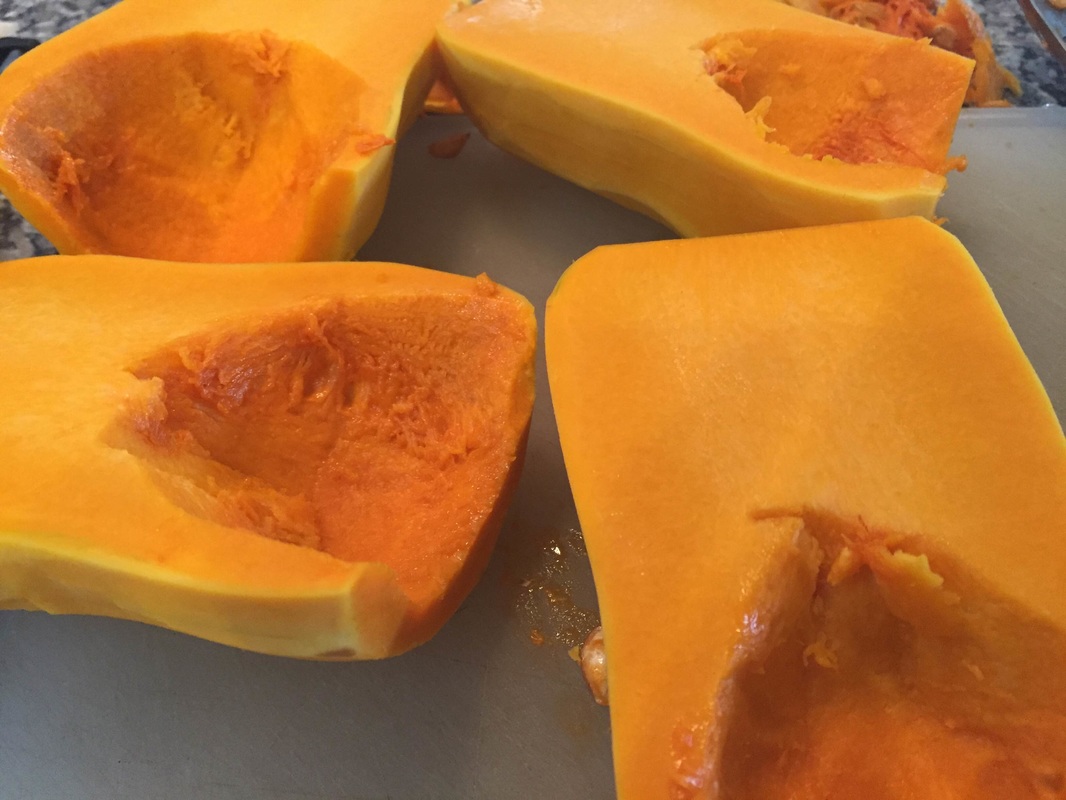
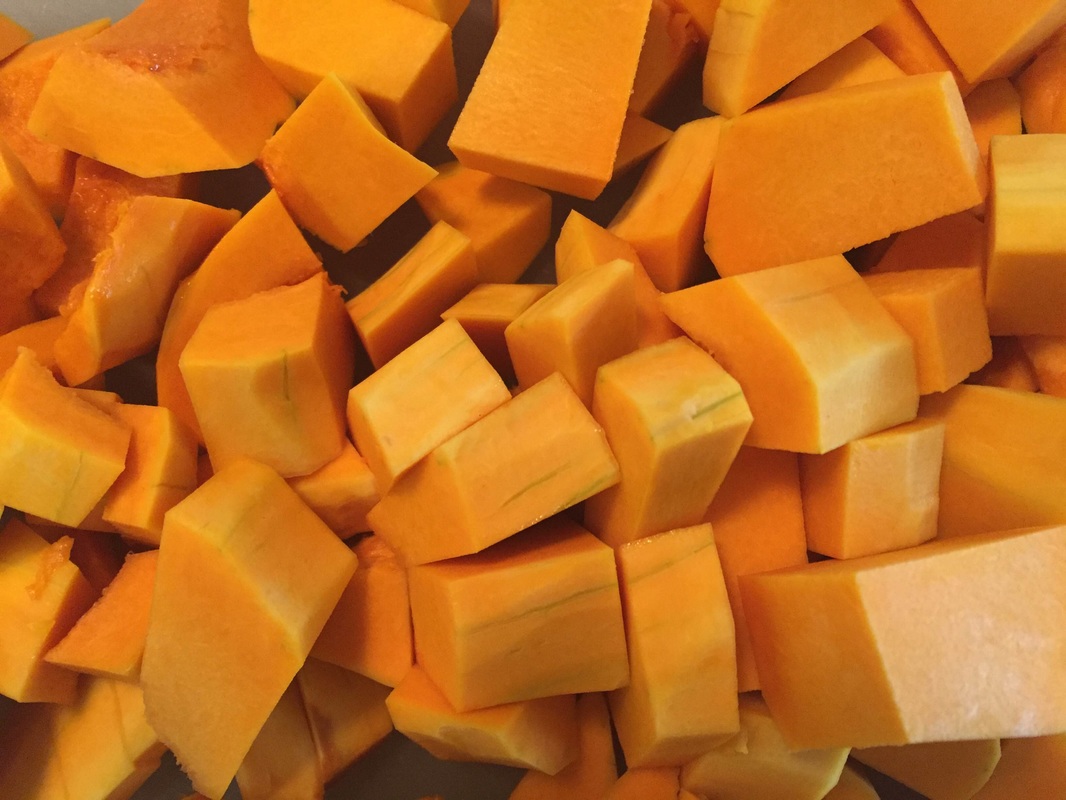
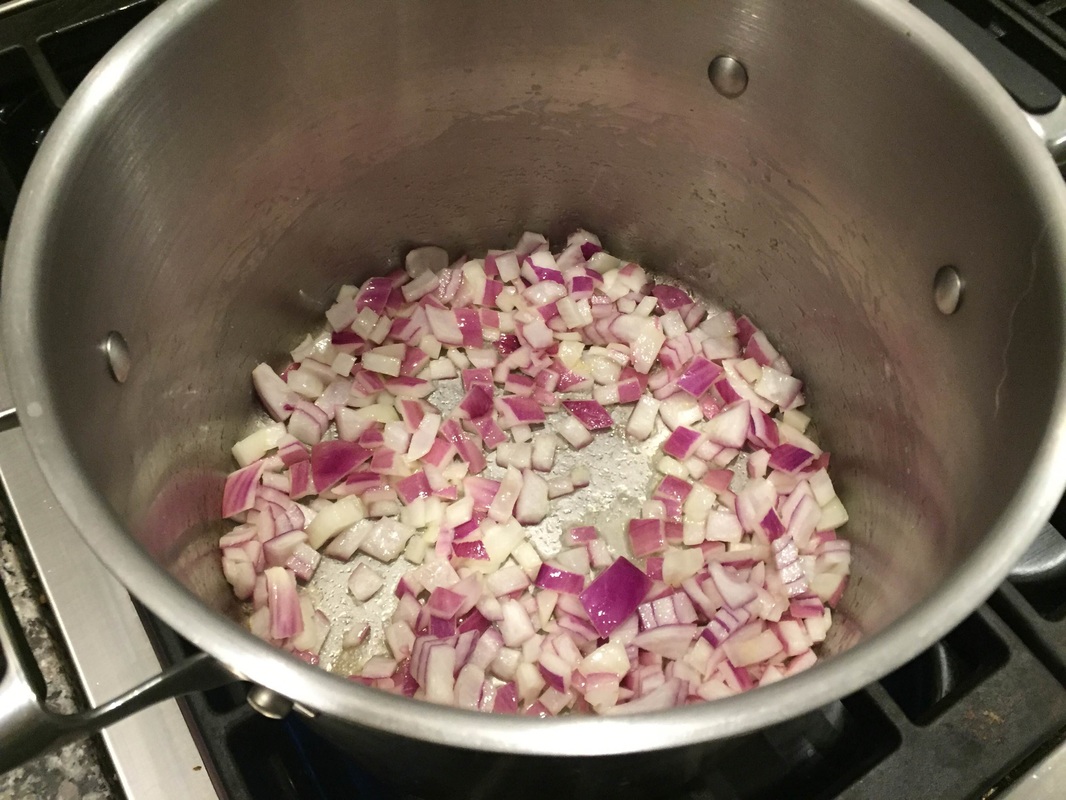
Method: Prepare squash by peeling, seeding and cutting into small cubes. In a large skillet, heat the butter over medium heat. Add the chopped garlic and saute for 1 minute. Add the cubed squash. Stir well and add the nutmeg, pepper and salt. Let this mixture cook over medium heat for 3 minutes.
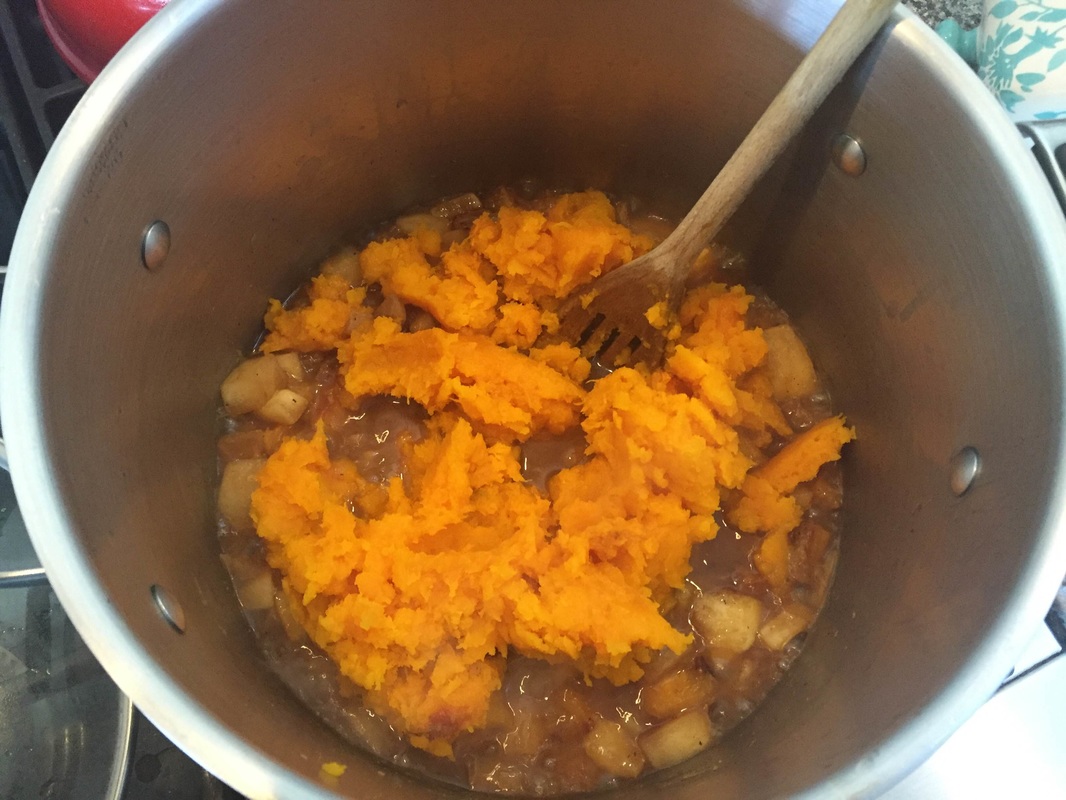
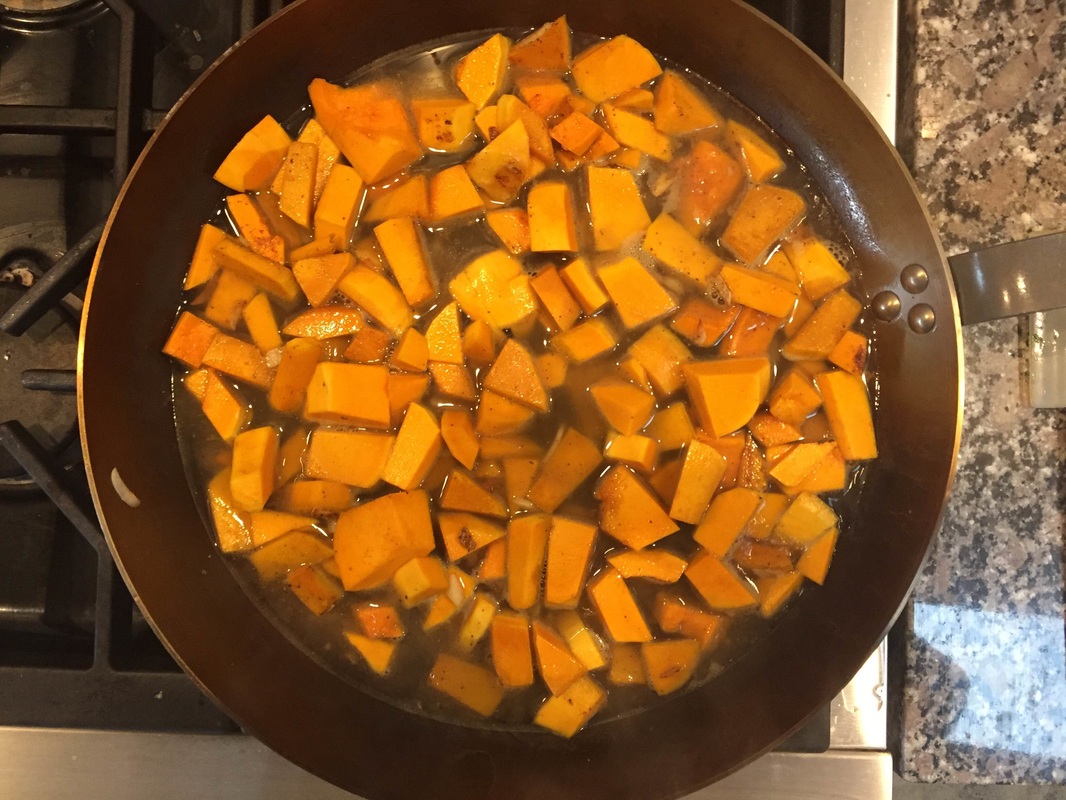
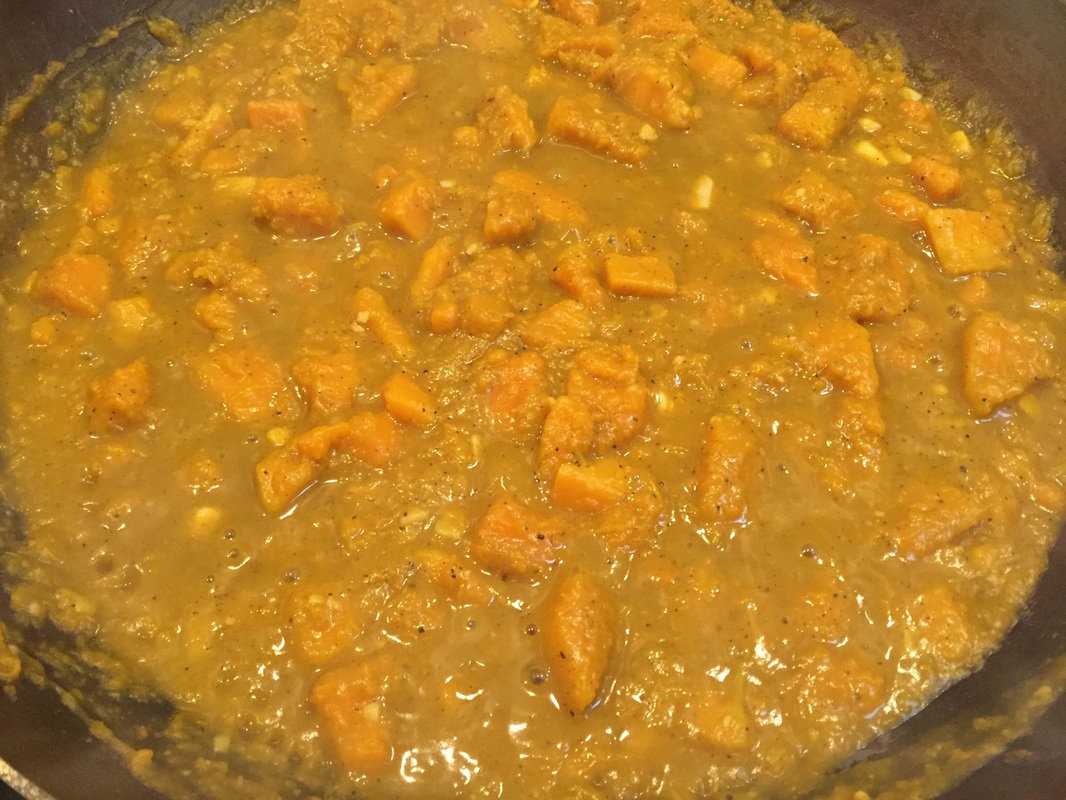
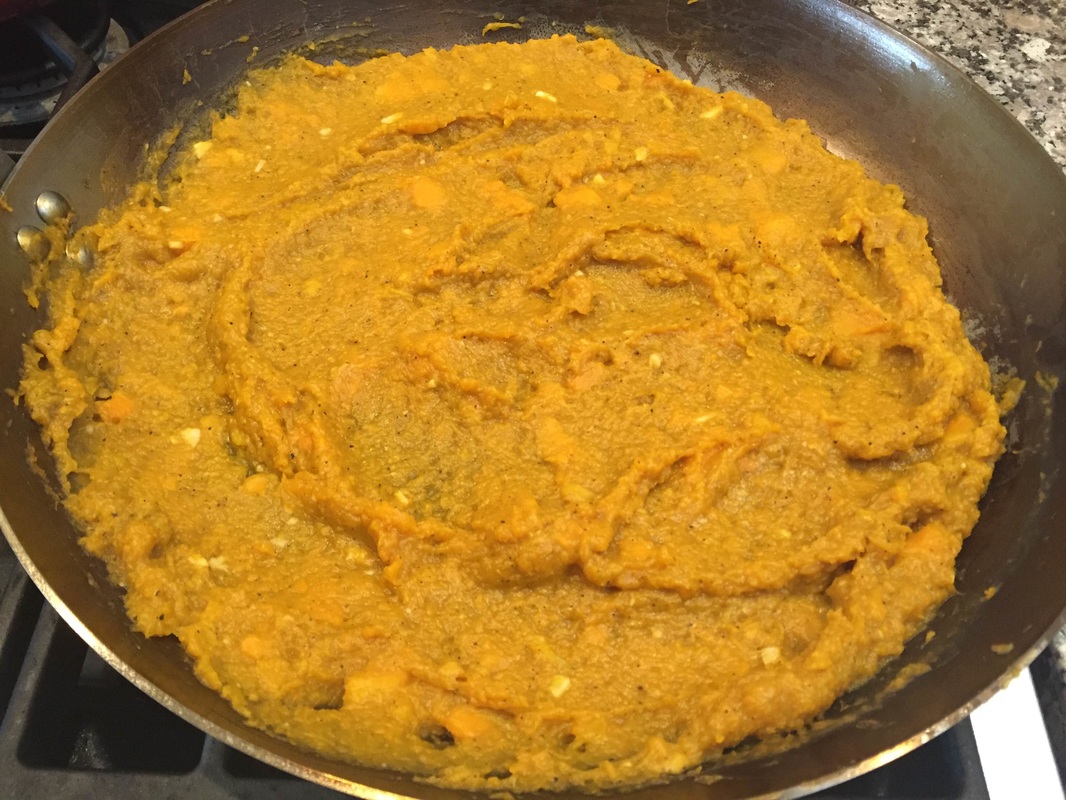
Add 1 cup water (or broth) and turn heat to high, bring to a boil. Stir occasionally, to ensure the squash does not stick to the bottom of the pan. As liquid evaporates add more, about a cup at a time. Cook over high heat, for 30 minutes adding water as needed. The squash will begin to soften and caramelize. Cook until you can smash the mixture with a masher. Begin to bring the mixture to a thick paste, mashing with the back side of the spoon as you continue to stir. Once the mixture has reached the consistency of thick mashed potatoes, removed from pan and place in a bowl. Add the chopped herbs and mix well. Set aside. 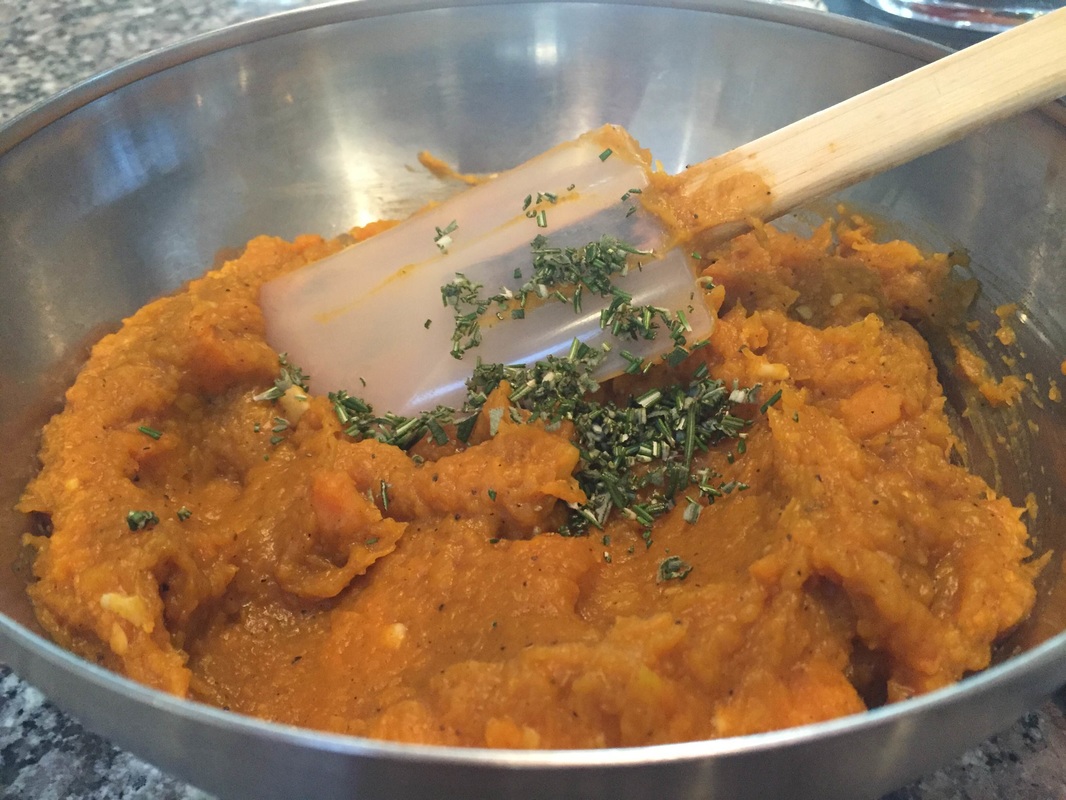 Ingredients (pirogi dough and garnish): 2 Cups all purpose flour ¾ cups sour cream 1 large egg 1/2 cup melted unsalted butter (divided) 1 Tsp salt 1 large clove crushed garlic Chopped herbs/parmesan cheese to garnish
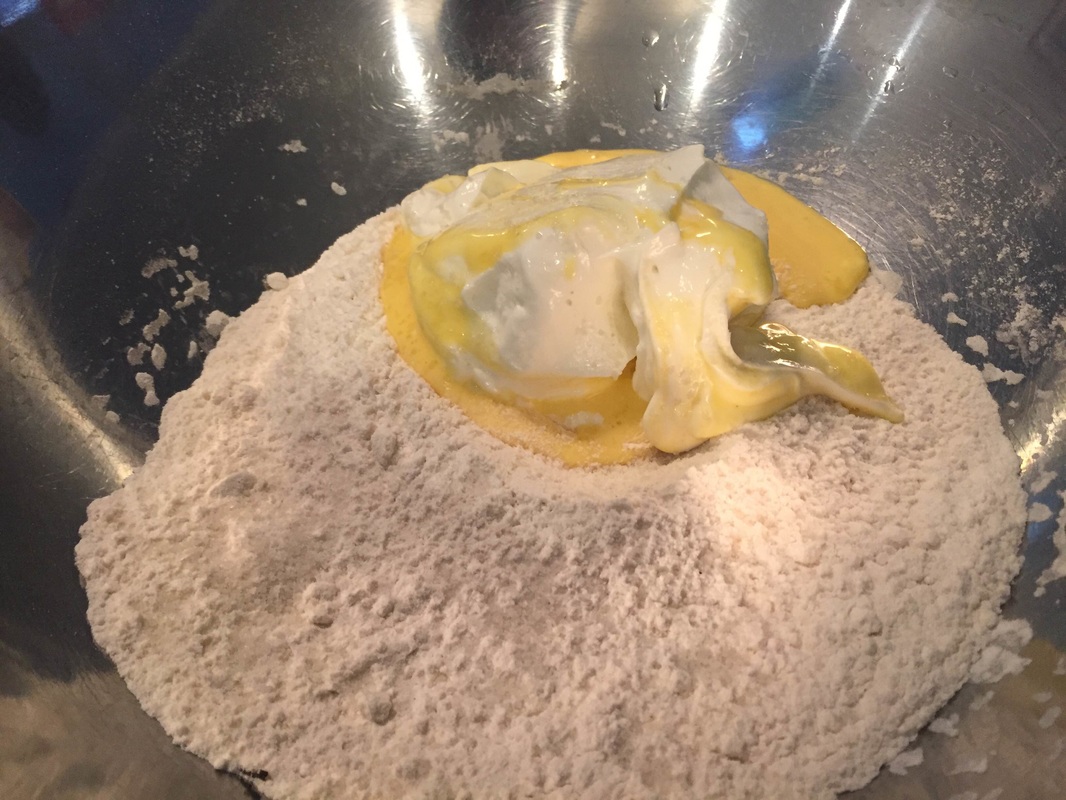
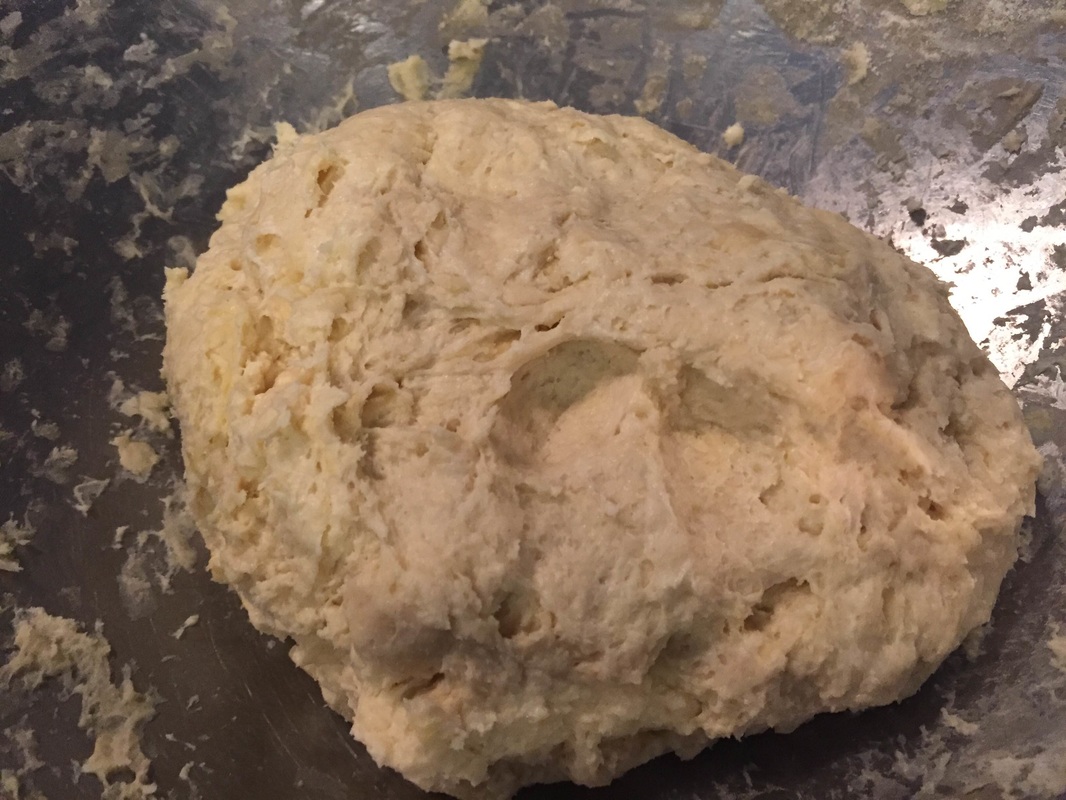
Method: Mix the flour, sour cream, egg, ¼ cup melted butter and salt in a large bowl until it reaches a dough like texture. Form into a thick round, wrap in plastic wrap and place in the fridge for 20-30 minutes.
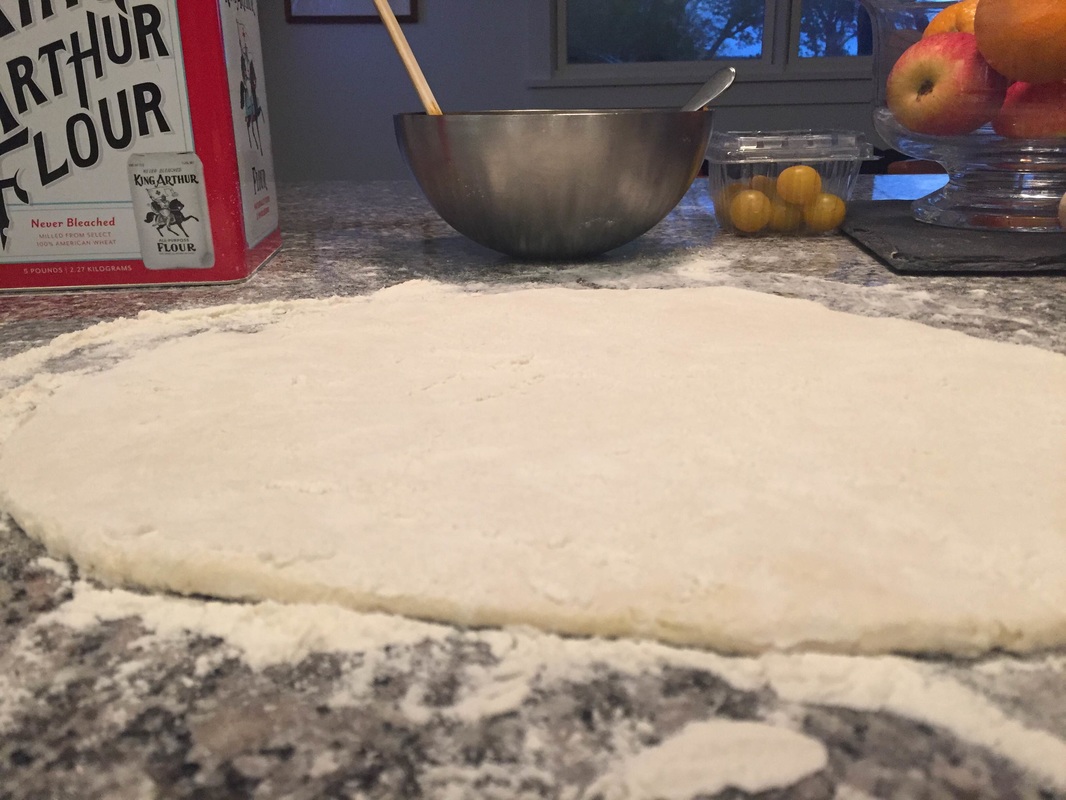
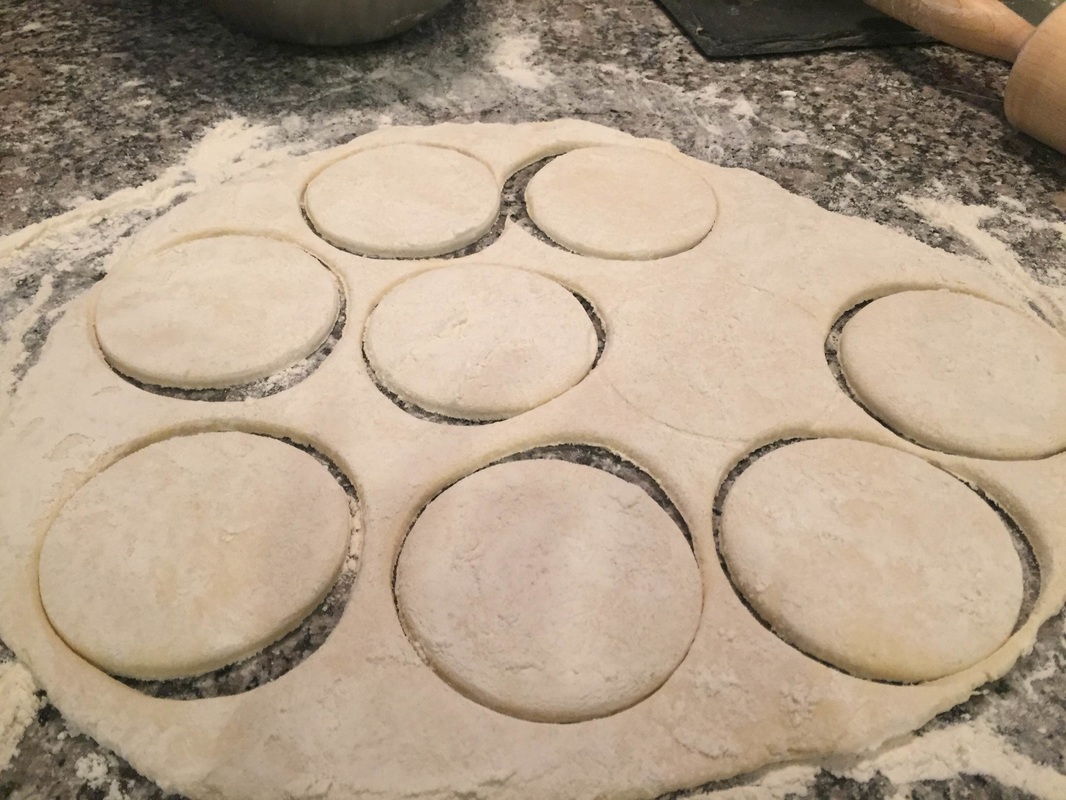
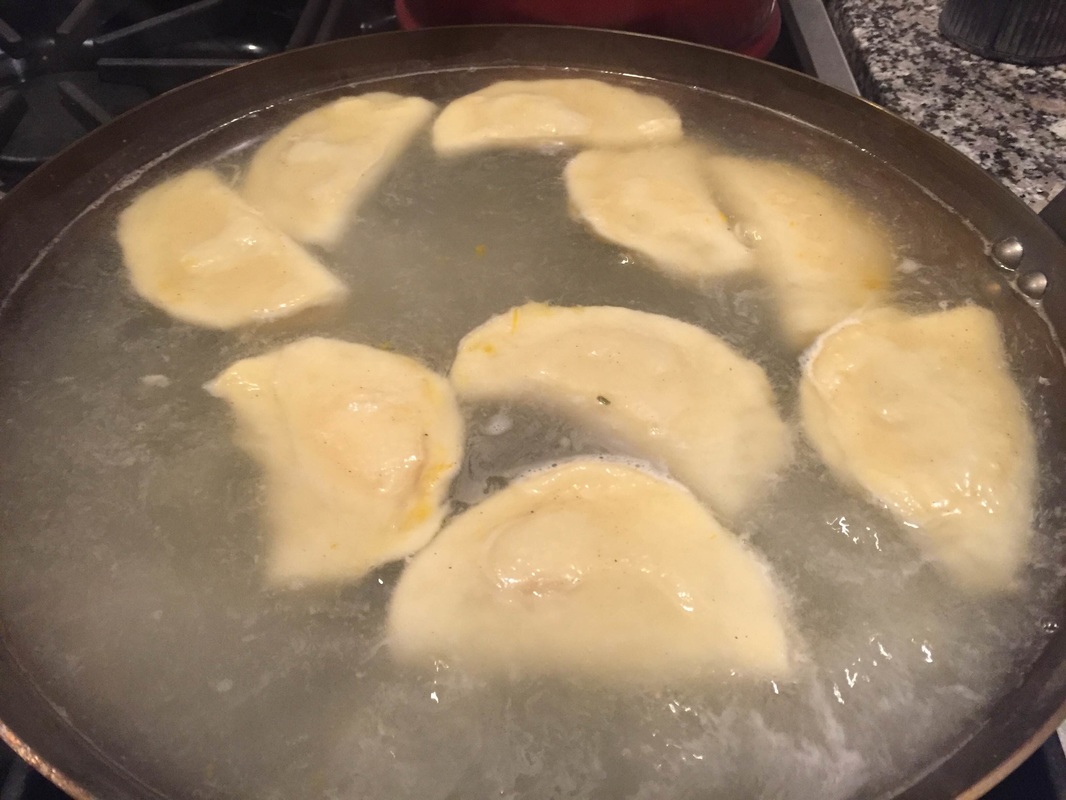
Once the dough has chilled, roll out into a large round on a floured surface. Cut the dough into about a dozen 3-4 inch rounds. Place 1 tablespoon of the butternut squash mixture in each round. Fold each round over into a half moon shape. Press edges firmly closed. 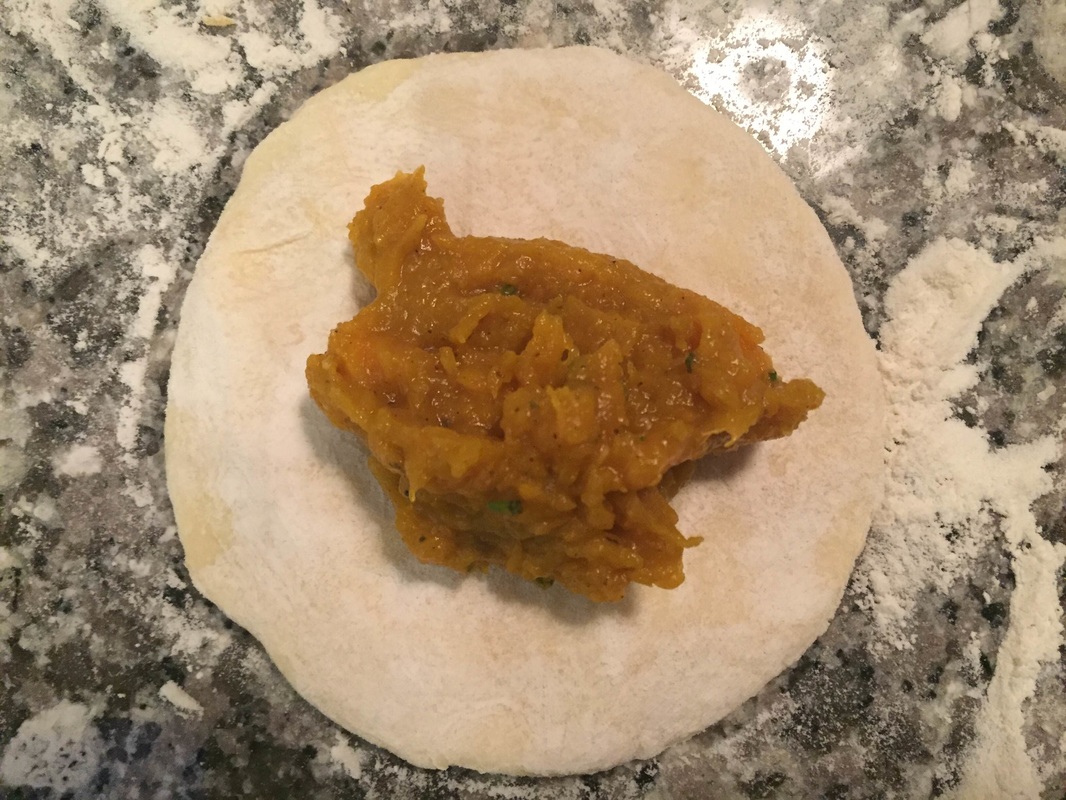 Meanwhile, bring a large pot or skillet of water to a boil. Place all the pierogis into the boiling water. Boil for about 5 minutes. Drain out the water.
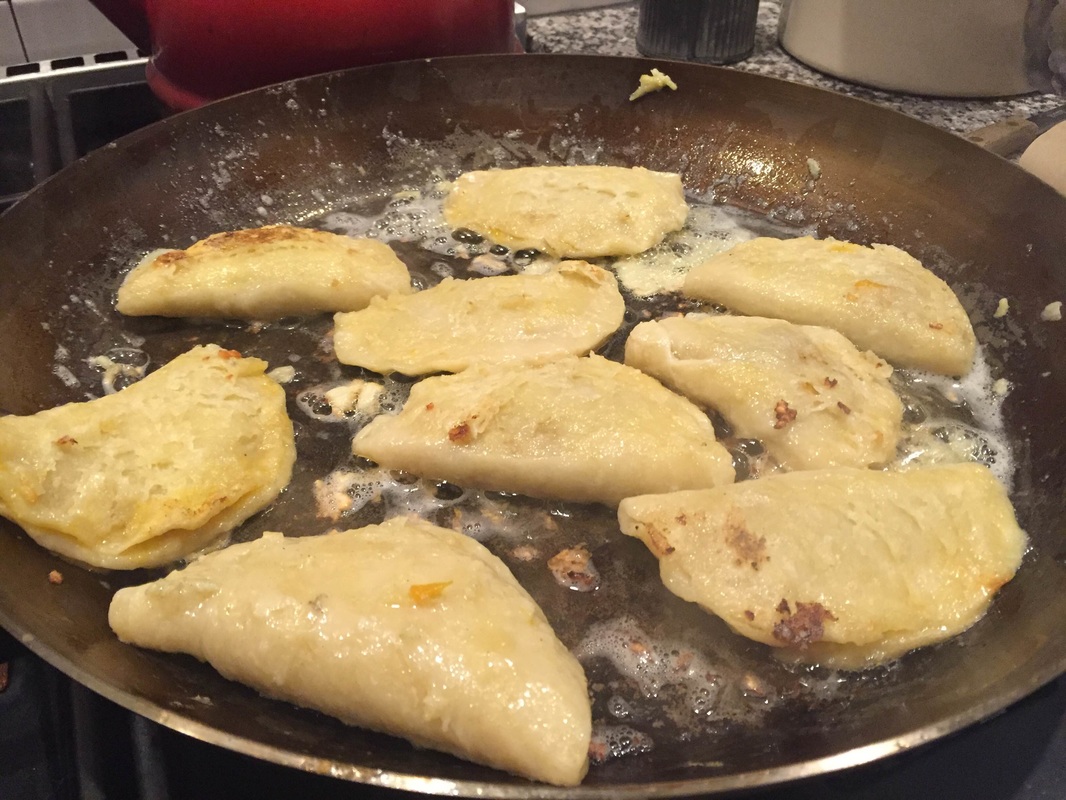
Now: in a large skillet heat ¼ cup butter and 1 clove crushed garlic. Place the pierogis in the pan and cook on each side for 1 minute. Remove from the heat and add the herbs and cheese to garnish! Goes great with roasted brussel sprouts! Enjoy! 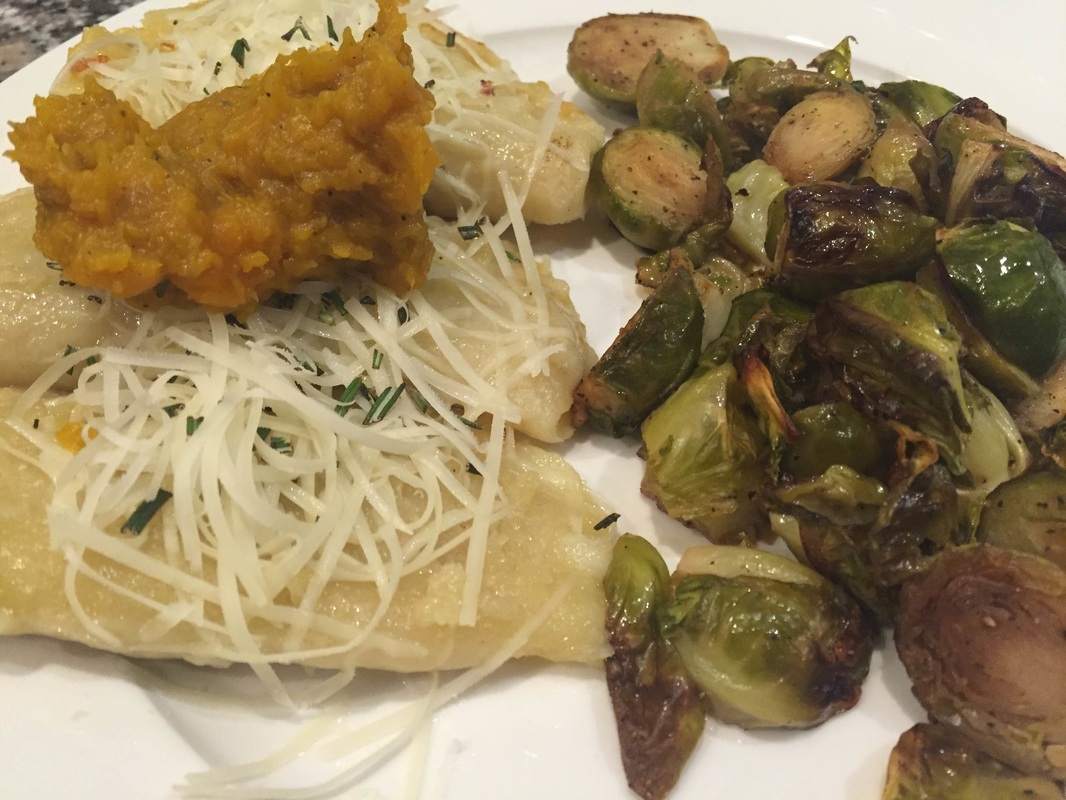 Perfect dinner for a chilly fall day. This warming and healthy soup is great with some hearty wheat bread and a side salad. 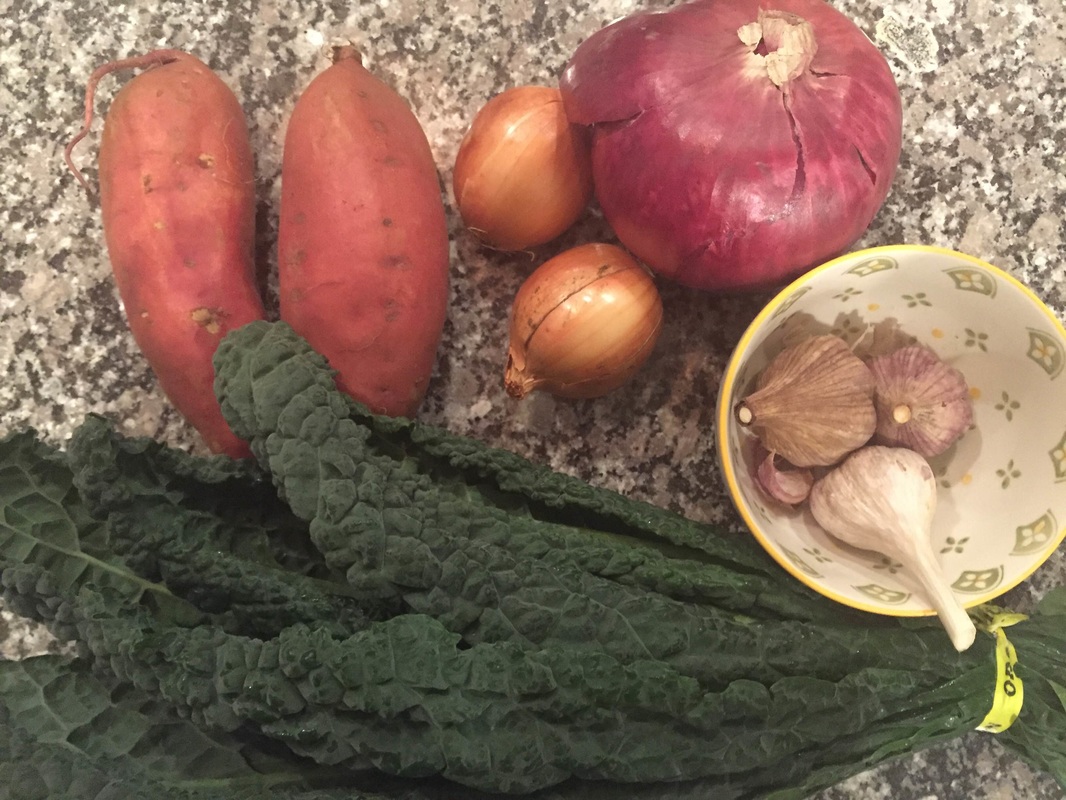 Ingredients: 2 Tsp olive oil 2 onions, diced 3 cloves crushed garlic 2 large sweet potatoes, baked and skinned. (You can also just peel and cube the sweet potatoes, pre-baking is not crucial) 1 bunch lacinato kale trimmed and chopped (any kale works) 4 cups broth (I use veggie broth, but chicken or beef stock works too) 2 Tsp tamari 2 Tsp crushed rosemary Salt and pepper to taste 1 cup cheese of choice, to garnish 3 Tbsp parsley, chopped, to garnish Optional: Can of white beans, drained and rinsed well **If you're baking the sweet potatoes, you can do this ahead of time.** Heat oven to 400 degrees. Pierce the potatoes with a fork many times. Wrap each potato in tin foil. Place the potatoes in the oven and bake for 1 hour, or until tender. Remove from the oven and let set until cool. Open the foil wrapping and peel skins off potatoes. Store in a container in the refrigerator until you are ready to make the soup!
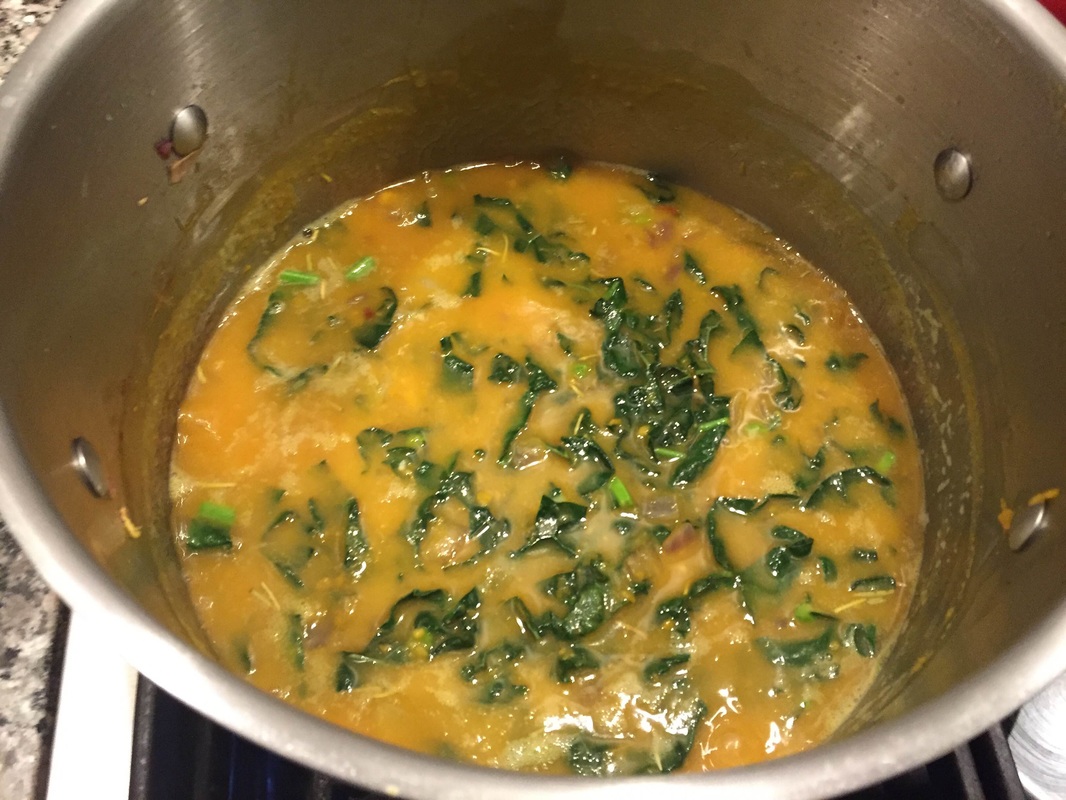
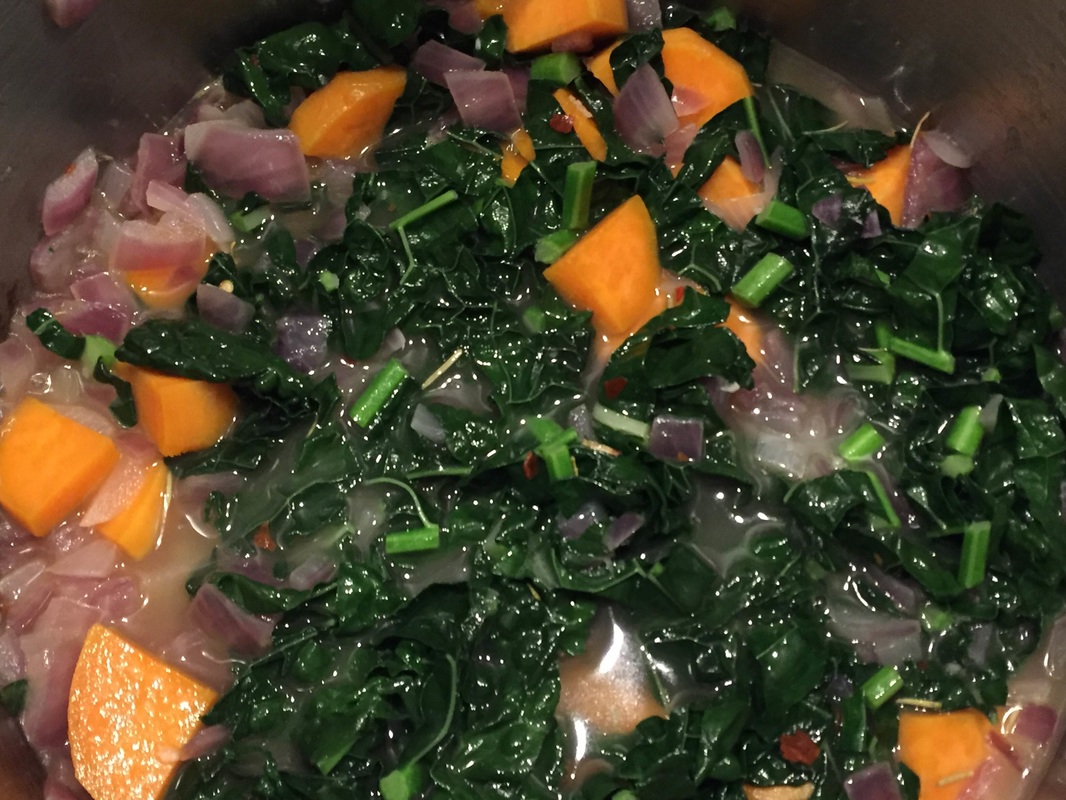
Method: Heat the oil in a soup pot over medium heat, add the onions and garlic. Cook for 5 minutes. Add the kale and the sweet potatoes. Stir well and add broth. Bring to a boil. 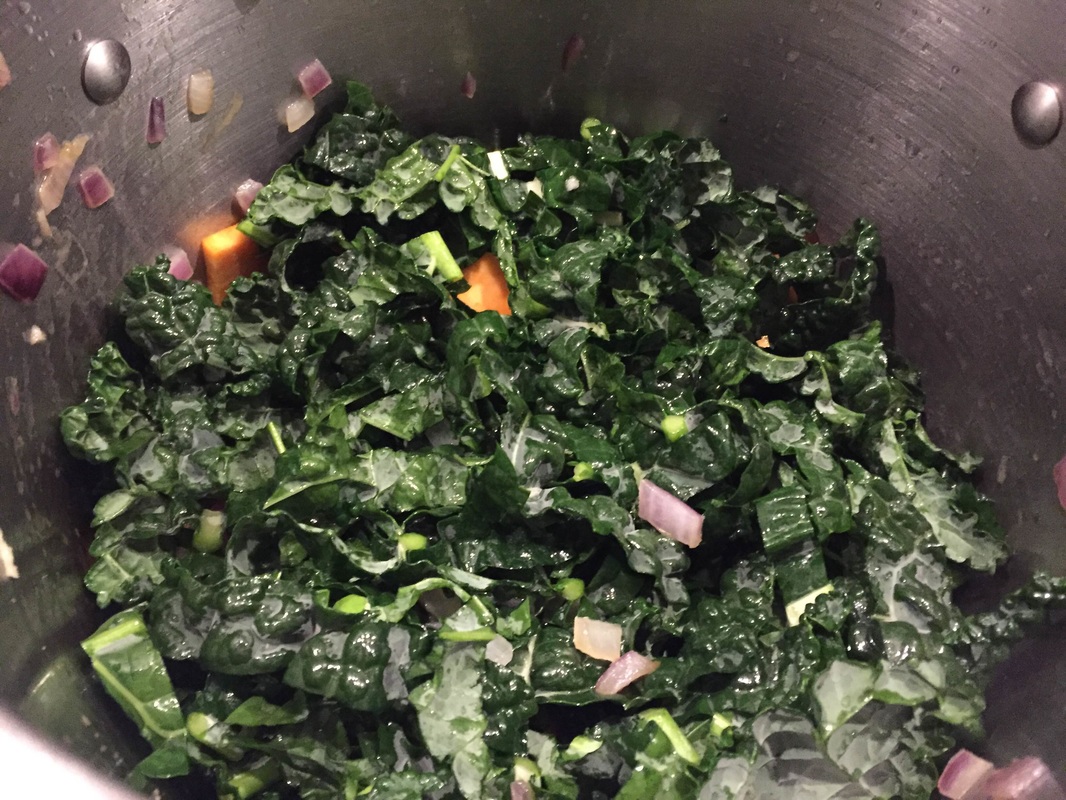 If you're using pre-baked potatoes your soup will be creamier like the photo on the left below. Chopped, unbaked potatoes will give the soup a chunky consistency like the photo on the right below. Either option is delicious. If you're opting for beans, add those now!
Once you bring the soup to a boil, let cook for 15-20 minutes. Add the tamari, rosemary, salt and pepper. Reduce heat and cook 15 more minutes. Taste and add more salt or pepper if needed. Sometimes I will add red pepper flakes too. 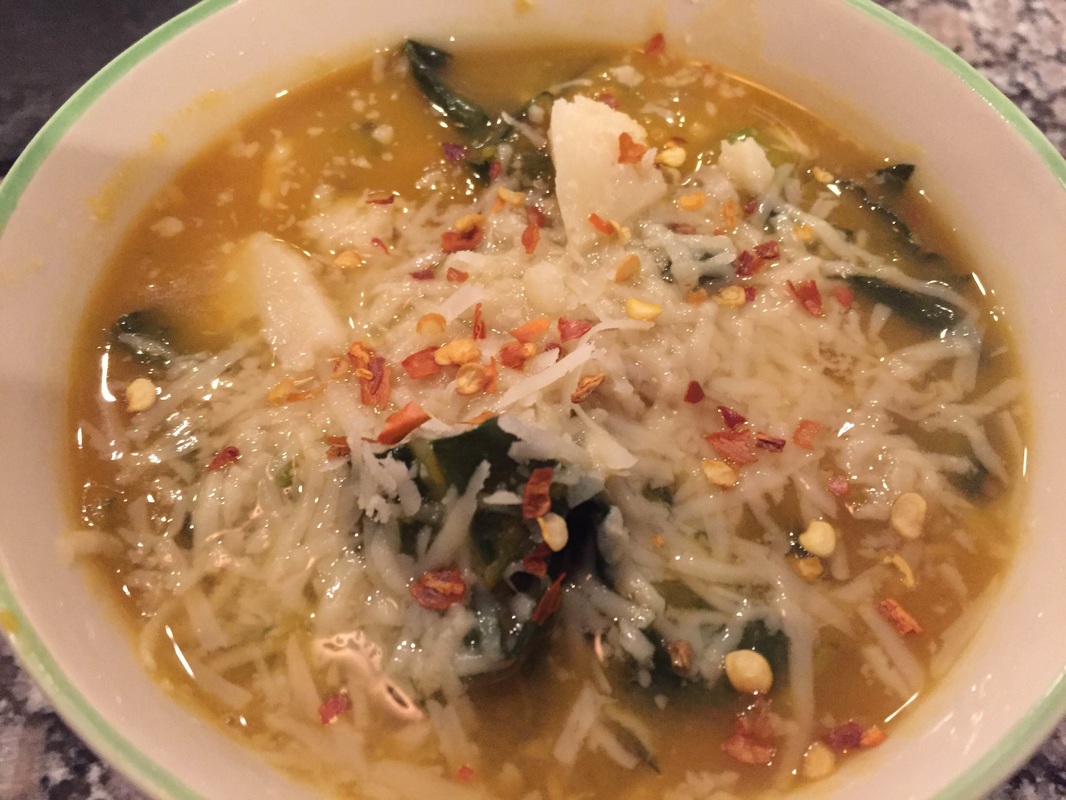 Serve in soup bowls garnished with parsley and cheese. I like parm or cheddar.
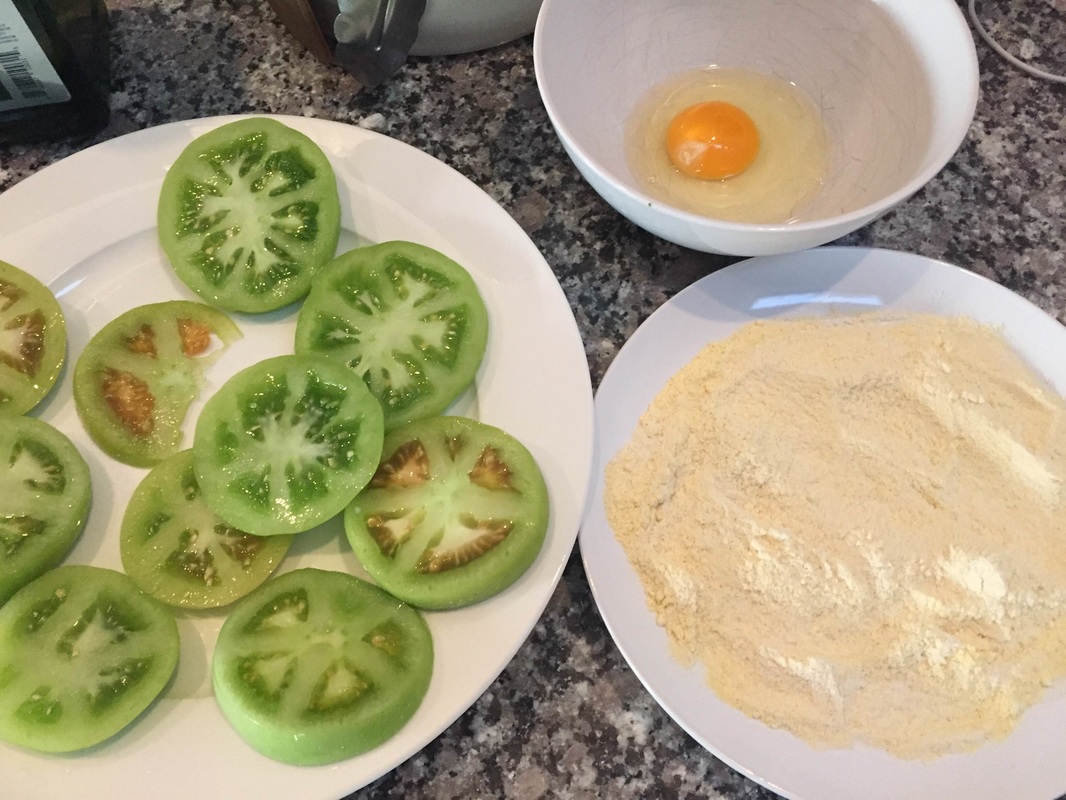
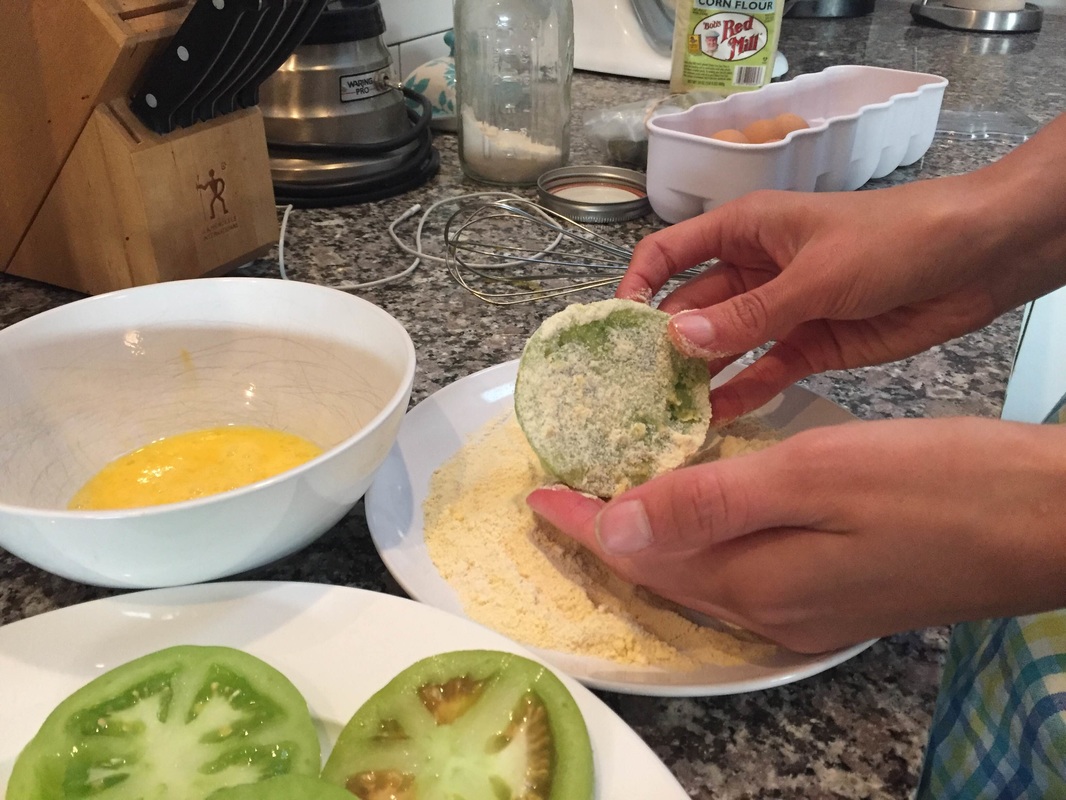
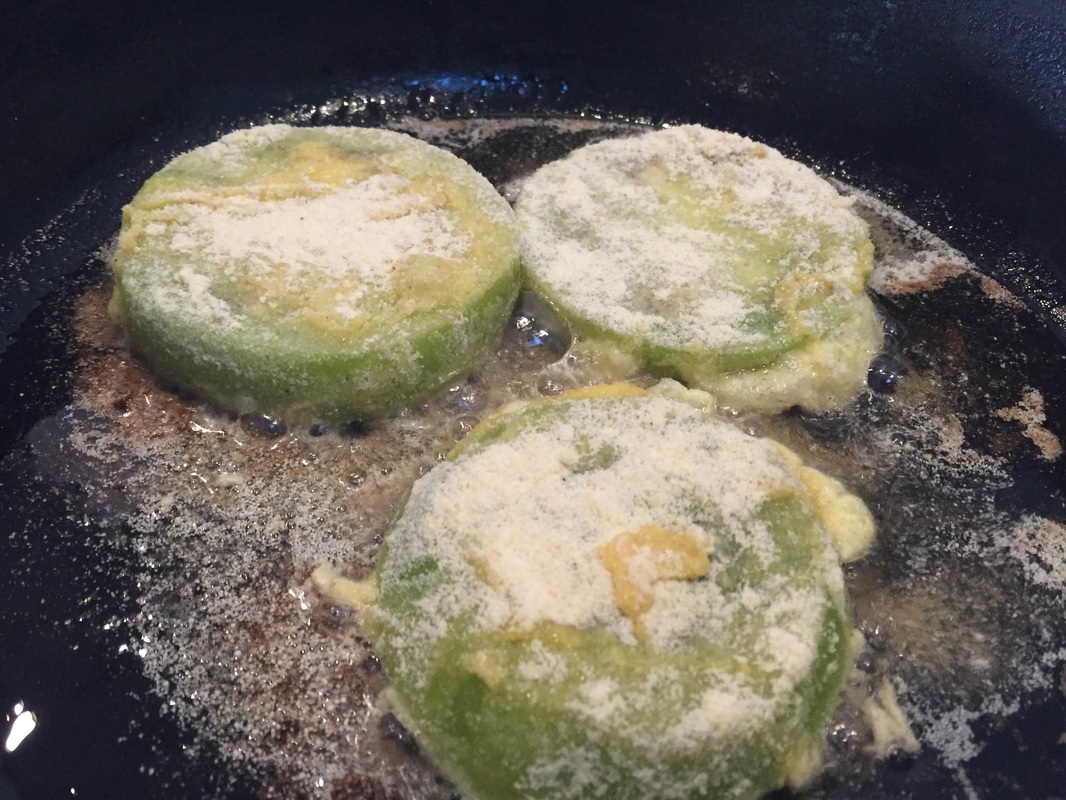
In October, when tomatoes don't ripen as readily and frost is in the forecast, it's fun to get creative with green tomatoes. Fried green tomatoes are a fun snack for friends and family. They're also fully gluten-free! Great for entertaining. 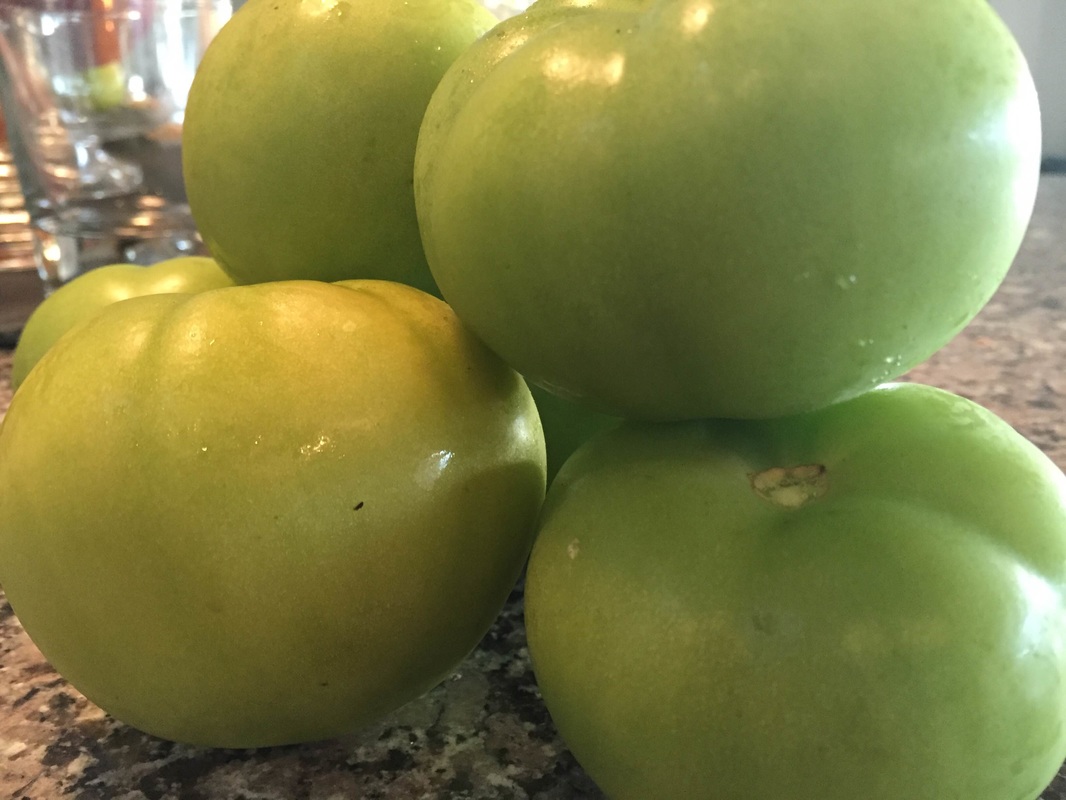 Ingredients: 4-5 Green tomatoes, washed and sliced into 1⁄4 inch rounds. 2 eggs, whisked well 1 cup olive oil 1 cup brown rice flour 1 cup cornmeal (could also use flour or breadcrumbs) 1 Tsp salt 1 Tsp pepper 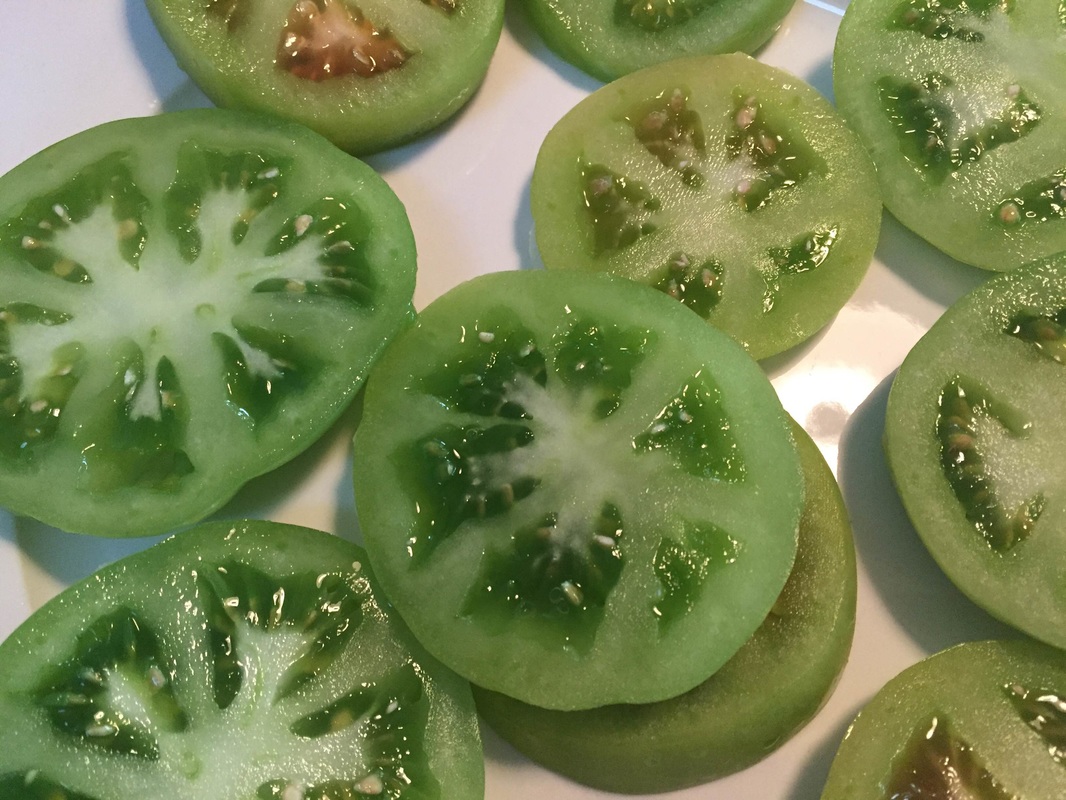 Method: I like to start by getting all the pieces of the puzzle in order. Ready the tomatoes by sprinkling with salt and pepper. Whisk the eggs. Mix the flours well. I usually mix flours on a plate, it is easier to fully coat tomato. Heat your oil in a large cast iron or nonstick pan.
Take a tomato round, cover both sides in egg, transfer to flour and coat well. Place in the pan. Cook on first side for 1-2 minutes or until golden brown. Turn over and cook side two. Repeat this with remaining tomatoes. I usually place 5-6 tomato rounds in the pan at once. This way I can keep up with the flipping and turning!
Next: Remove from pan and place on a paper bag or a plate lined with paper towels. This will absorb extra oils. Let cool for about 3 minutes before eating. They will be VERY hot upon removal from the pan. For dipping sauces I've been mixing sour cream and dijon mustard. It is WICKED good. You can also dip in sriracha/mayo mixture. 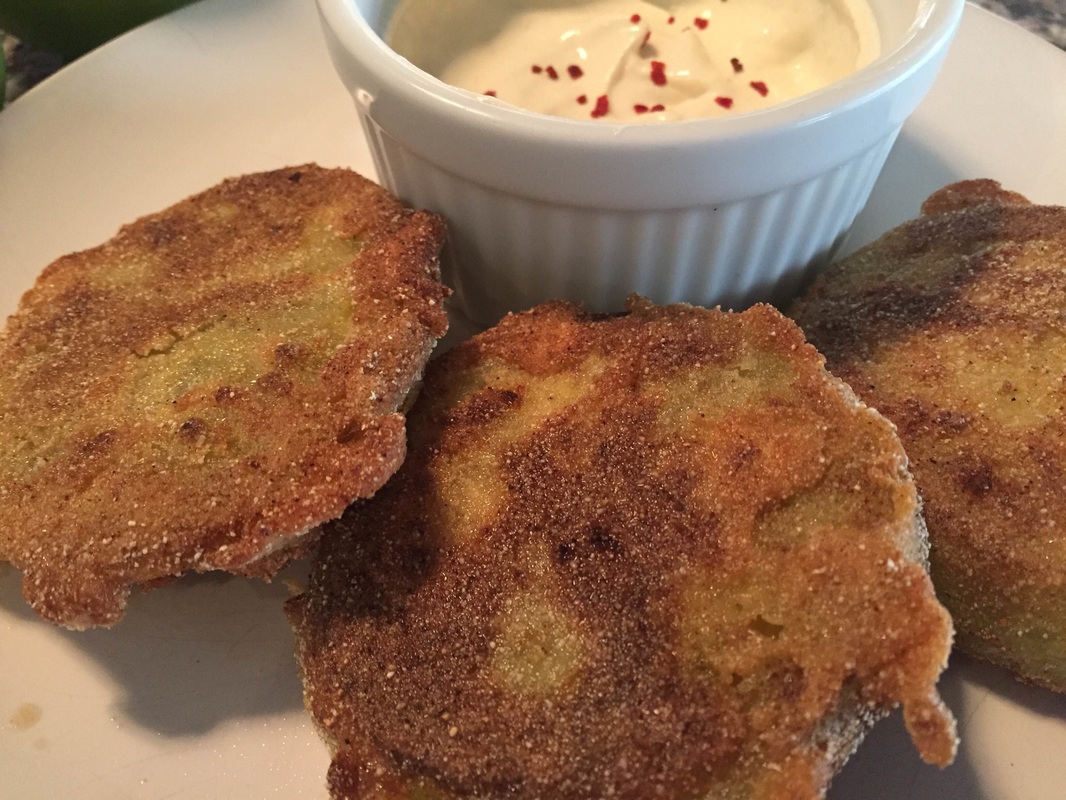 ENJOY!
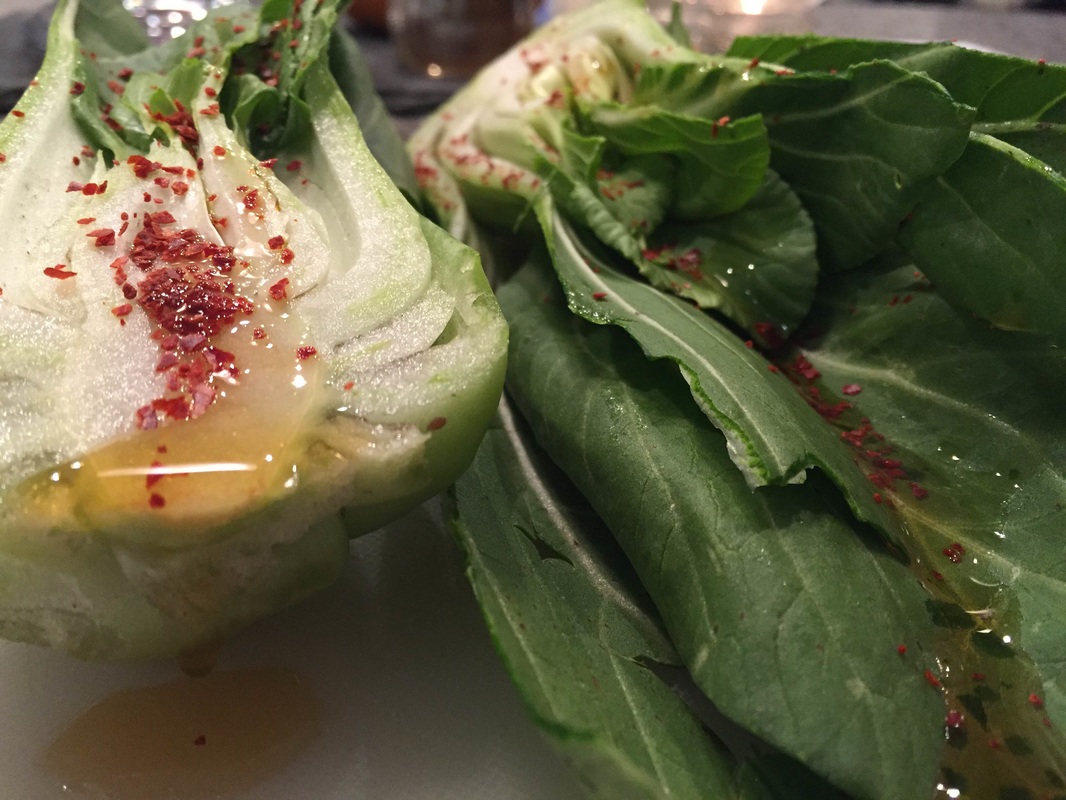
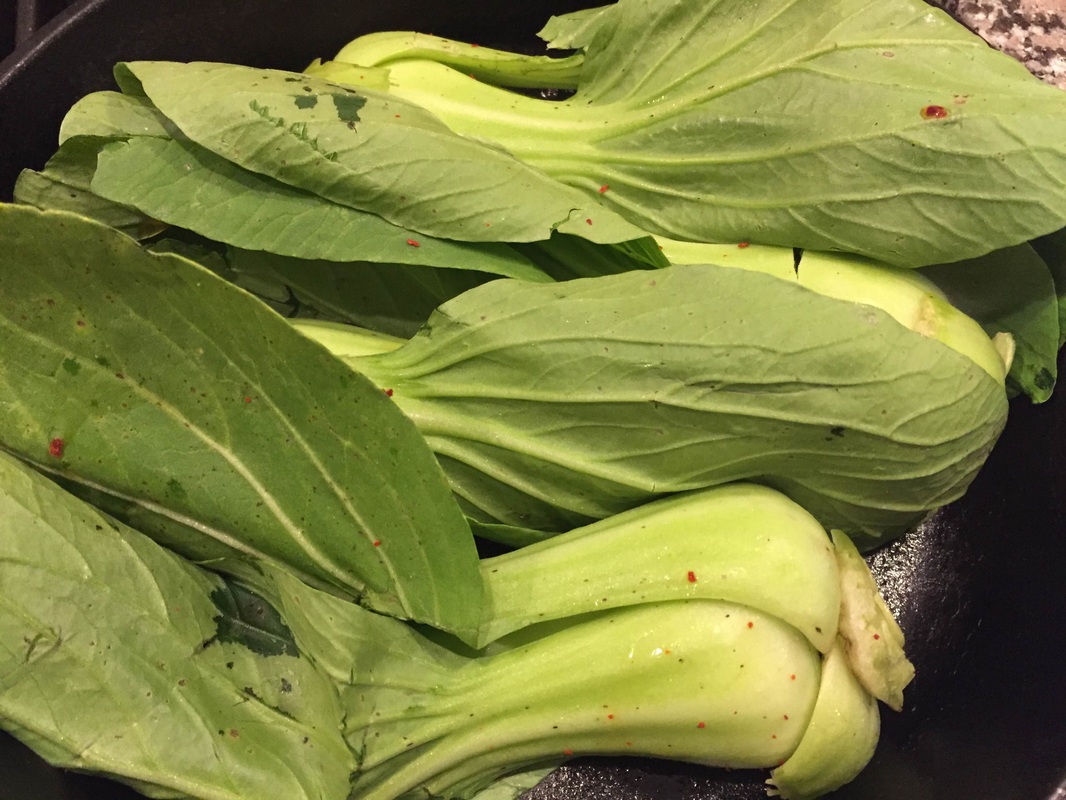
This SUPER quick and fun side is simple, fast and tasty! I whipped this up in just a few minutes and ate it with left overs. This would go great with Thai, Indian or Chinese food! The leafy green with the red flakes of seasoning make it a great cold weather delicacy! 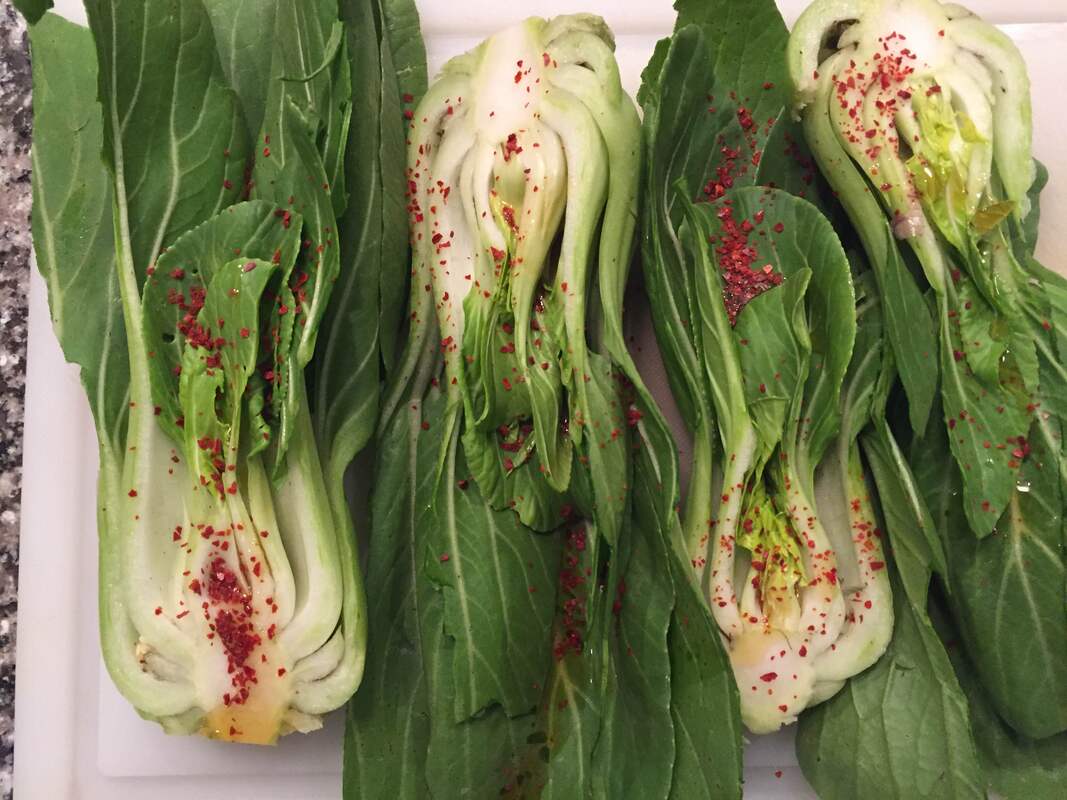 Ingredients: 2 heads baby bok choy, washed and cut lengthwise 2 Tsbp oil (any works, I used sesame) 1 Tbsp olive oil 1 Tbsp seasoning of choice (chili powder, paprika, cumin) base the seasoning on what you're serving this with! Salt and pepper to taste
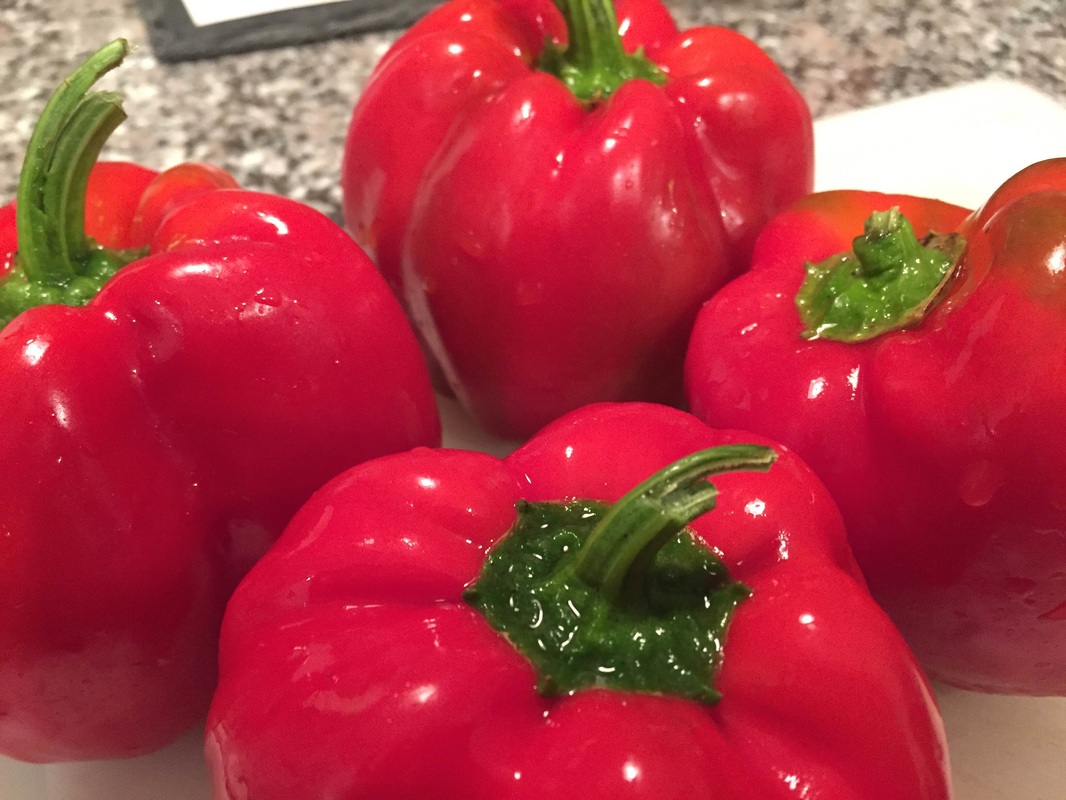
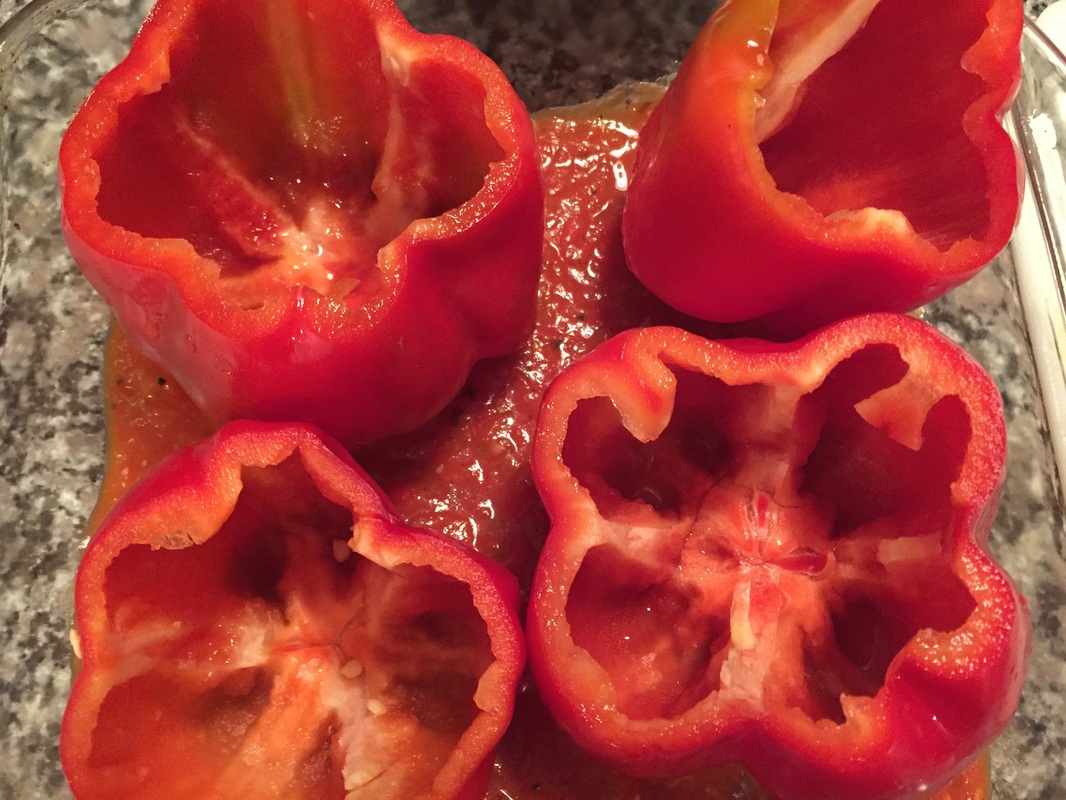
Method: Heat olive oil in a pan over medium heat. While the pan heats, coat the baby bok choy in oil. Once the greens are evenly coated in oil, add the spices of choice, salt and pepper. Place the greens in the hot pan, flat side down. Sauté for 3 minutes on high, flip to other side. Repeat this step 2 times. Rotating greens from side to side will prevent the greens from burning or wilting. If the greens start to look too browned lower heat, or remove the greens from pan. Note: If your bok choys are larger, you can also try blanching them quickly in a pot of hot water, then sauté in the pan. This cooks them all the way through without burning. Serve over rice as a side dish or as the main course for a lighter meal! 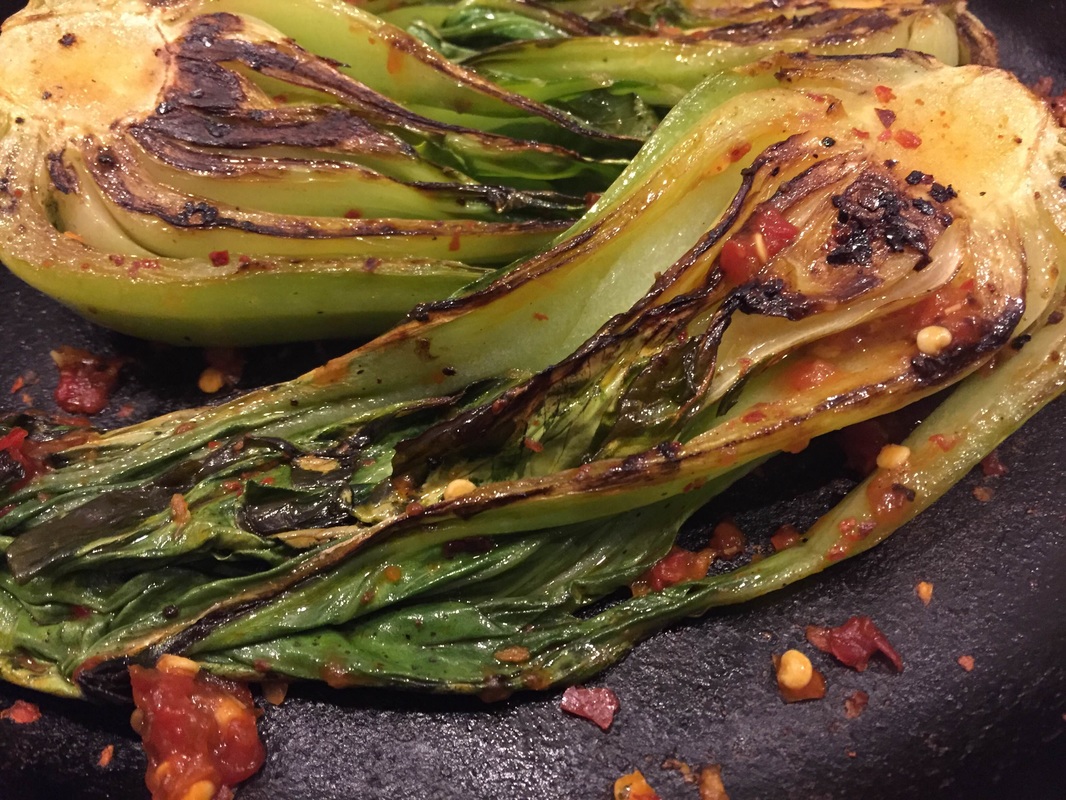 A wonderful, warming fall meal of stuffed peppers. Fun to share with friends and family, this seasonal treat will be sure to fill your home with delightful smells and happy guests. Use this same recipe to stuff tomatoes, or even a large zucchini! First, prepare this Simple Tomato Sauce recipe. The sauce can be made many days ahead of time, only about 2 cups are needed for the stuffies. 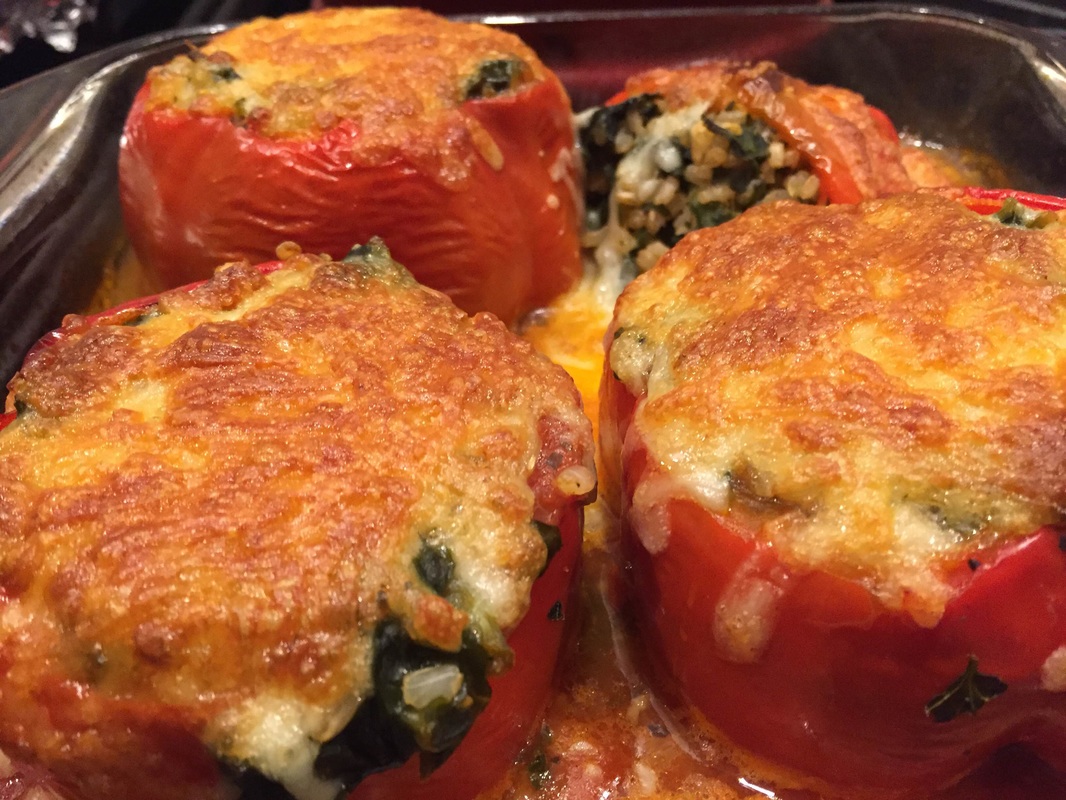 Next, make the cheese filling. Mix all ingredients together by stirring with a fork. Set aside. Ingredients: ½ cup cottage cheese ½ cup ricotta cheese 1 cup grated cheddar cheese (divided) 1 Tbsp basil, parsley, or dill (dried or fresh) Salt and pepper to taste about 1/4th Tsp each 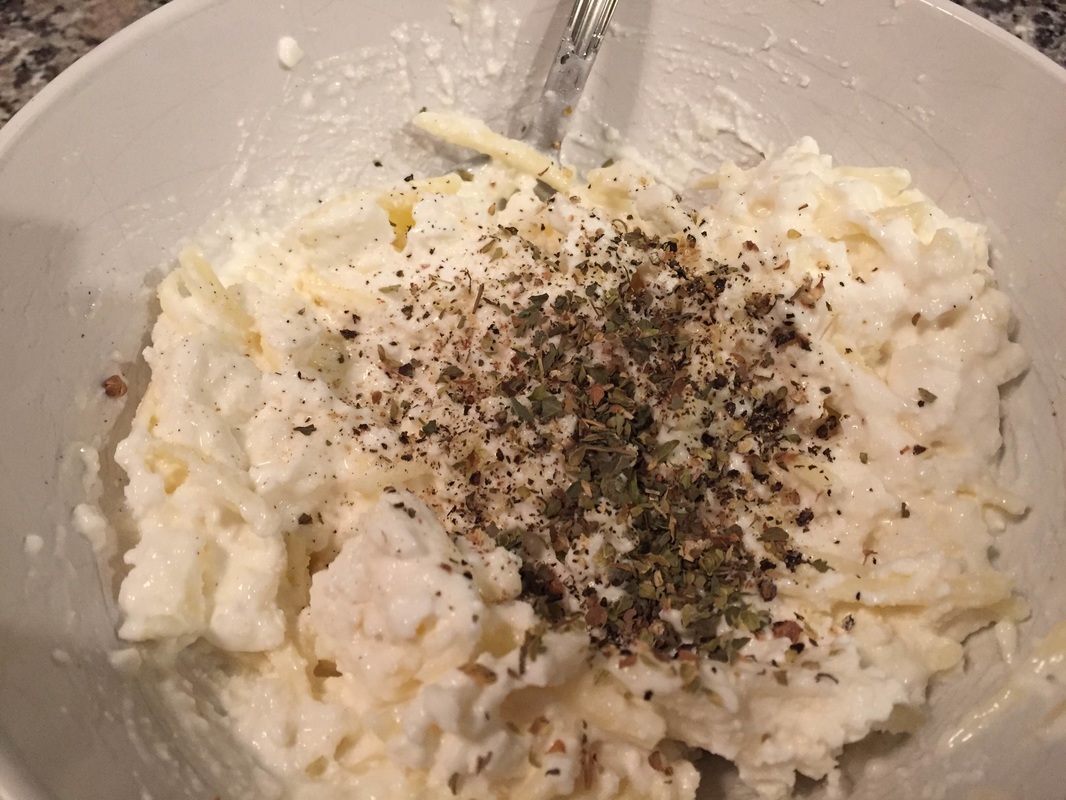 Next, make the Rice Filling. Ingredients: 1 cup brown rice 1/2 cup water 2 cups chopped spinach, kale, or collards ½ cup of the prepared tomato sauce 1 Tsp oil 1 Tsp salt 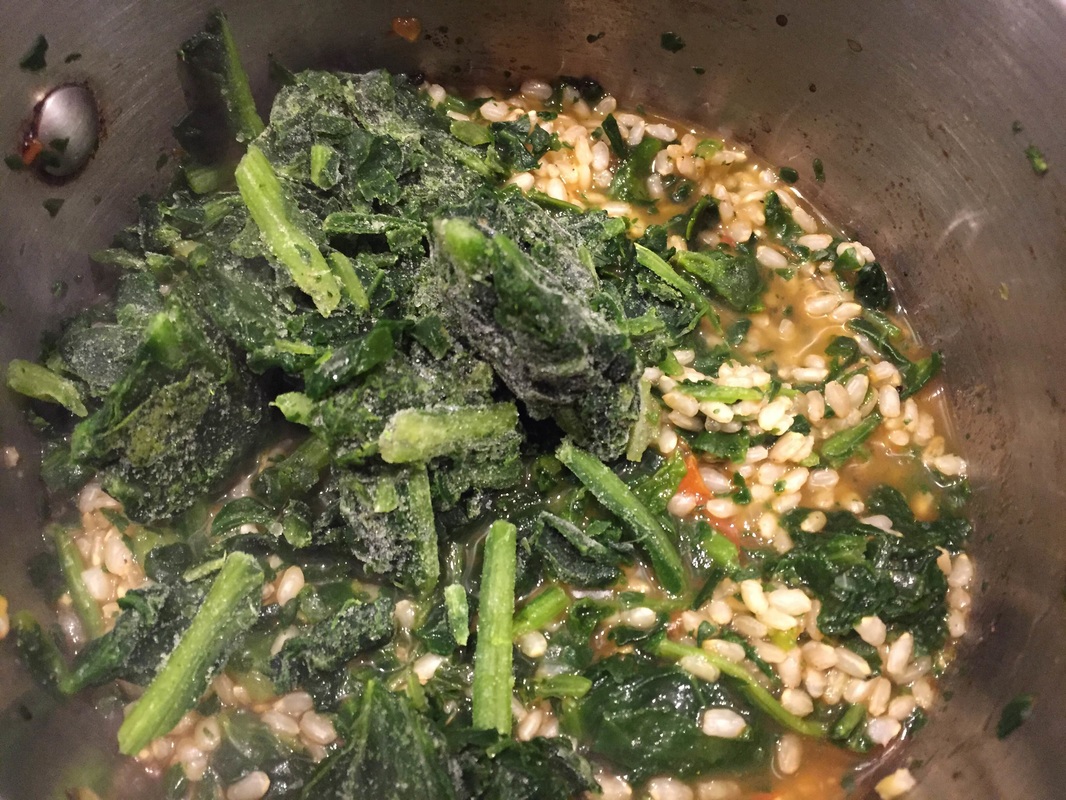 Mix all the Rice Filing ingredients together in a saucepan. Bring to a boil. Reduce heat to low and let simmer for 35-40 minutes. Rice should be slightly undercooked. Remove from heat.
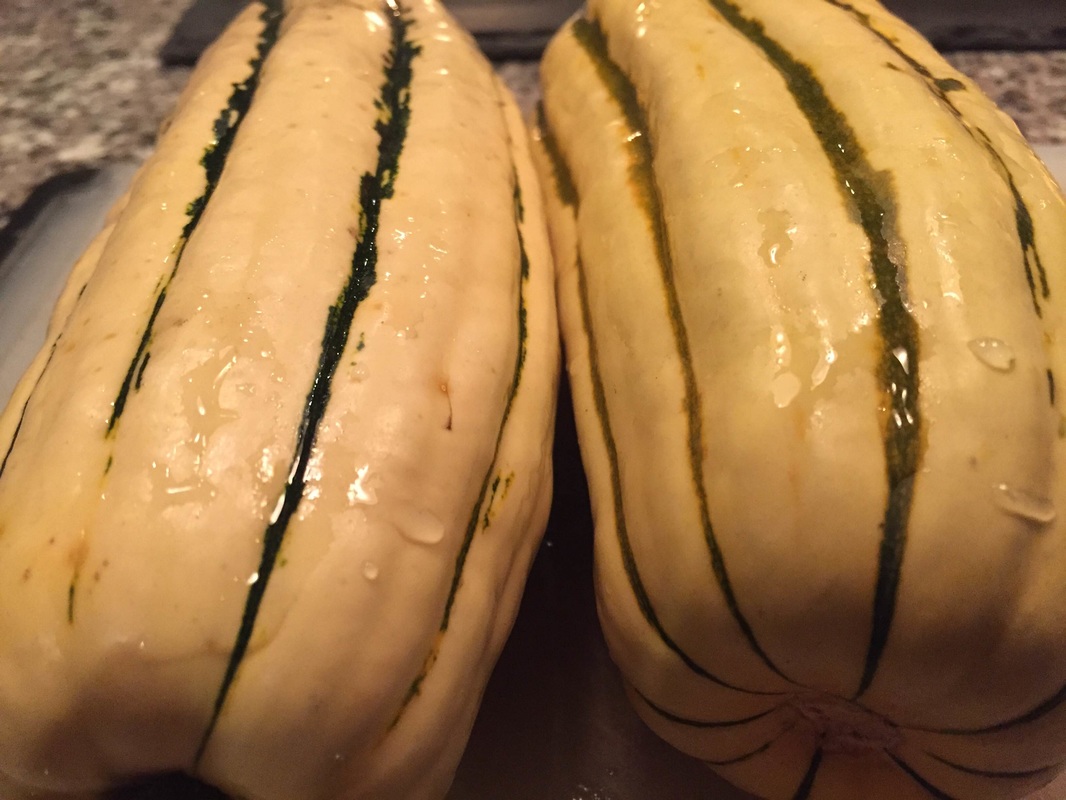
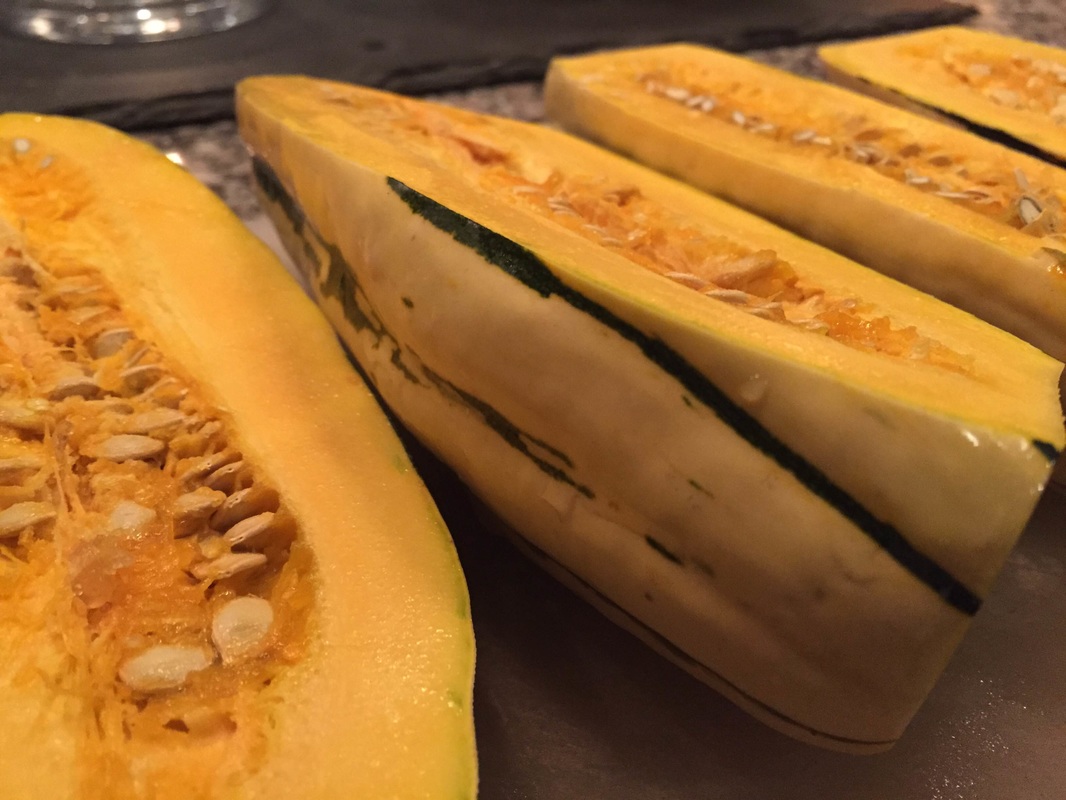
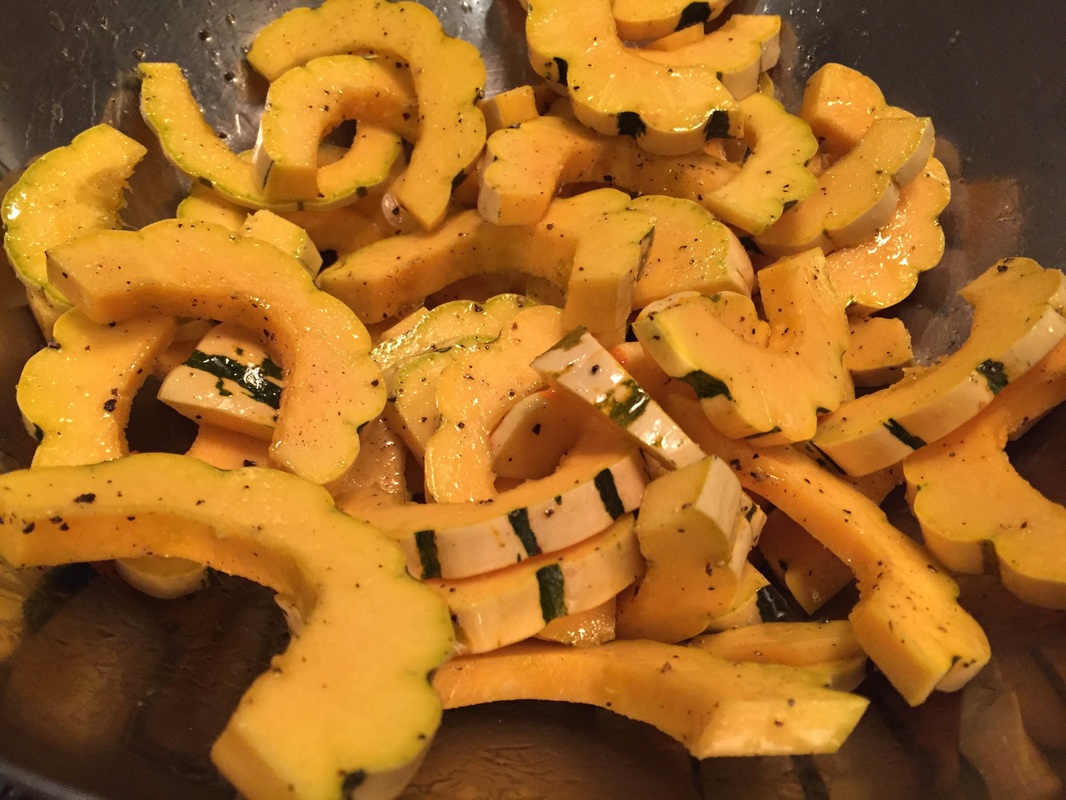
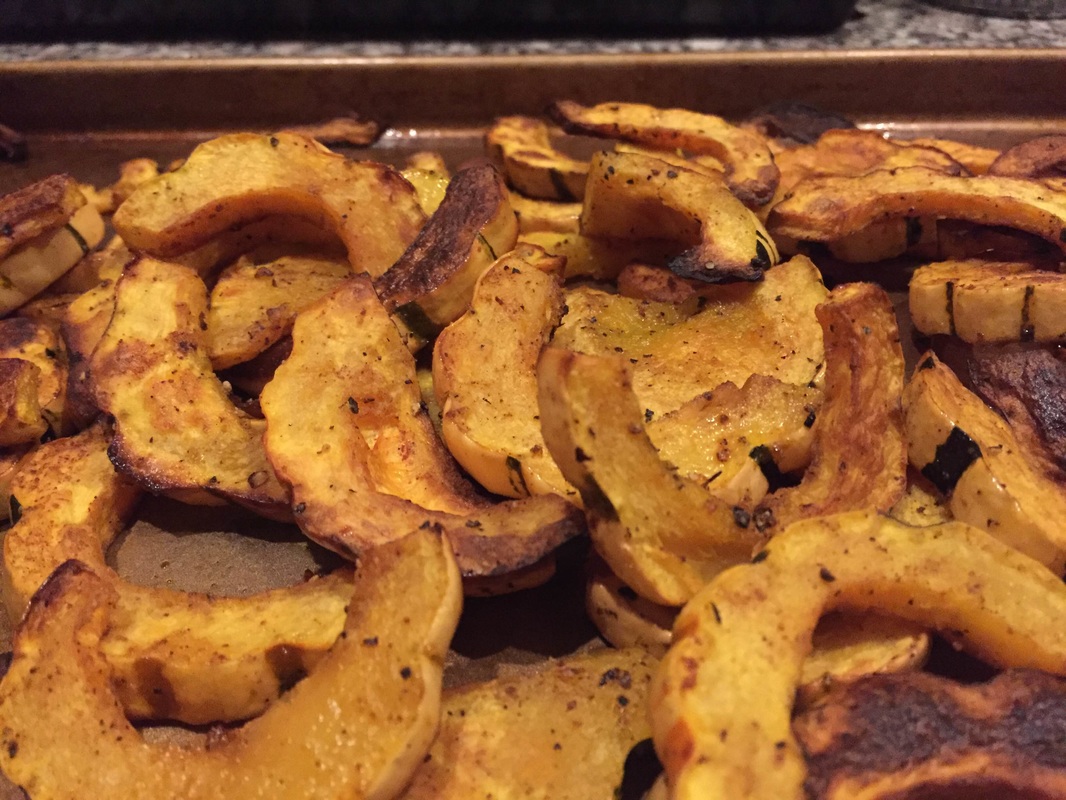
While the Rice cooks, ready the peppers. 4-6 Bell Peppers (any color) washed/seeded with tops cut off. When you're ready to assemble: Pour a thin layer of tomato sauce into a medium size, deep dish casserole pan. Arrange peppers so that they stand upright, with opening face up. 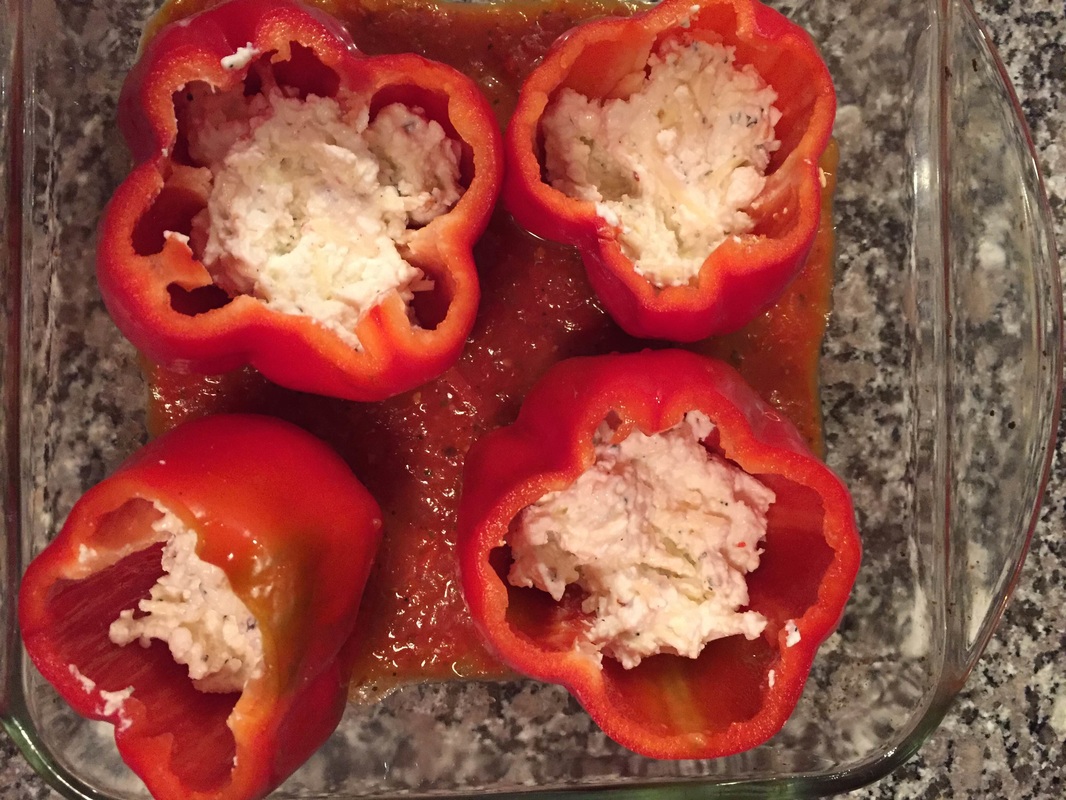 Add 1-2 spoonfuls of the cheese mixture to each. Next add ¼ cup sauce to each pepper, followed by 1 cup (smaller peppers may not take quite as much filling). Now add enough sauce to each pepper to cover the rice mixture. 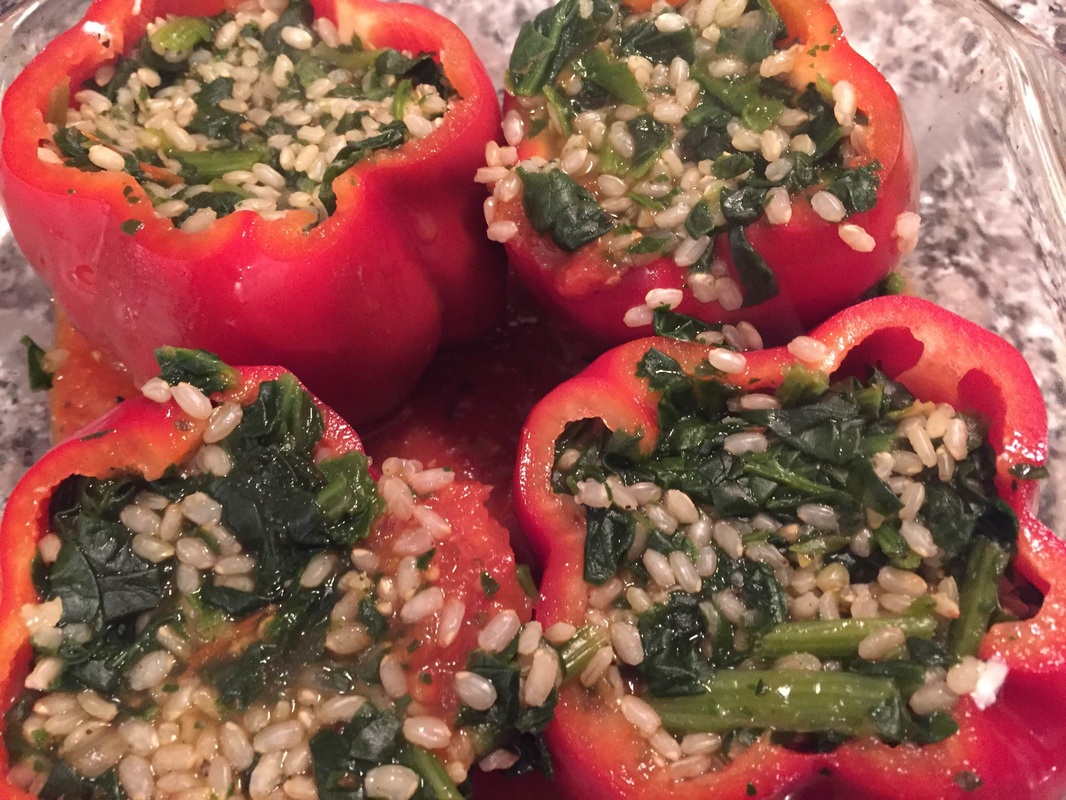 Cover tightly with foil and bake at 400 degrees for 30 minutes. Remove foil and add the remaining cheddar cheese to to garnish each pepper. Bake uncovered for an additional 15 minutes! We served with a tasty side of sauteed kale! 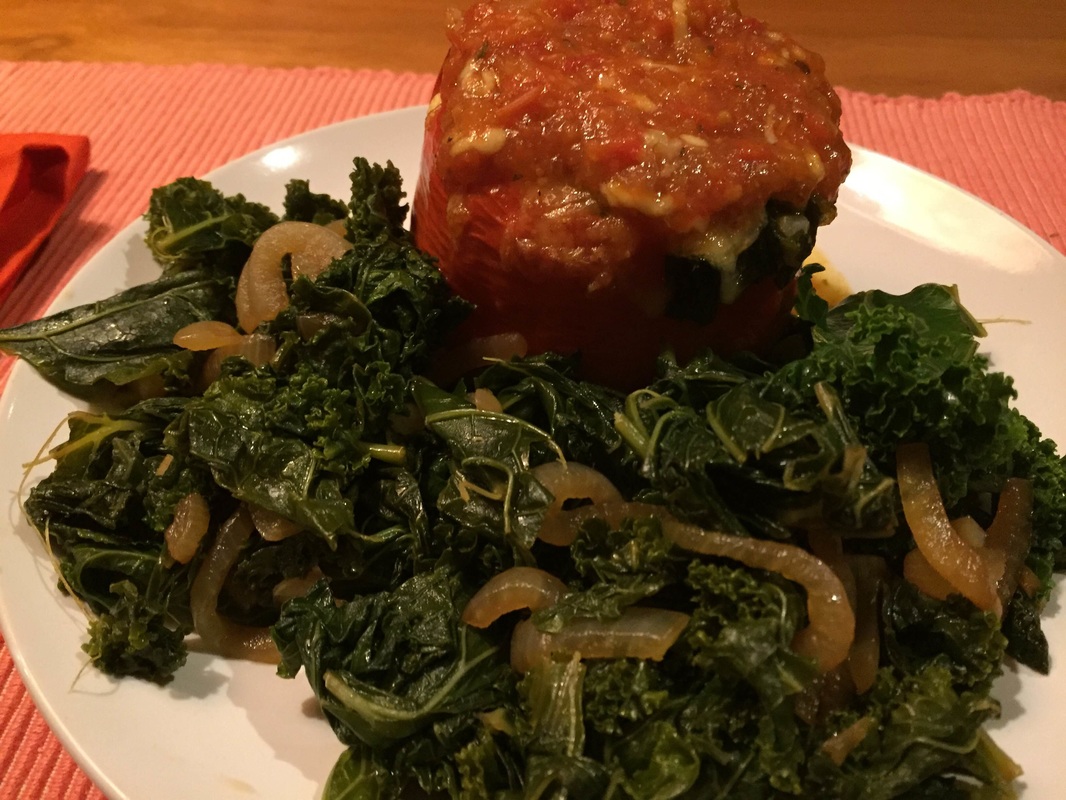 The weather has cooled off a bit and we're enjoying roasting vegetables in our oven again. Late September is an amazing time of year for roasting vegetables because there are so many options available. The first of the winter squash are starting to show up at markets, but the tables are still full with sweet summer peppers, tomatoes, fresh herbs, and leafy greens! This recipe embraces this beautiful time somewhere in between summer and fall- roasted delicata squash, oven roasted tomatoes, caramelized onions and spinach- it's a trio of seasonal delight! 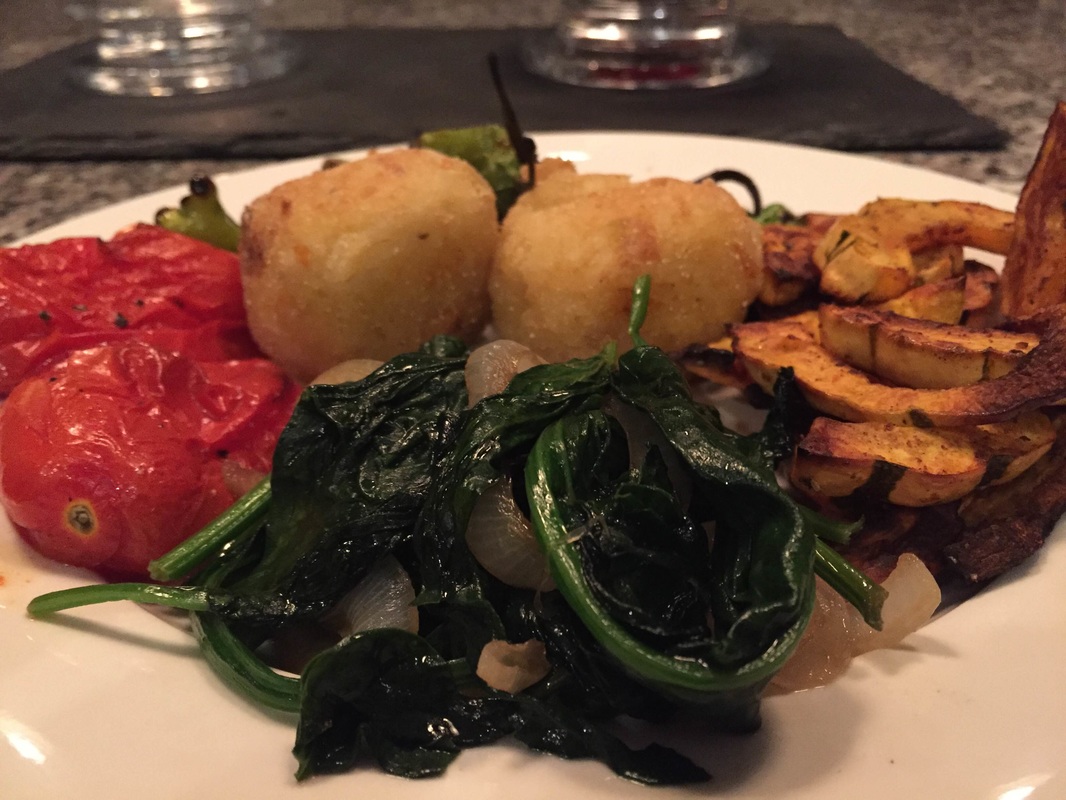 1. Roasted Delicata Squash Ingredients: Delicata Squash- Wash and remove seeds. Cut lengthwise and slice into half moons. You don't need to peel, the skin is tender and edible! Put the flat side down on the cutting board to make slicing easier. 2 Tbsp olive oil 1 Tsp fresh ground black pepper 1 Tsp salt 1 Tbsp paprika
Method: Toss the prepared squash in a bowl. Coat with all the spices and oil. Once all pieces are evenly coated, transfer to a baking sheet. Bake at 425 degree for 40-45 minutes. After 30 minutes of baking you can flip over with a spatula. If you like them a bit crispier, cook an additional 5-10 minutes!
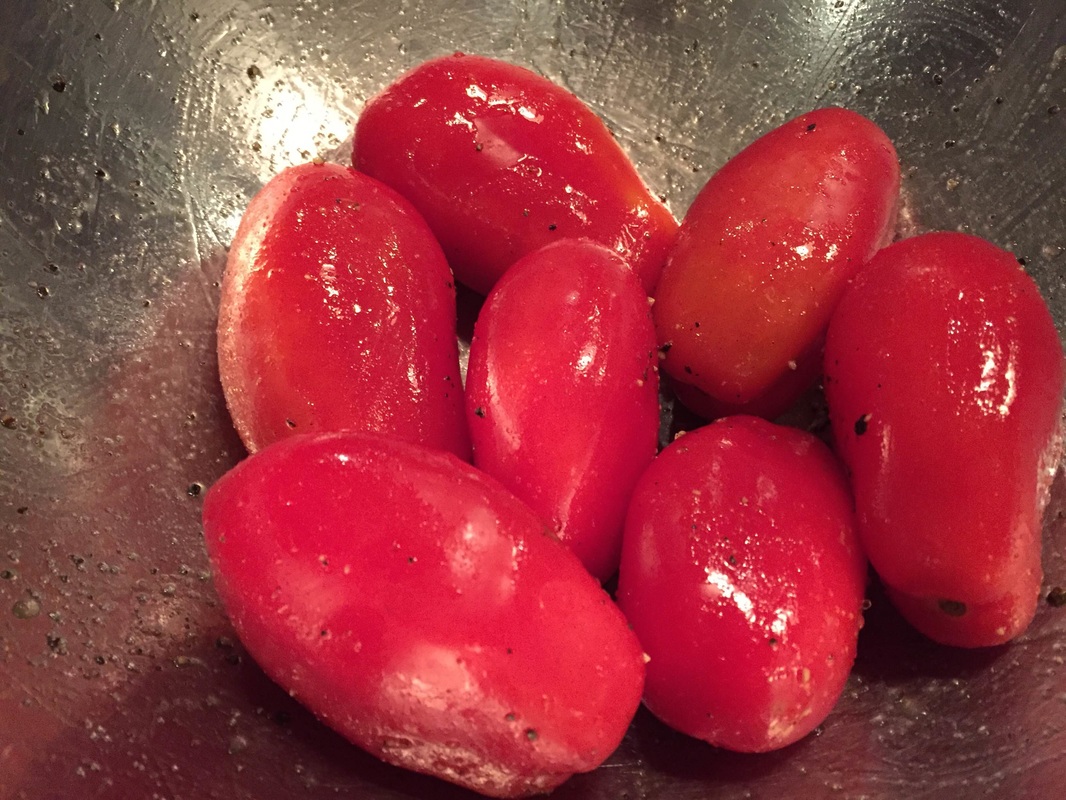
2. Oven Roasted Tomatoes Ingredients: 5-7 Roma tomatoes, whole and washed 2 Tbsp olive oil 1 Tsp fresh ground black pepper 1 Tsp salt 1 Tbsp paprika
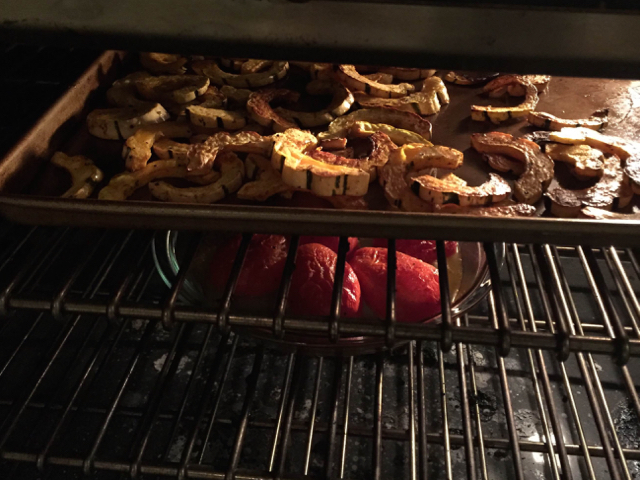
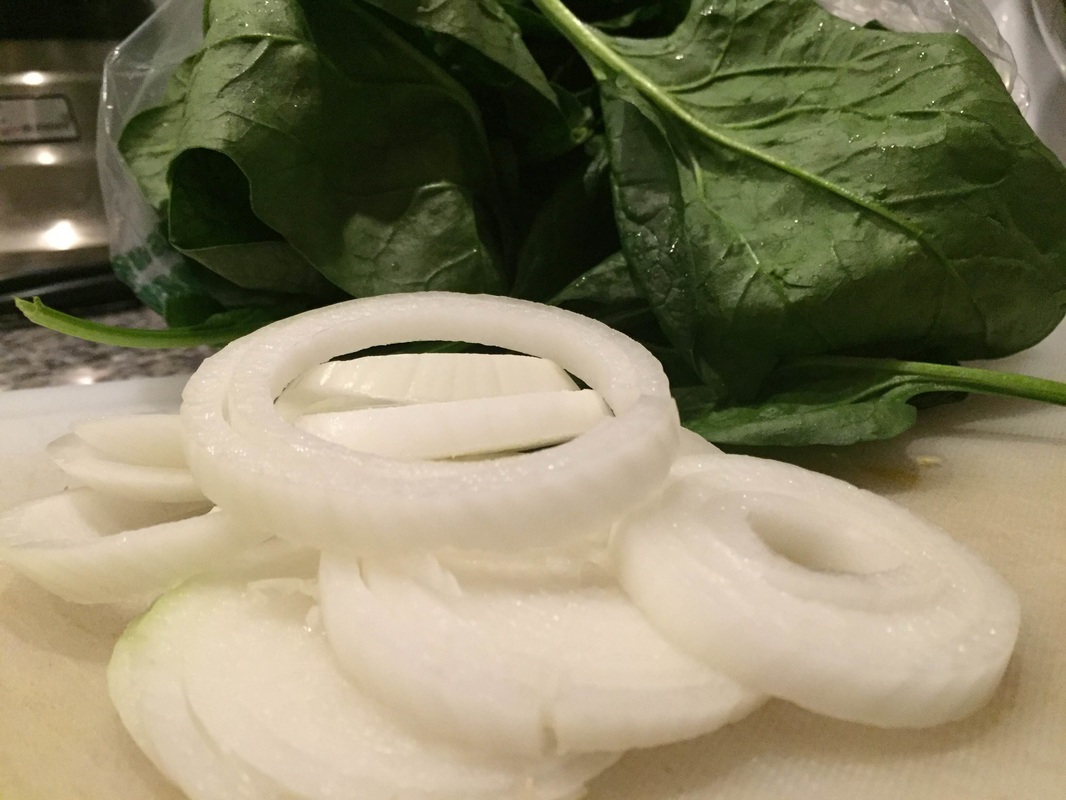
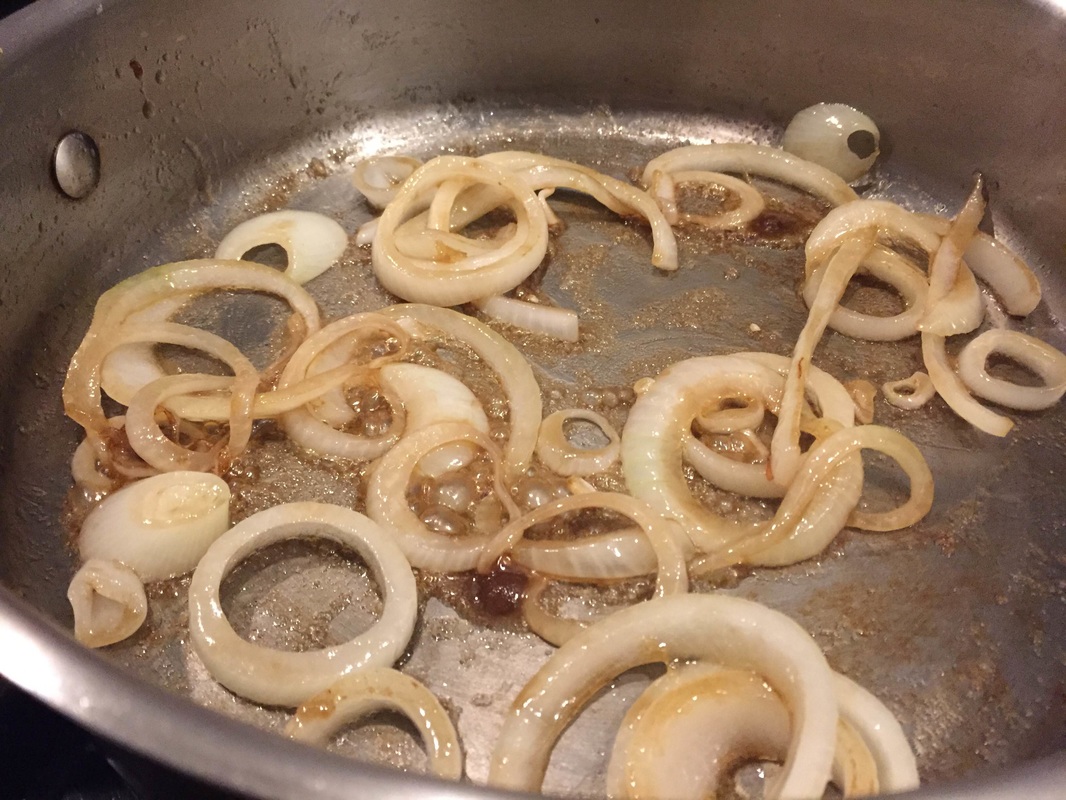
Method: Toss the prepared tomatoes in a bowl. Coat with all the spices and oil. Once all tomatoes are evening coated transfer to a baking dish. (I used a glass pie pan, and it worked great!) Bake at 425 degree for 40-45 minutes. Tomatoes will start to bubble and produce juices, this is good! I baked tomatoes and squash at same time and it worked well. Remove from oven and let sit for 5-10 minutes before serving. NOTE: I had some leftover tomatoes and I made toast this morning. I put cream cheese followed by reheated tomatoes on the bread and it was SO GOOD! 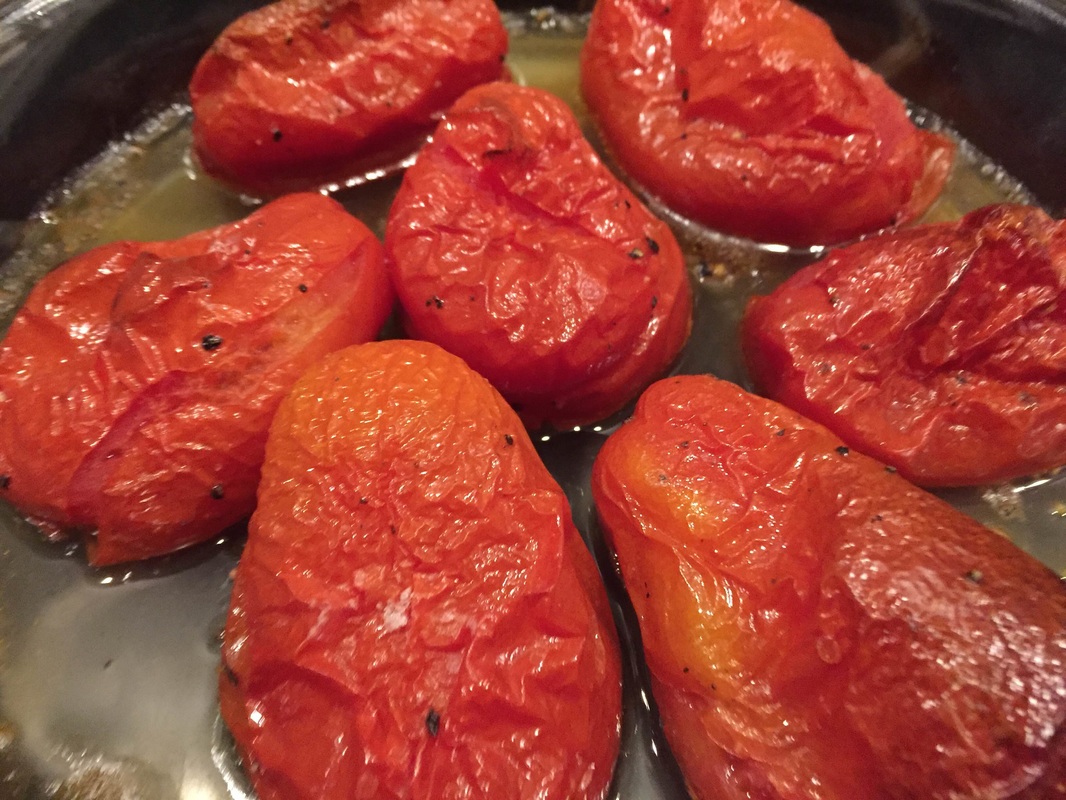 3. Caramelized Onions and Spinach Ingredients: 1/2 lb bag fresh spinach (about 8 cups) 1 onion, red or yellow, cut into medallions 1 Tbsp butter 2 Tbsp brown sugar Salt and pepper to taste
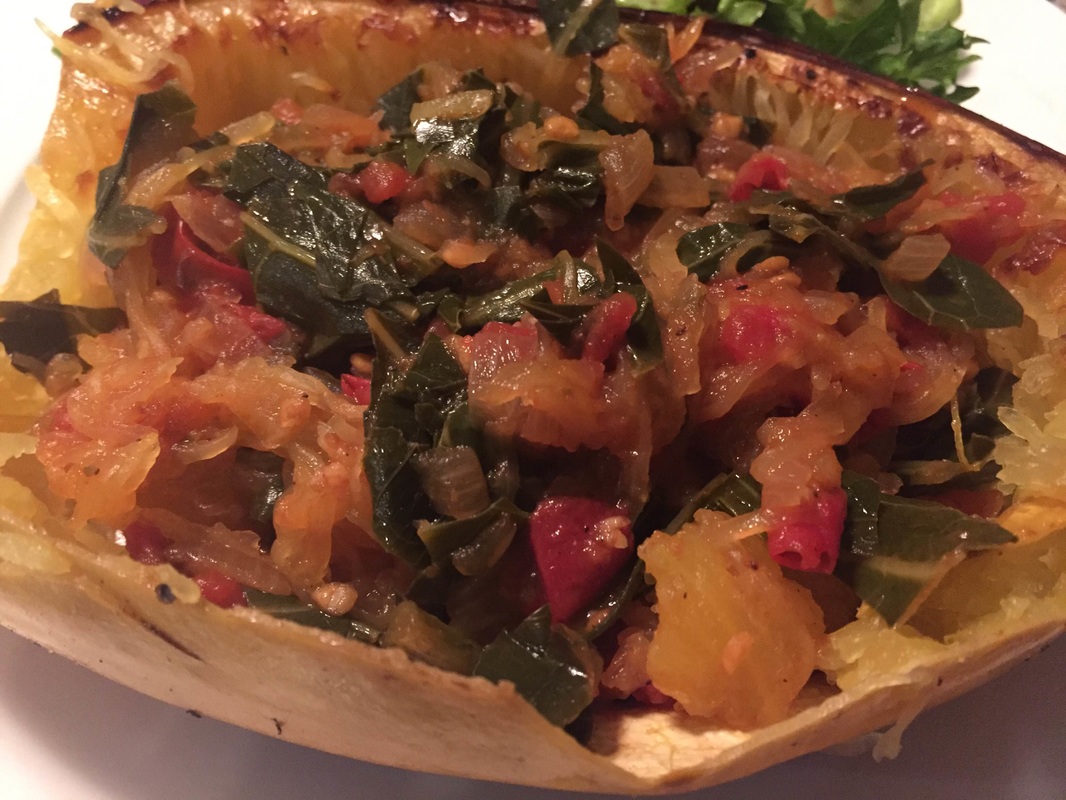
Method: Heat butter in sauce pan over medium-low heat. Add onions and cook for 3 minutes. Add the brown sugar and cook slowly for 10 more minutes. Stir occasionally and reduce heat if sugar starts to burn. Add the spinach and cover for 3 minutes, until spinach start to reduce. Uncover and cook for 3 more minutes. Serve HOT! 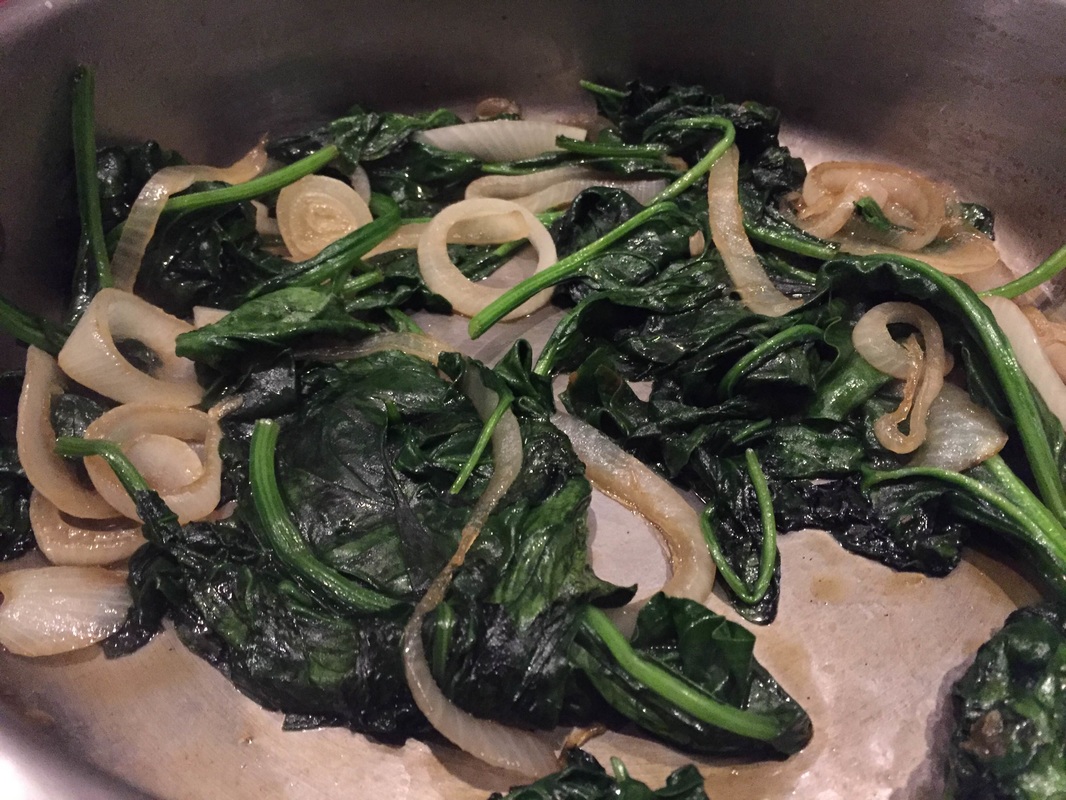 We paired all of this with arancini balls we made from leftover risotto and roasted shishito peppers! Delicious! 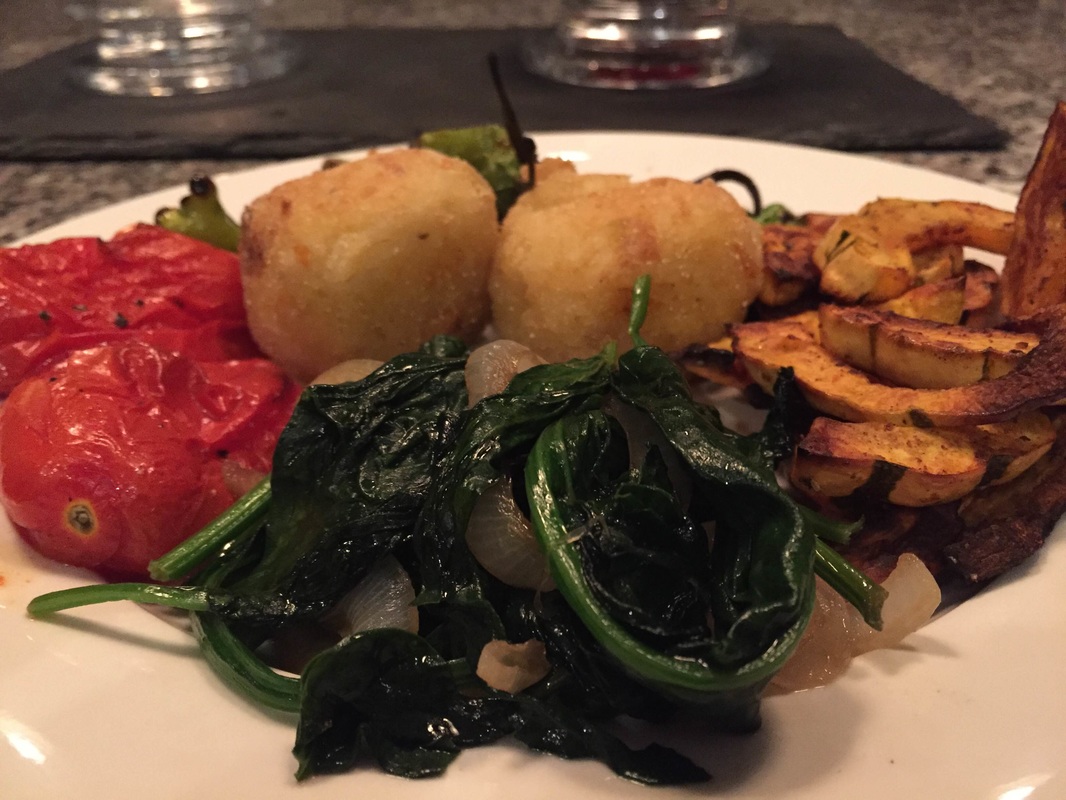 It's always exciting to create a meal that's made up entirely of ingredients from this week's CSA share! This simple spaghetti squash recipe even uses the skin as a bowl! 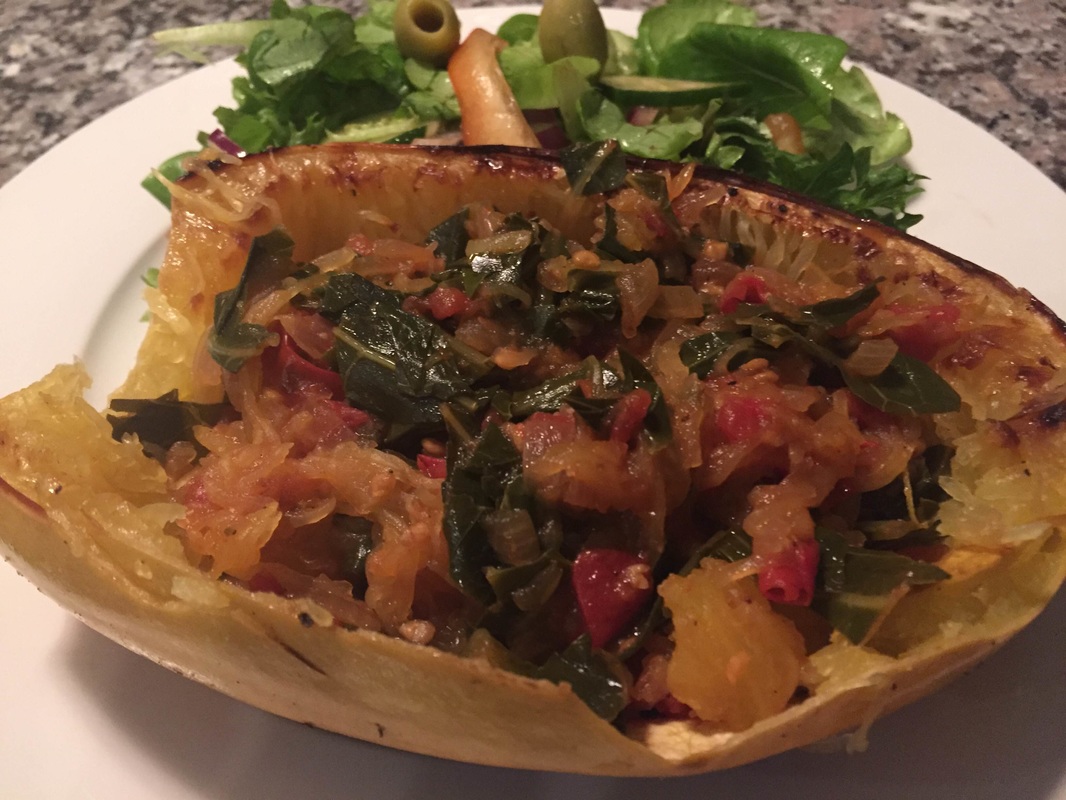 Ingredients: 1 spaghetti squash, halved and seeded 1 bunch collards washed, trimmed and chopped finely 2 medium yellow onions, diced 2 garlic cloves, pressed 3 tomatoes cored and chopped Salt and pepper to taste 3 Tbsp olive oil (divided)
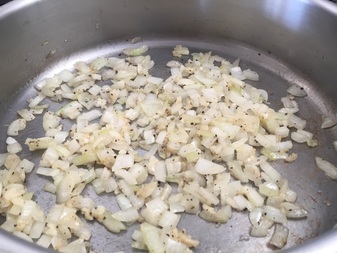
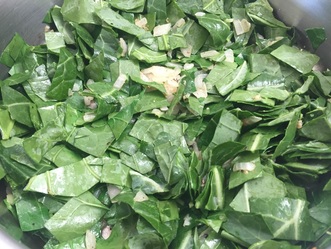
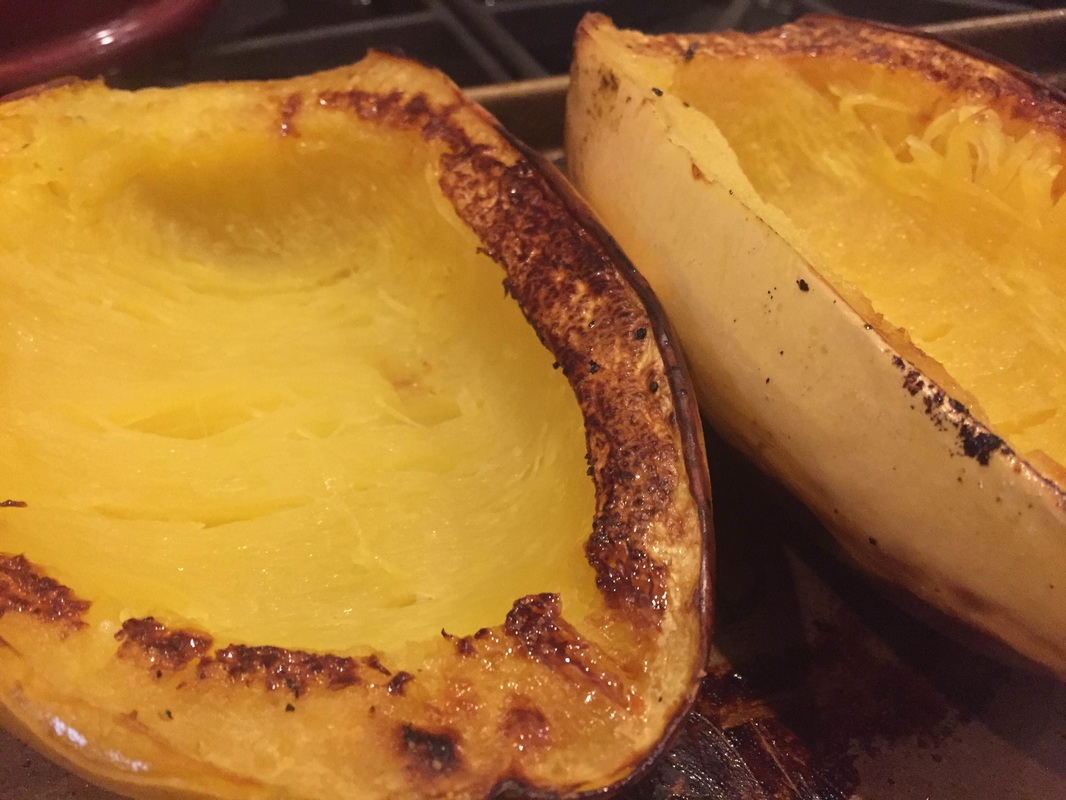
Method: Preheat oven to 450 degrees. Prep the squash by cutting and seeding. Place halves on baking sheet and dress with 1 Tbsp olive oil, and a dash of salt and pepper. Coat all surfaces of the squash. Place open side down on baking sheet, as pictured. Place in oven to cook for 1 hour. 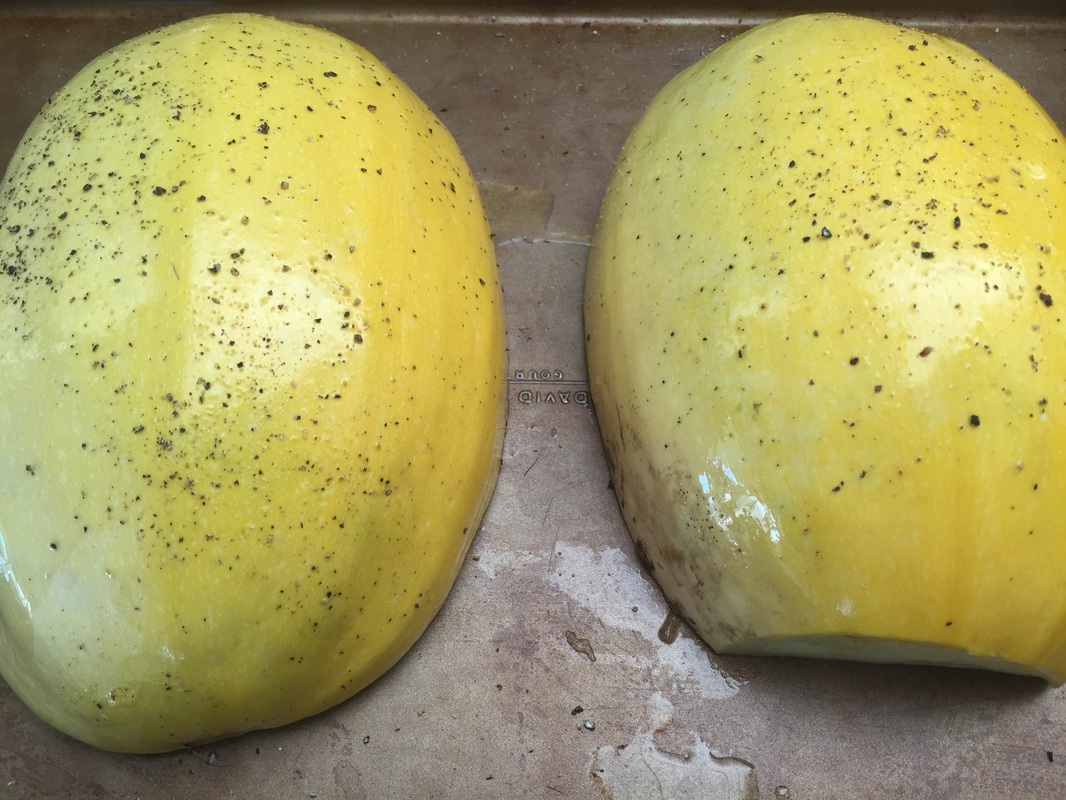 While the squash cooks, prepare the filling. In a medium sauce pan saute the onions and garlic in remaining olive oil over medium heat. Once onions are clear and fragrant (about 4 minutes) add the collards. Cover and let simmer for 20 minutes over low heat.
Remove lid and add the chopped tomatoes. Stir well and cook over medium heat for 20 more minutes. Turn off heat, let the mixture sit in the sauce pan. 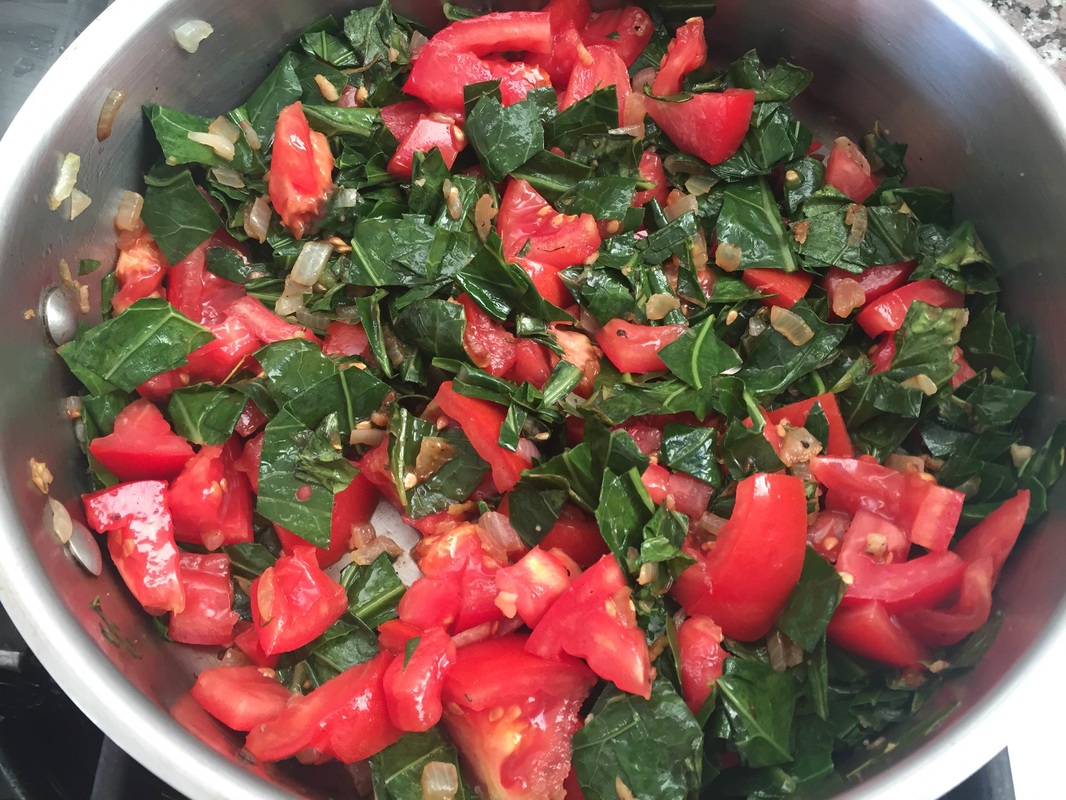 Once the squash has fully cooked, remove from oven and let it cool for 10 minutes. Gently remove the meat of the squash by loosening up with a fork. The squash will flake away from edges in nice spaghetti size pieces. Add the meat of the squash to the prepared veggie mixture. Stir a few times to distribute veggies evenly through the “meat”. Salt to taste.
Stuff the filling back inside the shell of the squash! Garnish with herbs, cheese or additional toppings! NOTE: Spaghetti Squash skin is not edible (or if it is I do not recommend trying it!)
|
Search Recipes by Ingredient
All
Search Recipes by Month:
December 2016
AuthorAli Price |

 RSS Feed

Root 5 Farm
Danielle Allen & Ben Dana 2340 US Route 5 North Fairlee, Vermont 05045 (802) 923-6339 [email protected] [email protected] |
|