|
Maybe you’ve seen pictures of this gorgeous spiral tart all over the internet, but I first made it 3 years ago when I saw it on pinterest. I wanted to make it vegan but you can absolutely use your favorite non-vegan dough and fillings. What’s fun about this tart is that it can be filled with whatever vegetables you like (as long as they can be shaved or sliced into long strips) The dough that I like to use is an olive oil and herb dough, but you can use your favorite pie crust recipe or storebought too. HERB AND OLIVE OIL DOUGH
1 1/2 cups all purpose flour 1 teaspoon salt 1 teaspoon dried herbs (I love rosemary or lemon thyme but use whatever you like most) 1/3 cup olive oil 1/3 cup water or plain unsweetened plant milk Mix flour, salt & herbs together in a bowl. Make a little well and pour in your liquid ingredients. Mix together with a fork until just combined, then turn out onto a floured work surface for a quick knead until it comes together into a ball. Dust with flour and use a rolling pin to flatten out into a circle. Transfer onto your tart pan and push sides into the grooves. Use a knife to trim the excess. Prick all over with a fork and blind bake at 350°F for about 10-15 minutes (until it’s golden brown). FILLING Under the beautiful vegetable spiral you’ll need some sort of filling. Here you can really get creative. I usually like to spread a layer of garlic hummus or a flavored vegan cream cheese. Kite Hill has chive, everything, and garden veggie and all of these work great. Plus one container fills up the tart perfectly. If you want this to be more of a ratatouille style, you can lay down some thick tomato sauce. I’ve even made this with a layer of pesto. If you’re not vegan I think a layer of ricotta cheese or a bechamel sauce would work well. Get creative! THE SPIRAL Okay, this is what you’re all here for. The vegetable spiral on top looks STUNNING but is actually pretty easy to make as long as you have your vegetables all prepped. You can use whatever vegetables you like, but I really love to incorporate as many colors as possible. The more straight the shape of vegetable, the easier it is to get thin slices, so if you’re at the market you might want to maybe skip over the really fun shaped zucchinis and squashes. You’ll need about 4-6 cups of vegetables for an entire tart. Here’s what I like to use in mine: Ingredients: 1 eggplant 1 zucchini 1 yellow squash 3 large carrots 1/4 cup olive oil 1.Cut your vegetables into long thin strips, all the same thickness. A mandolin makes this the easiest (please watch your fingers) but a vegetable peeler or good knife skills can work too. . If your veggies are very wide, you may have to cut each strip in half lengthwise. I usually have to do this for the eggplant so that it’s not taller than all the other veggies. Get all of your veggies cut and ready and a bowl of olive oil. 2. Once you have your tart filling spread along the bottom of the crust, you’re ready to spiral. Dip each vegetable strip into the oil, or use a brush if you prefer.. Start with your first strip (anything but carrot) and create a tight spiral on your cutting board. This is going to be your centerpiece so make sure it’s as tight as possible. You can wrap one more strip around to secure the spiral, and then move this to the center of your filled tart. 3. Continue wrapping immediately so things stay nice and tight. Alternate between all the vegetables as you go. As you get closer to the crust you can really start to pack them in so that I have as many layers as possible. Once the tart is full, pour any remaining oil on top and sprinkle with salt and pepper. 4. Bake at 350°F for about 50 minutes. The vegetables should still have a bit of texture to them. Cool for a bit before you slice and serve! Usually my recipes are real flexible and I hardly write any “backstory” at all. I’m not a huge fan of the ones where you have to read a novel about the cook’s life/kids/childhood. But today this recipe actually does have a story, and it’s the reason why I made it in the first place. Growing up I ate this dish made by both of my grandmothers, but an ocean apart. My Italian-American grandma made this giambotta as kind of a light vegetable stew. When I would stay with my other grandmother in Nice, on the French Riviera, she would cook a version of this almost every day. I would call my parents and complain that it was “zucchini and tomato land”. Last week I was looking at my harvest vegetables trying to figure out what to cook, and my mom suggested this. I never really enjoyed it as a kid…but I loved all the ingredients and felt like I was good enough in the kitchen to make it work. This tasted AMAZING. All of the ingredients were coming in fresh at the same time, so I think it’s the perfect mid or end of summer recipe. When researching online I read that this would be eaten cold, stuffed into a bread bowl to make it portable. It was packed up as lunch for farmers to take into the fields with them. That totally felt right so I did the same and brought it out into the garden with me. What’s nice is you can eat this hot or cold, as a snack or and add whatever protein or starch that you might want. Ingredients TBH, use whatever amount of each vegetable that you like. 1 large zucchini diced 1 large eggplant diced a few sweet peppers, diced 3 small potatoes, diced 2-12 cloves of garlic, sliced ( I use a whole head) 2-4 Tbsp olive oil 4 cups tomato sauce fresh basil salt & pepper Method of Preparation:
1. Wash and chop all of your vegetables into bite sized pieces, about 1” cubes 3. Grab a big pot with a lid and warm your oil over medium heat. 3. Add all of your vegetables + garlic to the pan and season with some s & p. You can add chili flakes or whatever other dried herbs that you like. 4. Cook for about 10 minutes, stirring occasionally. 5. Pour tomato sauce over the vegetables so that they’re pretty much completely covered. Lower the heat to a simmer and cook for another 10-20 minutes. I like to cook it for even longer because I like mine to be pretty soft and melted down. 6. In the last few minutes of cooking add some fresh basil. Serve hot or cold with bread. Summer Squash Risotto I went to culinary school and on the first day of our “European Cuisine” section, the chef asked for a volunteer. I raised my hand and he laughed a big belly laugh and said “oh boy you’re gonna regret that” Little did I know, I was going to be demonstrating how to make risotto. He let me know that I would be standing in one spot in front of the stove continuously mixing for the next hour “hope you didn’t skip arm day”. And he was right. I was standing there stirring this pot of rice for just about an hour. Risotto is a labor of love. A slow and steady dish that is super easy to make, but you can’t really walk away. You can make risotto out of just about anything- but this recipe uses Arborio rice & vegetable stock as the base. As with all of my recipes, you should totally make this your own. The mix-ins can be whatever you like. Sweet peas or mushrooms taste amazing. You can mix in some cheese at the end if you want. Really make this with whatever flavors you like. This version has baby spinach & yellow squash, and sausage. Ingredients 6 cups of stock (homemade is great, I used “better than bullion” roasted garlic for this) 1.5 cups of Arborio rice 1 medium sized yellow onion 1 Tbsp butter 1 Tbsp oil For the mix-in: 1 cup baby spinach 2 cups yellow squash, diced 4 oz sausage, diced 3 cloves of garlic, minced 1 tsp oil salt & pepper Method of Preparation
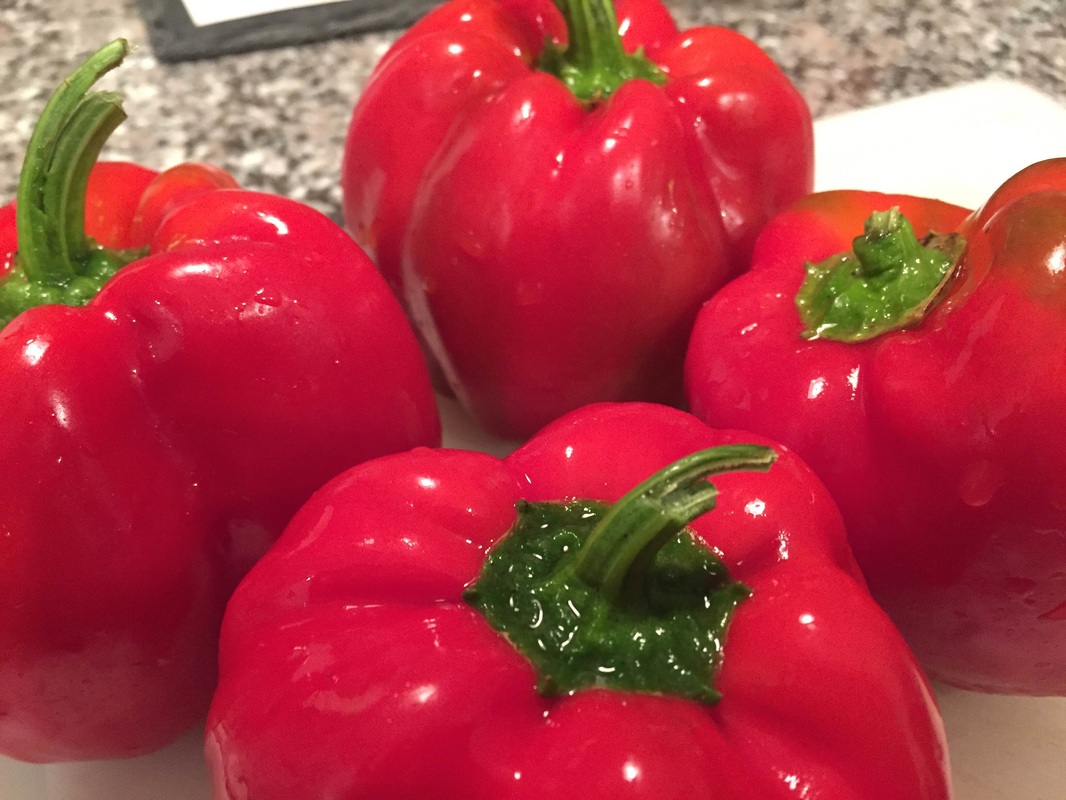
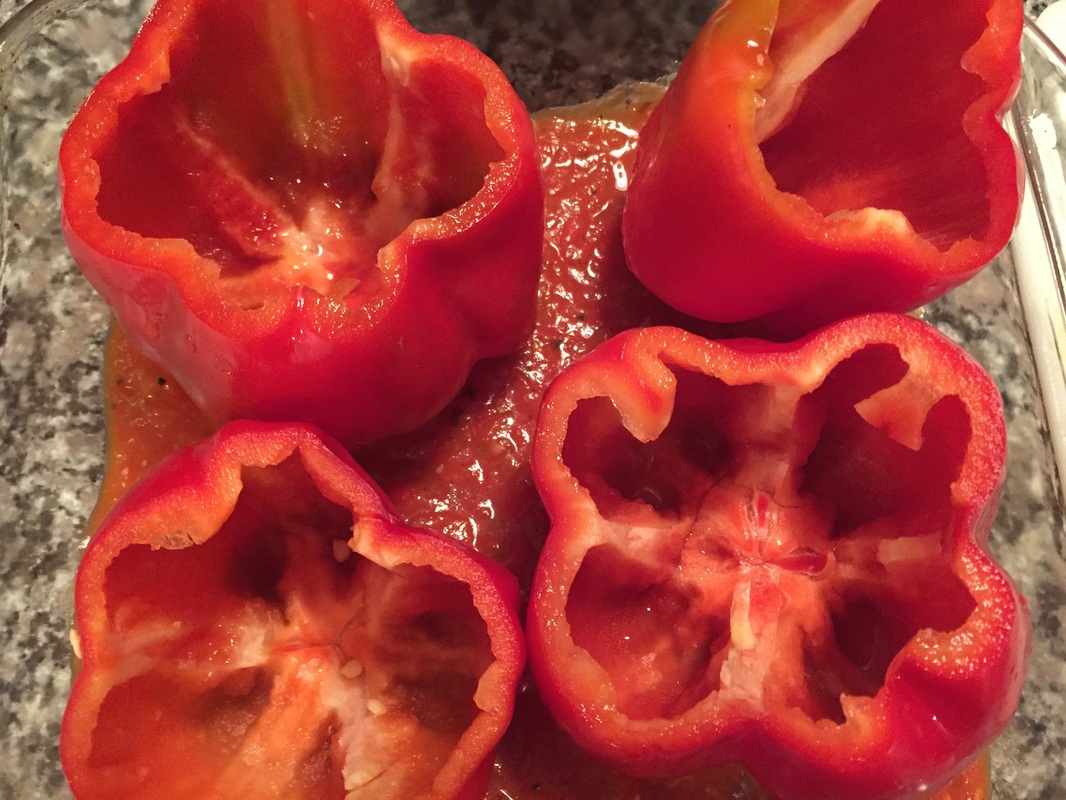
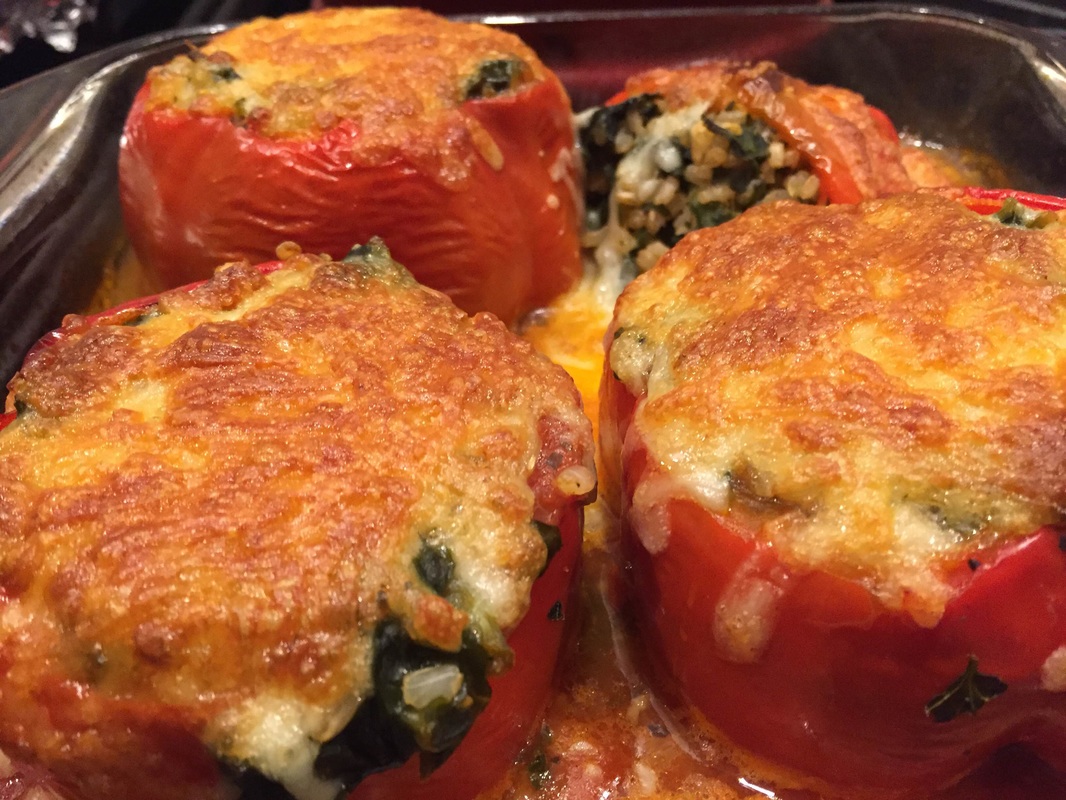
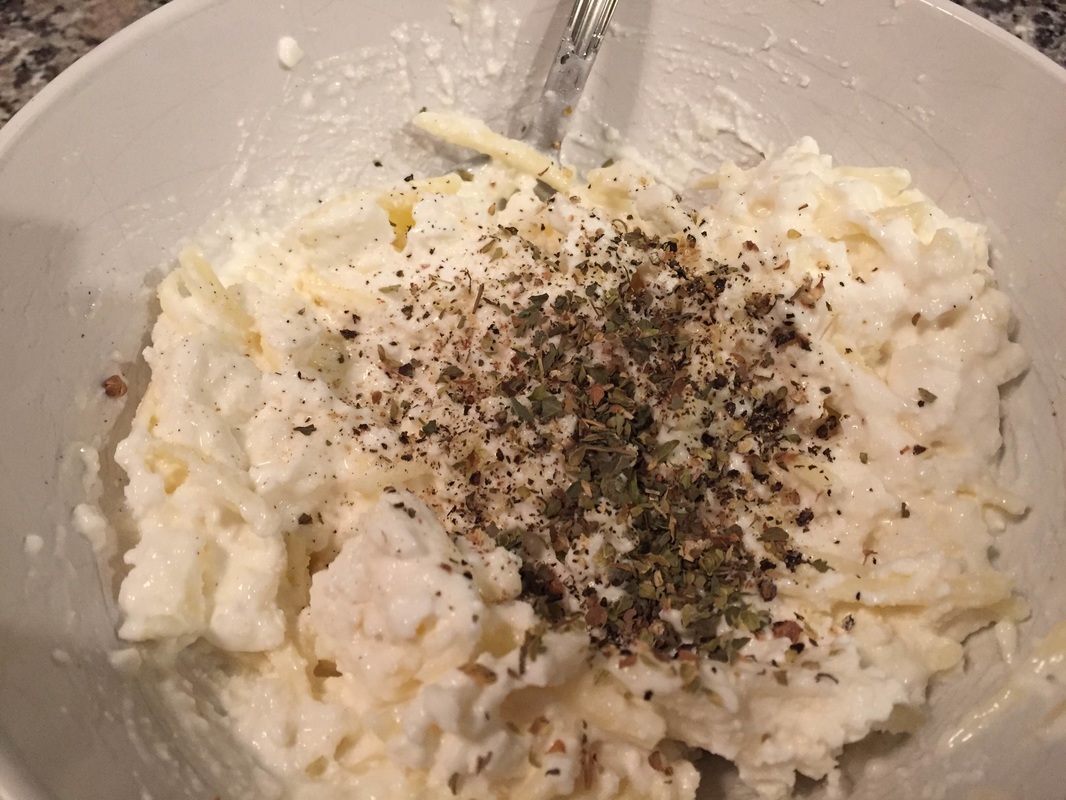
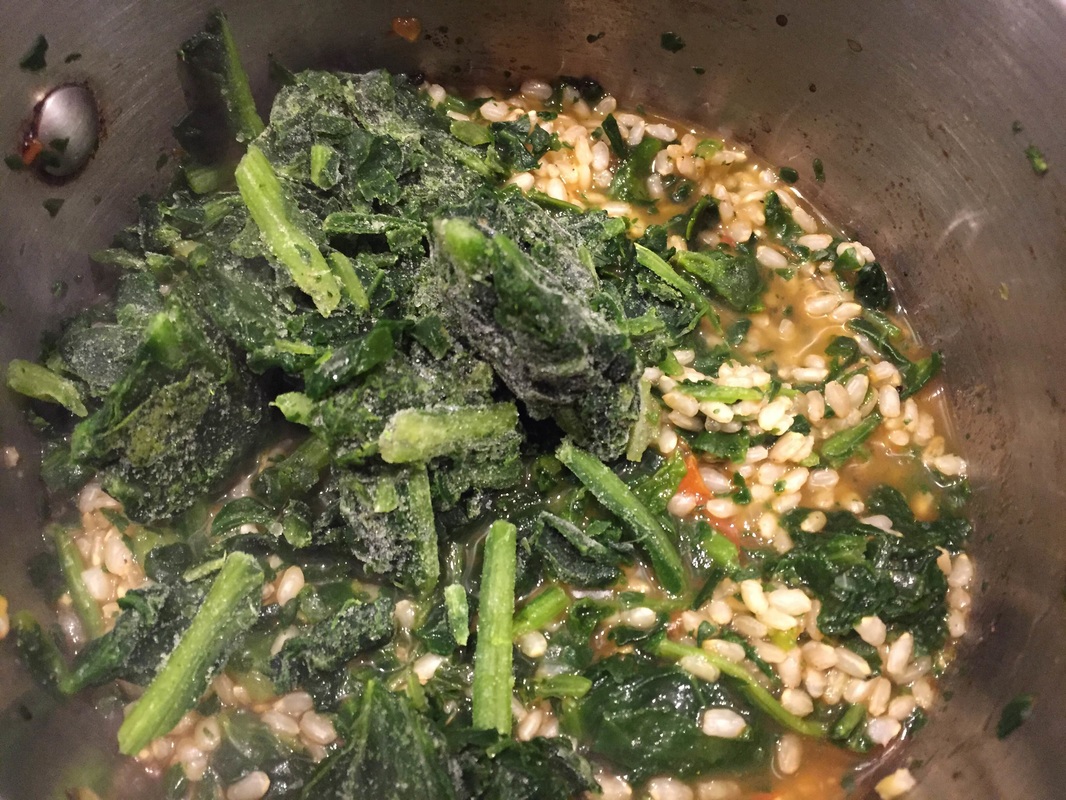
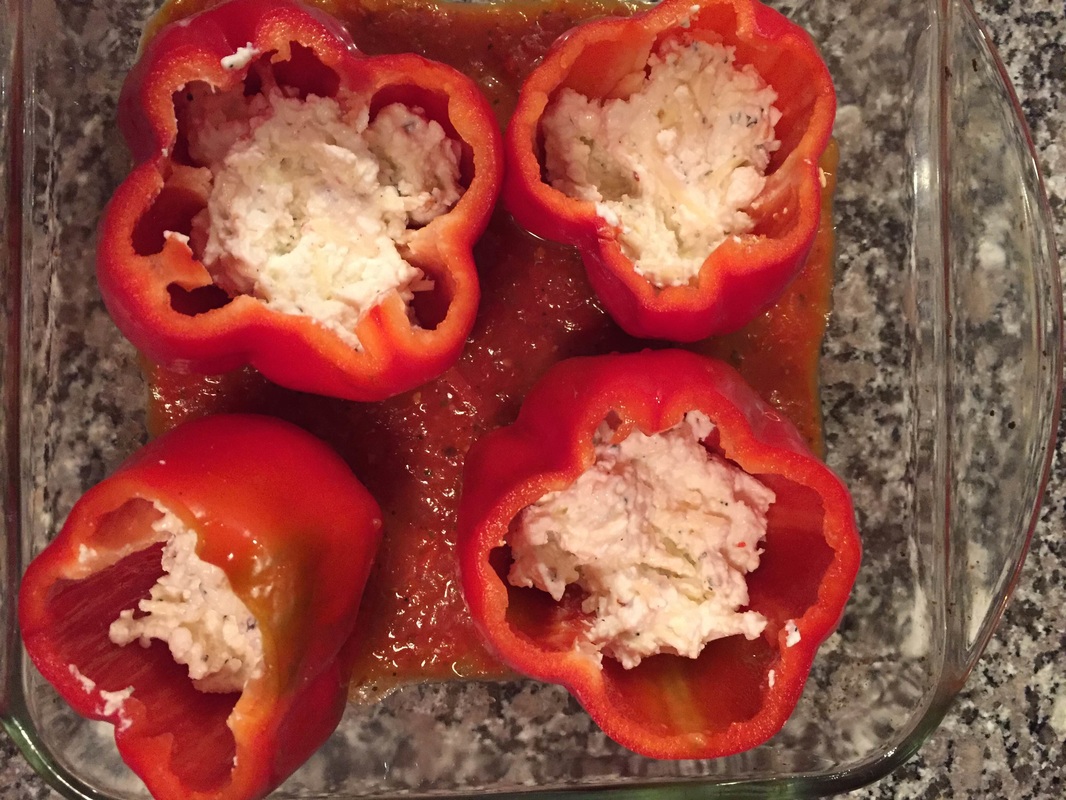
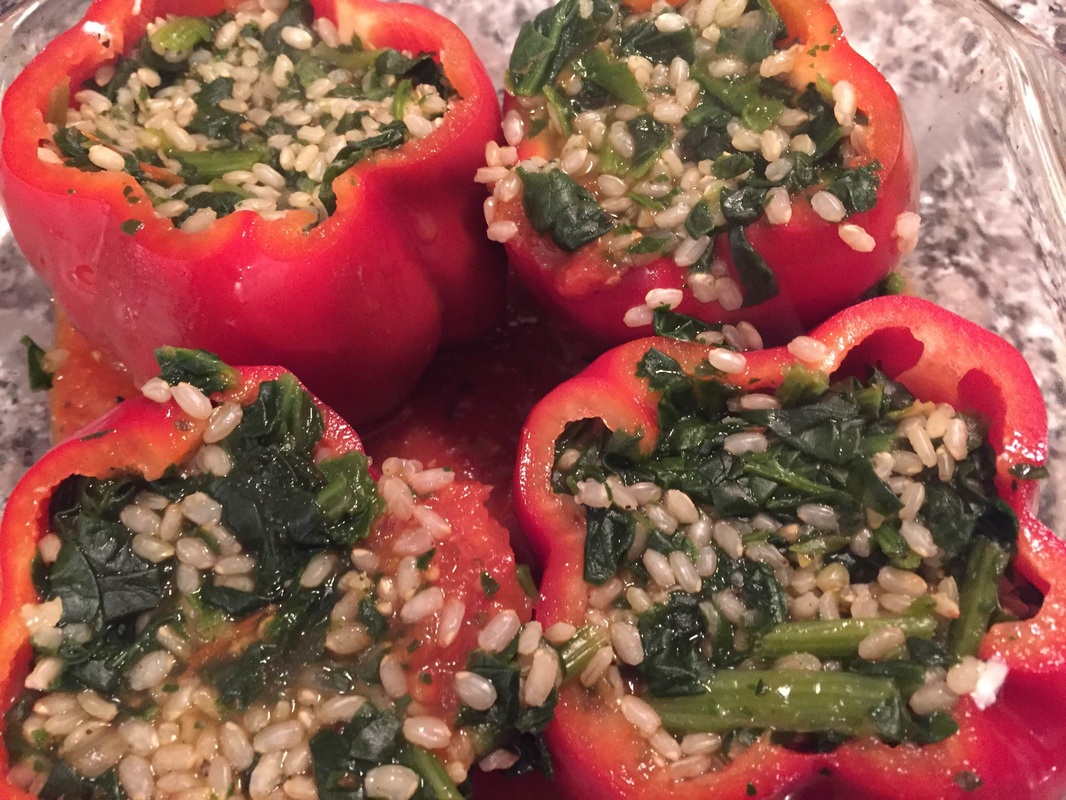
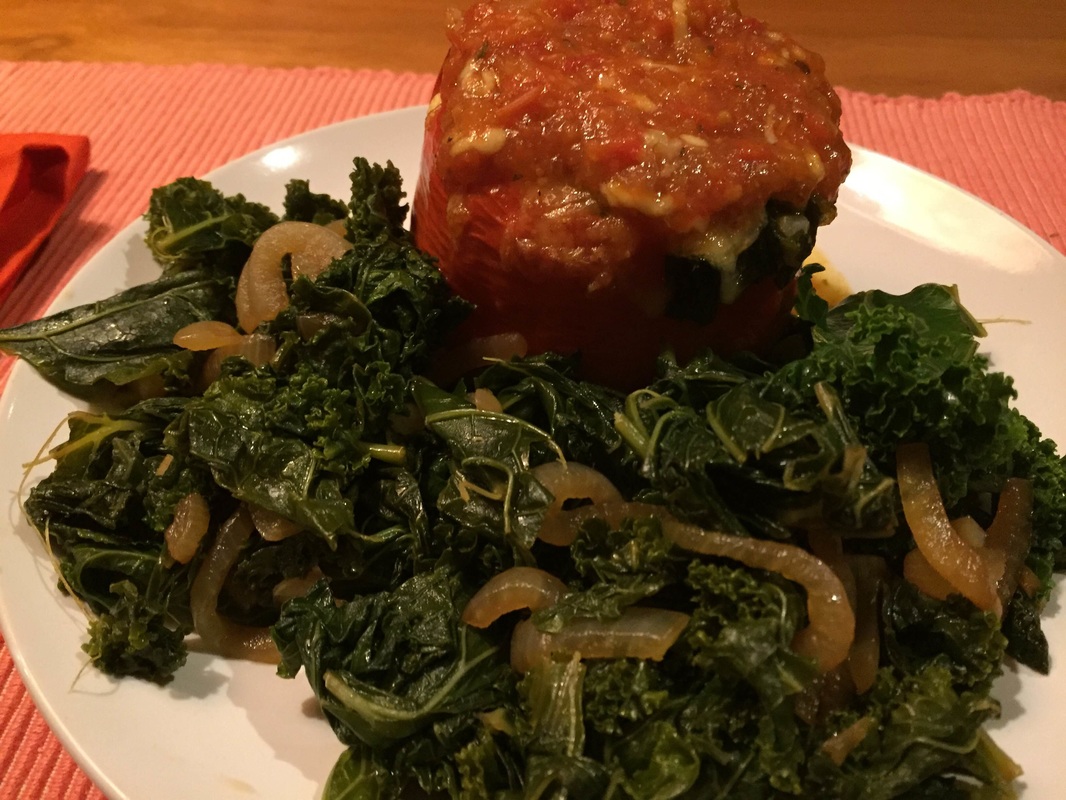
1. Start by making your mix-in. Heat 1 tsp of oil and sauteed the sausage until cooked, then add the garlic and cook for a few minutes. Next, toss in the yellow squash and cook until it softens. In the last few minutes add spinach and wilt. Set this aside in a bowl to add to your finished risotto. 2. Add vegetable stock to a pot on your stove and keep it warm. I like to use a salted stock sso that the dish is seasoned all throughout cooking. If using an unsalted stock you’re going to want to season with sprinkles of salt as you go. You’re going to be adding this stock in stages to your rice so you want it close by on a gentle simmer. 3. In a large, wide pan with straight sides heat your oil & butter on medium heat. Add diced onion and cook while stirring until it starts to become translucent (not browned). Season with salt & pepper. Get ready because you’ll have to stay at the stove for a good long while. Pour yourself a drink, put on some tunes, and make sure you have a back-up person to stir if you need to run to the bathroom. 4. Add your raw Arborio rice to the pan and toss to coat in the oil. Stir for 2 minutes to ever-so-slightly toast the rice and get it ready for the stock. 5. Add 1/2 cup of the warm stock to your pot and stir until almost all of the liquid is absorbed. You shouldn’t see any puddles of liquid at the bottom of the pan at all. 6. Continue to add your stock in 1/2 cup increments- each time stirring until there’s no more liquid in the pan. This can take awhile but please don’t be tempted to crank up the heat to have this go faster. You want the liquid to go into the rice, not evaporate. 7. Your rice will start to double, then triple in size as the stock is absorbed. Once you have about 2 cups of the stock left to add- give it a taste. You want the rice to be cooked through without any crunchy bits in the center. If it’s not quite there, keep adding your stock in small additions until all the rice is very soft and the liquid is creamy. If your rice isn’t quite cooked and you run out of stock, you can use plain warm water for another cup or so. 8. Once your rice is fully cooked, add in your mix-ins that you cooked earlier. You can also add some shredded cheese at this point or a spoonful of pesto depending on what flavors you’re going for. 9. Plate up while it’s still warm. This dish is something you want to serve right away, otherwise it can get pretty thick! That’s it! Rice, onion & stock along with your favorite toppings. The ingredients are simple, but the technique is a really fun one to master. This dish does take a lot of stirring but you can use it as a nice meditative practice and I promise, the results are totally worth it. A wonderful, warming fall meal of stuffed peppers. Fun to share with friends and family, this seasonal treat will be sure to fill your home with delightful smells and happy guests. Use this same recipe to stuff tomatoes, or even a large zucchini! First, prepare this Simple Tomato Sauce recipe. The sauce can be made many days ahead of time, only about 2 cups are needed for the stuffies. Next, make the cheese filling. Mix all ingredients together by stirring with a fork. Set aside. Ingredients: ½ cup cottage cheese ½ cup ricotta cheese 1 cup grated cheddar cheese (divided) 1 Tbsp basil, parsley, or dill (dried or fresh) Salt and pepper to taste about 1/4th Tsp each Next, make the Rice Filling. Ingredients: 1 cup brown rice 1/2 cup water 2 cups chopped spinach, kale, or collards ½ cup of the prepared tomato sauce 1 Tsp oil 1 Tsp salt Mix all the Rice Filing ingredients together in a saucepan. Bring to a boil. Reduce heat to low and let simmer for 35-40 minutes. Rice should be slightly undercooked. Remove from heat. While the Rice cooks, ready the peppers. 4-6 Bell Peppers (any color) washed/seeded with tops cut off. When you're ready to assemble: Pour a thin layer of tomato sauce into a medium size, deep dish casserole pan. Arrange peppers so that they stand upright, with opening face up. Add 1-2 spoonfuls of the cheese mixture to each. Next add ¼ cup sauce to each pepper, followed by 1 cup (smaller peppers may not take quite as much filling). Now add enough sauce to each pepper to cover the rice mixture. Cover tightly with foil and bake at 400 degrees for 30 minutes. Remove foil and add the remaining cheddar cheese to to garnish each pepper. Bake uncovered for an additional 15 minutes! We served with a tasty side of sauteed kale!
|
Search Recipes by Ingredient
All
AuthorsAli Price & Bella Black |

RSS Feed