|
This time of year lends itself wonderfully to brunch. Family and friends in town, homes full of cheer and excitement. Everyone slows down a little bit to enjoy all that is going on around them. The snow this weekend forced me to stay home and really be productive in the Holiday preparations department. Part of my “home weekend” included creating these three beautiful dishes with my Root 5 Farm vegeatables: pan cooked potato patties, kale and tomato quiche, and glazed carrots. I hope you turn on some tunes, ask your friends or family for a hand and dive in! 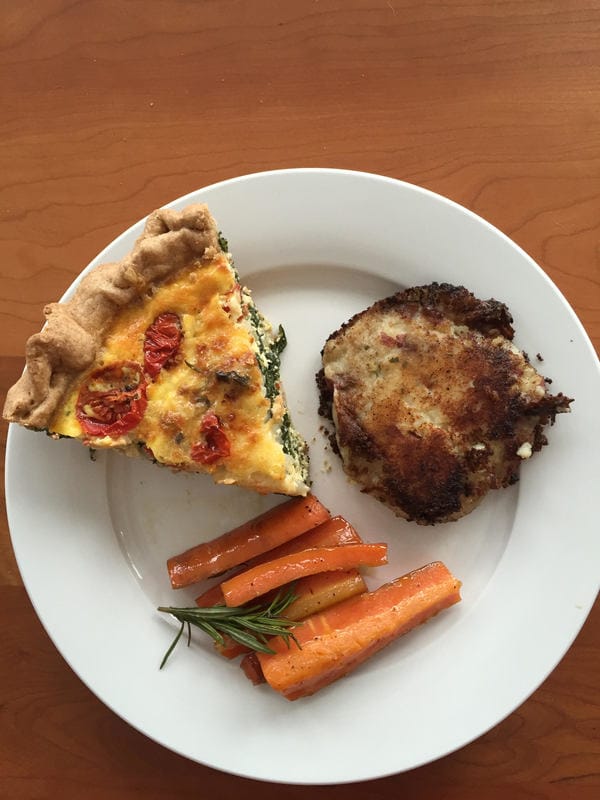 Ingredients for Potato Patties: 1 bag Root 5 red potatoes, washed and trimmed 8 Tbsp butter (divided) 1 stock rosemary, trimmed and chopped 2 green onions, trimmed and chopped 1 clove garlic 1 Tbsp salt 2 Tsp pepper 1⁄3 cup half and half
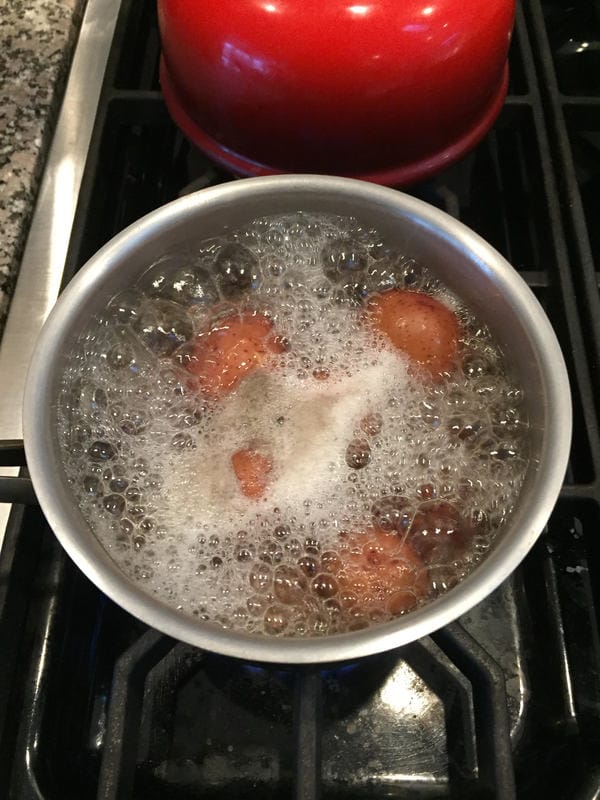
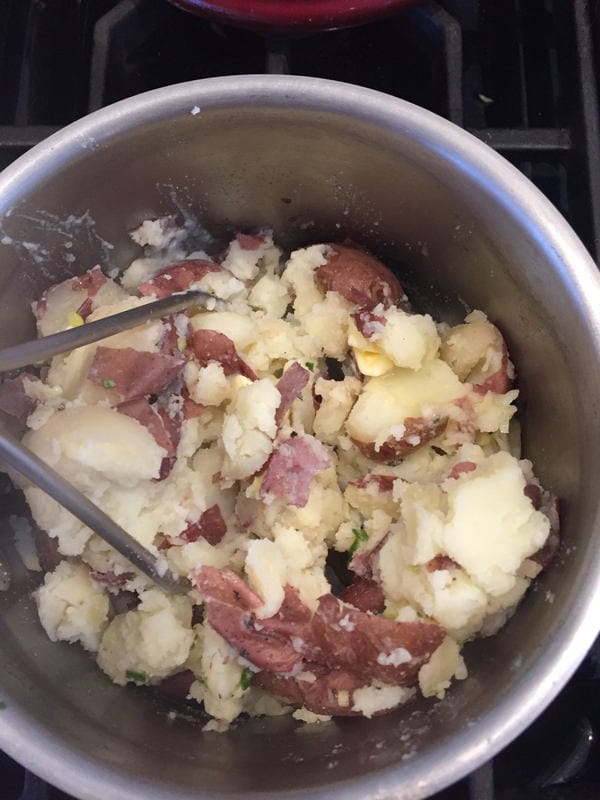
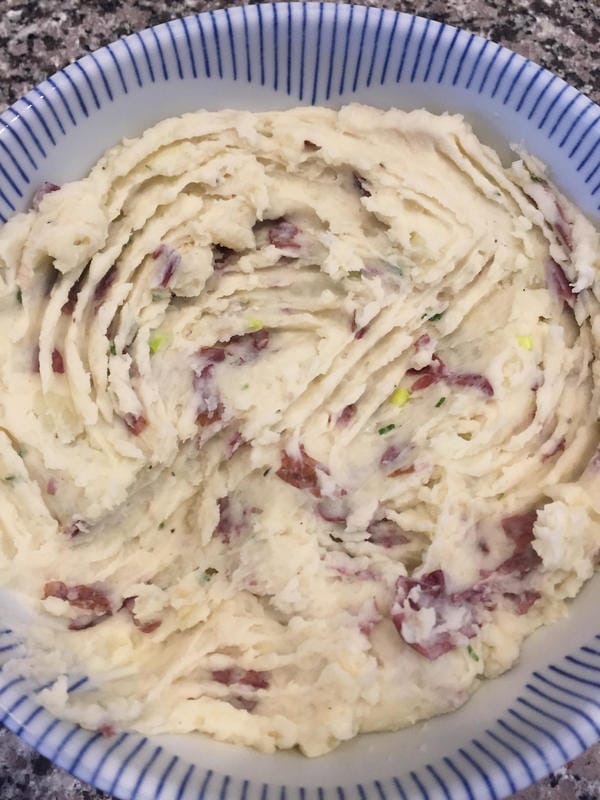
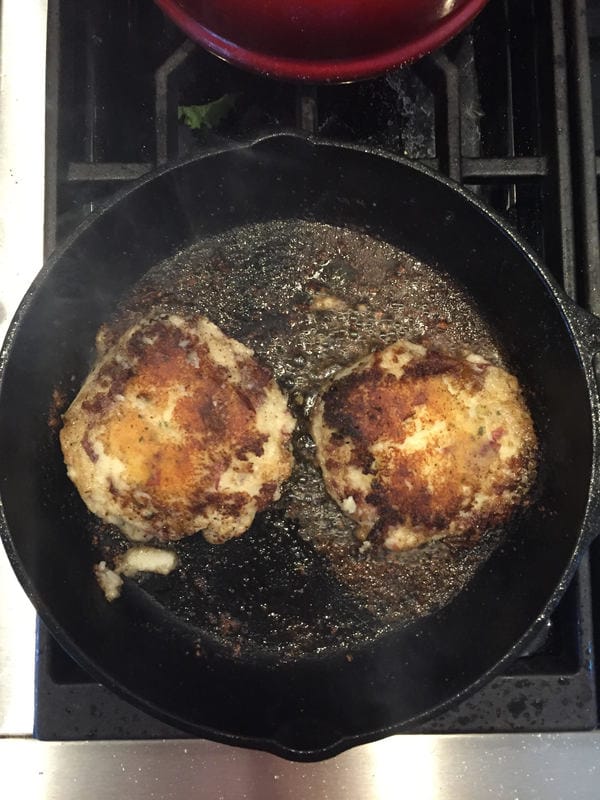
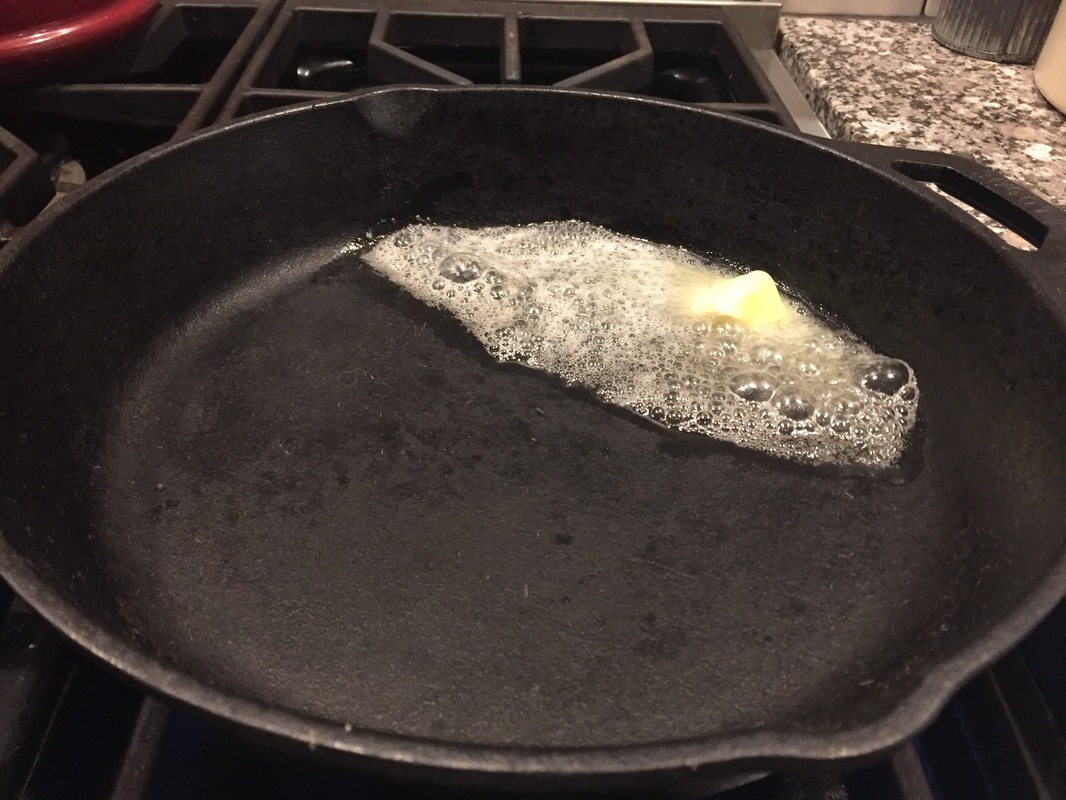
Method: Boil the potatoes in a medium size pot, until tender to the touch of a spoon. Drain and place the potatoes back in the pot. Add 4 Tbsp butter, herbs, garlic, salt, pepper and half and half. Smash well, using a hand held masher, an electric mixer makes the mixture too whipped for these. Next, transfer the mixture into a bowl and refrigerate at least 1 hour. Once the potatoes have chilled, form into 4-6 inch rounds and ready a cast iron pan by heating 2 Tbsp butter over high heat. The butter should be VERY hot before placing the potatoes in the pan. The secret here is to make sure your potatoes are good and chilled and your pan is hot and buttery!
Depending on the size of your pan, cook 1-3 of the rounds at a time. Each side will require about 3 minutes of frying. Once the patty is done, remove from the pan and place on parchment paper until ready to serve. Often times I will serve with sour cream or hot sauce!
1 Comment
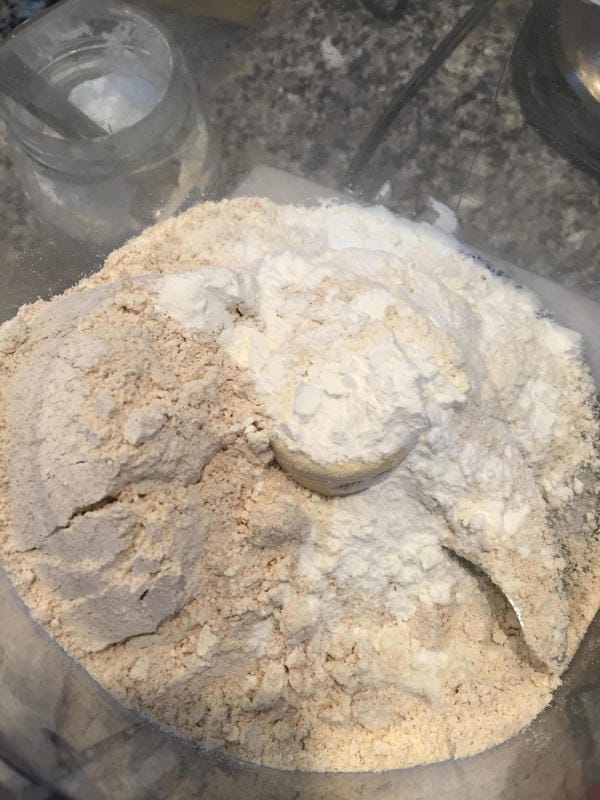
Some of you may know that my Dad writes cookbooks for a living. This has been his career for more than 30 years. He is a Pie master of sorts, and I like to think some of this has rubbed off on me. I love making home made crusts, and playing around with all different types of flour and recipes. I would like to give my Dad credit for most of this crust method, excluding my flour combo. This requires a food processor. 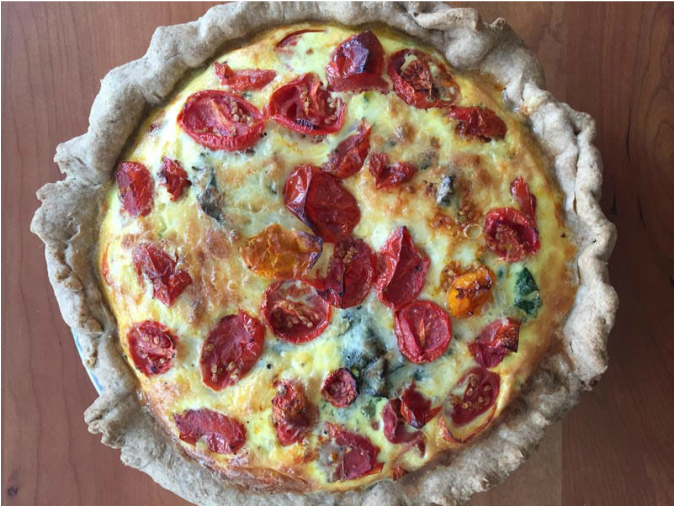 Ingredients: The Crust 10 Tablespoons cold unsalted butter, cut into inch cubes 1 cup whole grain spelt flour 1⁄2 cup all purpose flour 1 1⁄2 Tsp cornstarch 1⁄2 Tsp salt 2 Tsp white vinegar 1⁄3 cup COLD water
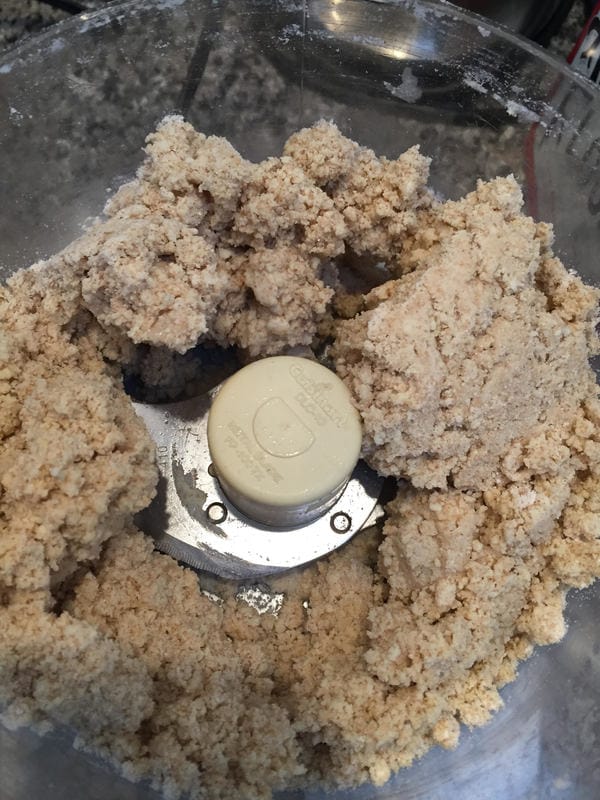
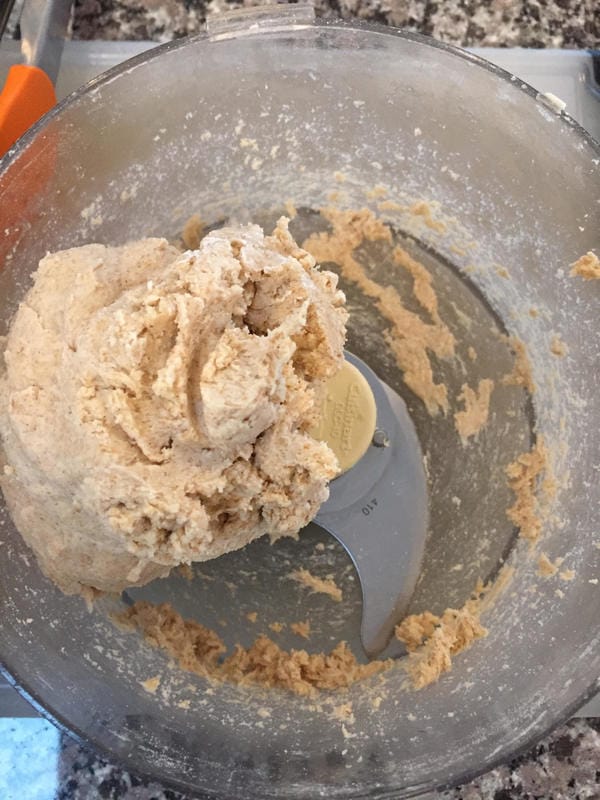
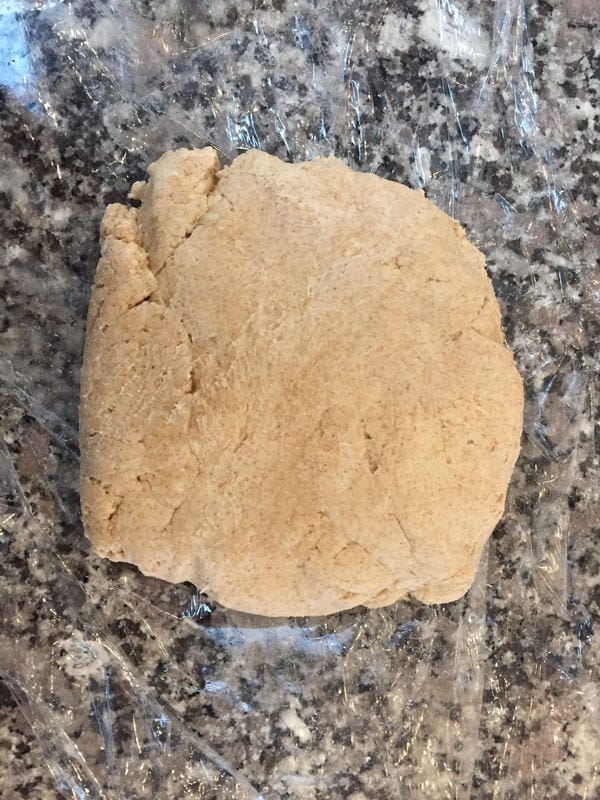
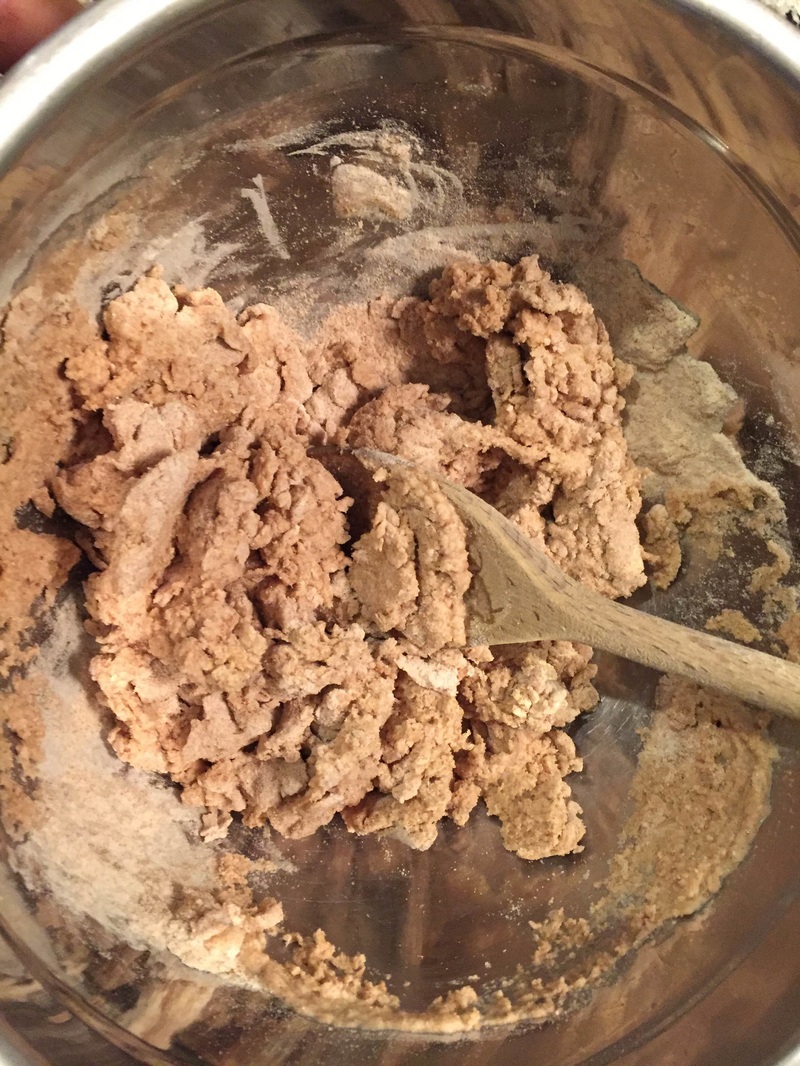
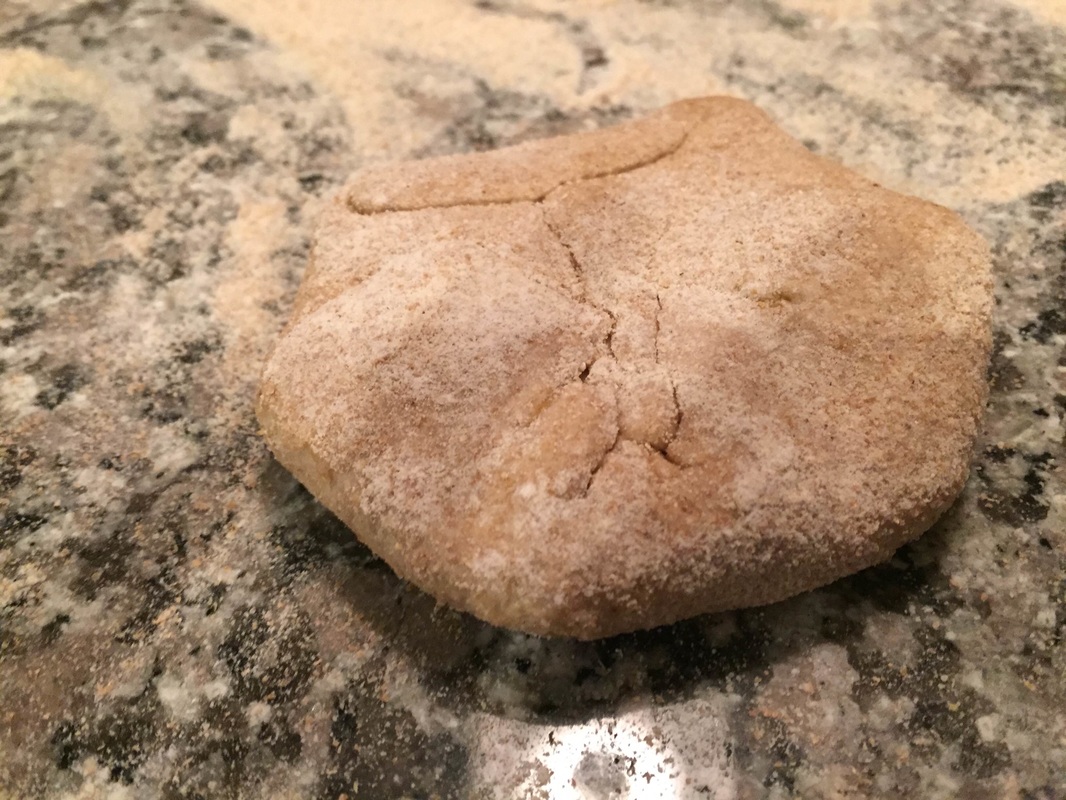
Method: Preheat oven to 375 degrees. Place the dry ingredients in the bowl of your food processor. Pulse 7-10 times quickly. Add 1⁄2 of the cold butter cubes. Pulse 5 more times, followed by one 5 second pulse. Remove the lid of the food processor and scrape the sides if necessary. Add the remaining butter and repeat. Add the vinegar and cold water by gently sprinkling evenly over the mixture in the bowl of the food processor. Pulse about 10 times quickly. The dough should start to gravitate toward one side of the food processor, forming a misshapen ball. As soon as this begins to happen, stop pulsing (as shown below). Transfer the dough onto a large piece of saran wrap. Form into a 1 inch thick round by pressing sides of the dough ball into itself (pictured below). Once you have formed a nice size round, place in the freezer for 20 minutes. While this chills, ready the filling.
Ingredients: The Filling 6 eggs 2 cups 1⁄2 and 1⁄2 1⁄2 cup grated cheddar cheese 1 onion, sliced into half moons 1 head Root 5 Kale, trimmed and chopped 1 package organic grape tomatoes, halved 1 Tbsp olive oil 3 Tbsp butter Salt and pepper
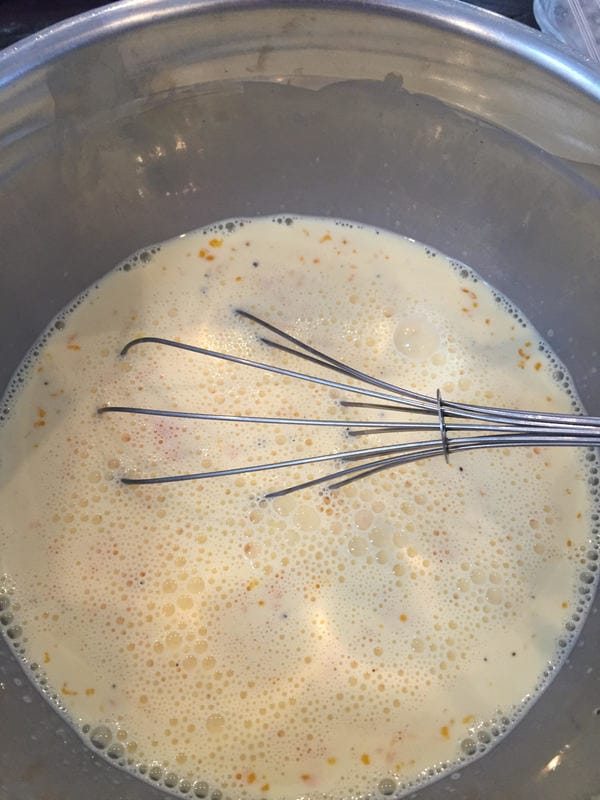
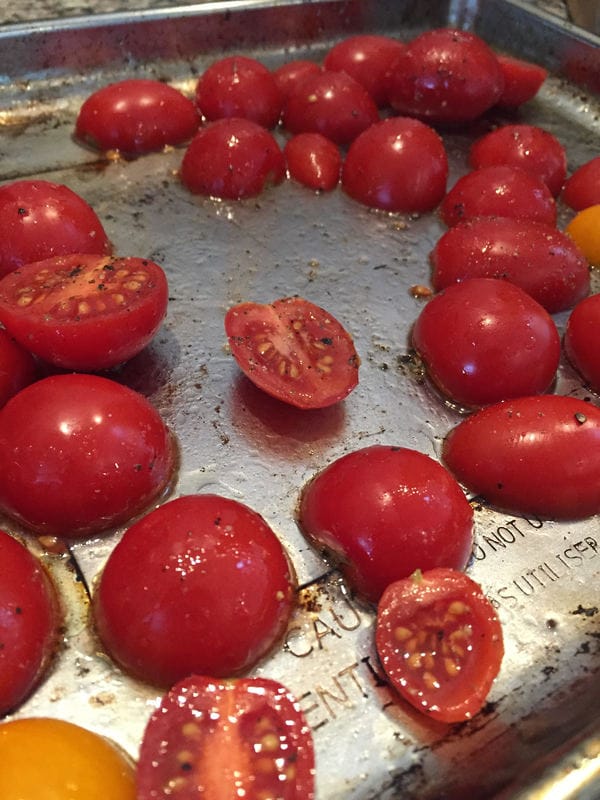
Method: The best way to prepare to assemble a quiche is in steps: Step 1:Whisk together the eggs and half and half and set aside. You can lightly salt and pepper the egg mixture. Set aside. Step 2: Grate the cheese and set aside. Step 3: Place the butter in a medium skillet and heat for one minute over low. Add the onions and salt them gently. Cover and cook for 10 minutes. Add the kale and cook an additional 5 minutes covered. Step 4: Cut the tomatoes in half and place on a baking sheet. Toss with olive oil, and again, light salt and pepper. I used the toaster oven to gently cook the tomatoes. You can also cook them in the preheating oven for the quiche. Cook at 400 degrees for about 10 minutes. Or in the preheating oven for 15.
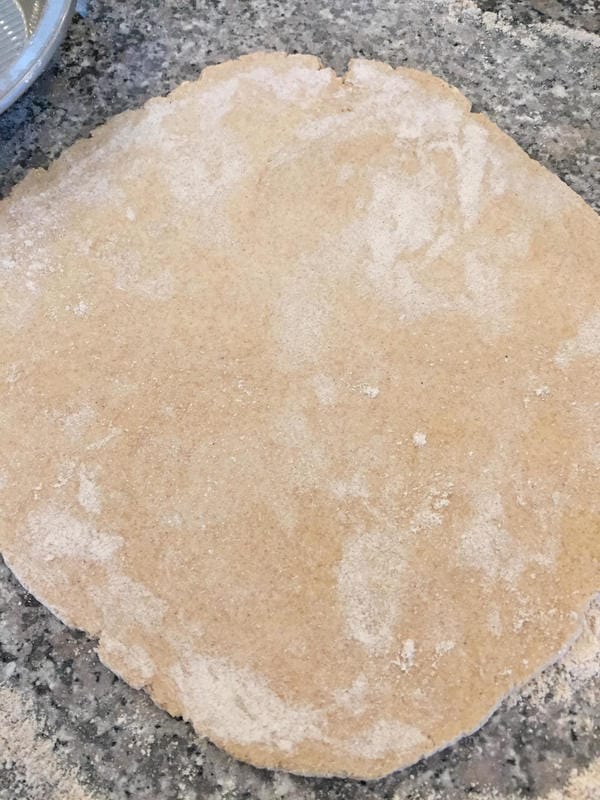
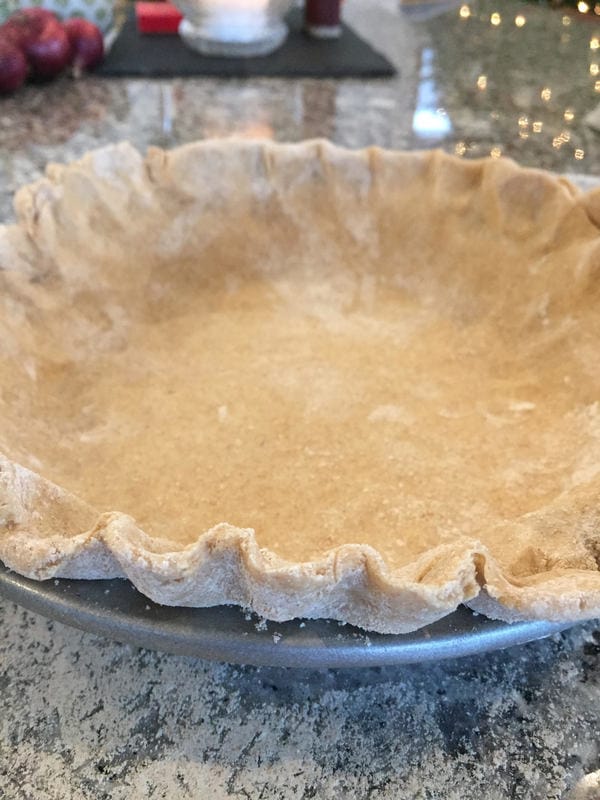
Step 5: Roll out the dough. Do this by lightly covering a work space in flour. Remove the dough ball from freezer and begin to roll into a round large enough to sit into a standard pie pan (as shown). Once you have a nice size round, about 13 inches round if using a standard pie dish, invert the crust into the pan and press the edges down using a fork, around the outer edge of the crust. Place back in the freezer until you are ready to assemble.
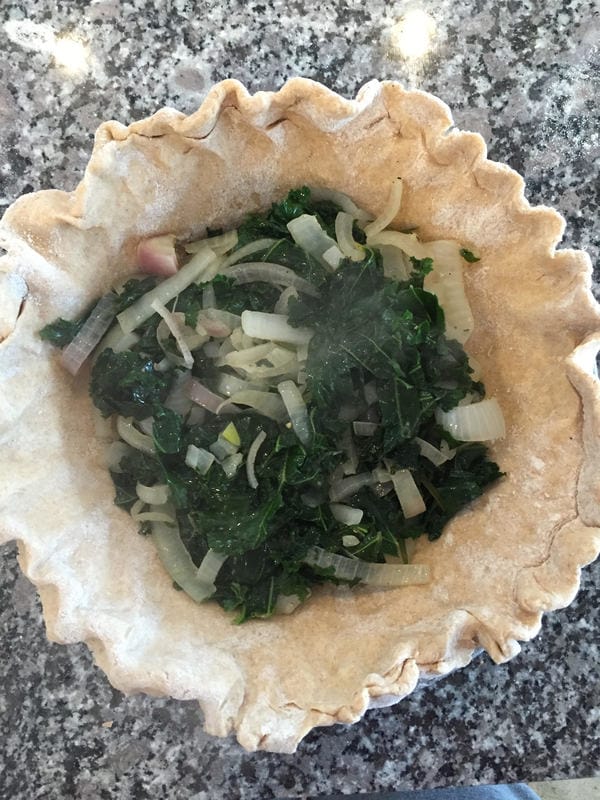
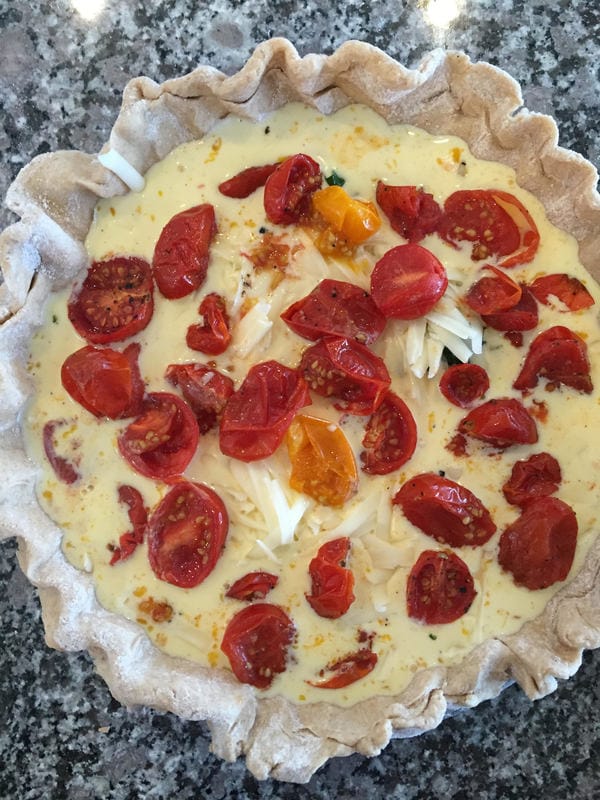
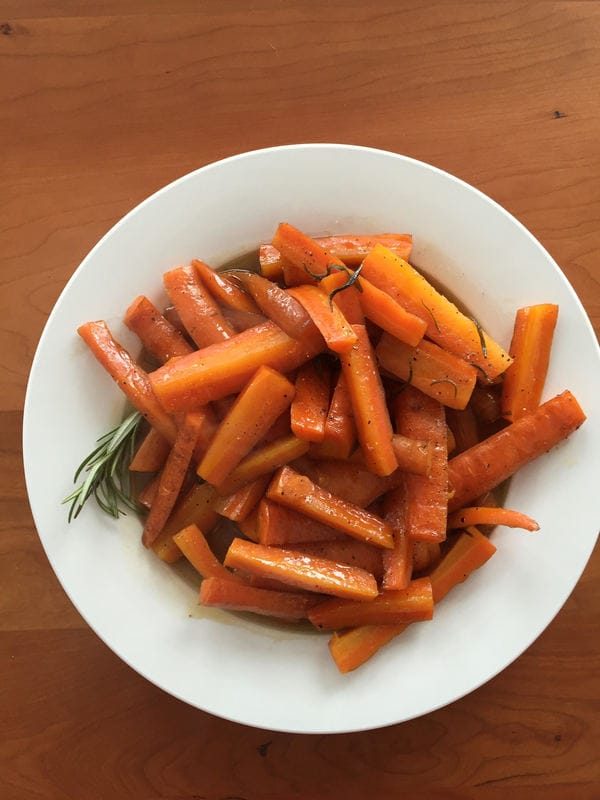
To assemble the Quiche: Gather all your prepared fillings and set the crust nearby. Add the kale and onions mixture, followed by the cheese. Next pour the eggs mixture over the top. Add the tomatoes, one at a time, placing evenly over the top of the egg mixture. You are ready to rock. Place the quiche in the preheated oven on the middle rack. Cook for 20 minutes and then transfer to the top rack. Cook and additional 30 minutes, until the middle of the quiche is set. Remove from the oven and let sit for at least 30 minutes before serving. FYI: This crust works well with all sorts of pastries and pies. It is wonderful for a galette, a tart or even a sweet pie! 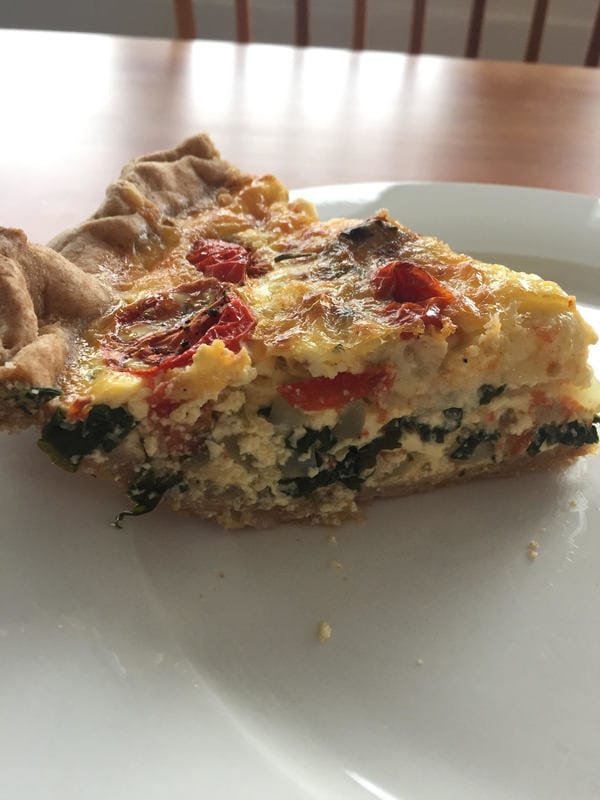 These are soft, sweet and delicious. Baking them in a covered pan allows the maple/butter combo to settle into the carrots instead of evaporating. I have a hunch these will be a big hit with the kiddos too!
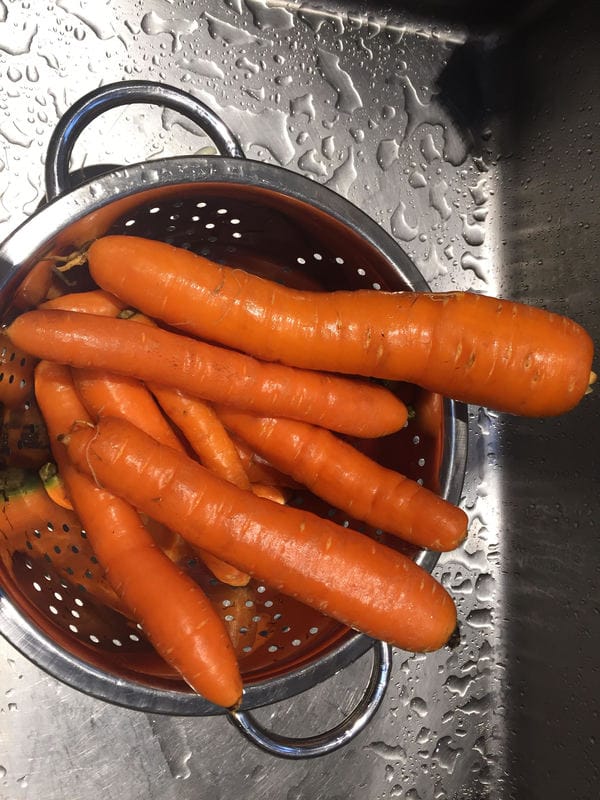
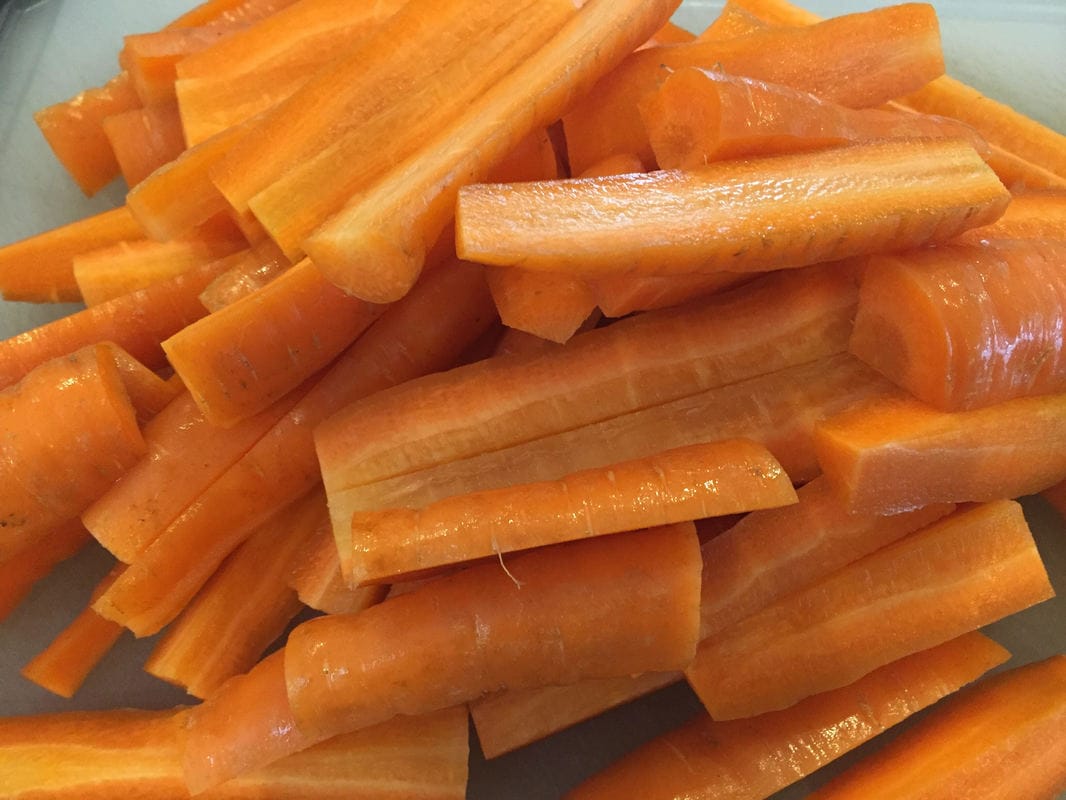
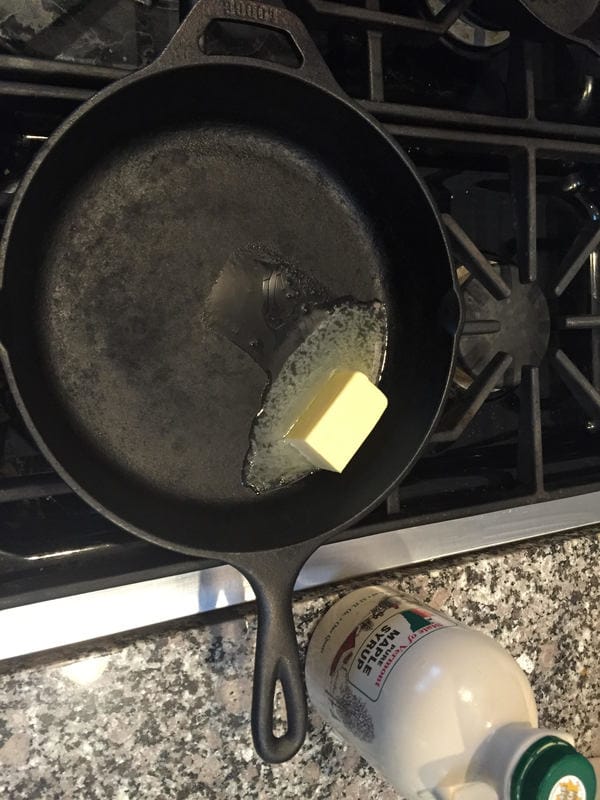
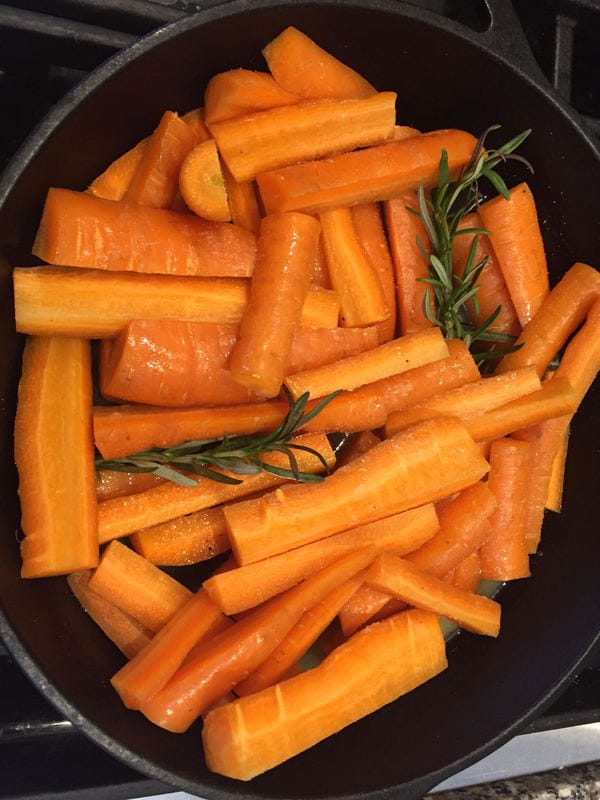
Method: Preheat oven to 450 degrees. While the stove is preheating prepare the carrots by washing, trimming and cutting. Set aside. In a large cast iron pan heat the butter and maple over low heat. Stir in the salt and pepper and add the carrots. Add the rosemary sprigs, mix gently.
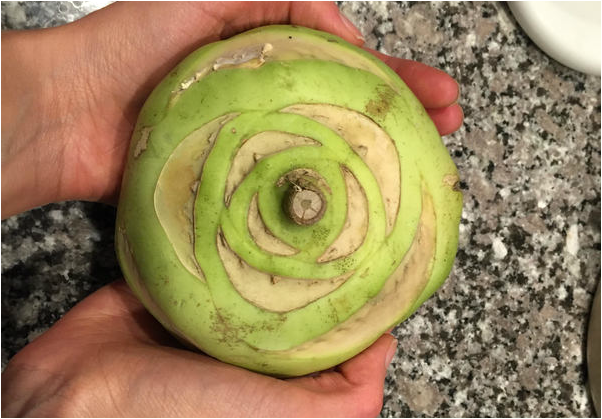
Cover with foil and keep over low heat before transferring into the preheated oven. Bake covered for 50 minutes. Remove from the oven and let sit for 5 minutes uncovered. Transfer onto a serving platter (there will be lots of tasty maple butter to pour atop the carrots). Place an additional sprig of rosemary on the serving platter with the carrots if you desire. 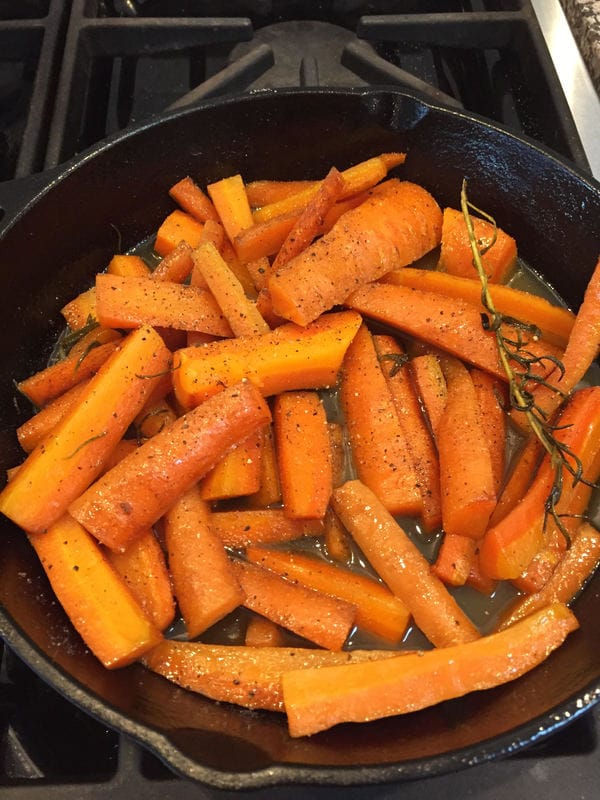 I would like to start this post by disclosing the following: I have never been a big kohlrabi fan....until today! This kohlrabi from Root 5 Farm is so sweet, crunchy and amazing!! If you're like me, and have been missing out all these years, I invite you to try this recipe and report back. I am going to be using kohlrabi in everything I possibly can moving forward. Many of these ingredients are found in your share this week. Have fun with this one!
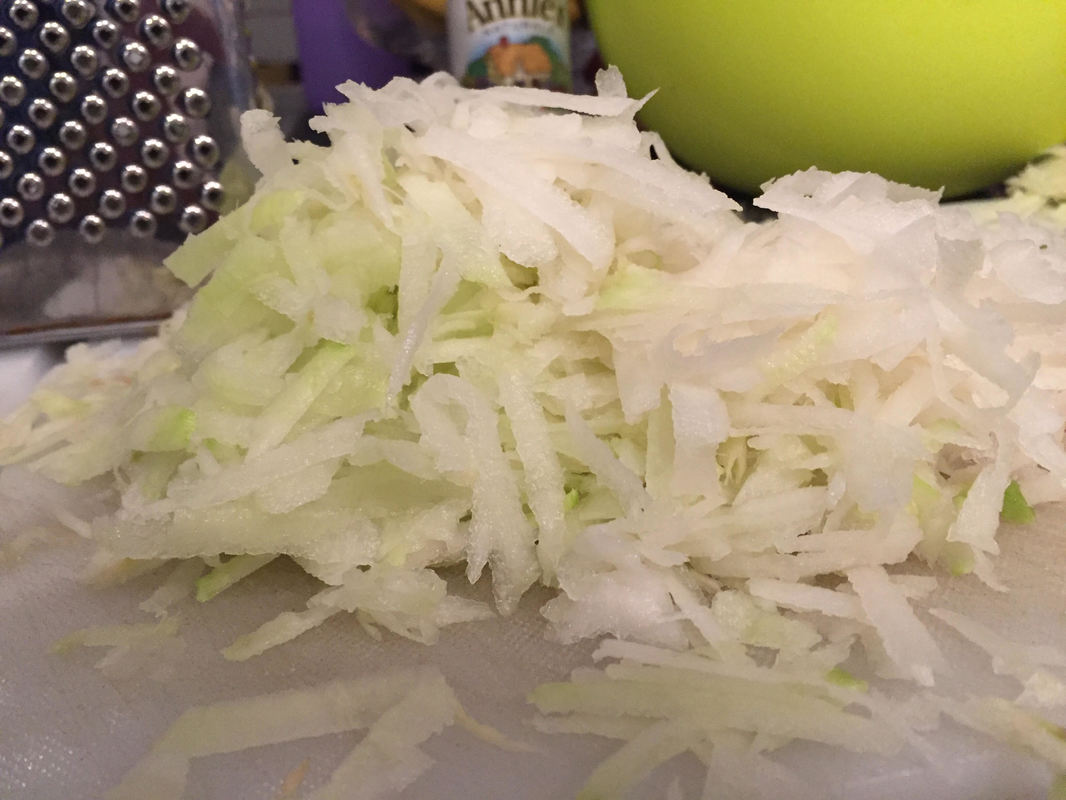 Mix all of these salad ingredients together in a large bowl and set aside. 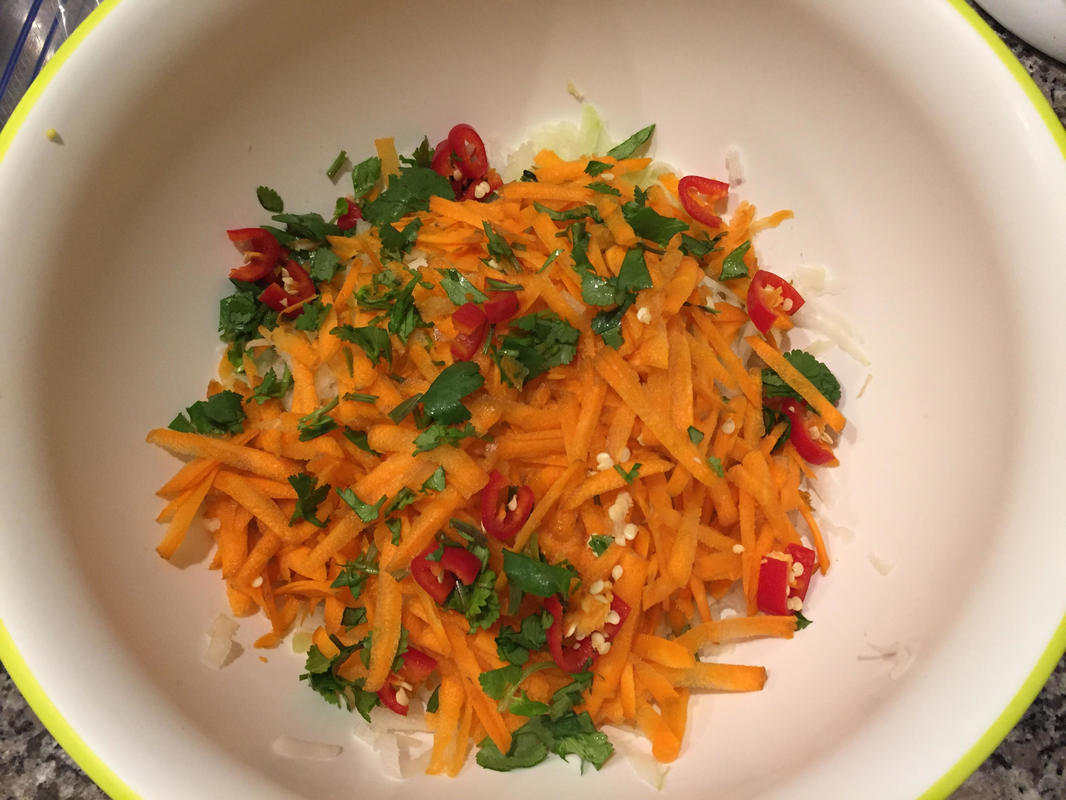 Ingredients: for the dressing 5 Tbsp fresh lime juice 2 Tsp brown sugar 2 Tbsp finely grated ginger 4 cloves pressed garlic 2 Tbsp fish sauce or Worcester sauce 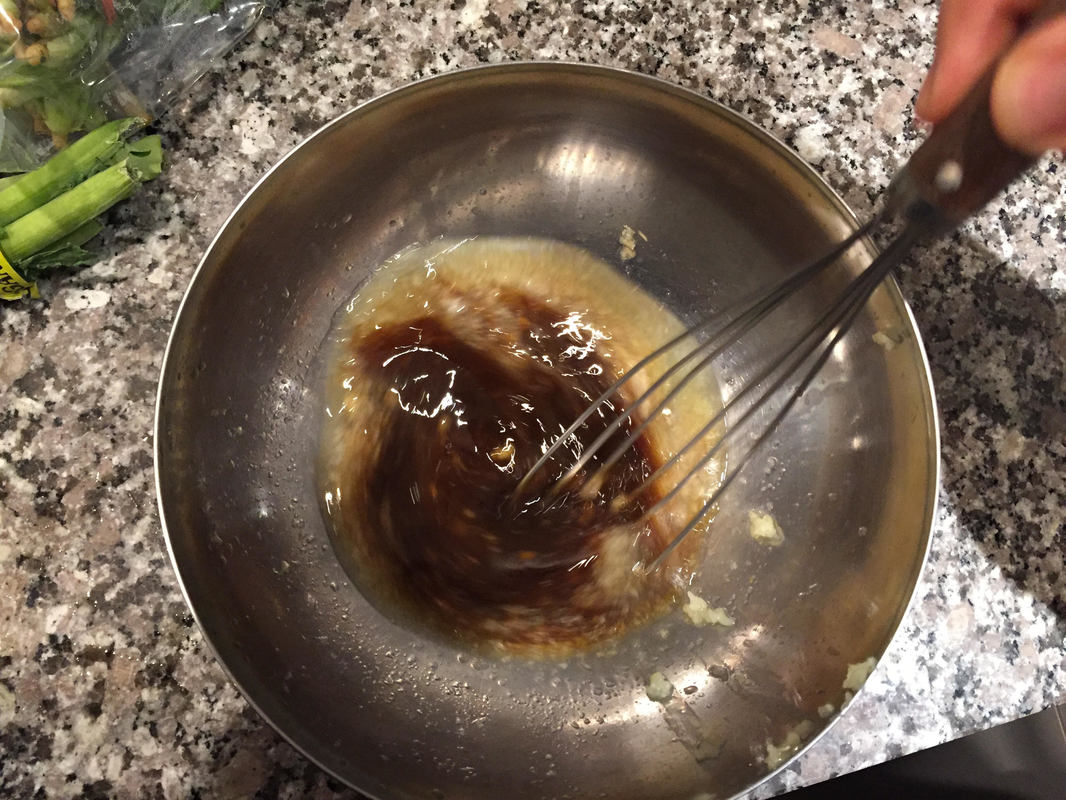 Next, prepare the dressing. In a small bowl whisk all these ingredients together until well combined, as shown. Gently pour the dressing over the kohlrabi and carrot mixture. Toss until well combined. Serve as a meal or as a side with Thai food (we served it with peanut noodles)! This mouth watering salad will leave you perfectly full and inspired to make more kohlrabi recipes! 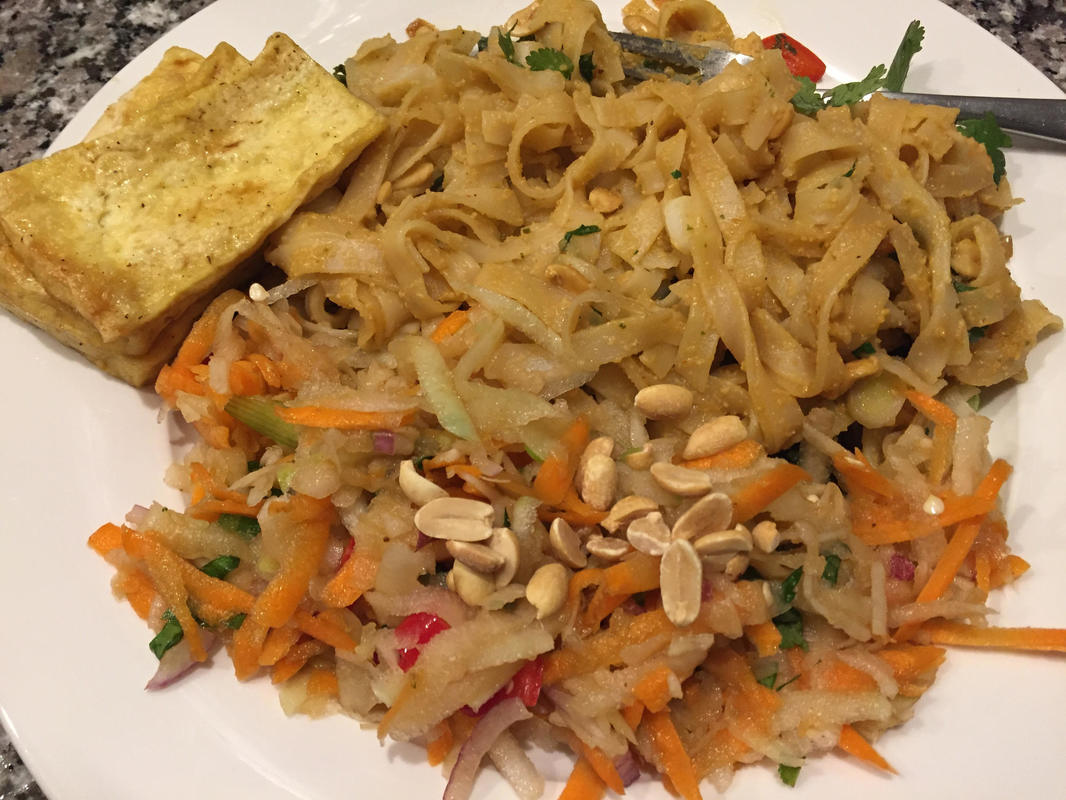 I hope you love it was much as we did. Enjoy!
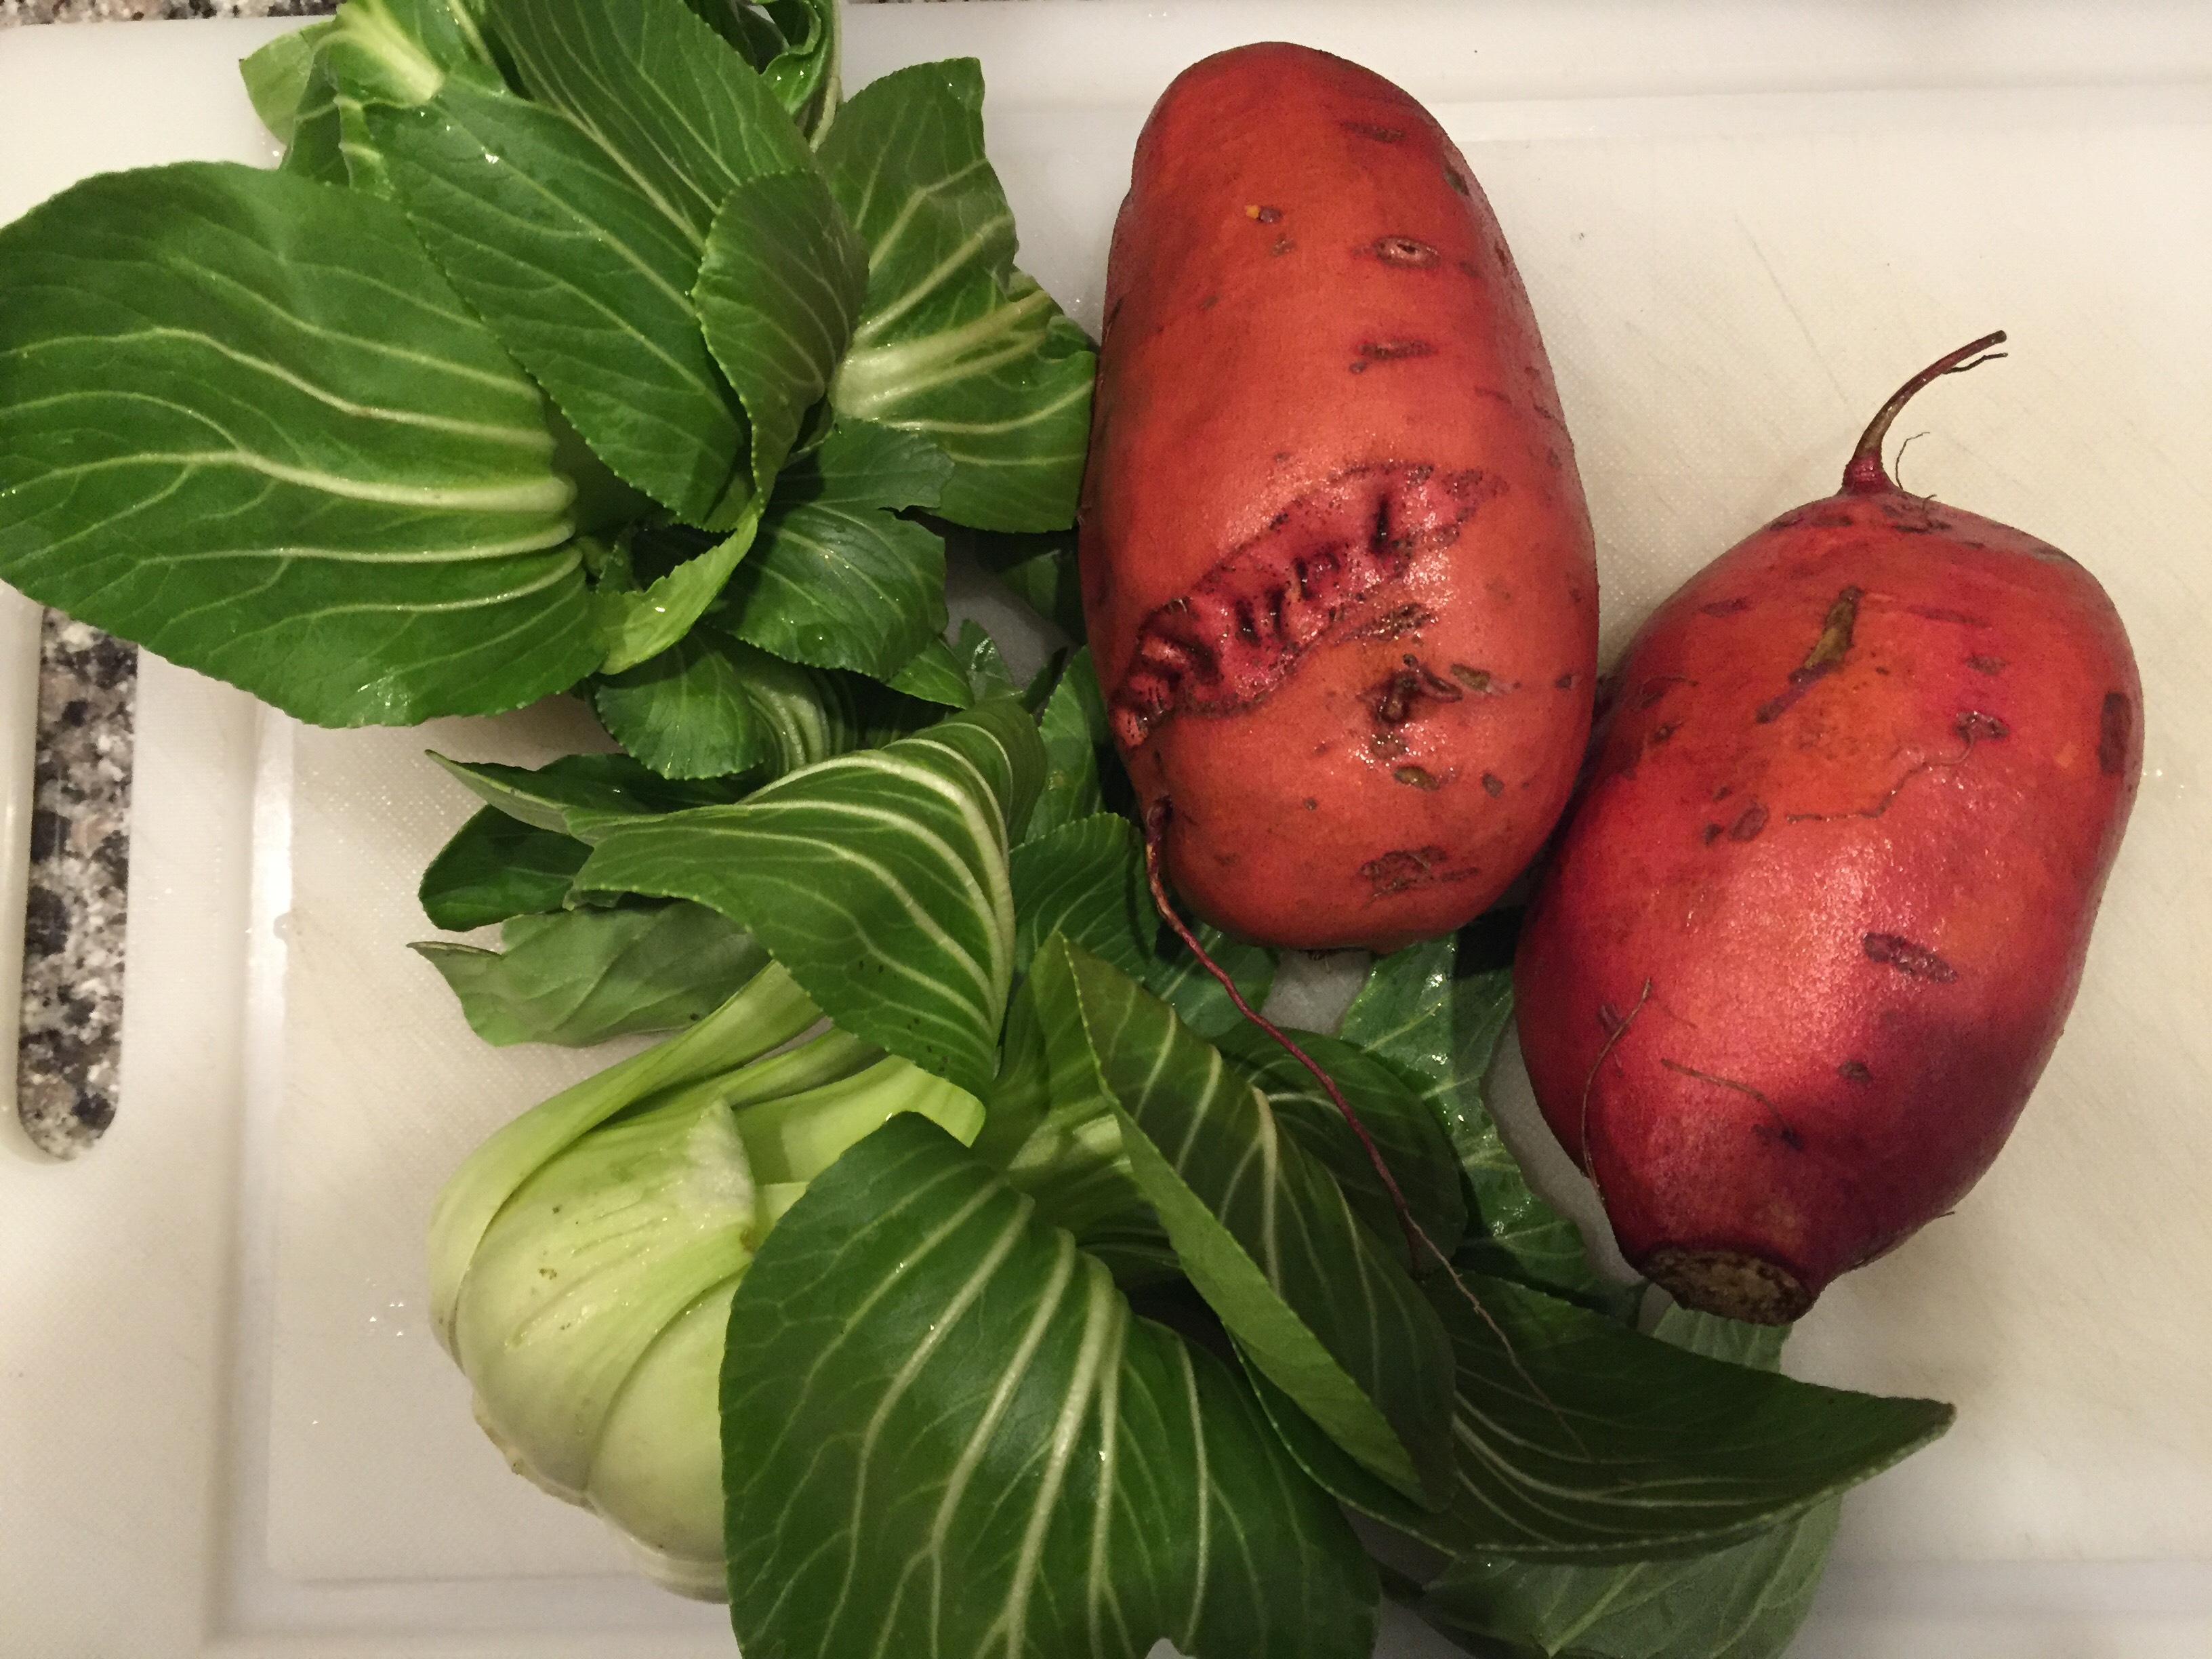
This simple yet pleasing dish uses all but one of your CSA items this week! With winter upon us, it's easy to get into the rhythm of comfort food that's loaded with lots of complex carbs. This is a refreshingly light, yet satisfying meal that makes great leftovers for lunches! Enjoy! 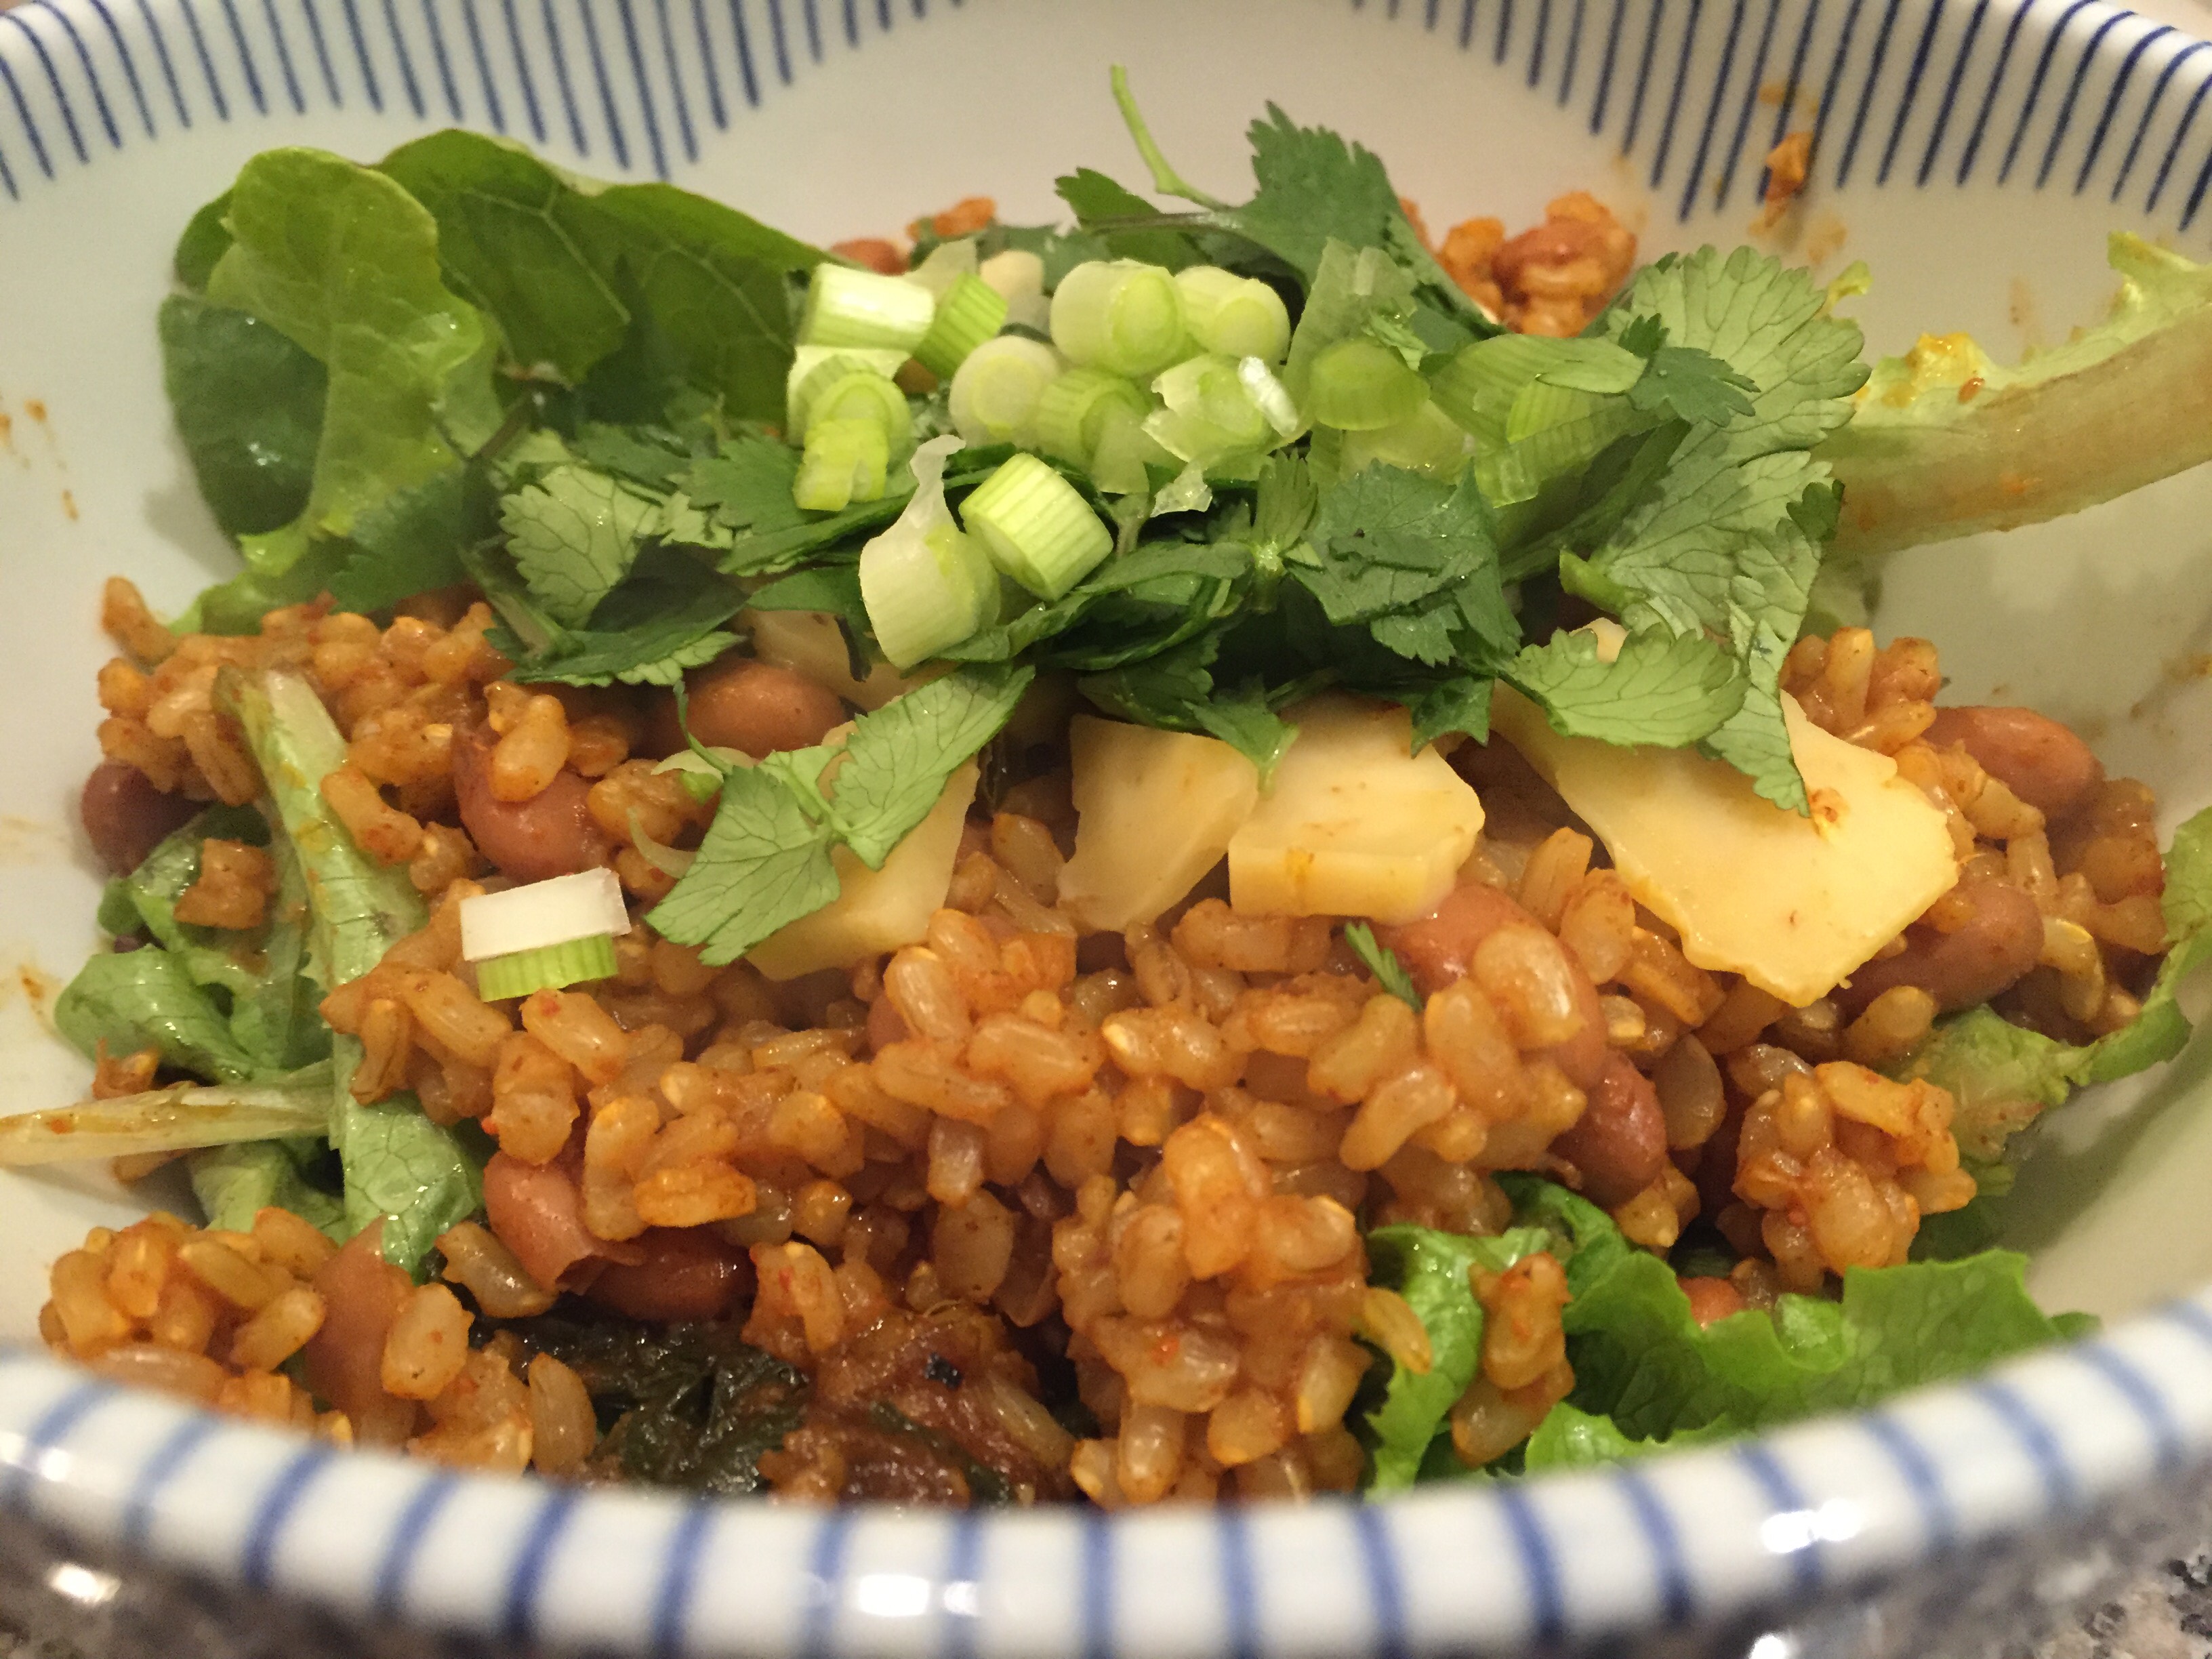
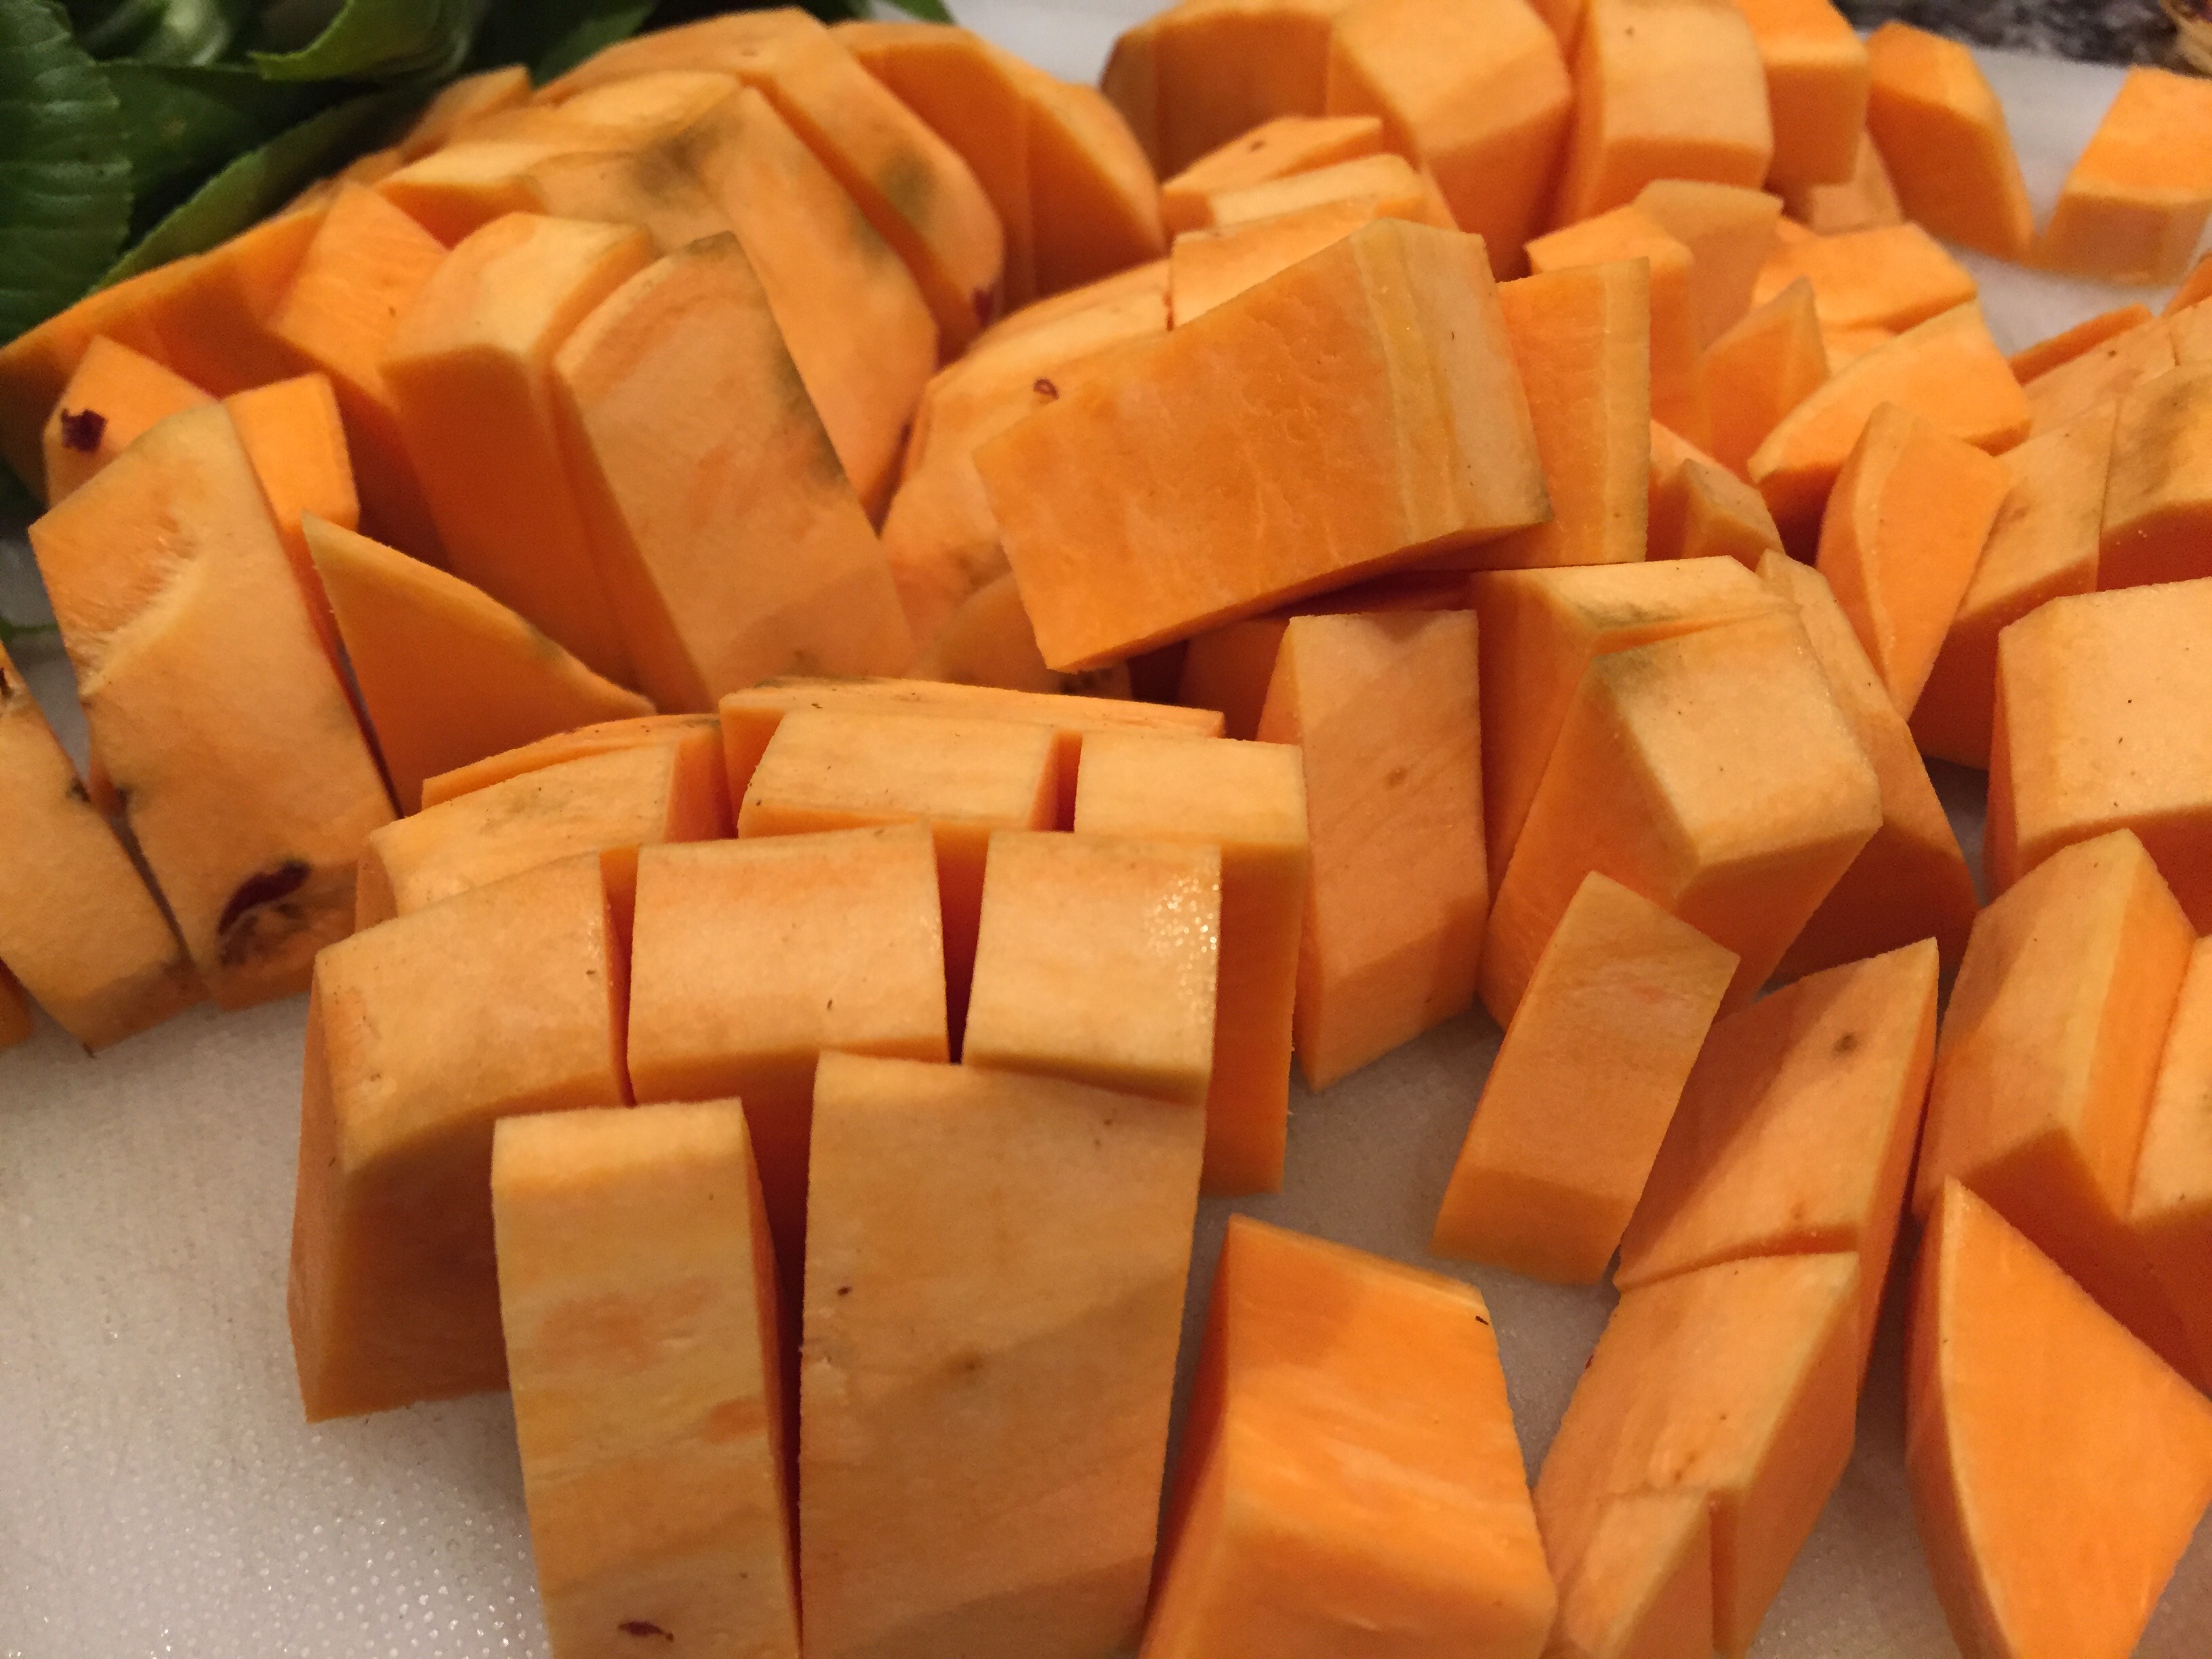
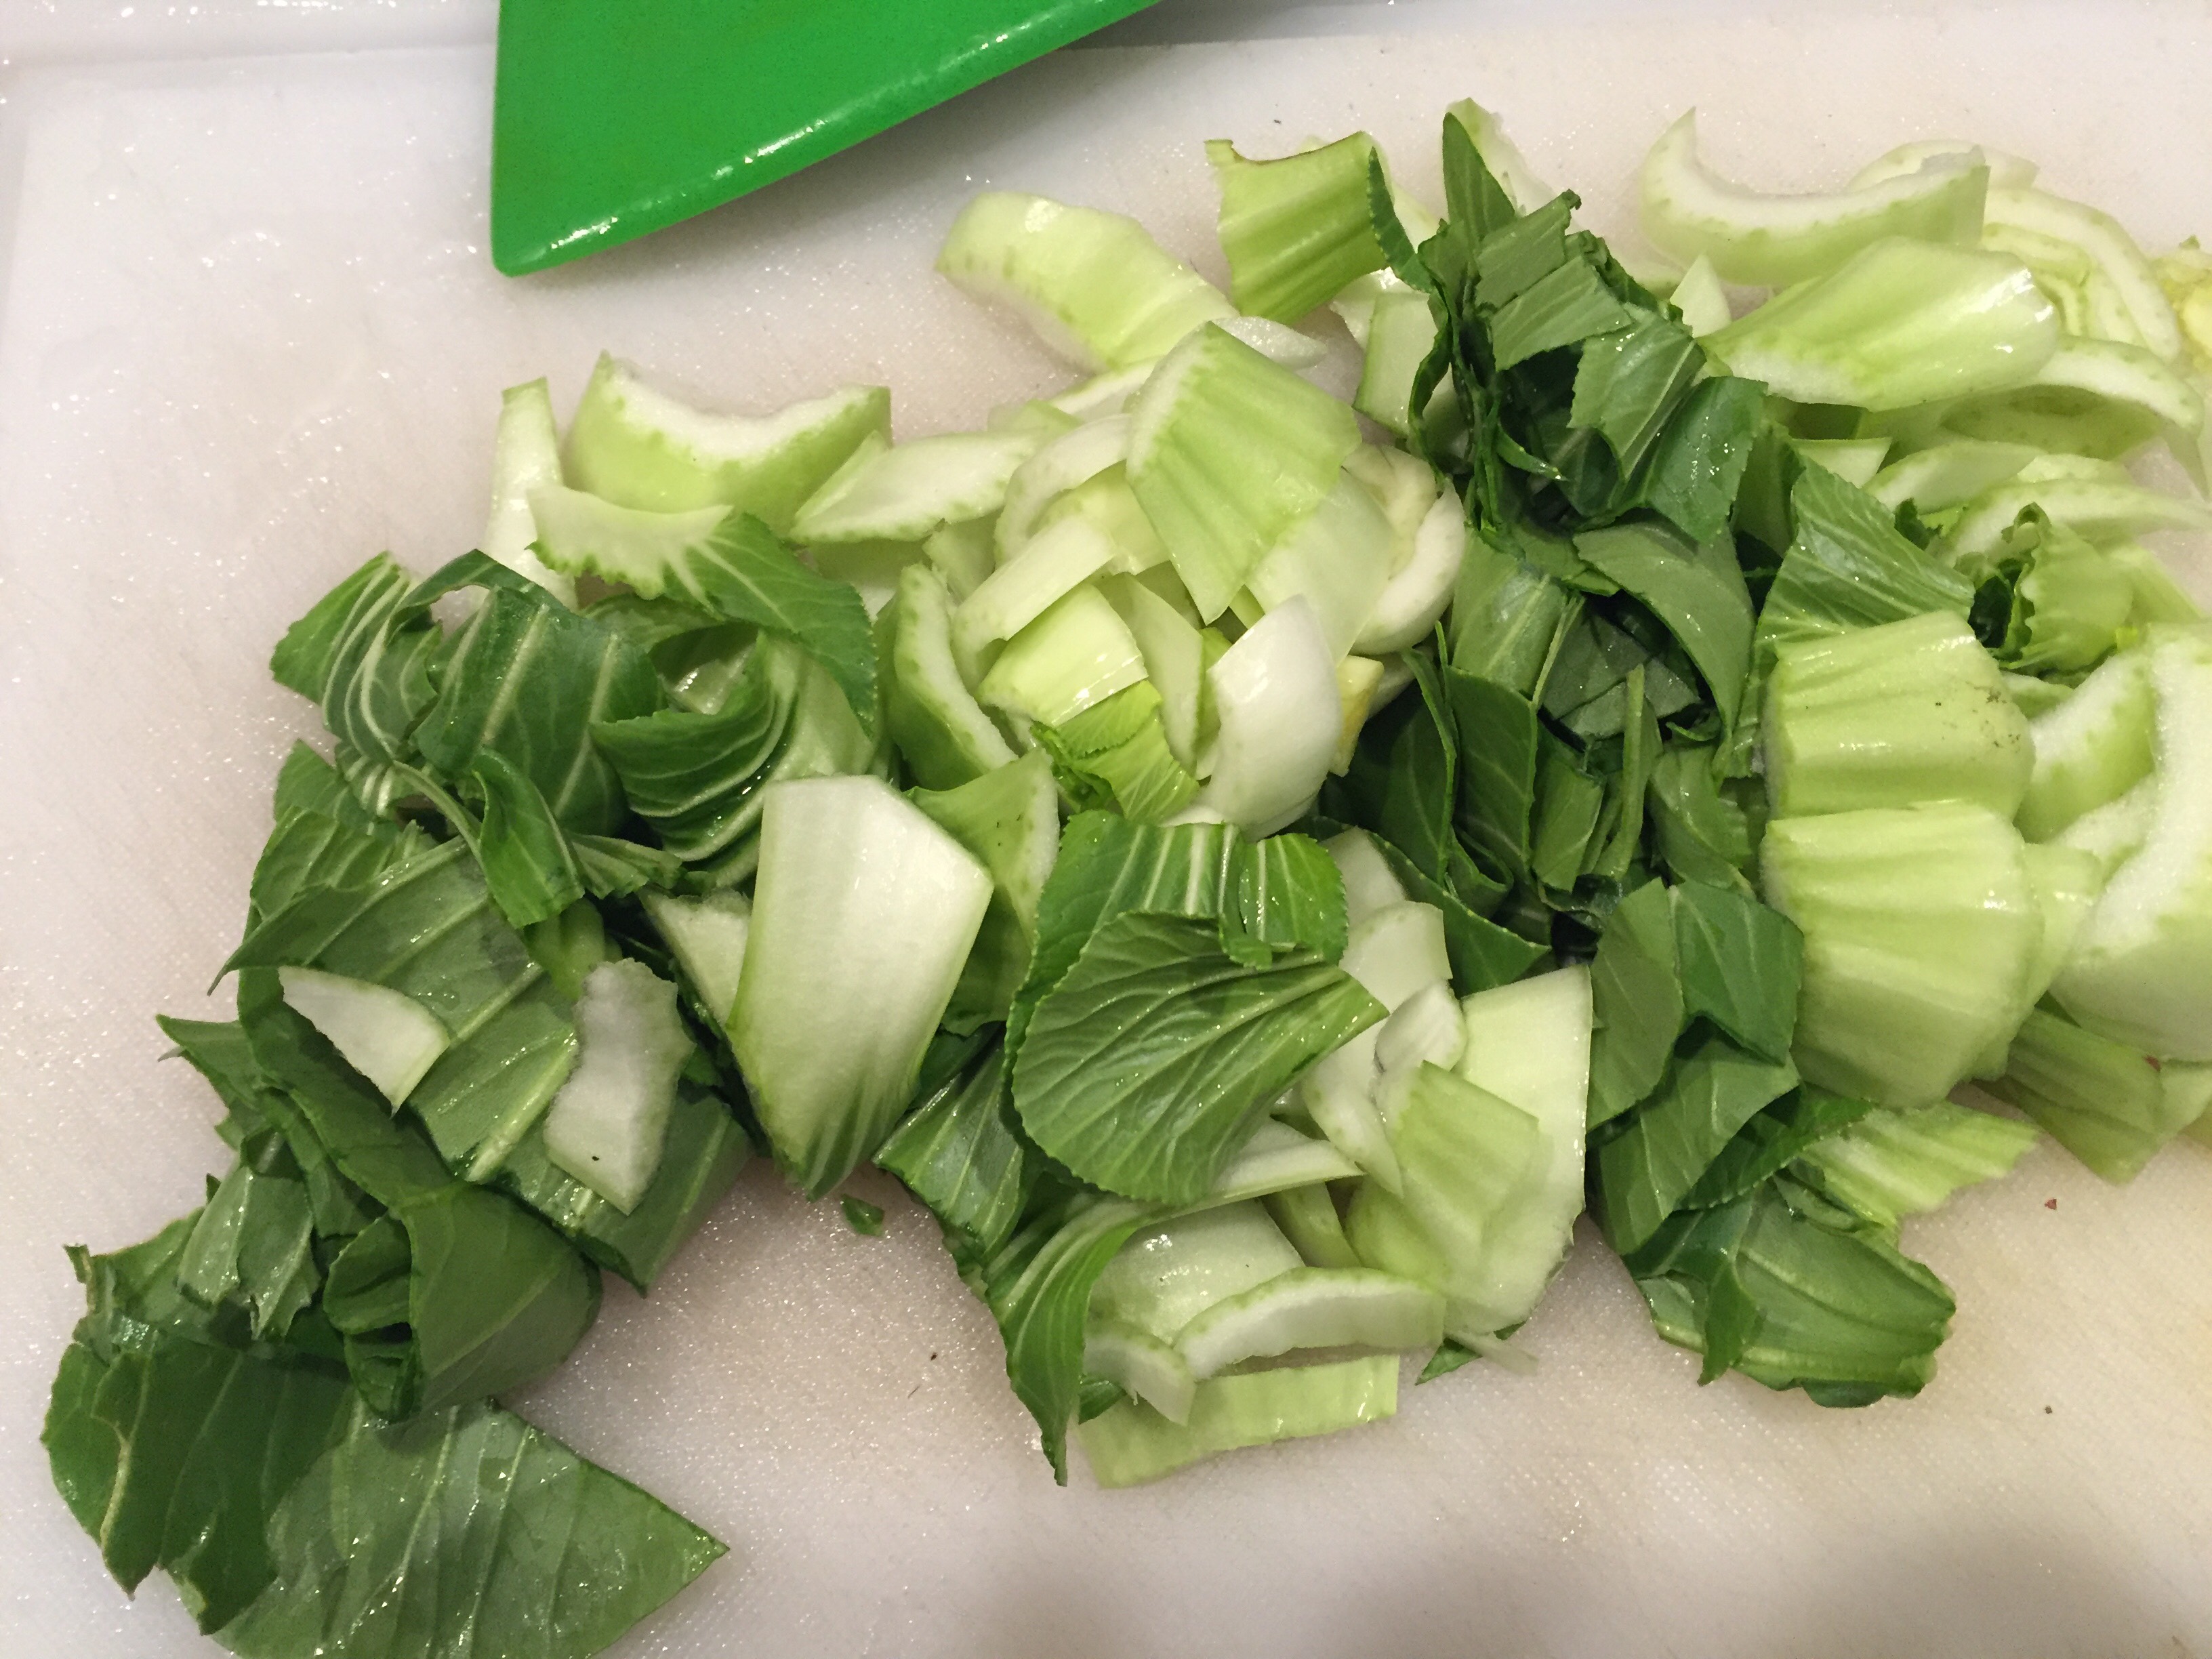
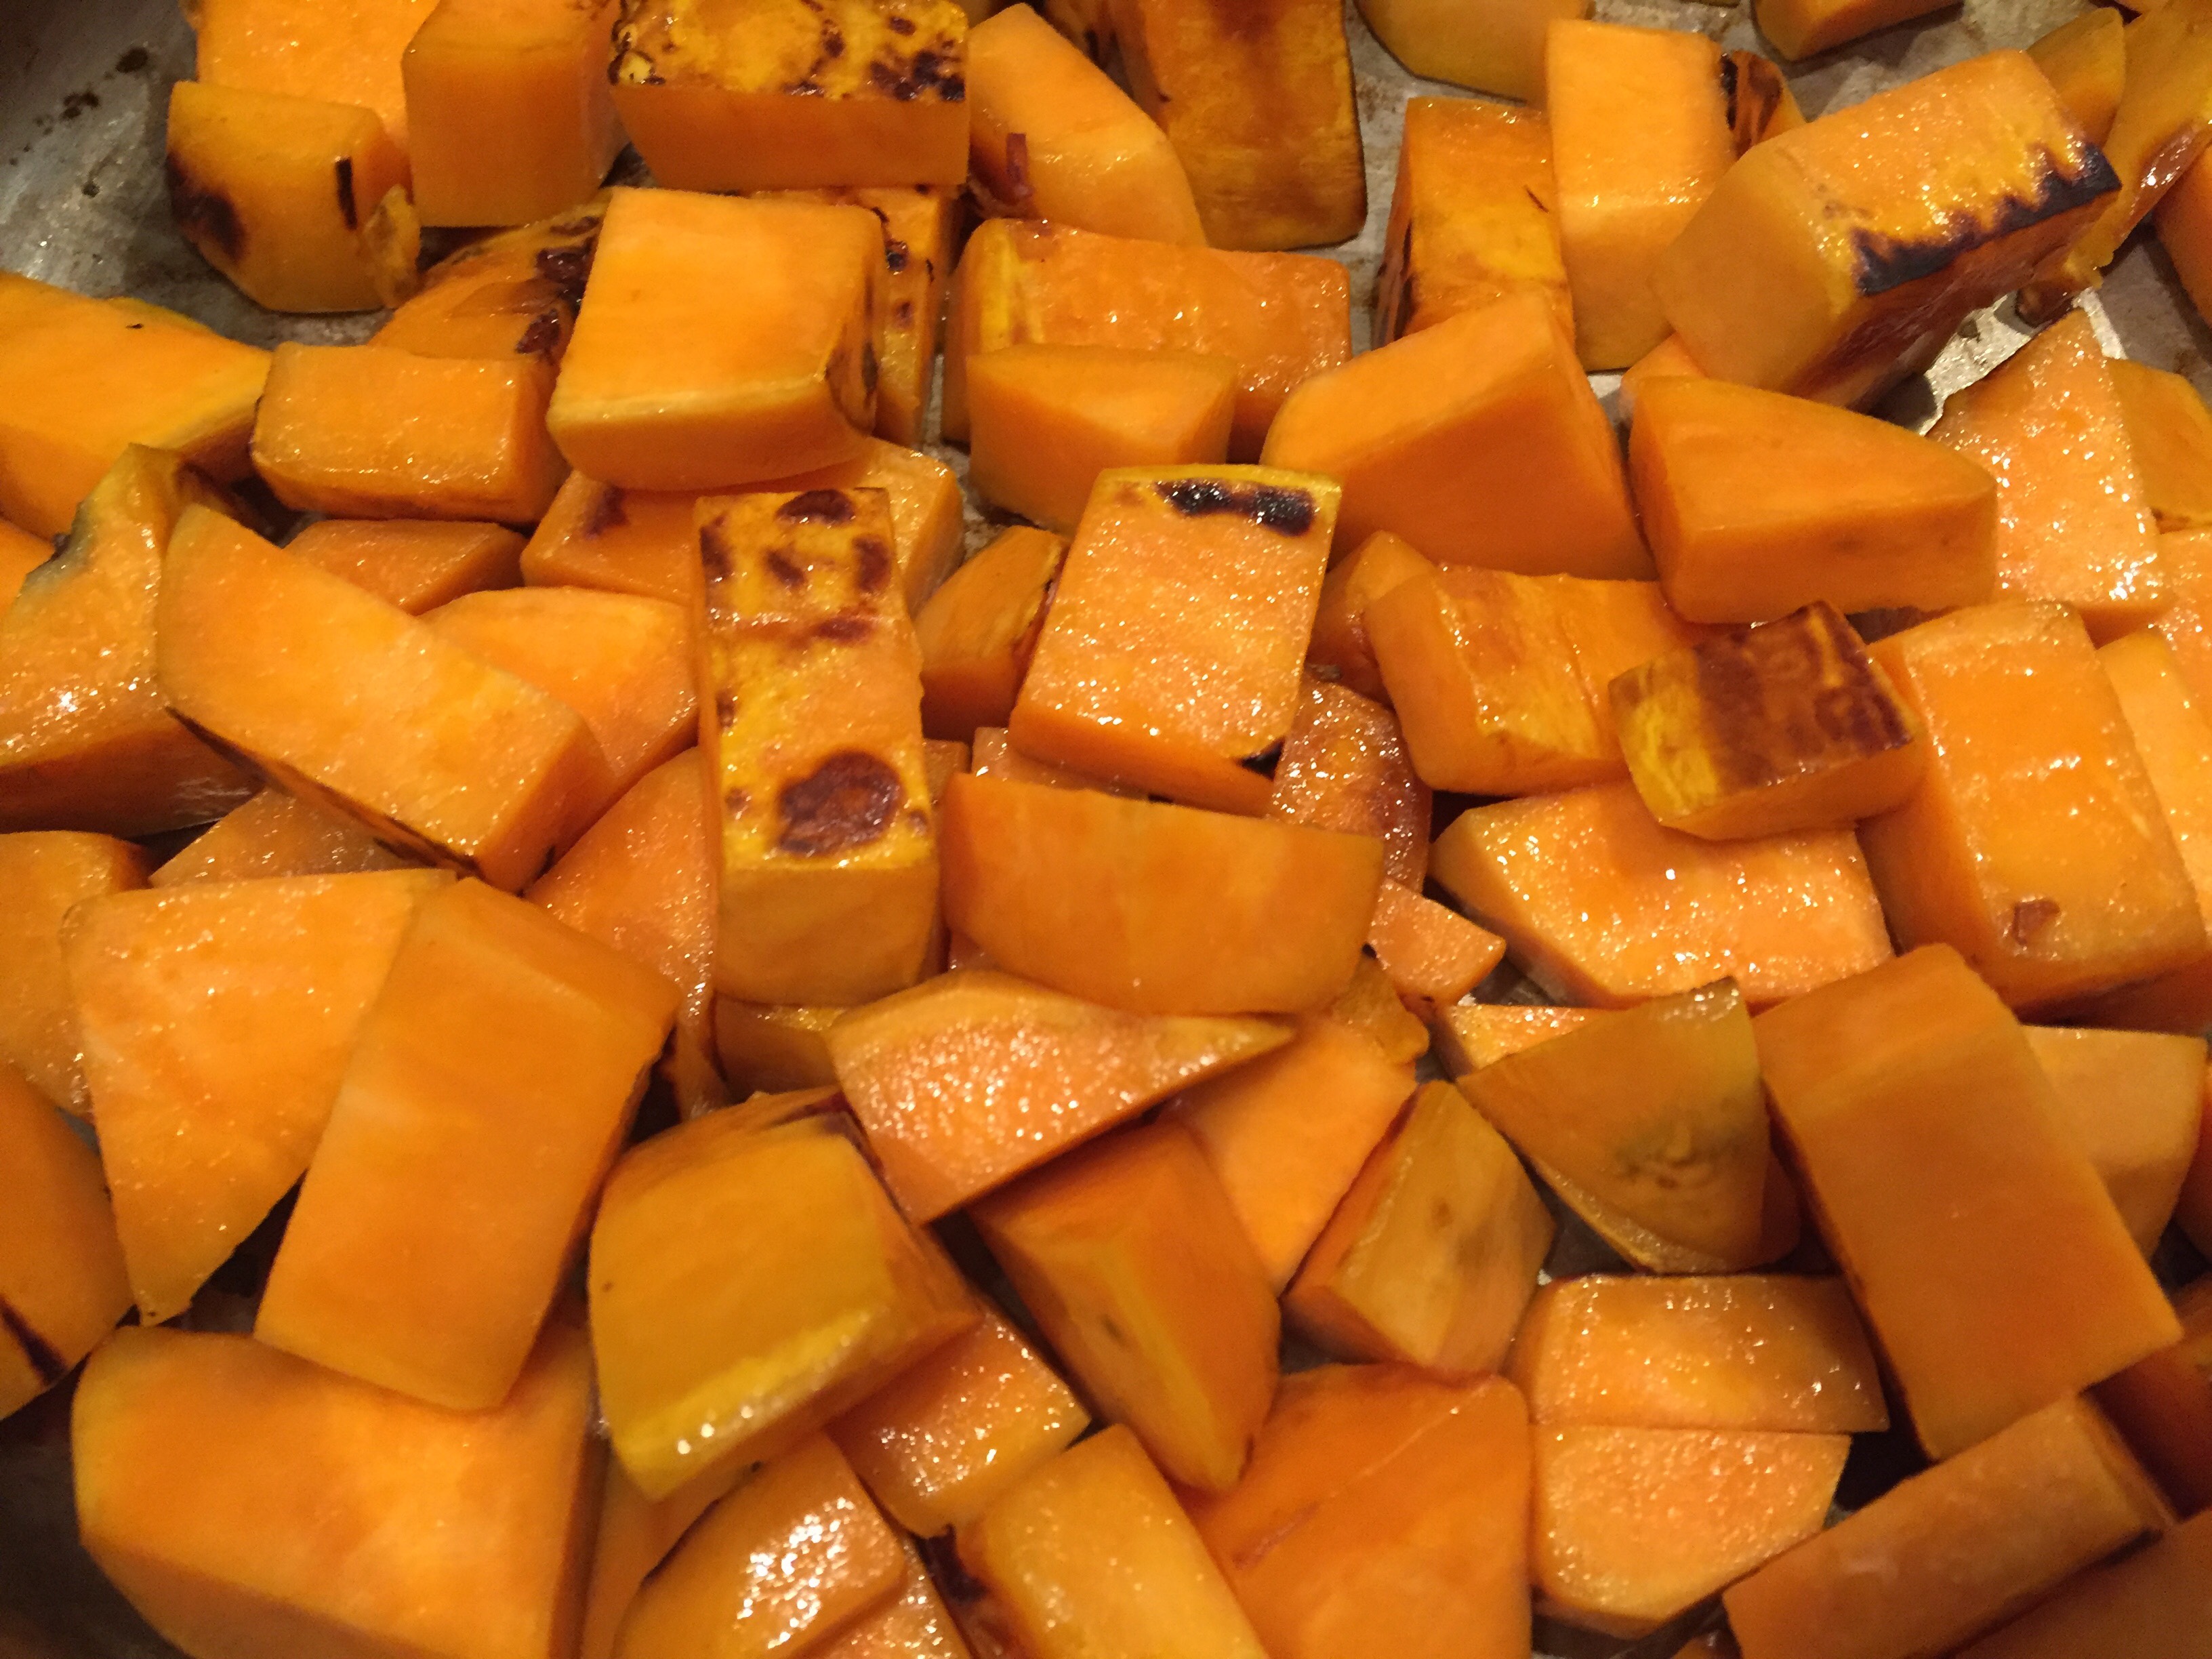
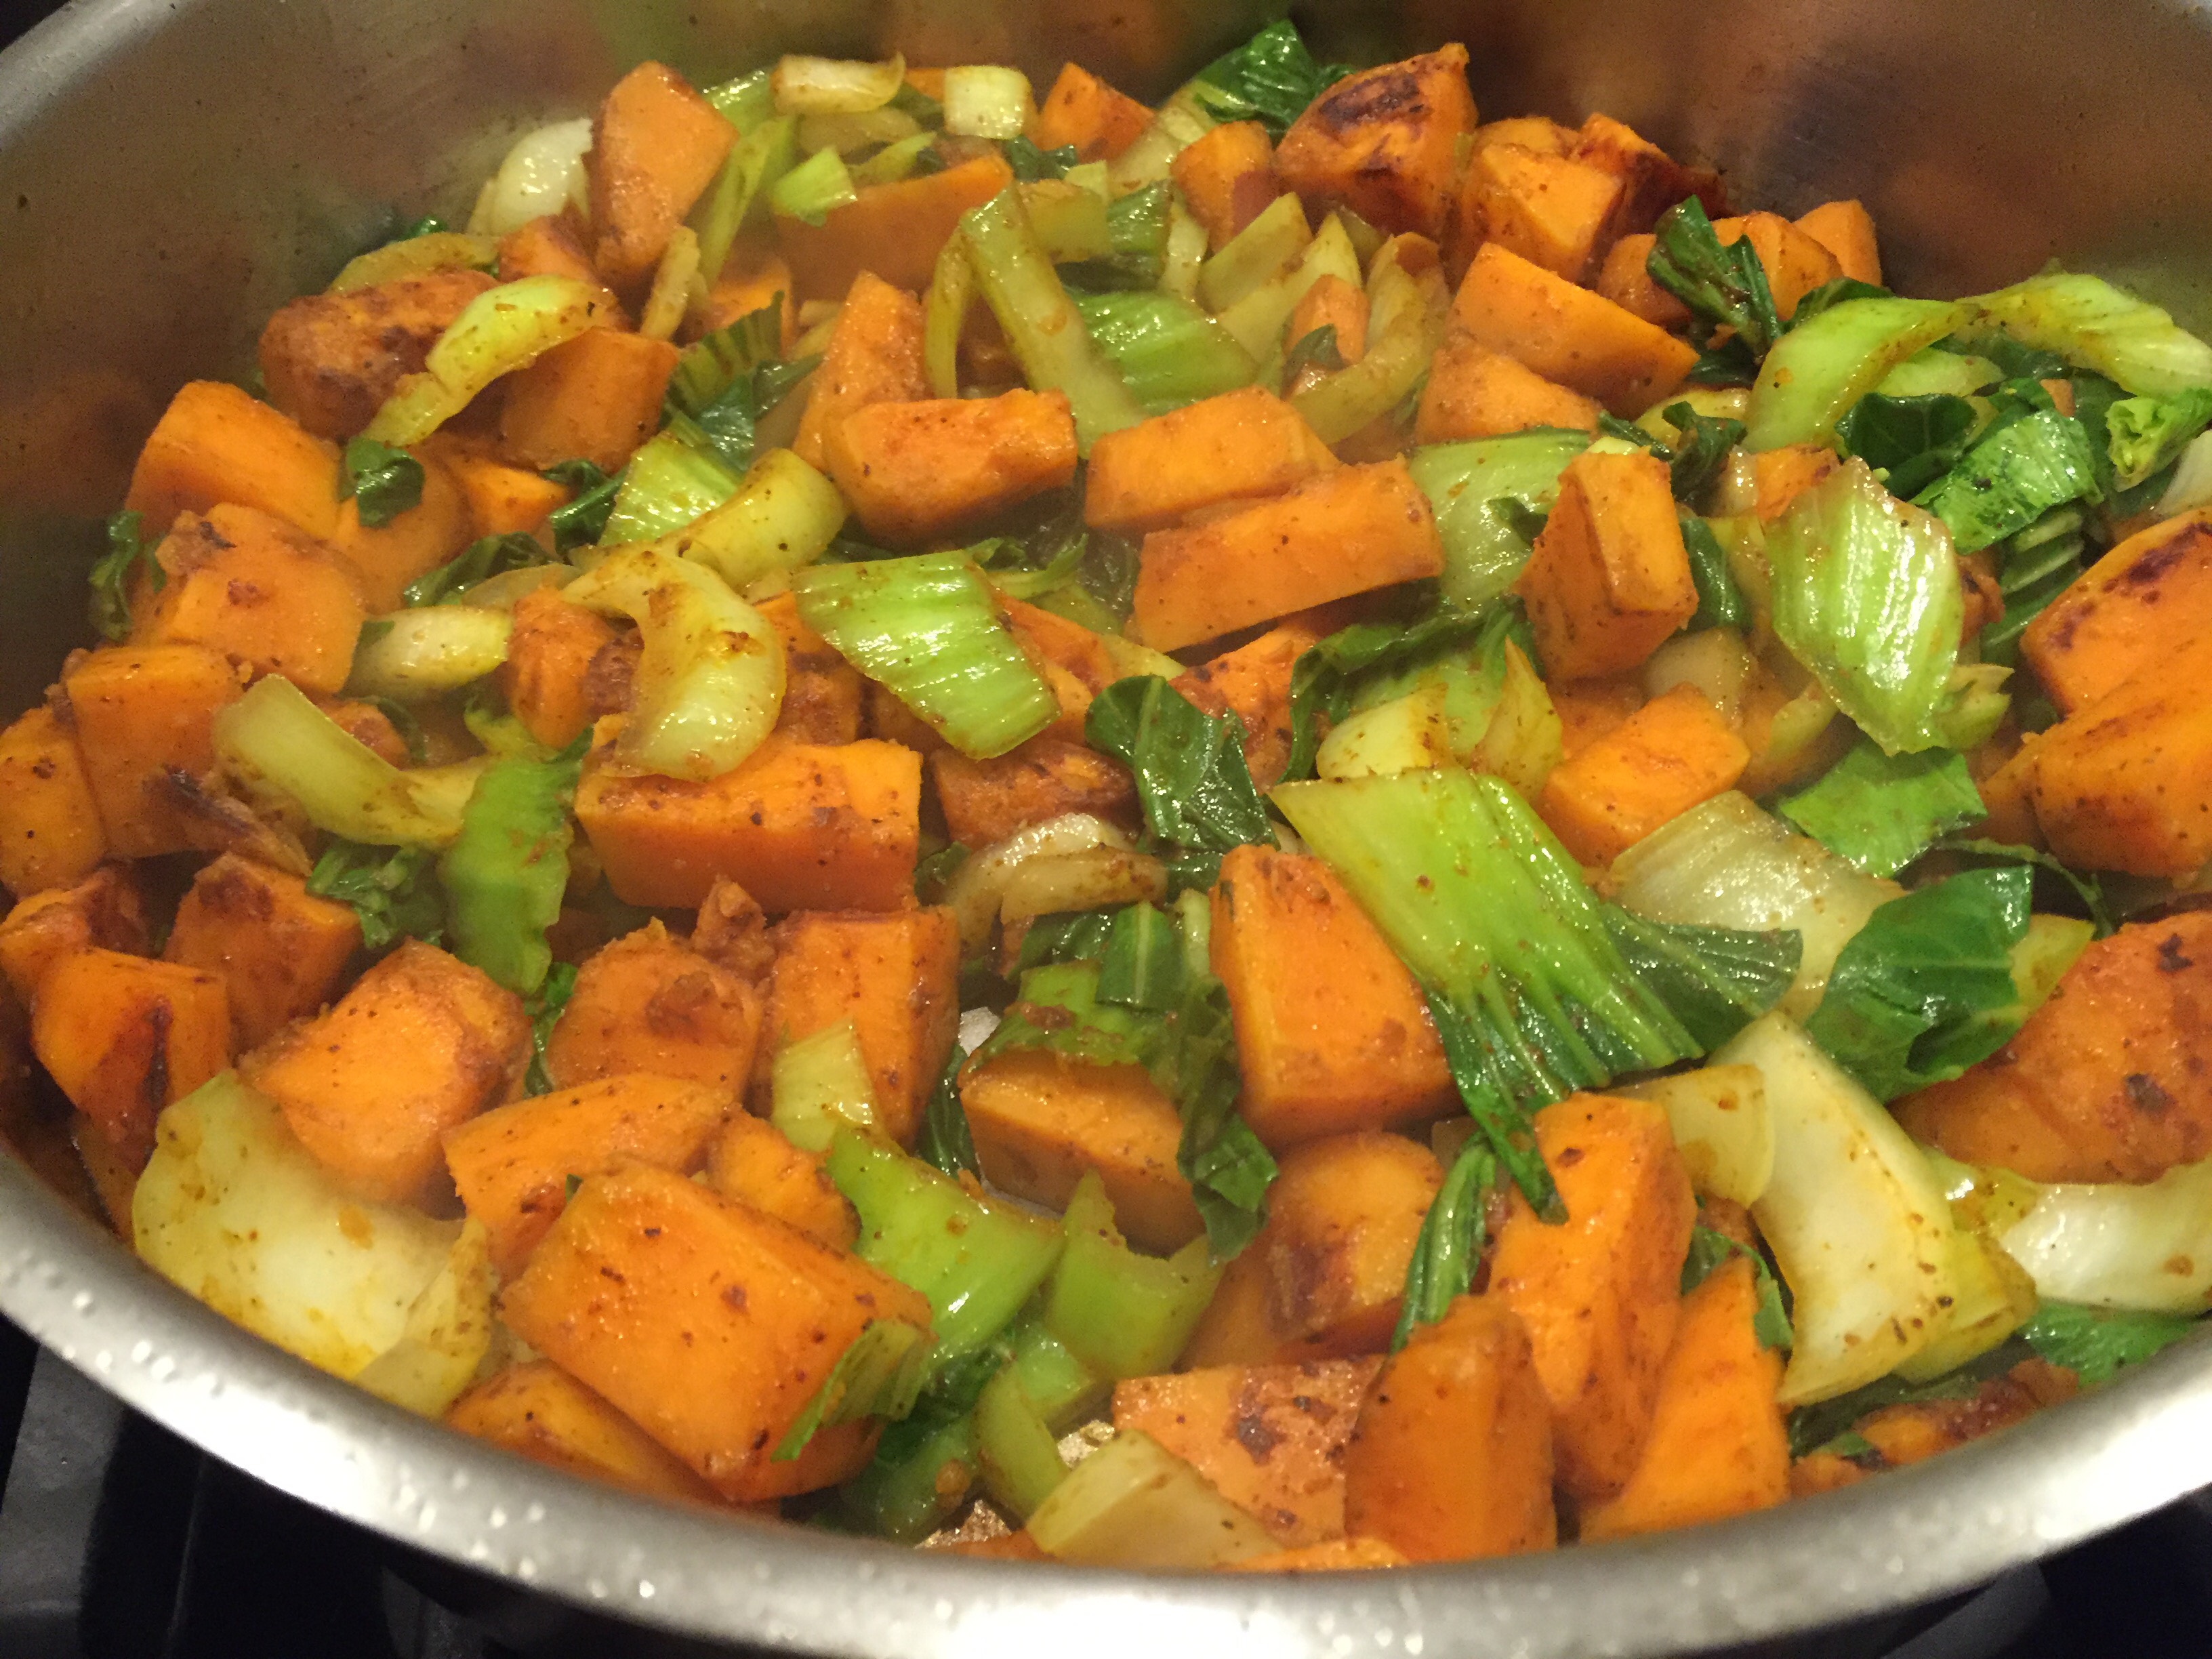
Method: Start by mixing together the water, brown rice, one tbsp chili powder and one Tbsp olive oil. Add a dash of salt. Heat over high heat in a medium pot until boiling. Reduce heat and cover for 45 minutes. After 45 minutes remove from heat and fluff with a fork. 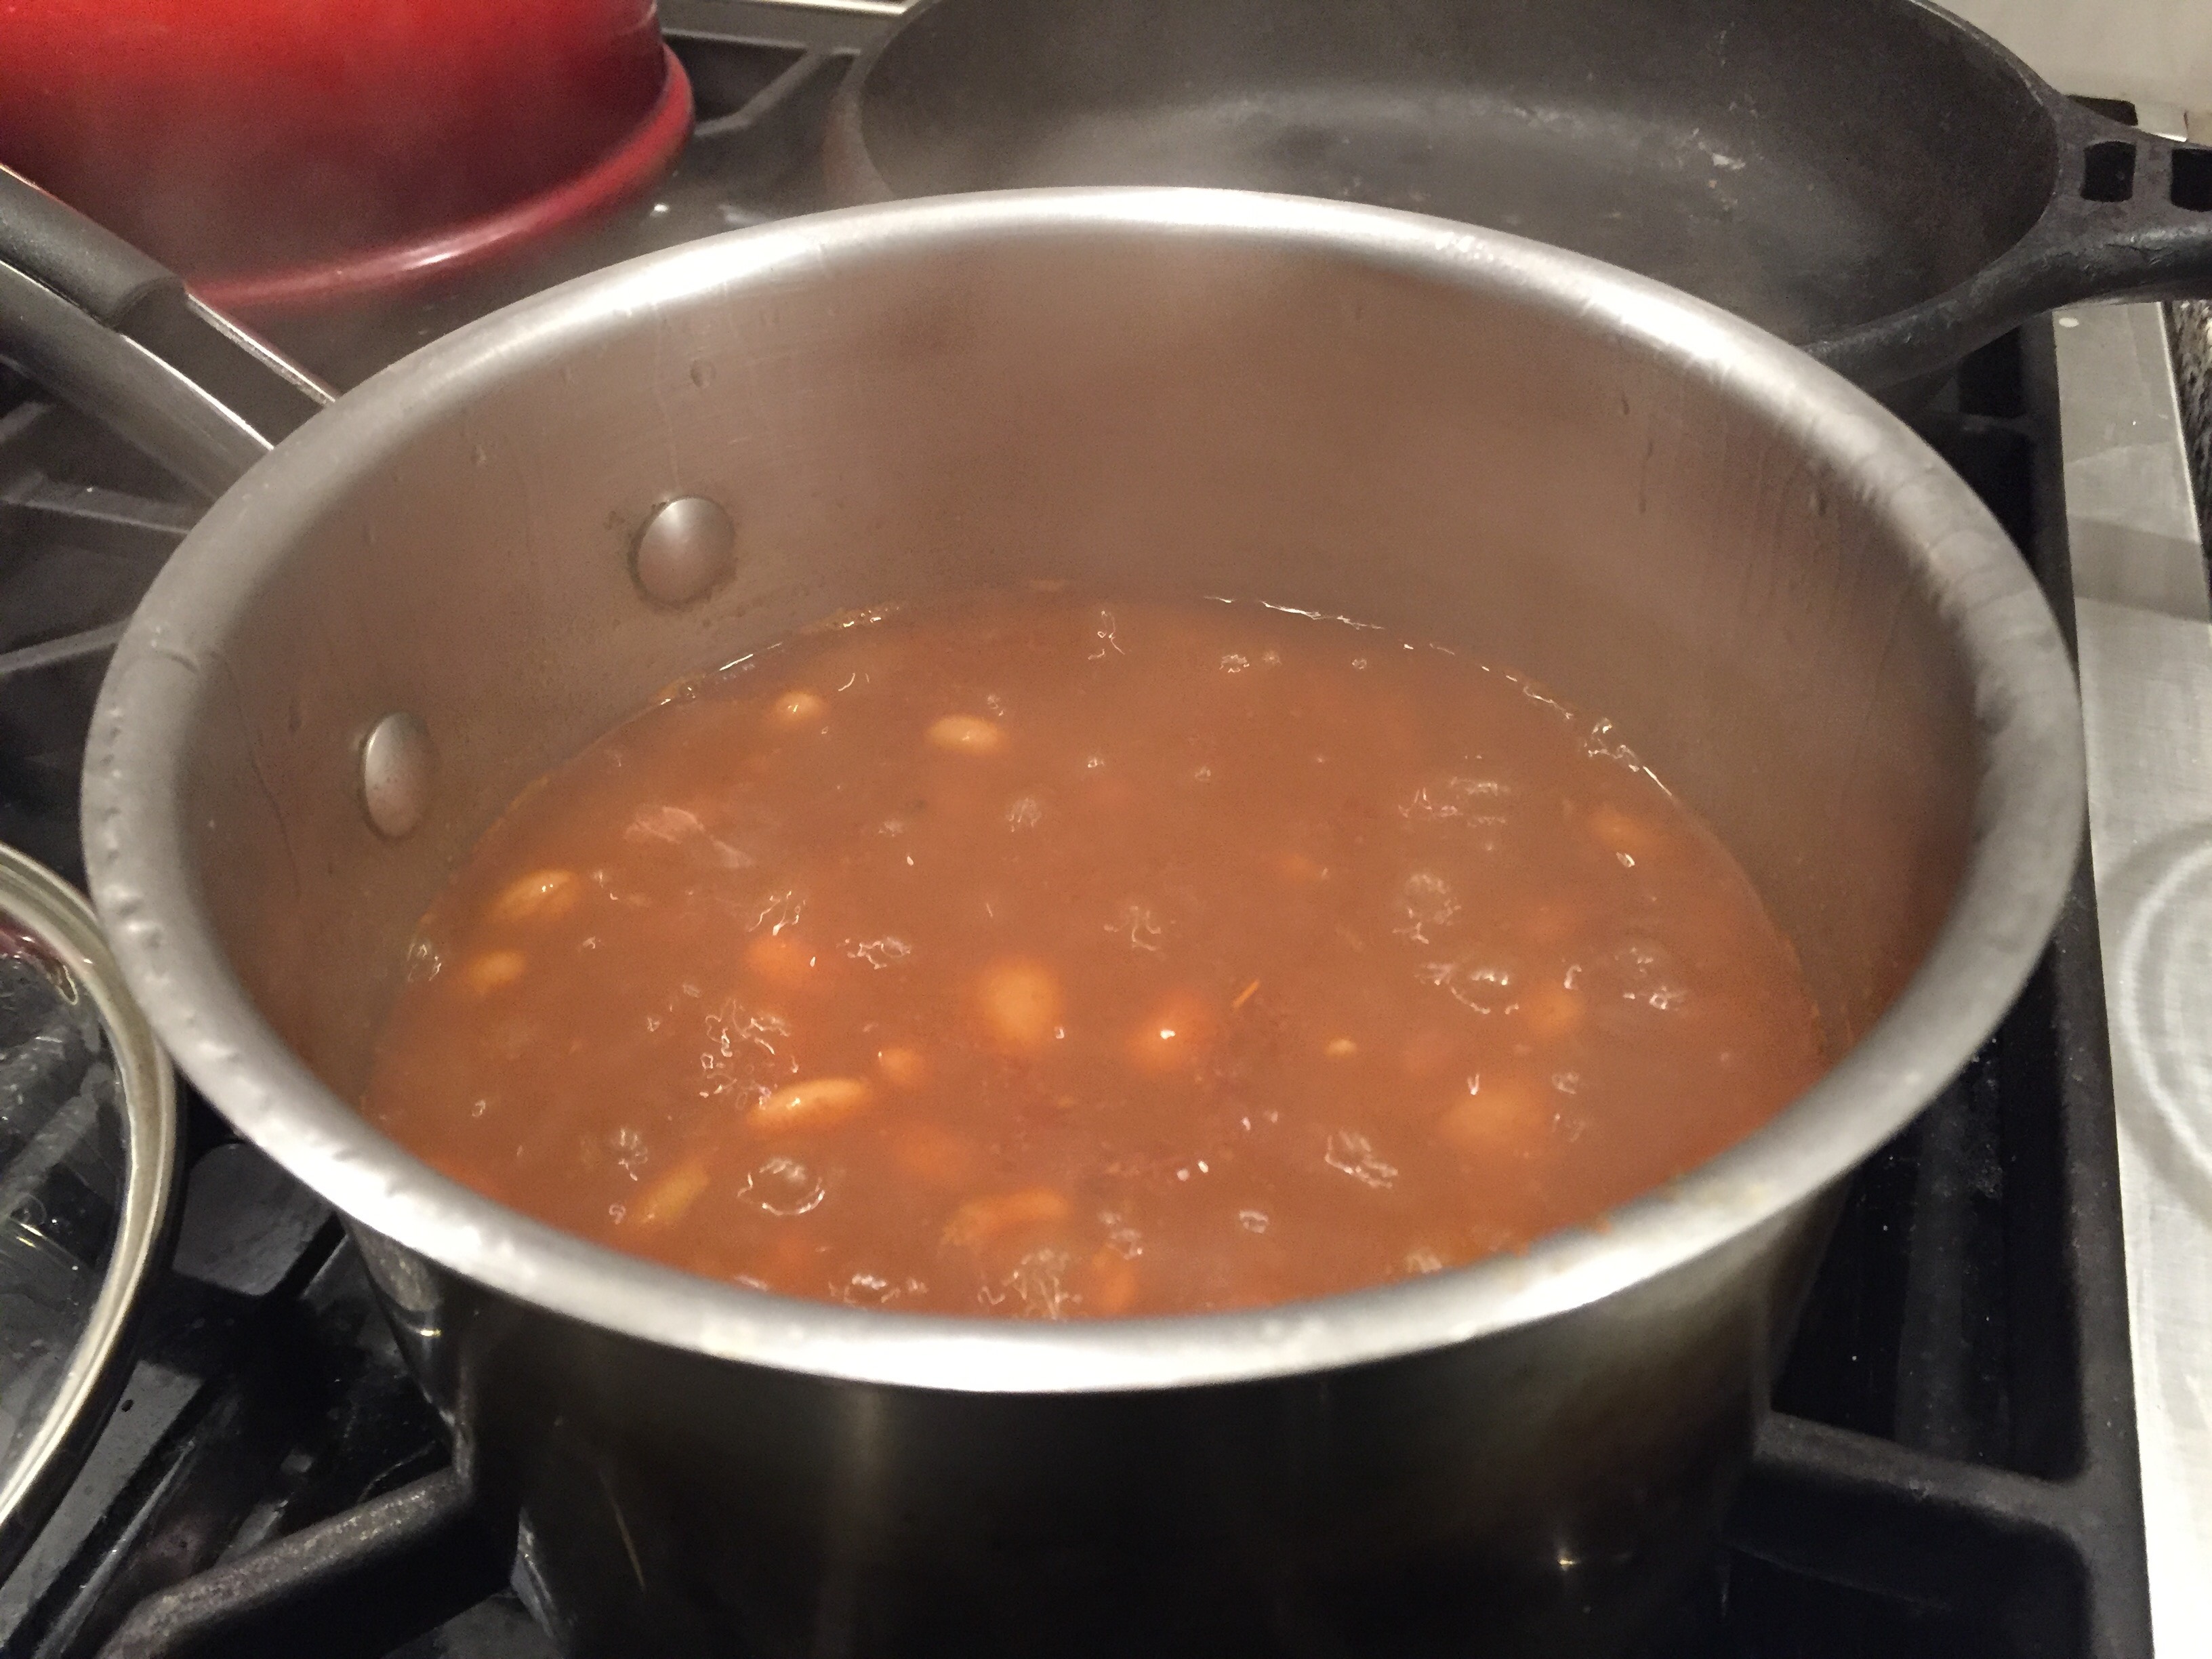 While the rice/beans cook, start the sweet potatoes and bok choy. Heat 1 tbsp olive oil over medium heat. Add the sweet potatoes and let cook uncovered for 15 minutes, stirring as to make sure they do not stick to the pan. Once the potatoes are slightly tender, add the bok choy and the remaining chili powder. Stir well and reduce heat to low. Let cook over low heat until the potatoes are fully tender. Add about 1 tsp salt, and stir once more. Remove from heat.
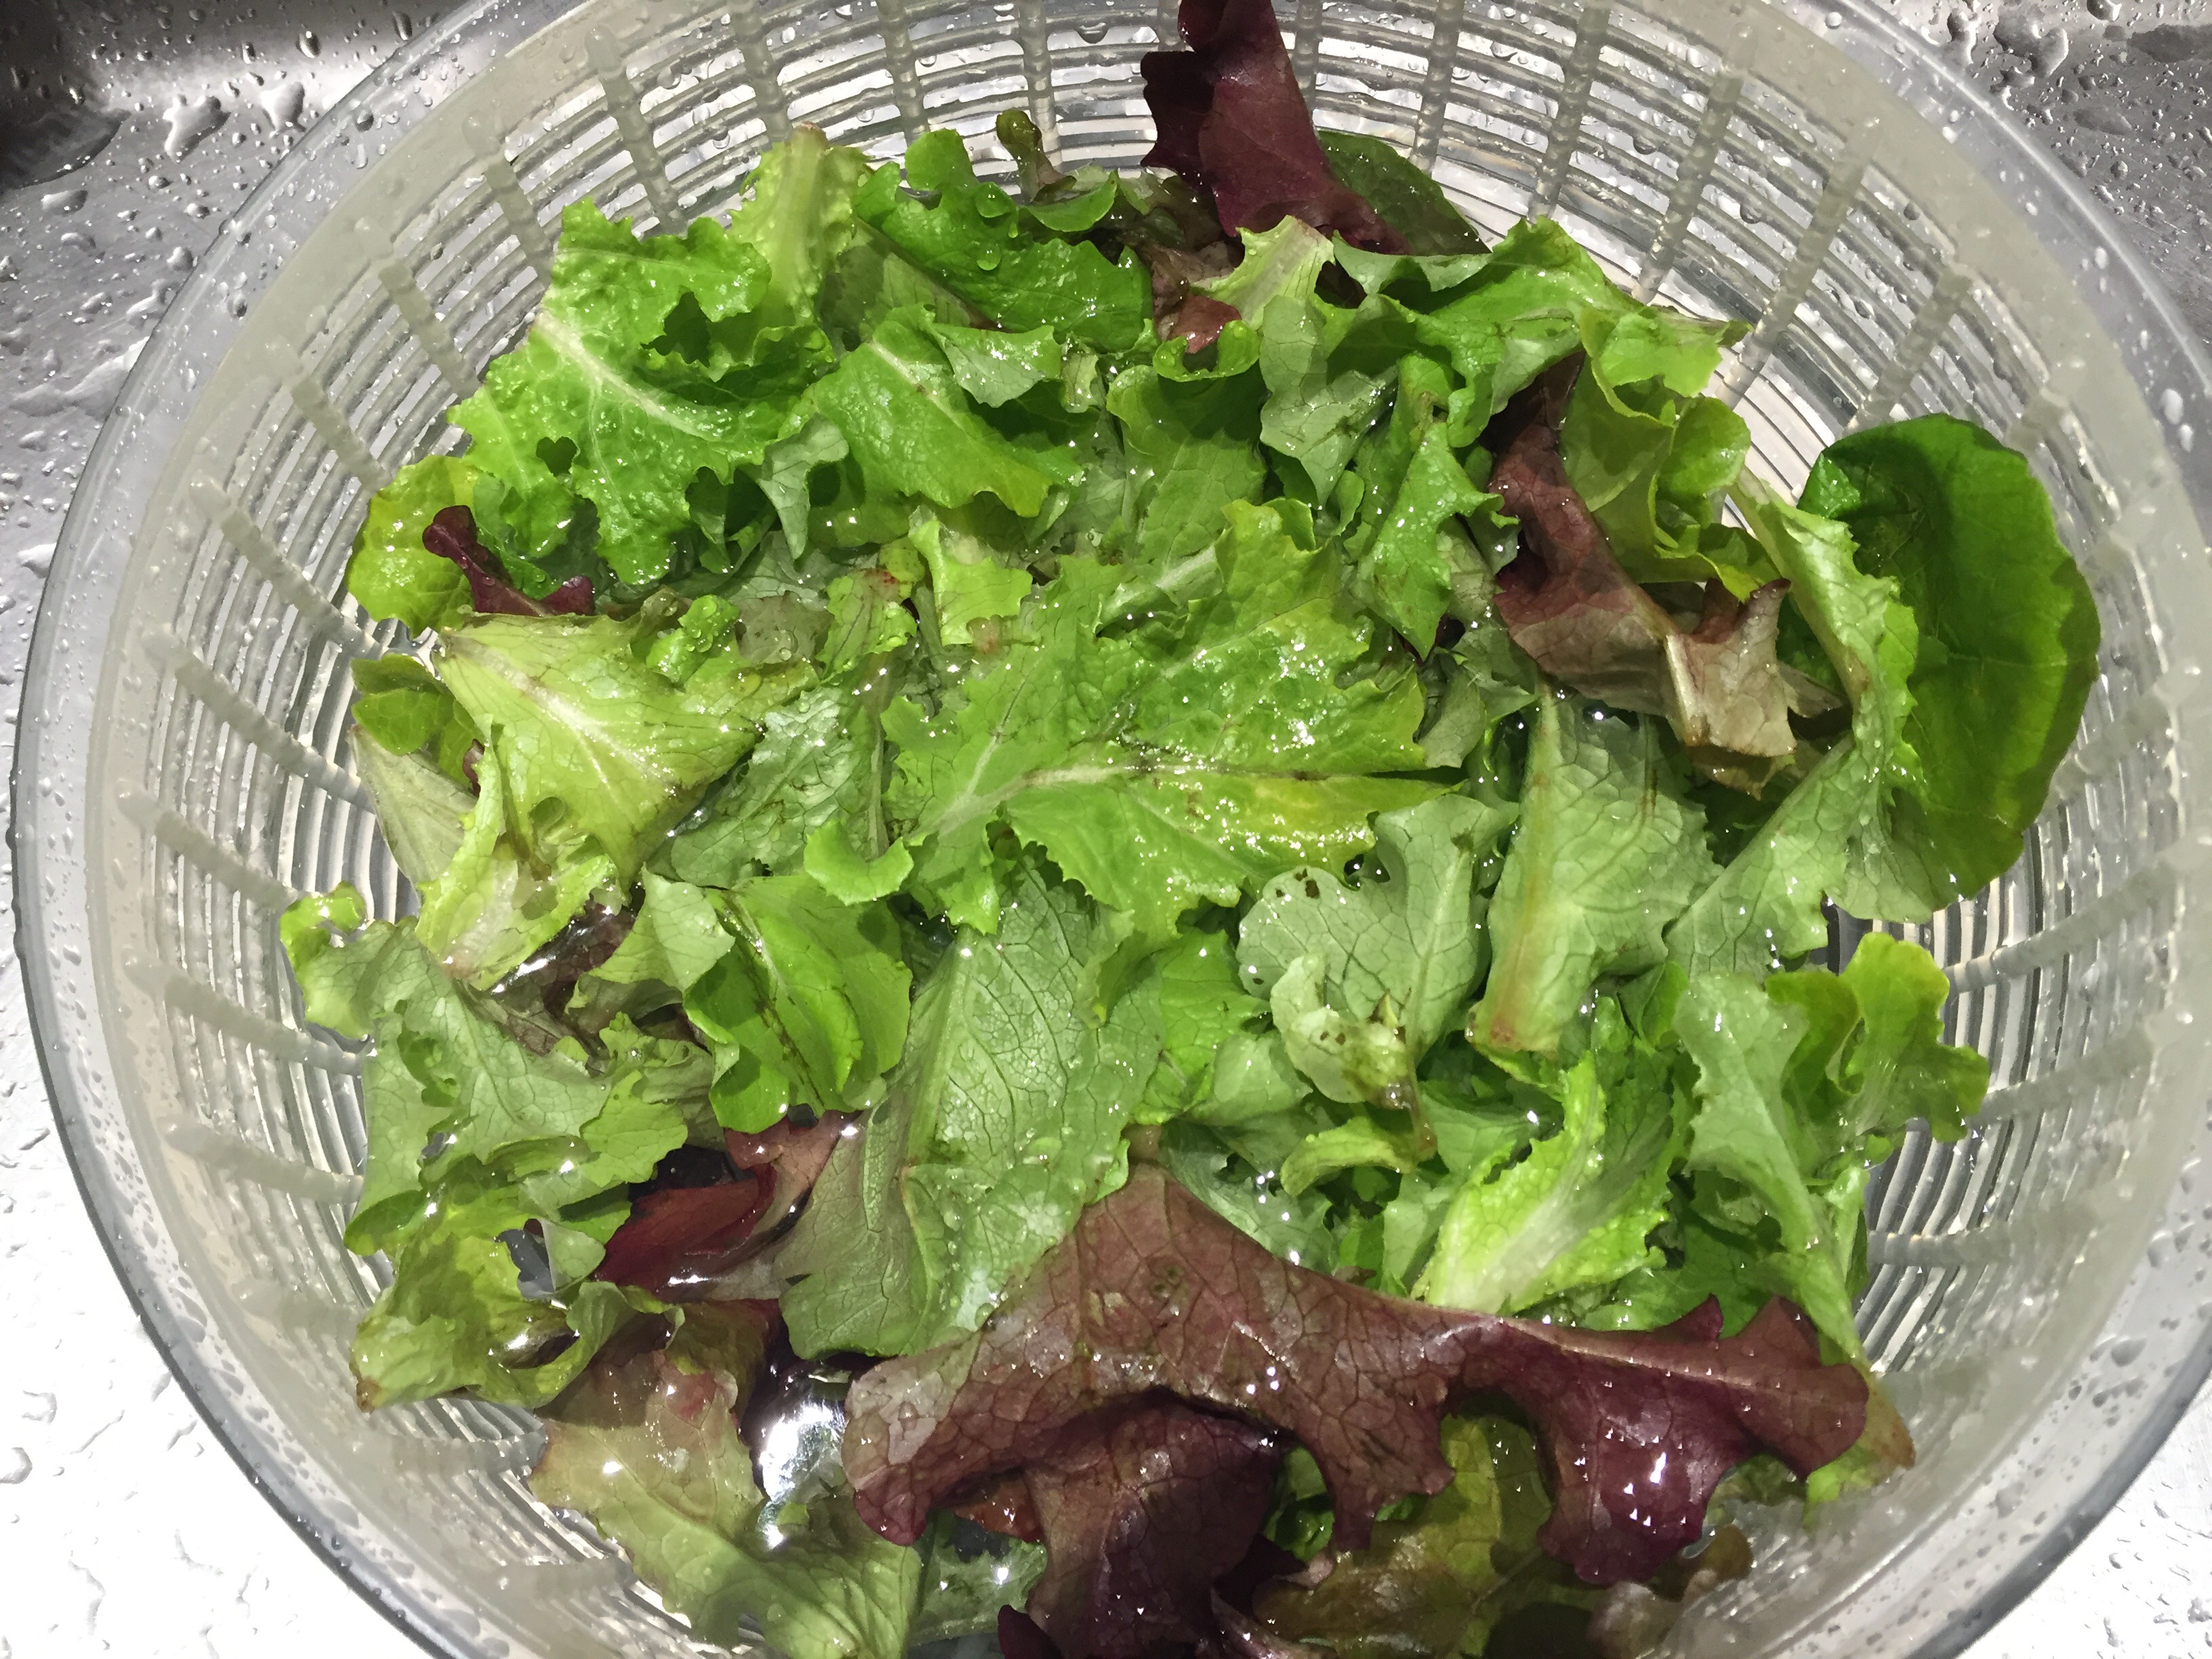
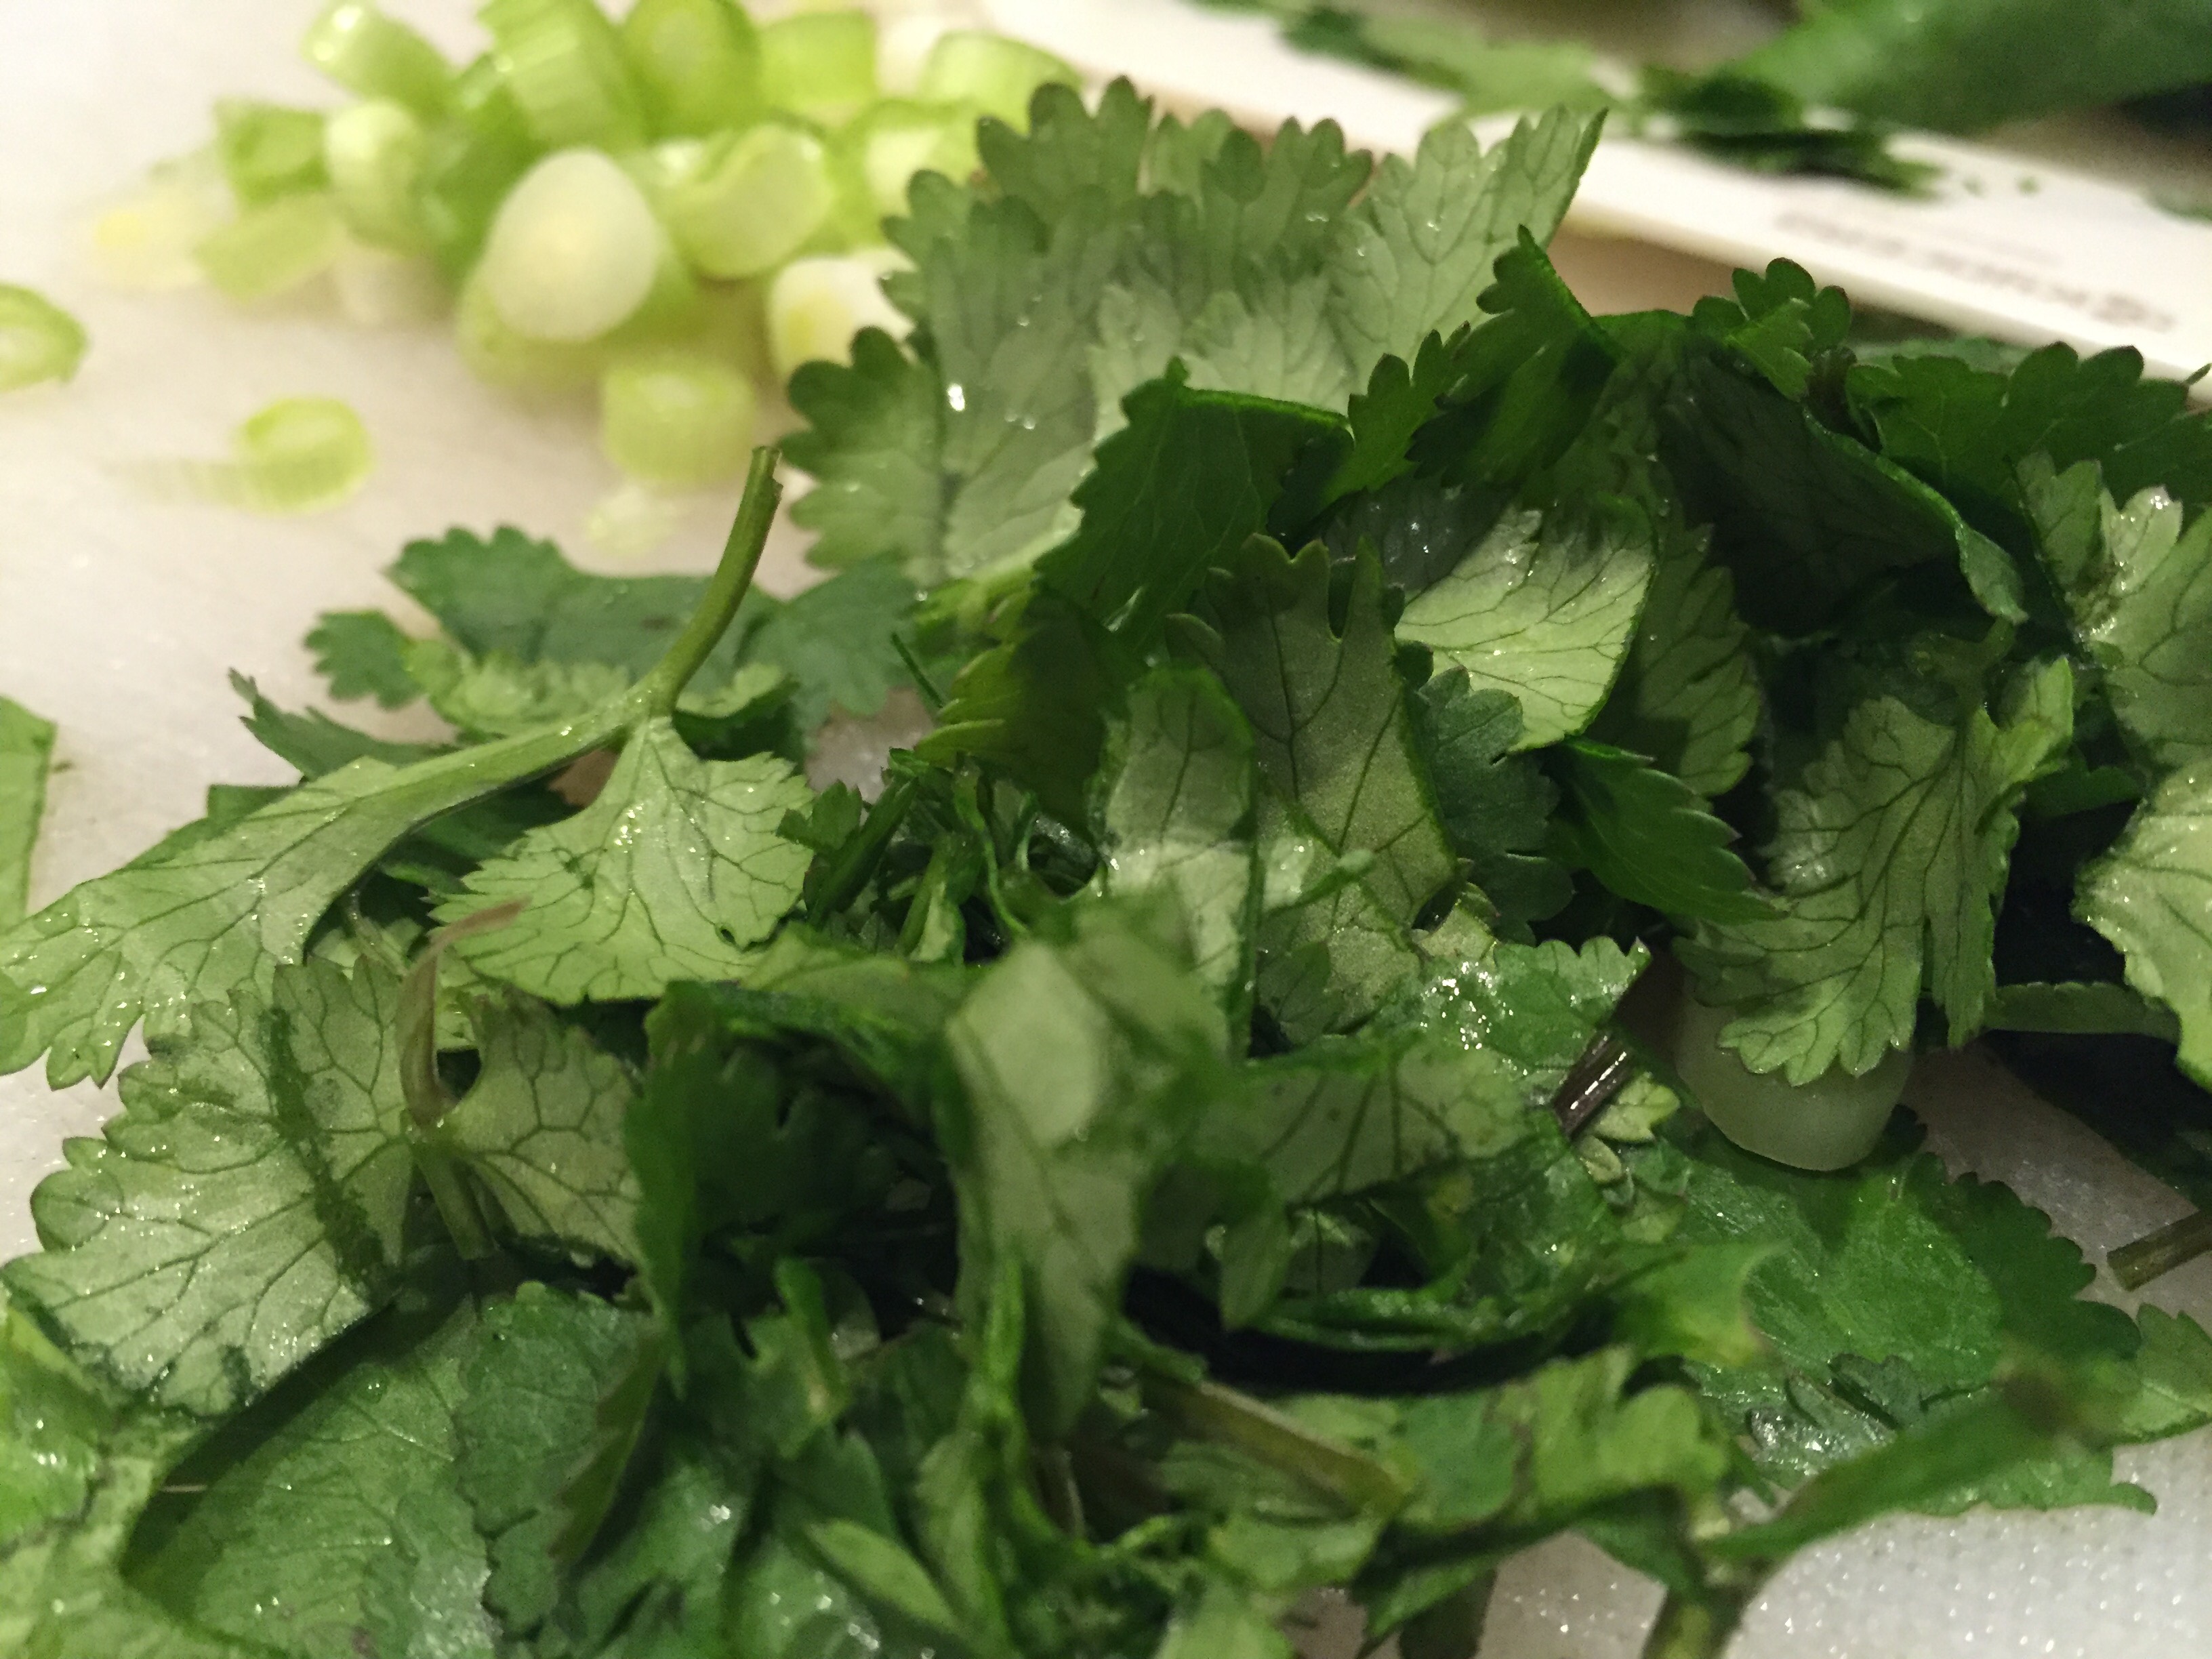
While you have a moment, chop the green onions and cilantro, set aside. Wash the mixed greens and spin dry in a salad spinner. Optional toppings: salsa, sour cream, jalapeños, avocado, shredded cheese.
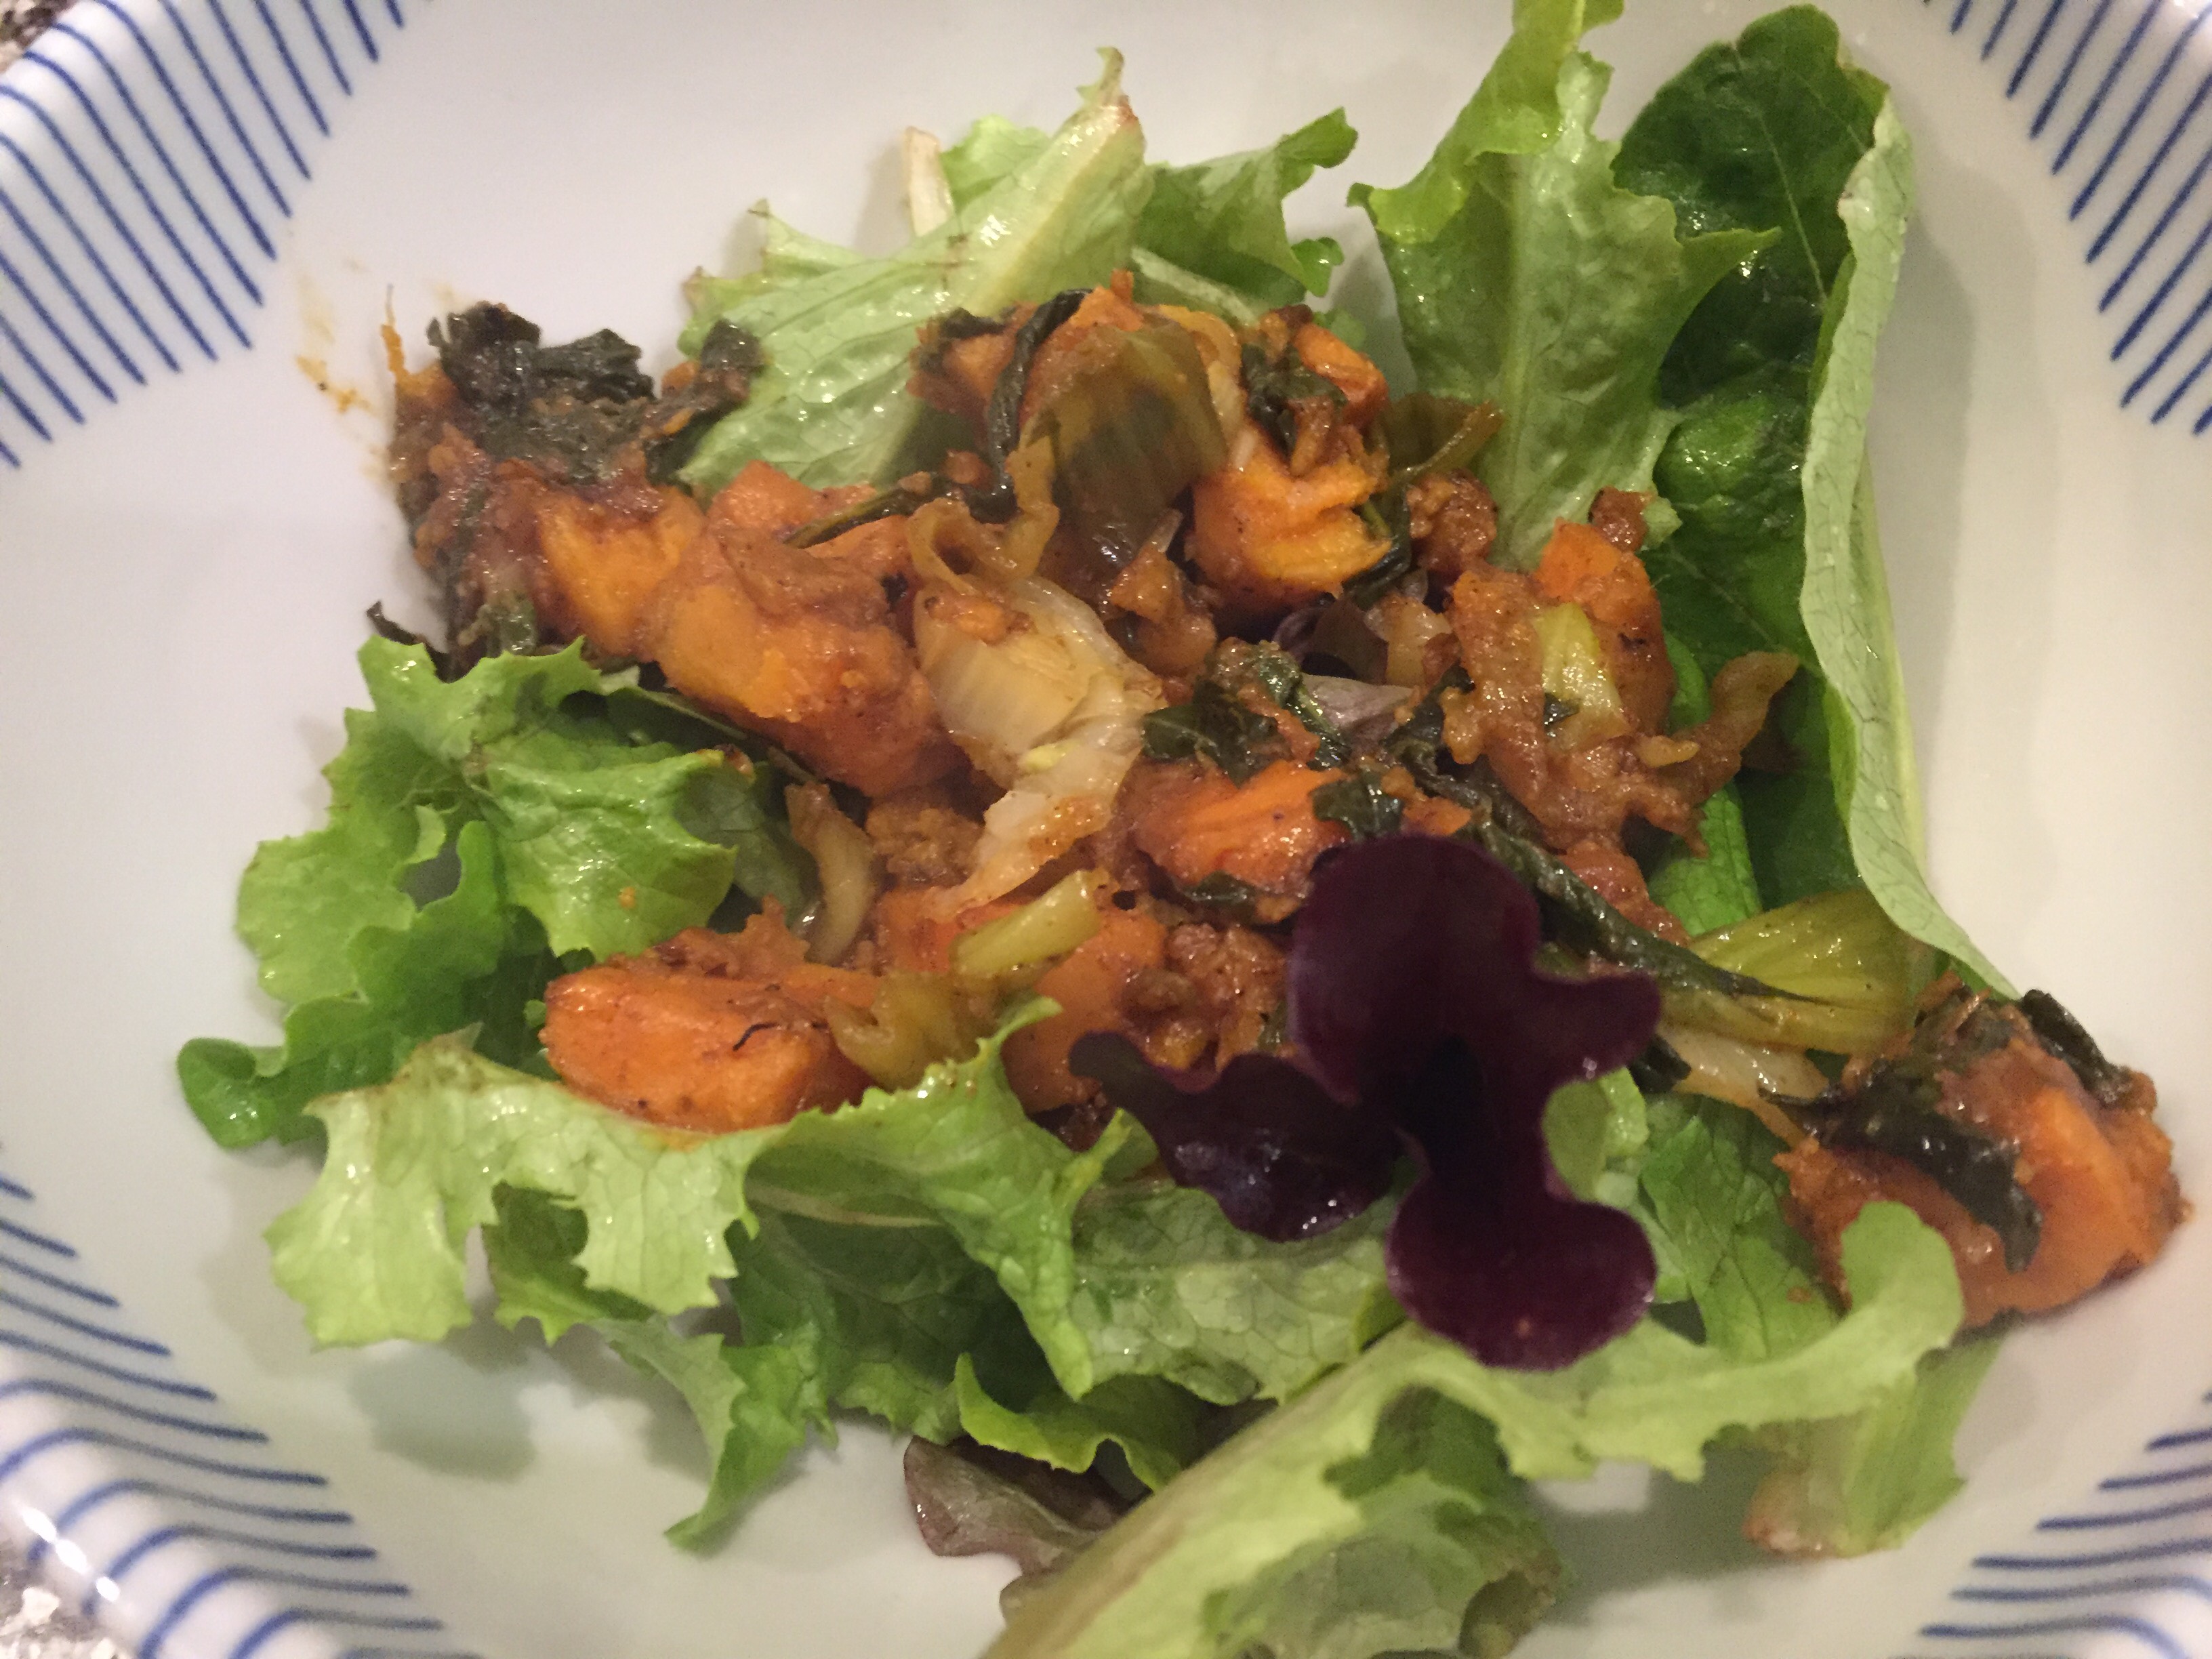
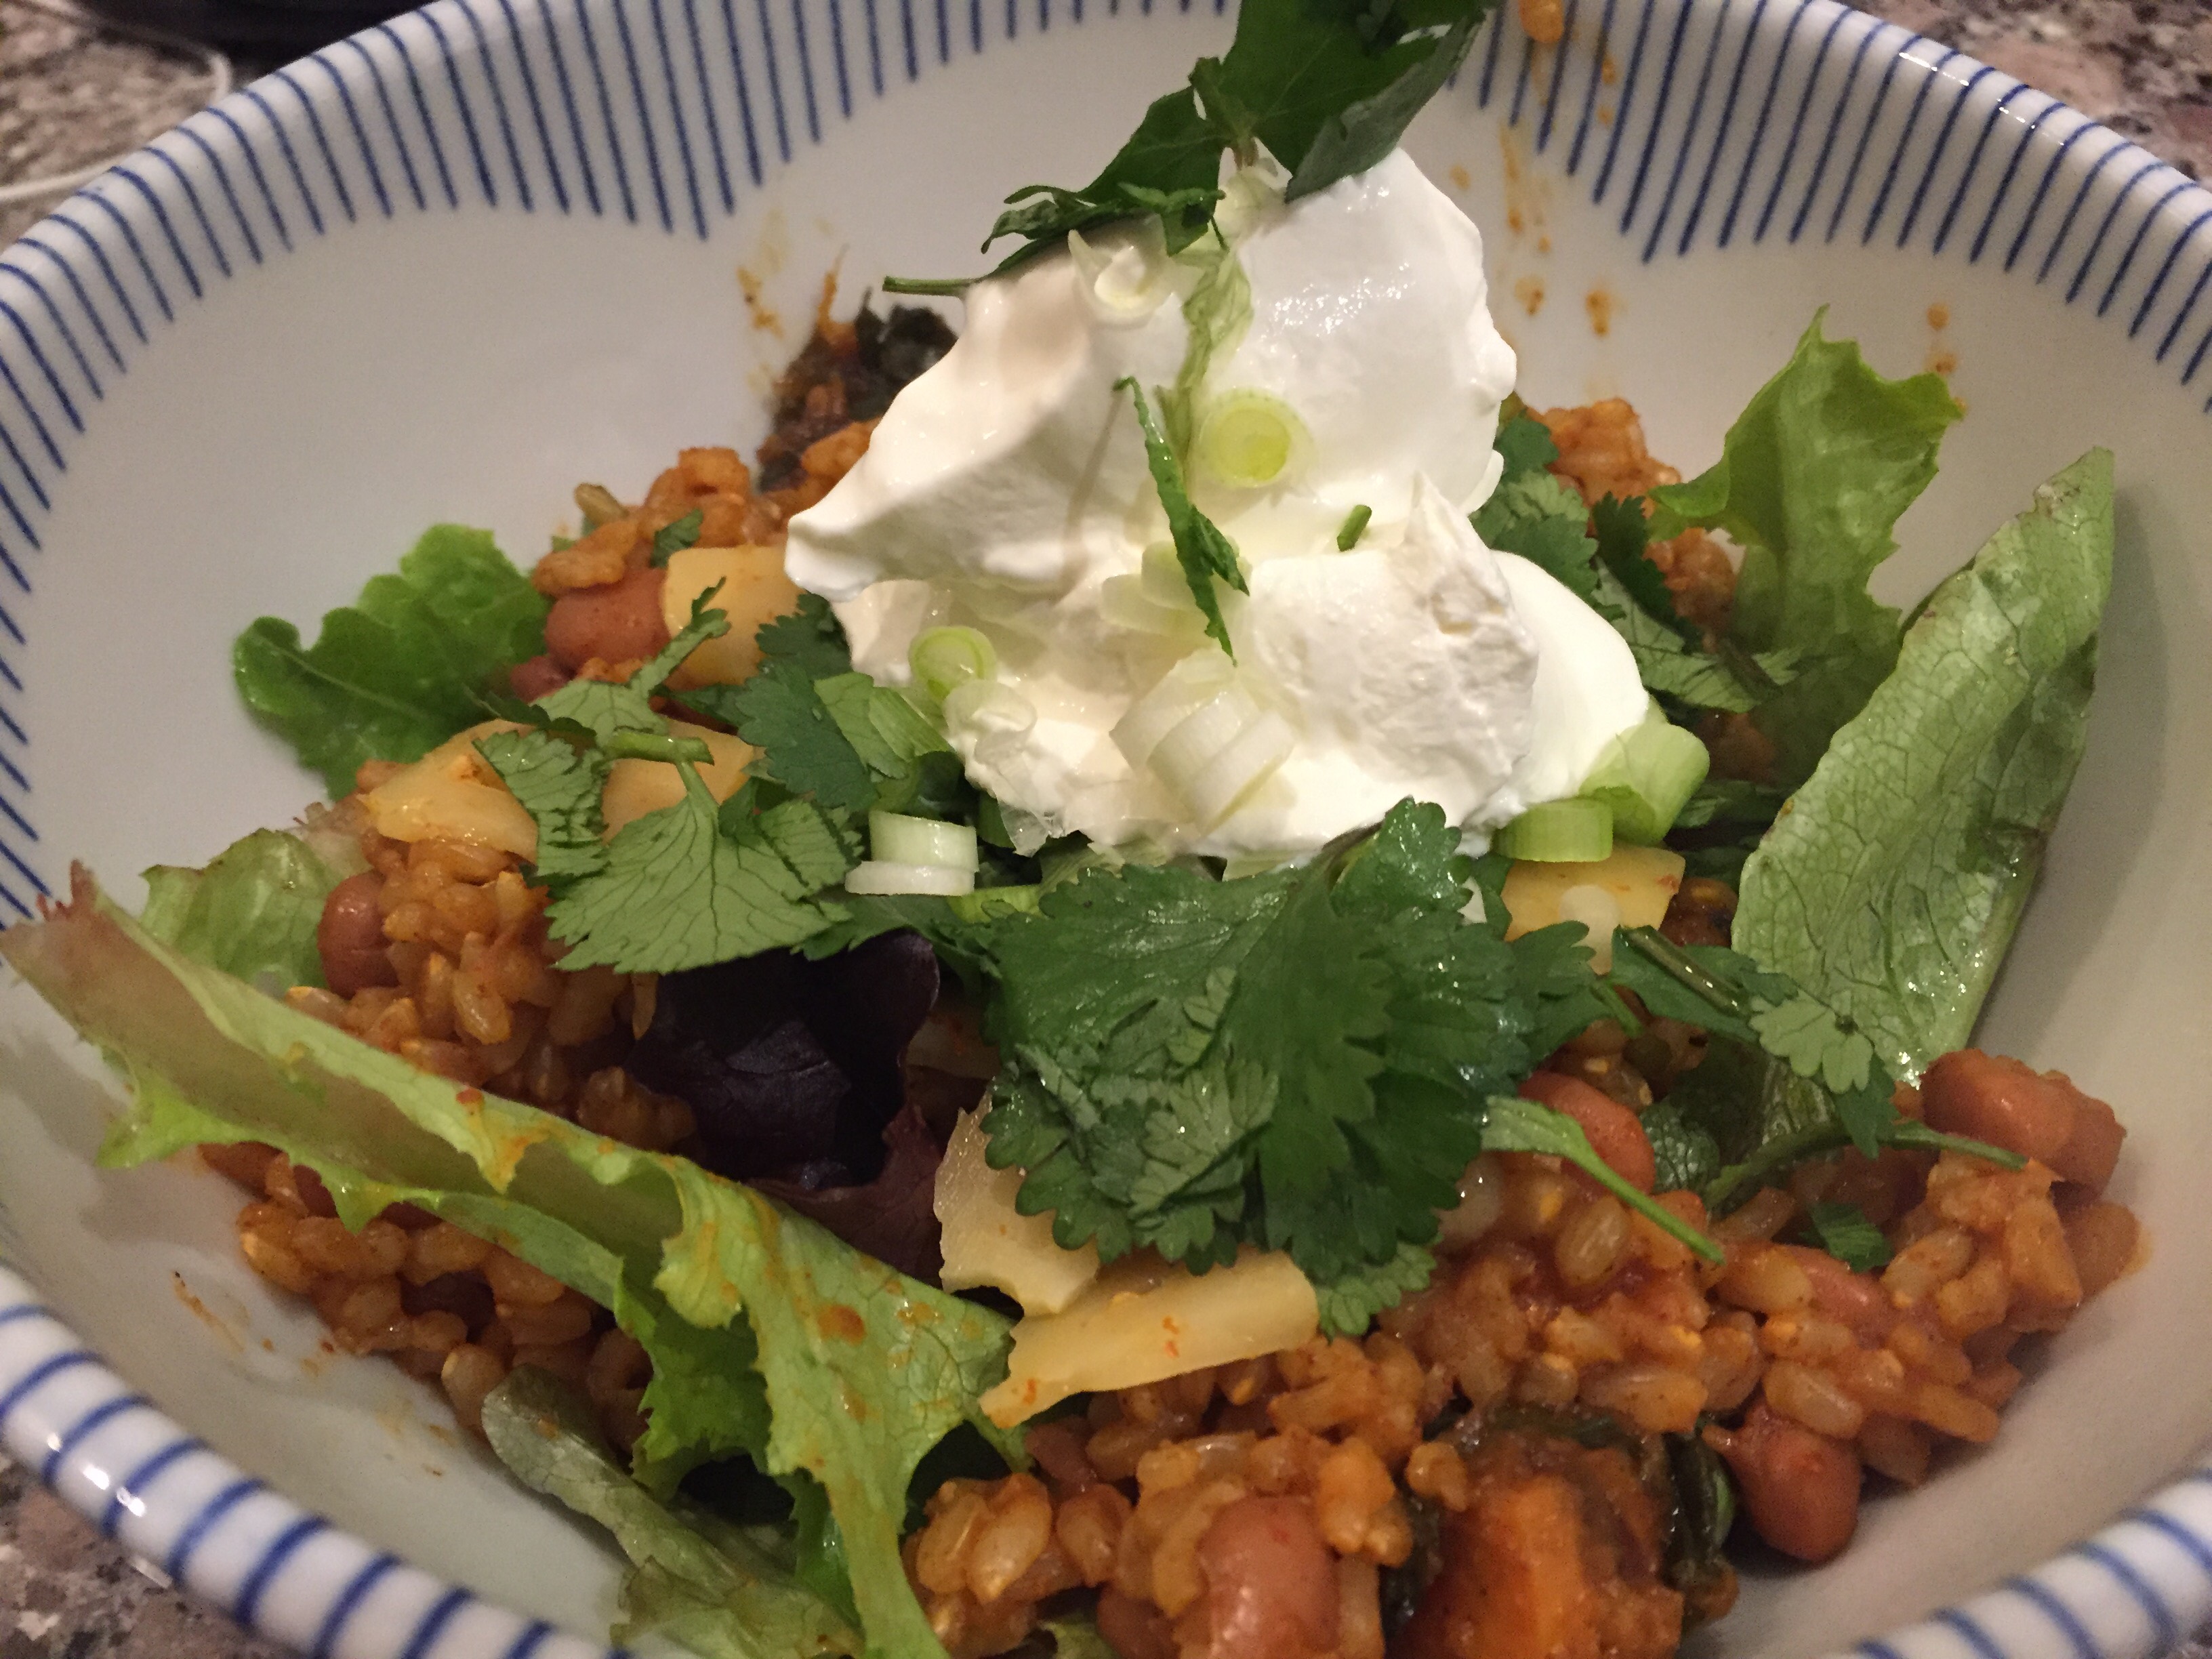
I like to make a big mixed up bowl of everything. Start by layering a bed of lettuce in the bottom of your bowl (or plate). Add a scoop of the sweet potatoes and bok choy. Next top with the rice and beans mixture. Sprinkle with the chopped herbs, and desired optional toppings!
Serve with corn chips or tortillas. And ENJOY!!
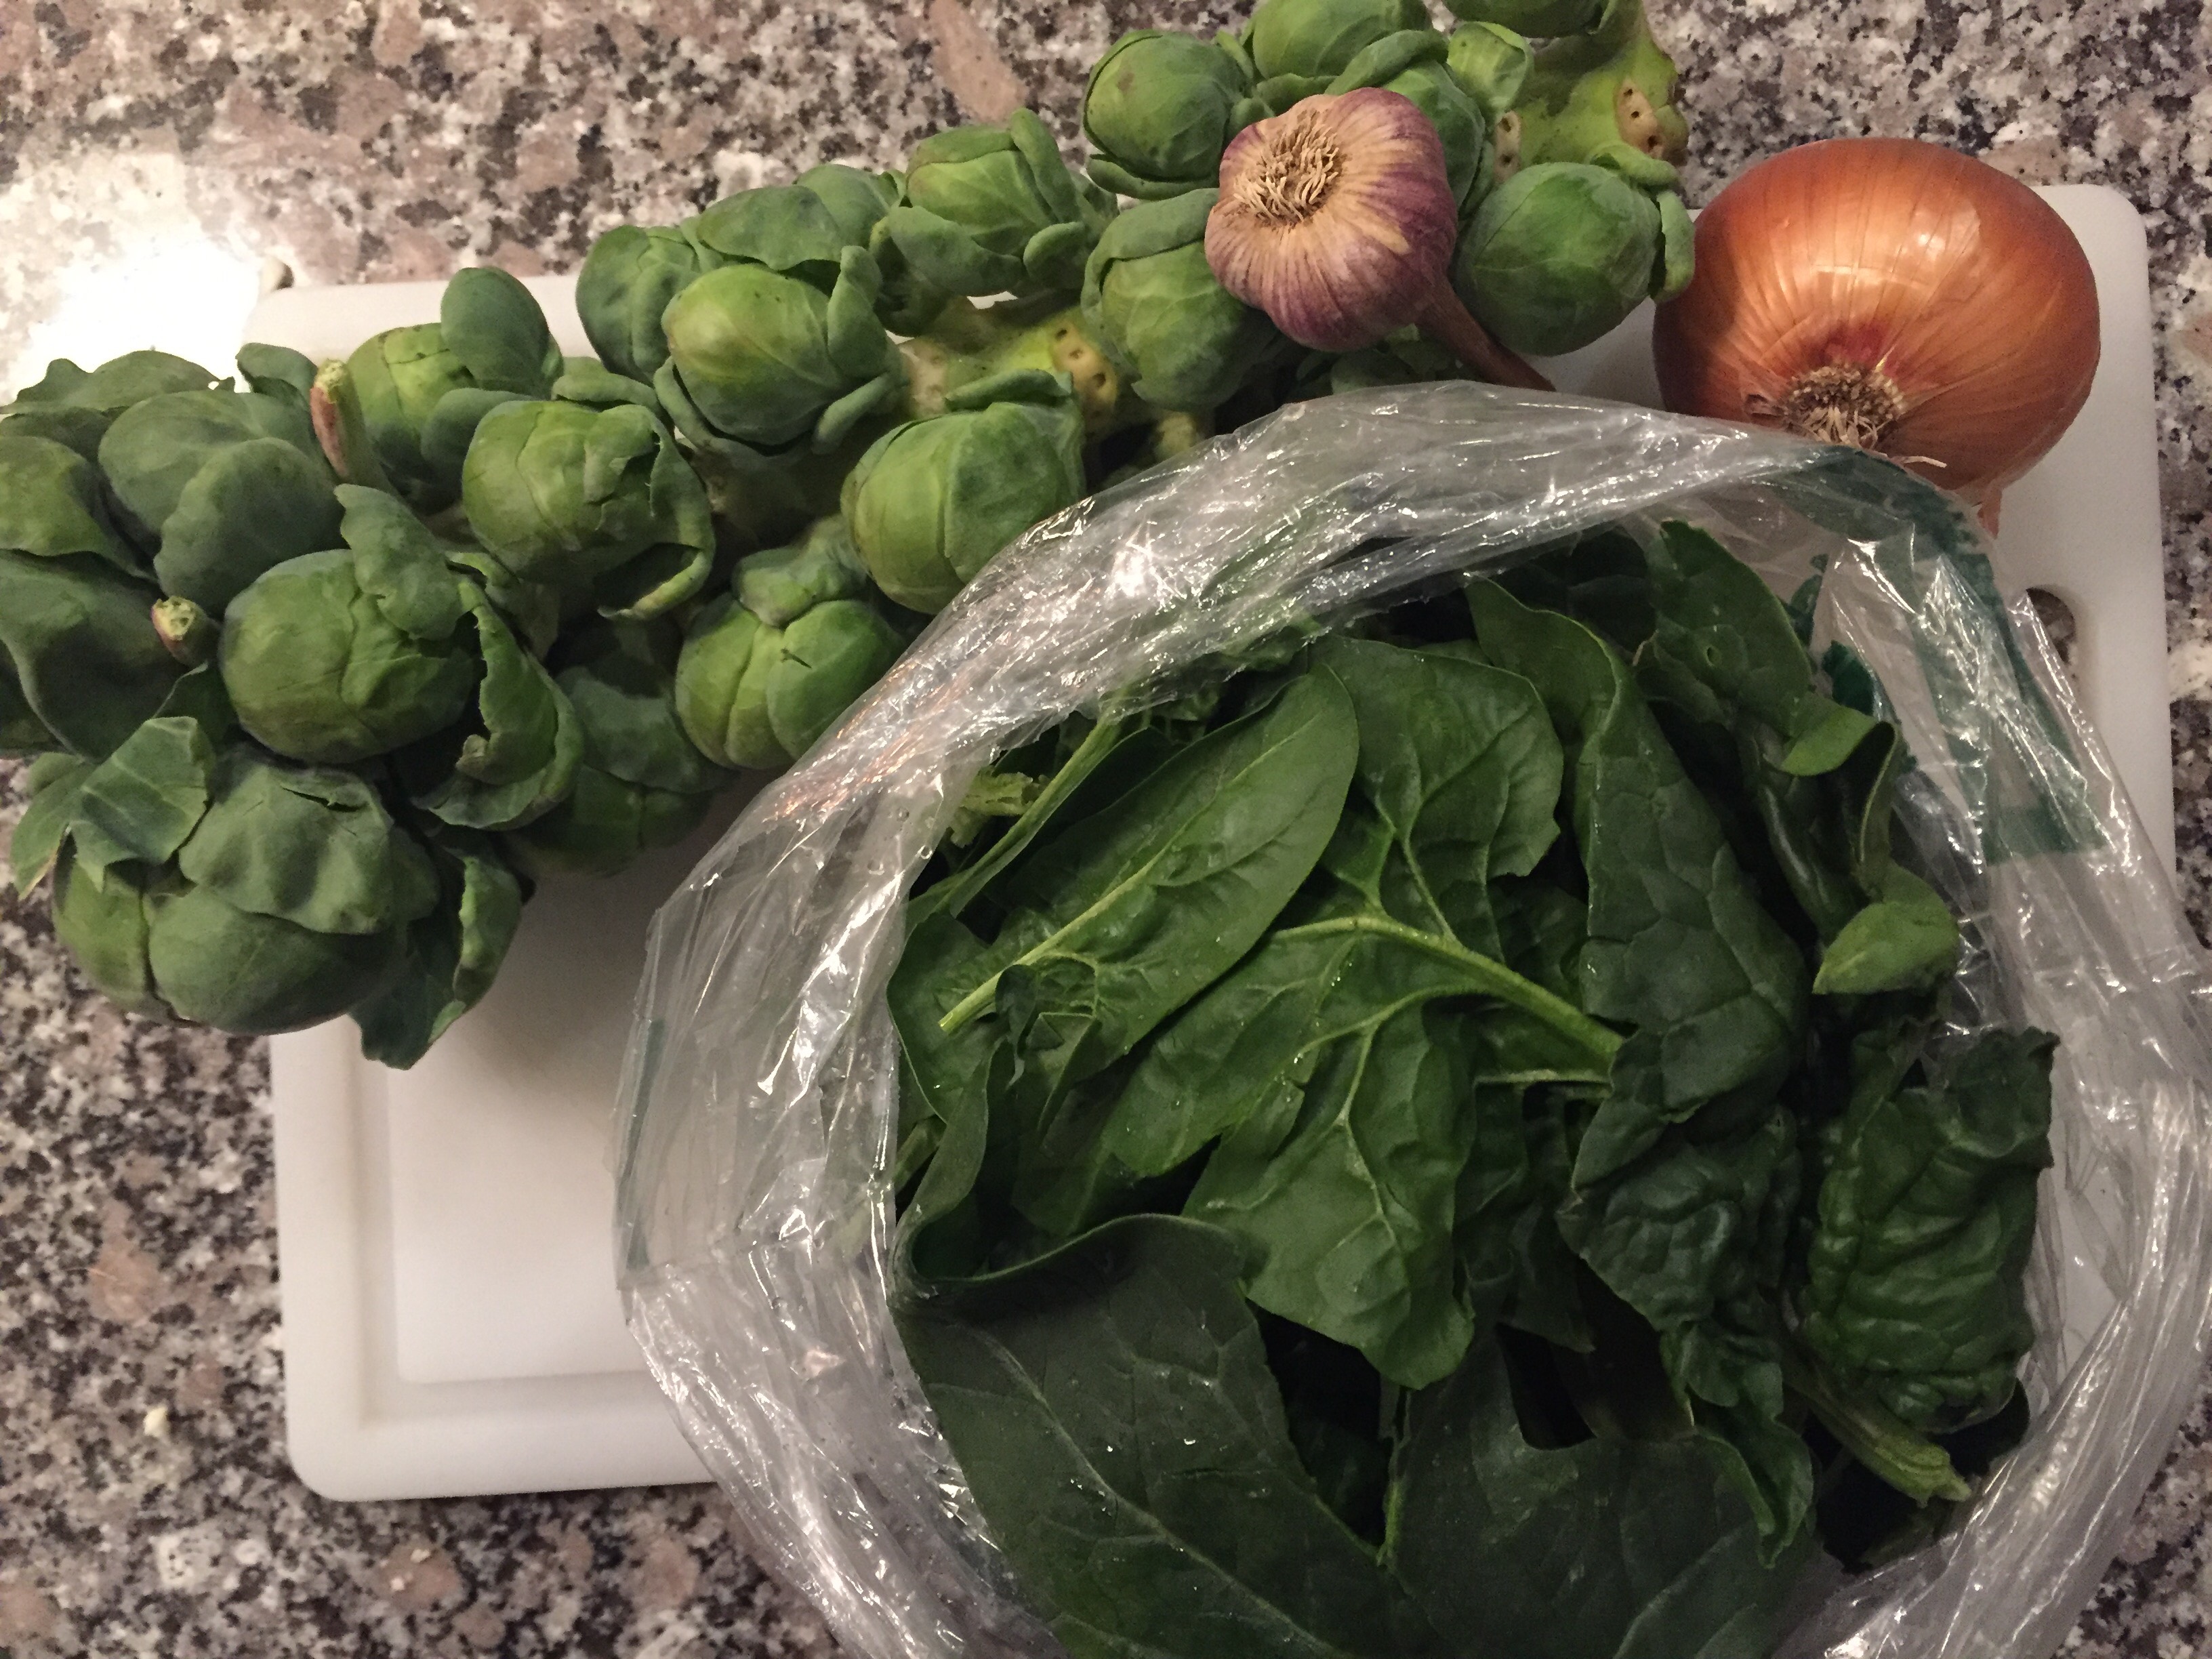
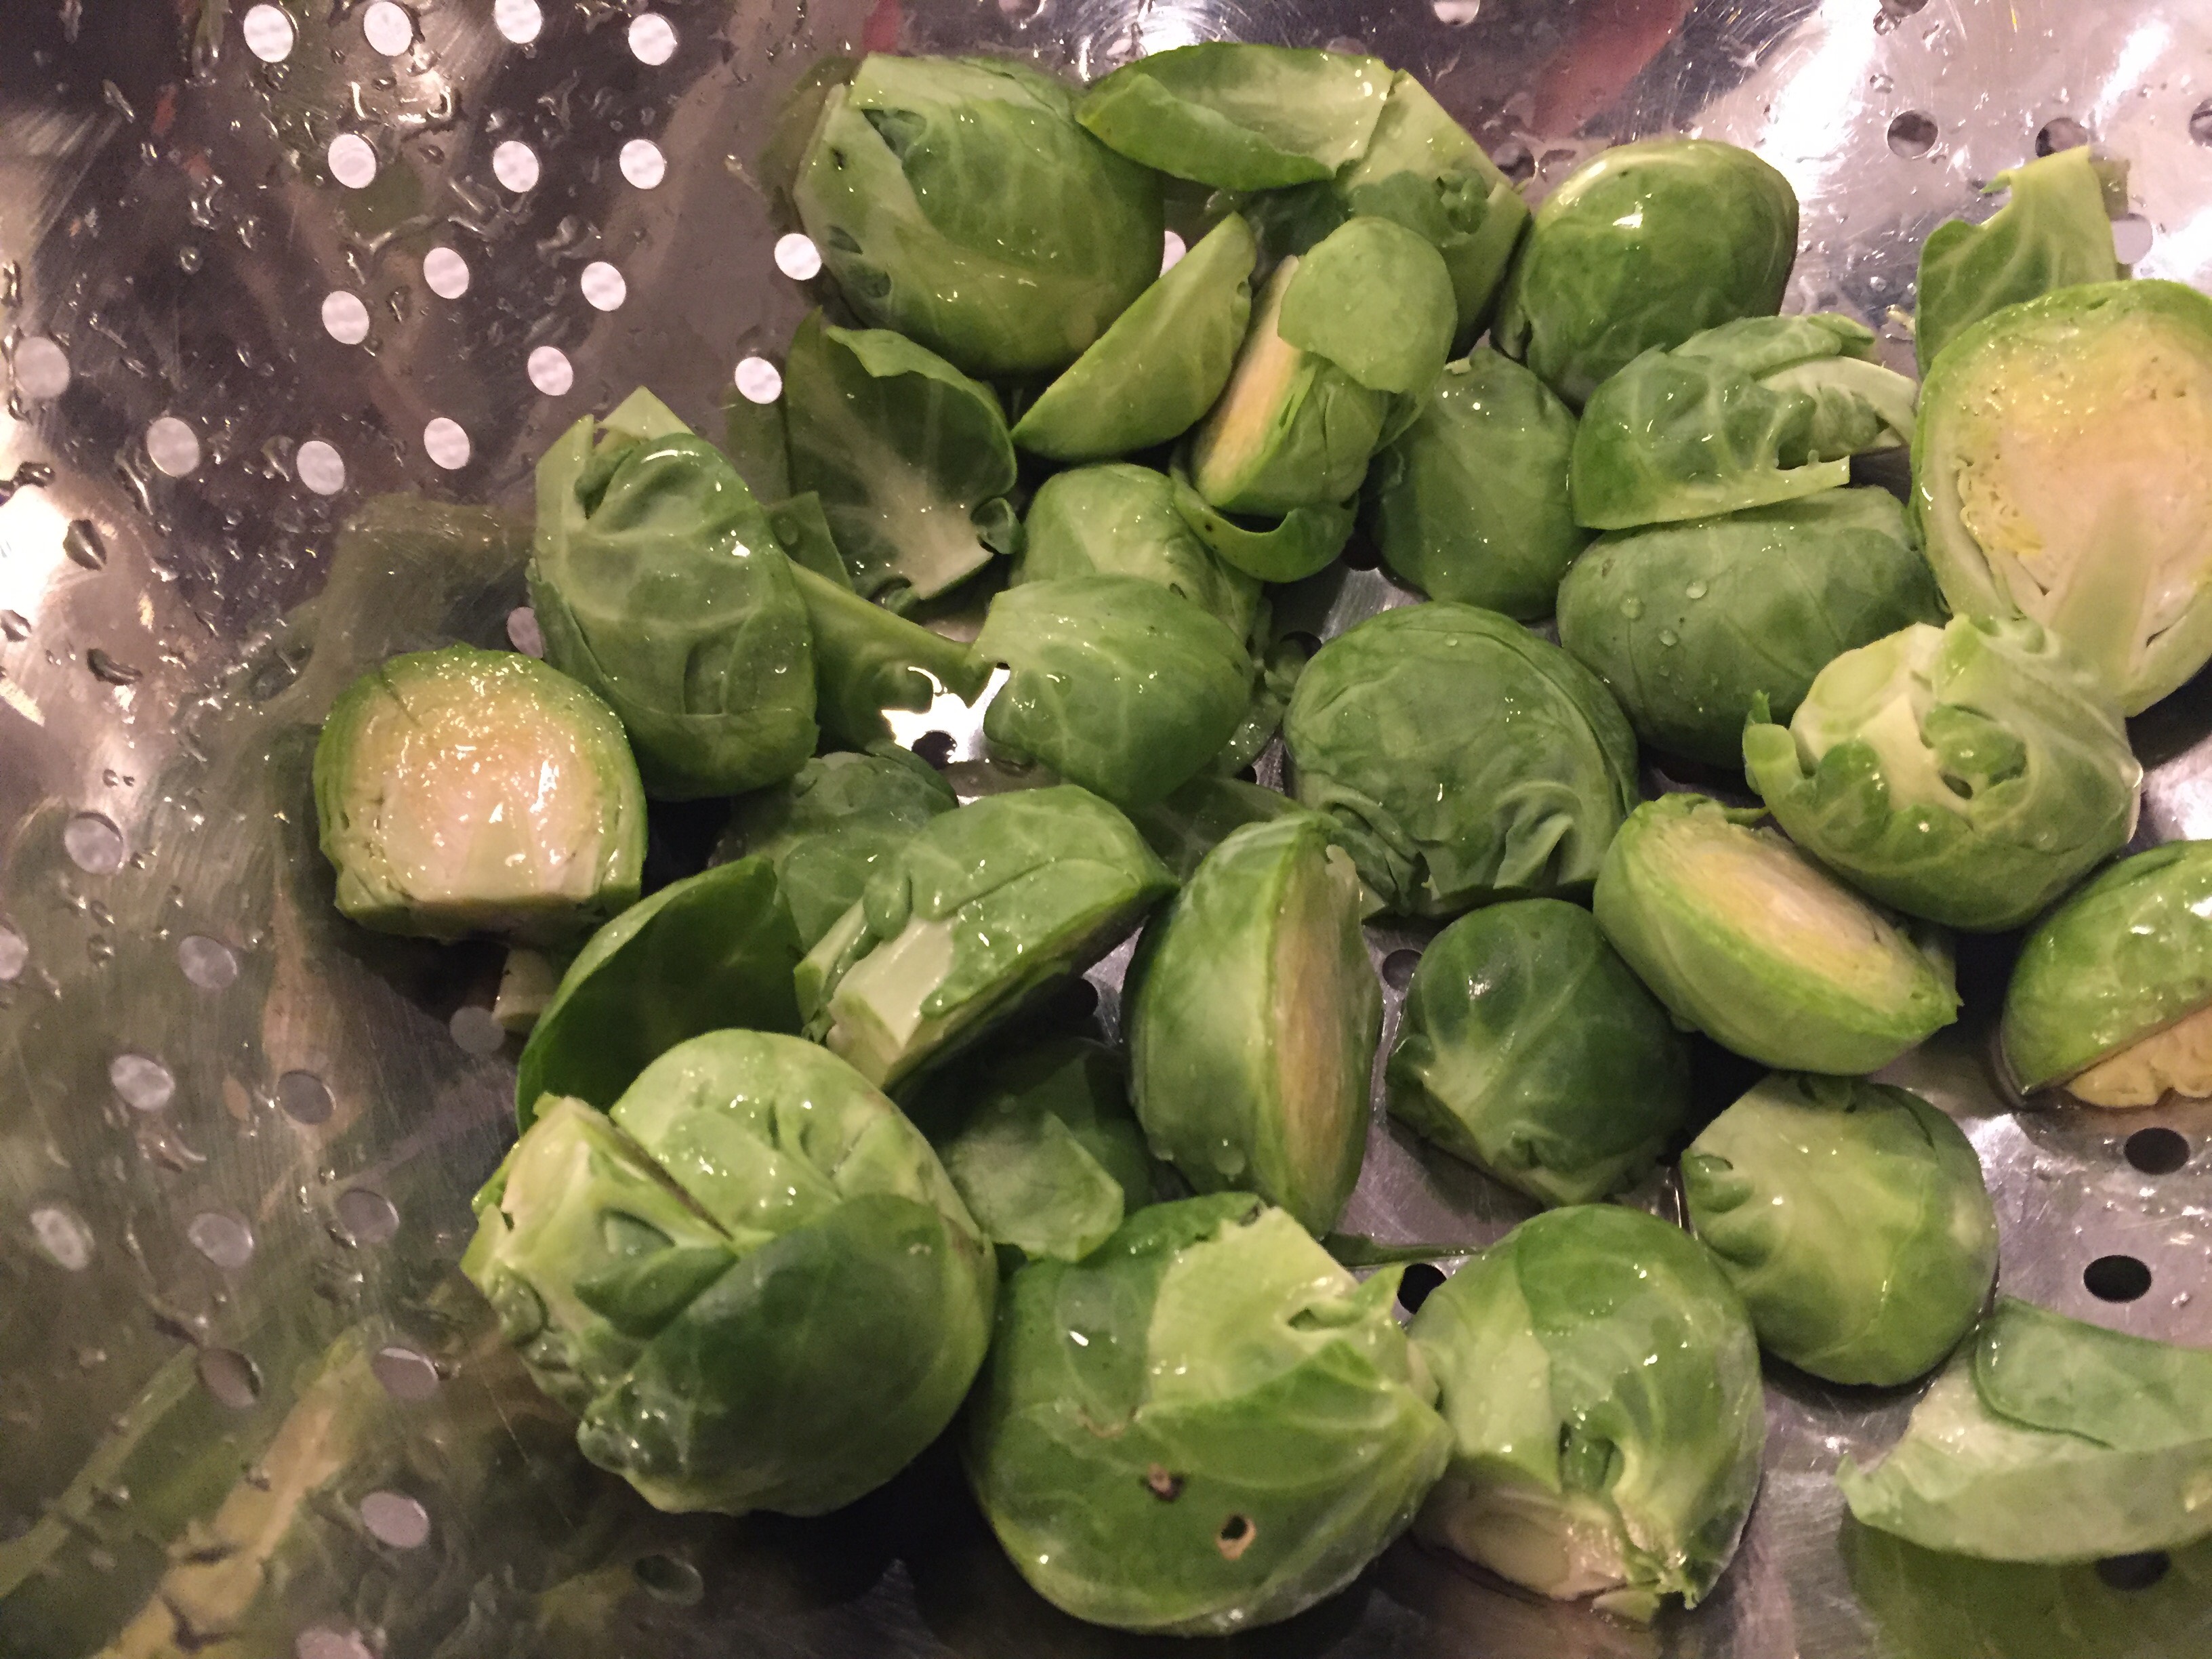
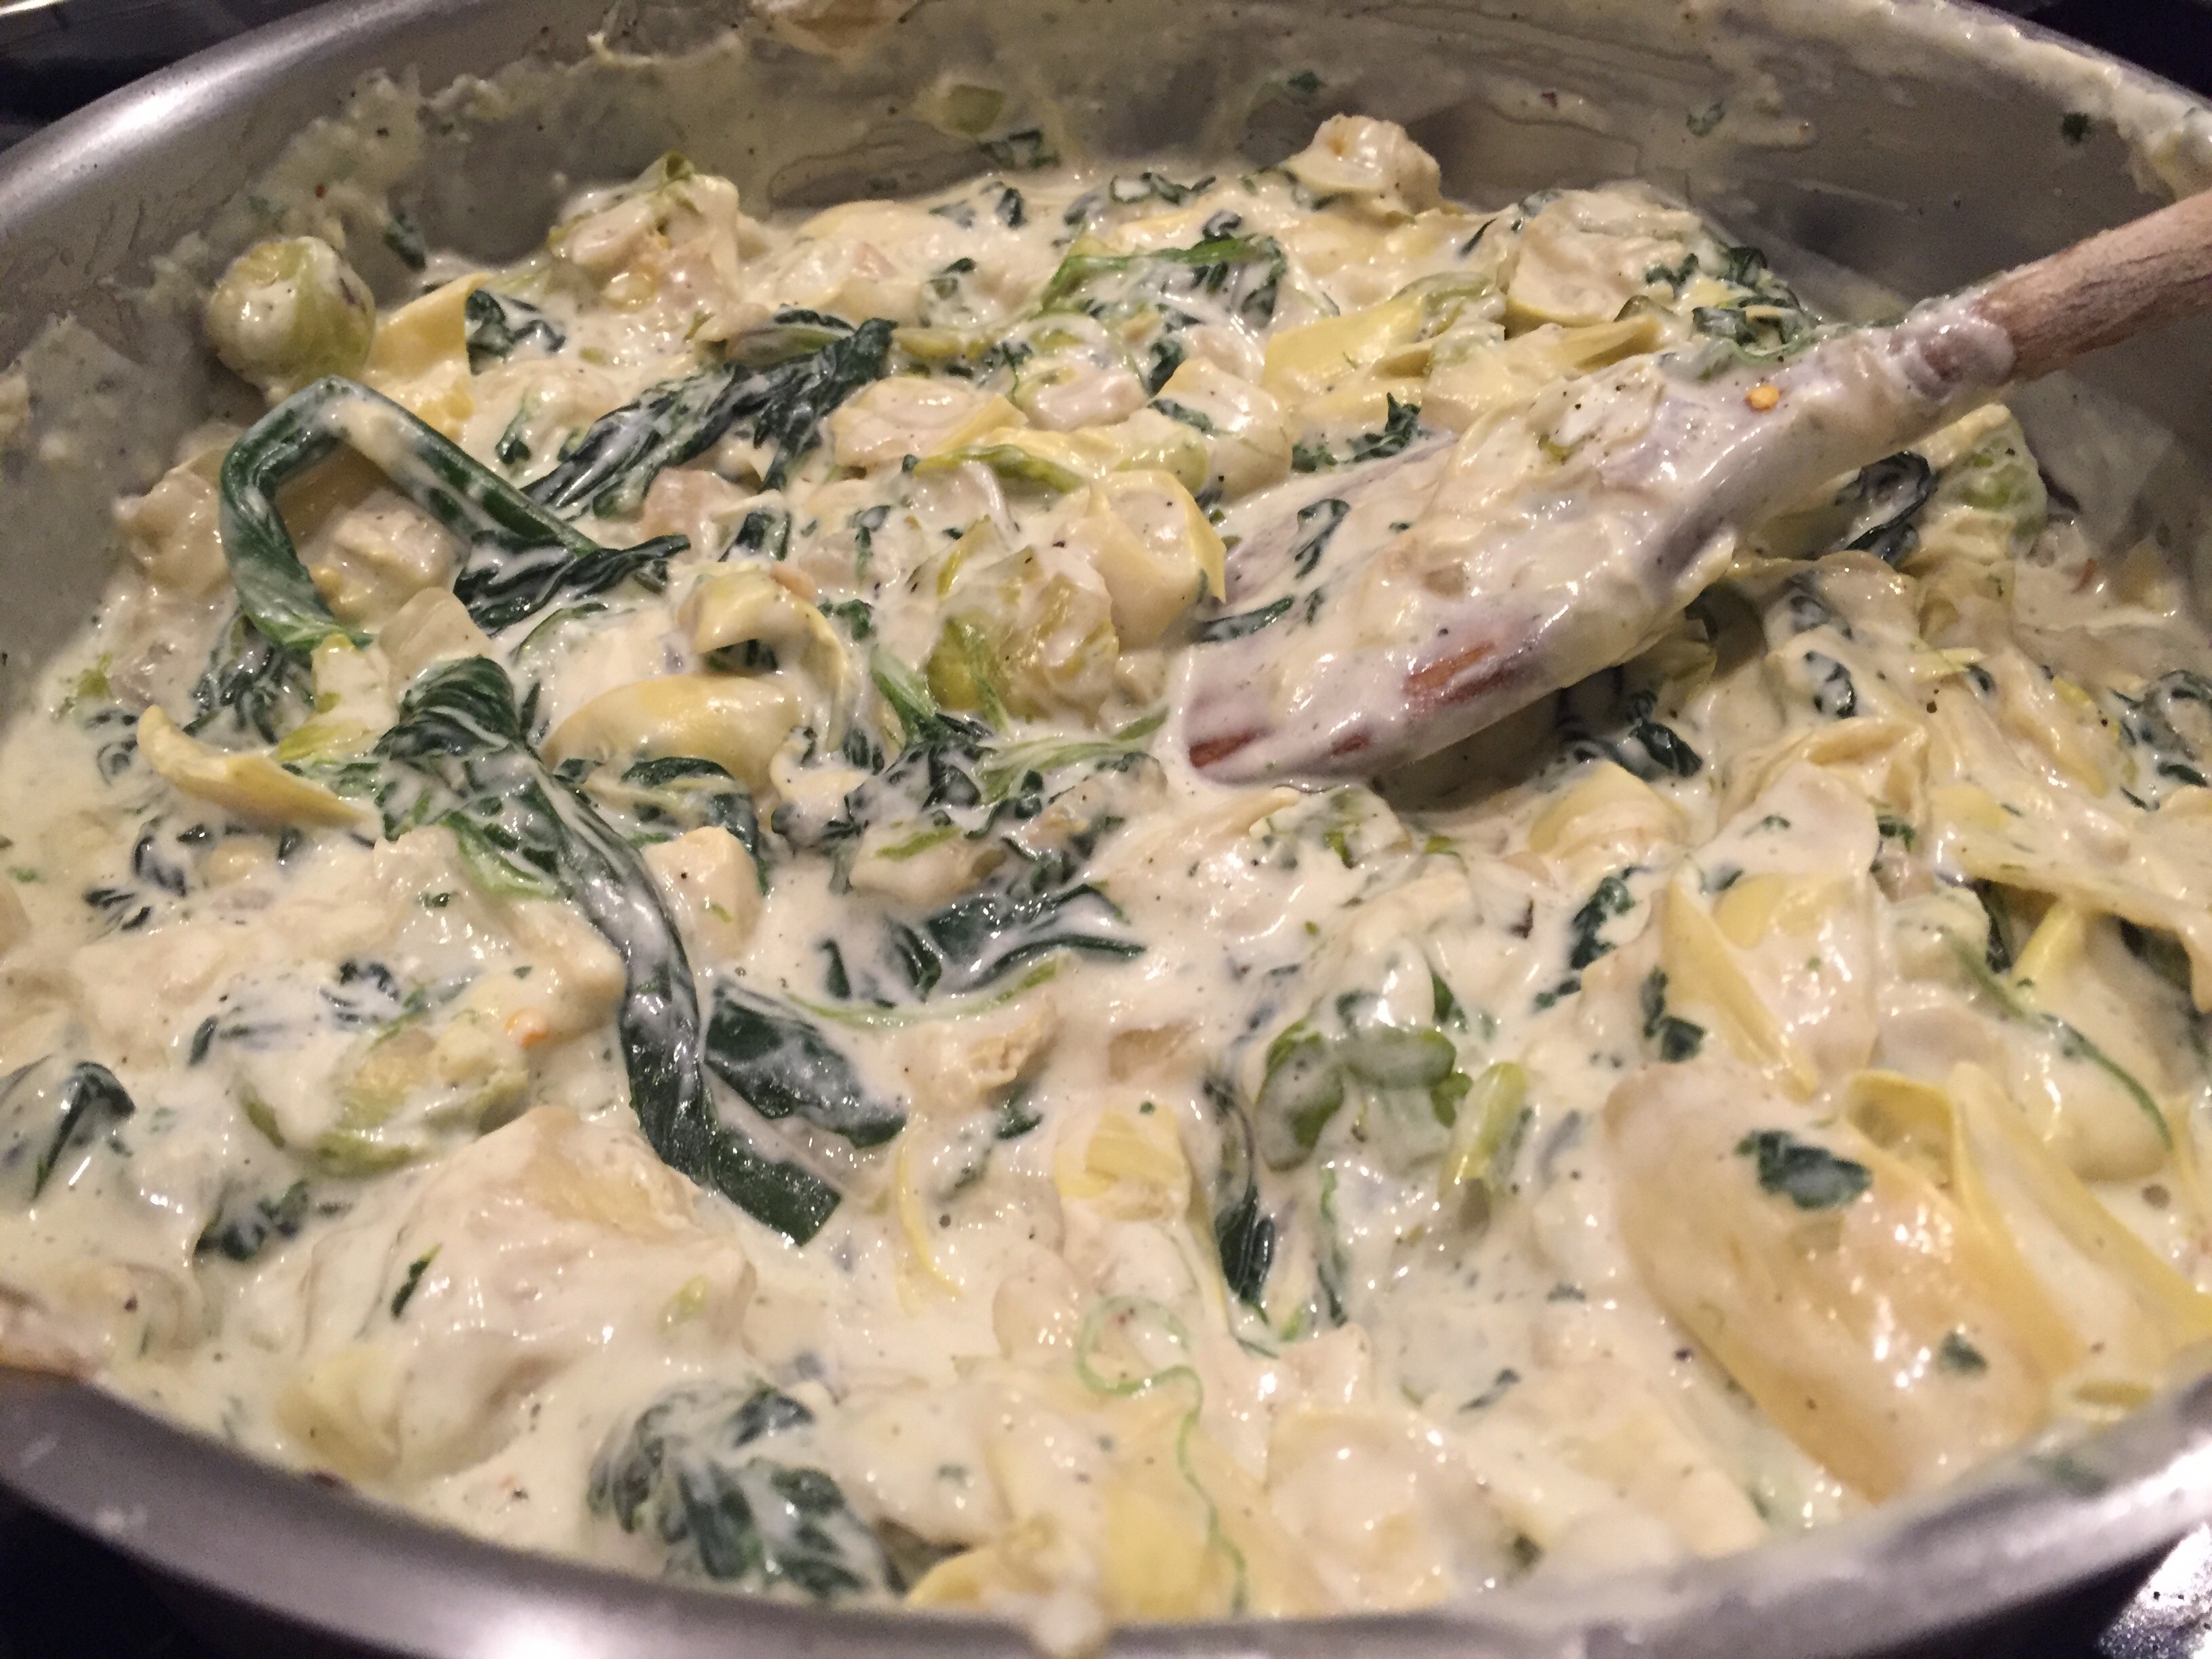
Have you ever found yourself unable to stop eating a really great hot dip? Well brace yourself...this week's CSA share includes amazingly green and beautiful brussels sprouts as well as a full bag of dark spinach. This spinach and artichoke dip with a twist will impress all your guests. Another awesome tid bit: you can make this ahead of time and let it sit overnight, all you have to do the day of is bake about 15 minutes longer than suggested baking time in this recipe. 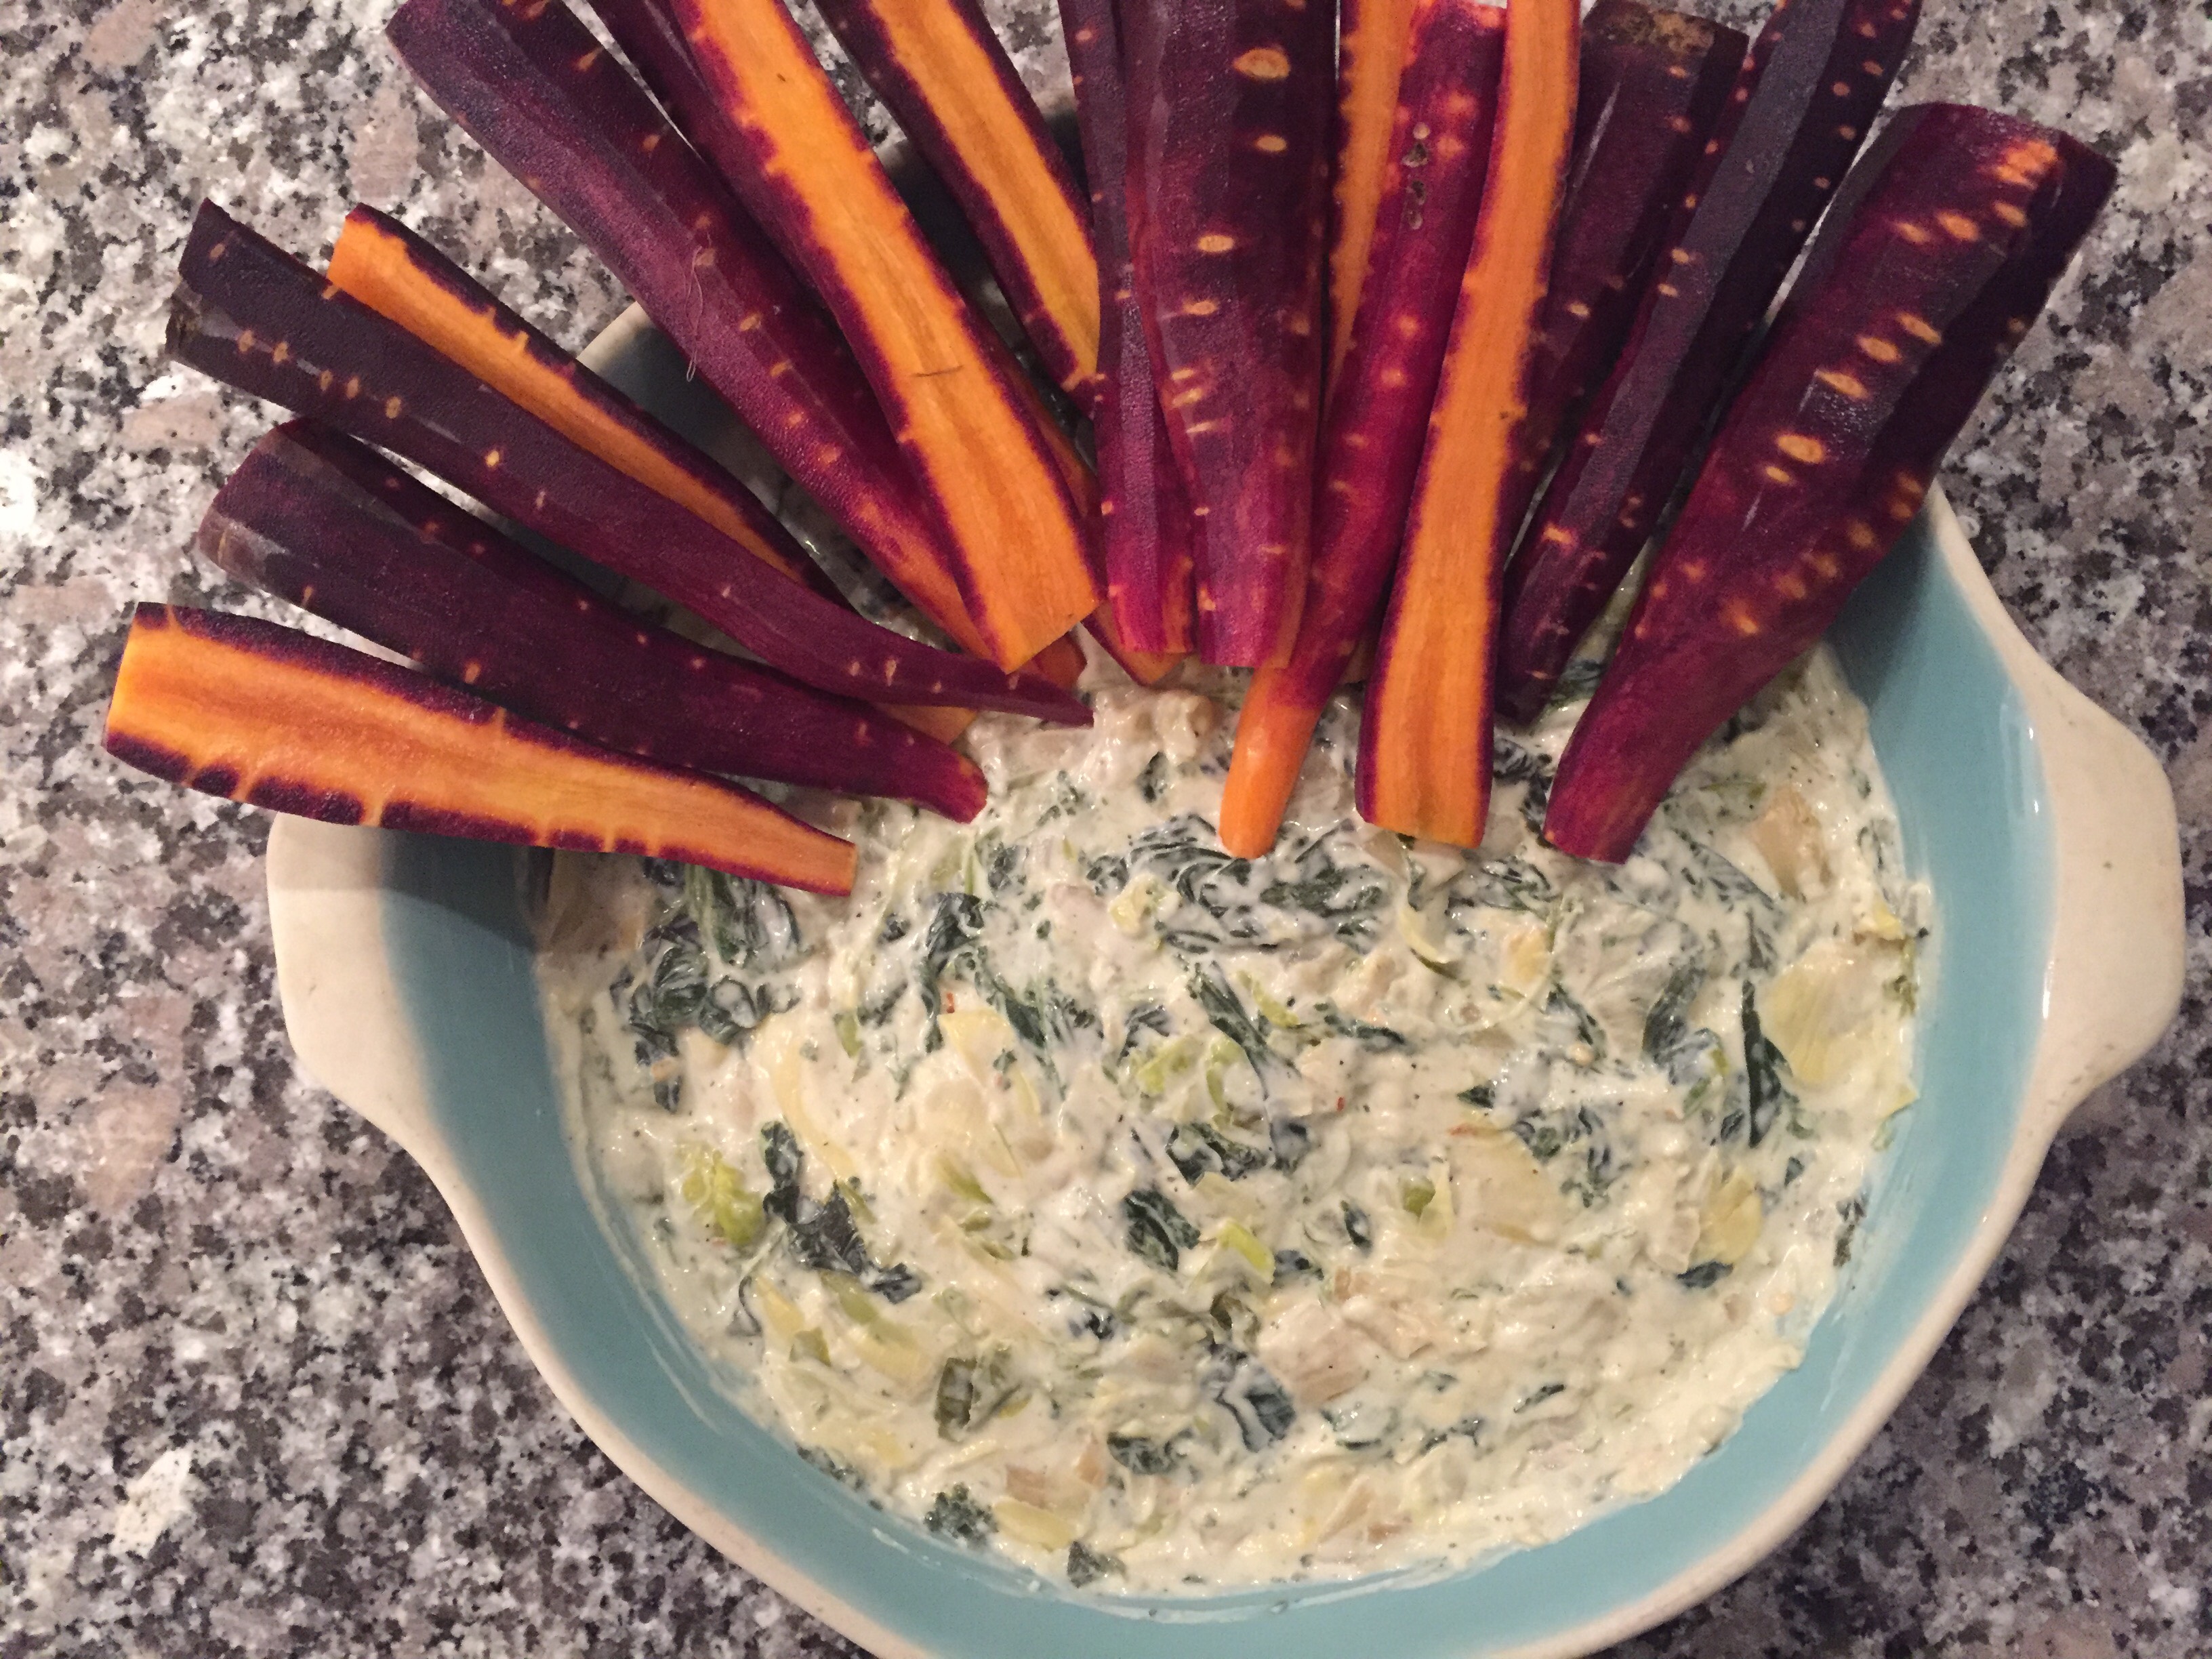 Ingredients: 1/2 lb spinach 12-15 Brussels Sprouts, trimmed, halved and chopped 1 yellow onion diced 2 cloves crushed garlic 2 cans quartered artichoke hearts, drained 1 8oz block cream cheese 1⁄2 cup sour cream 2 cups grated cheese of choice (I like cheddar) Salt and pepper to taste. Carrots, kohlrabi, radishes, salad turnips, or other vegetabes for dipping (I used purple carrots) Corn chips or crackers for dipping
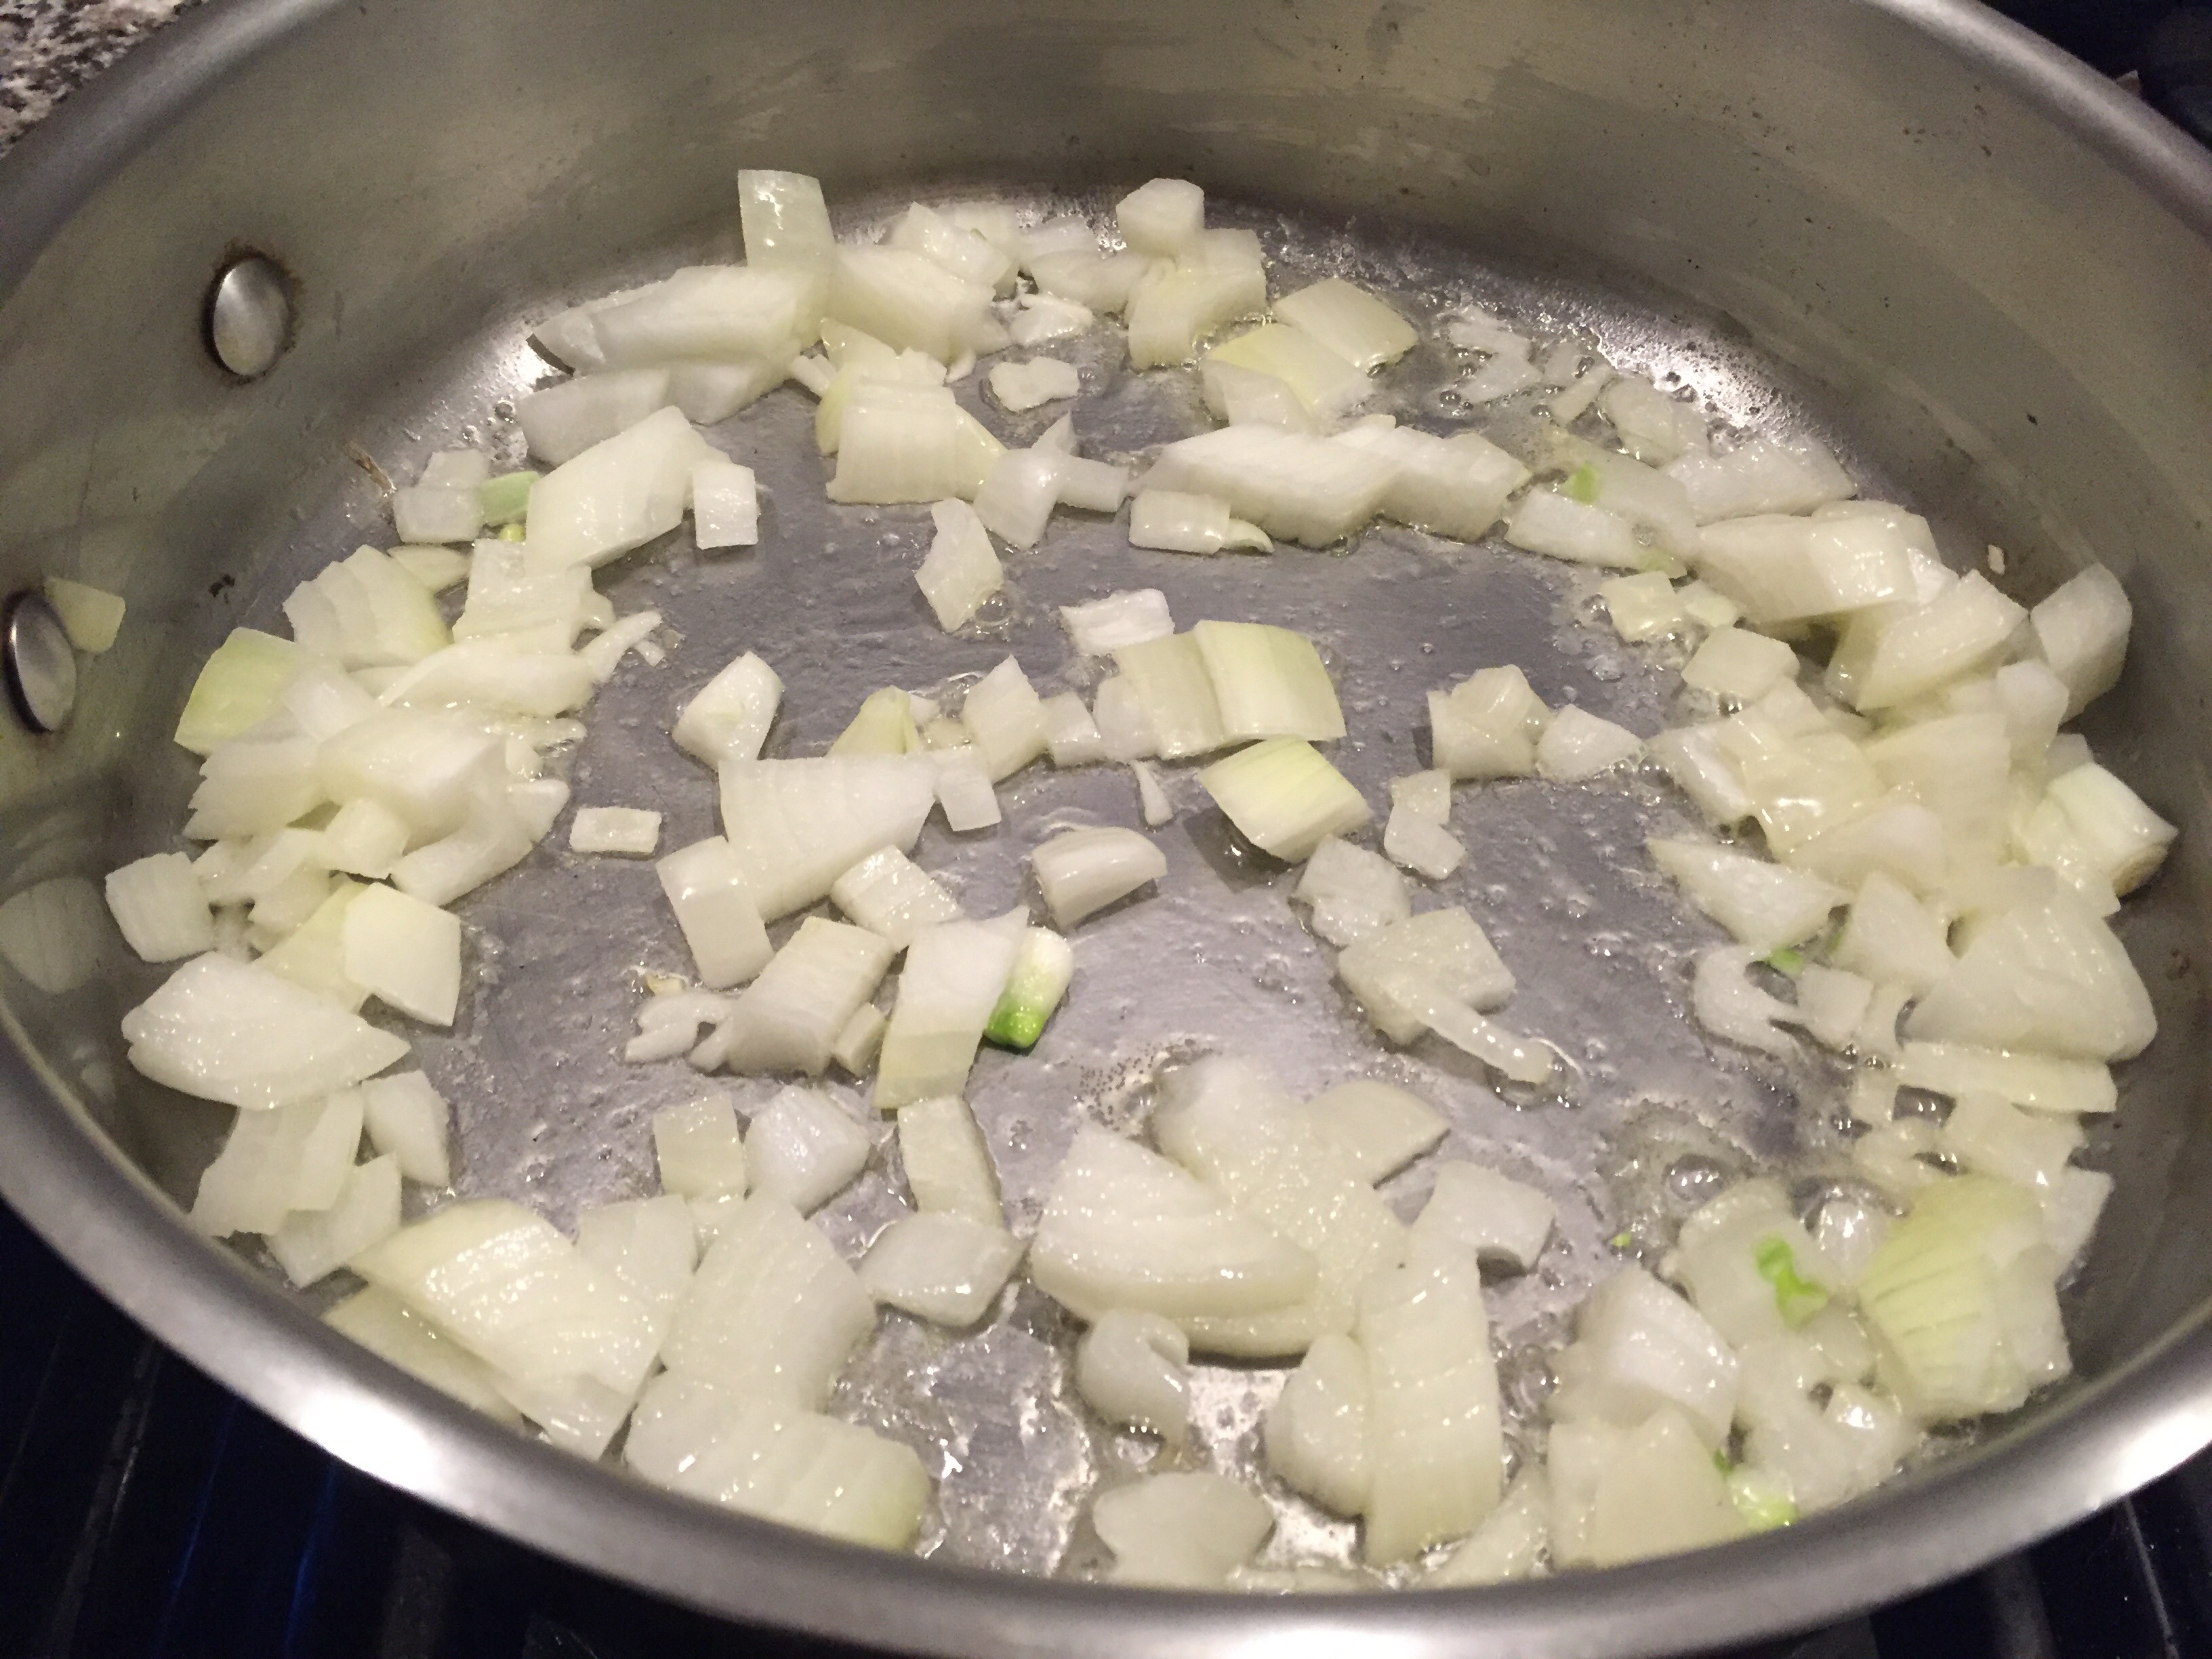
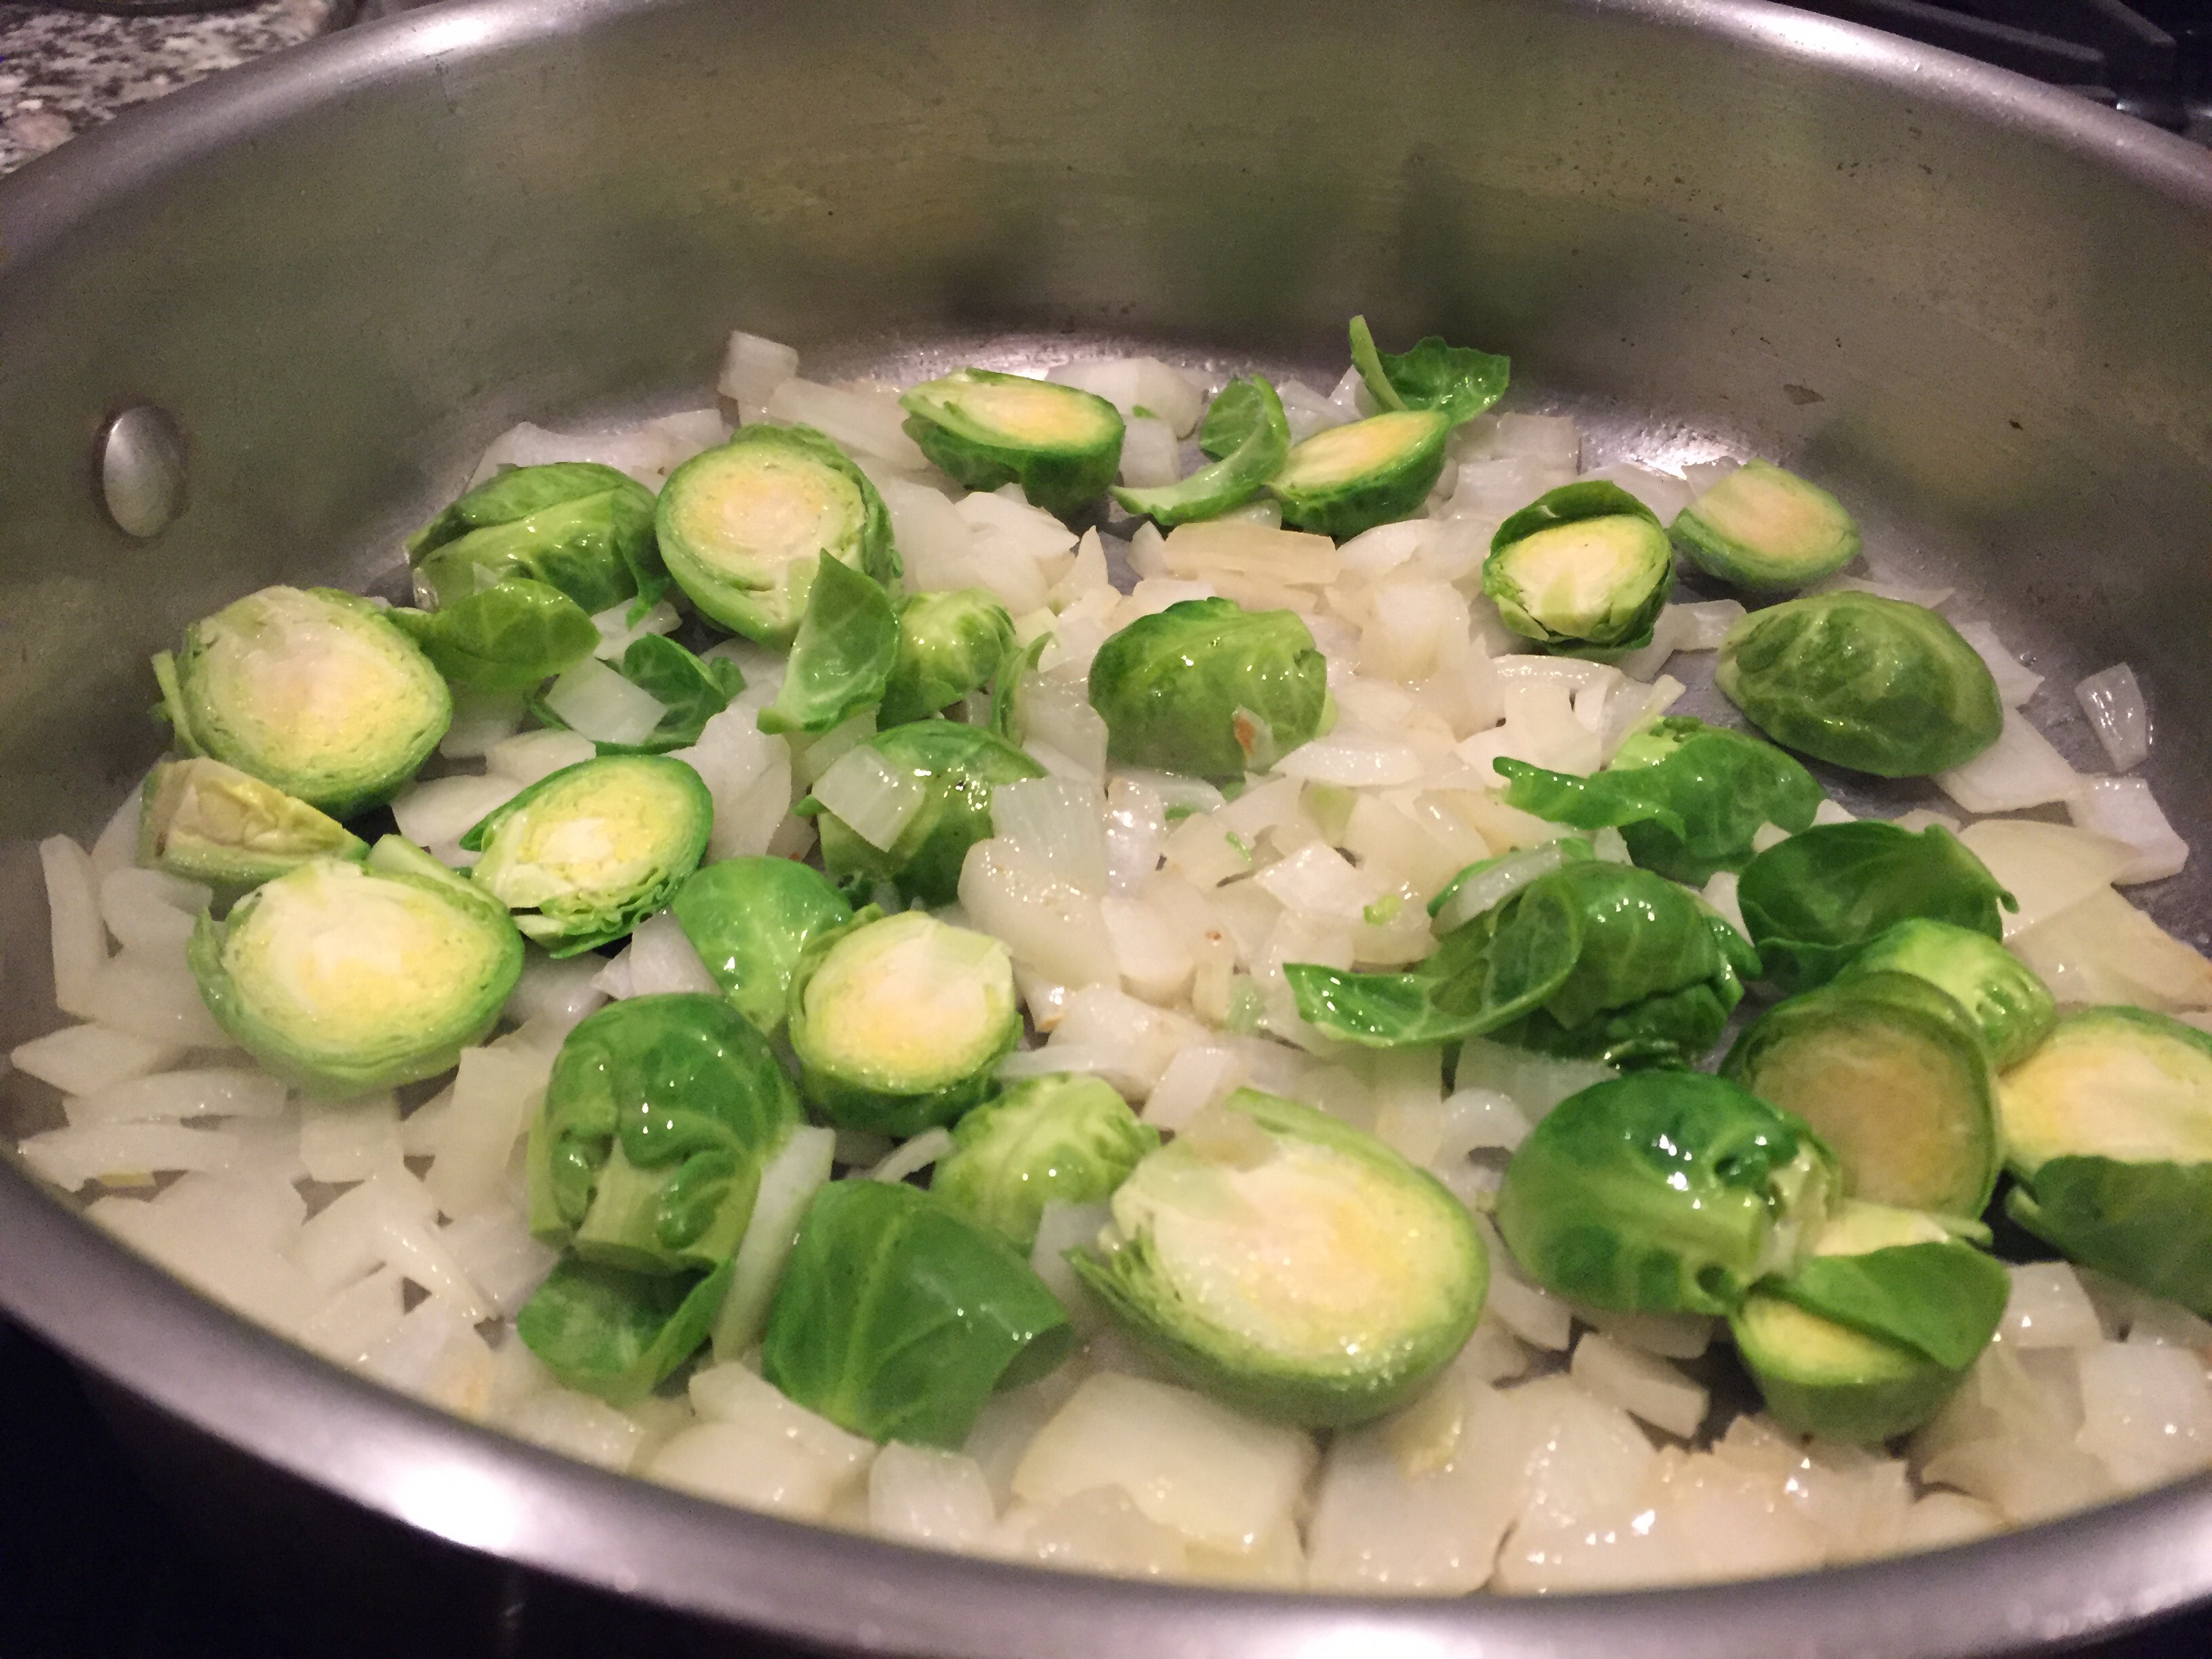
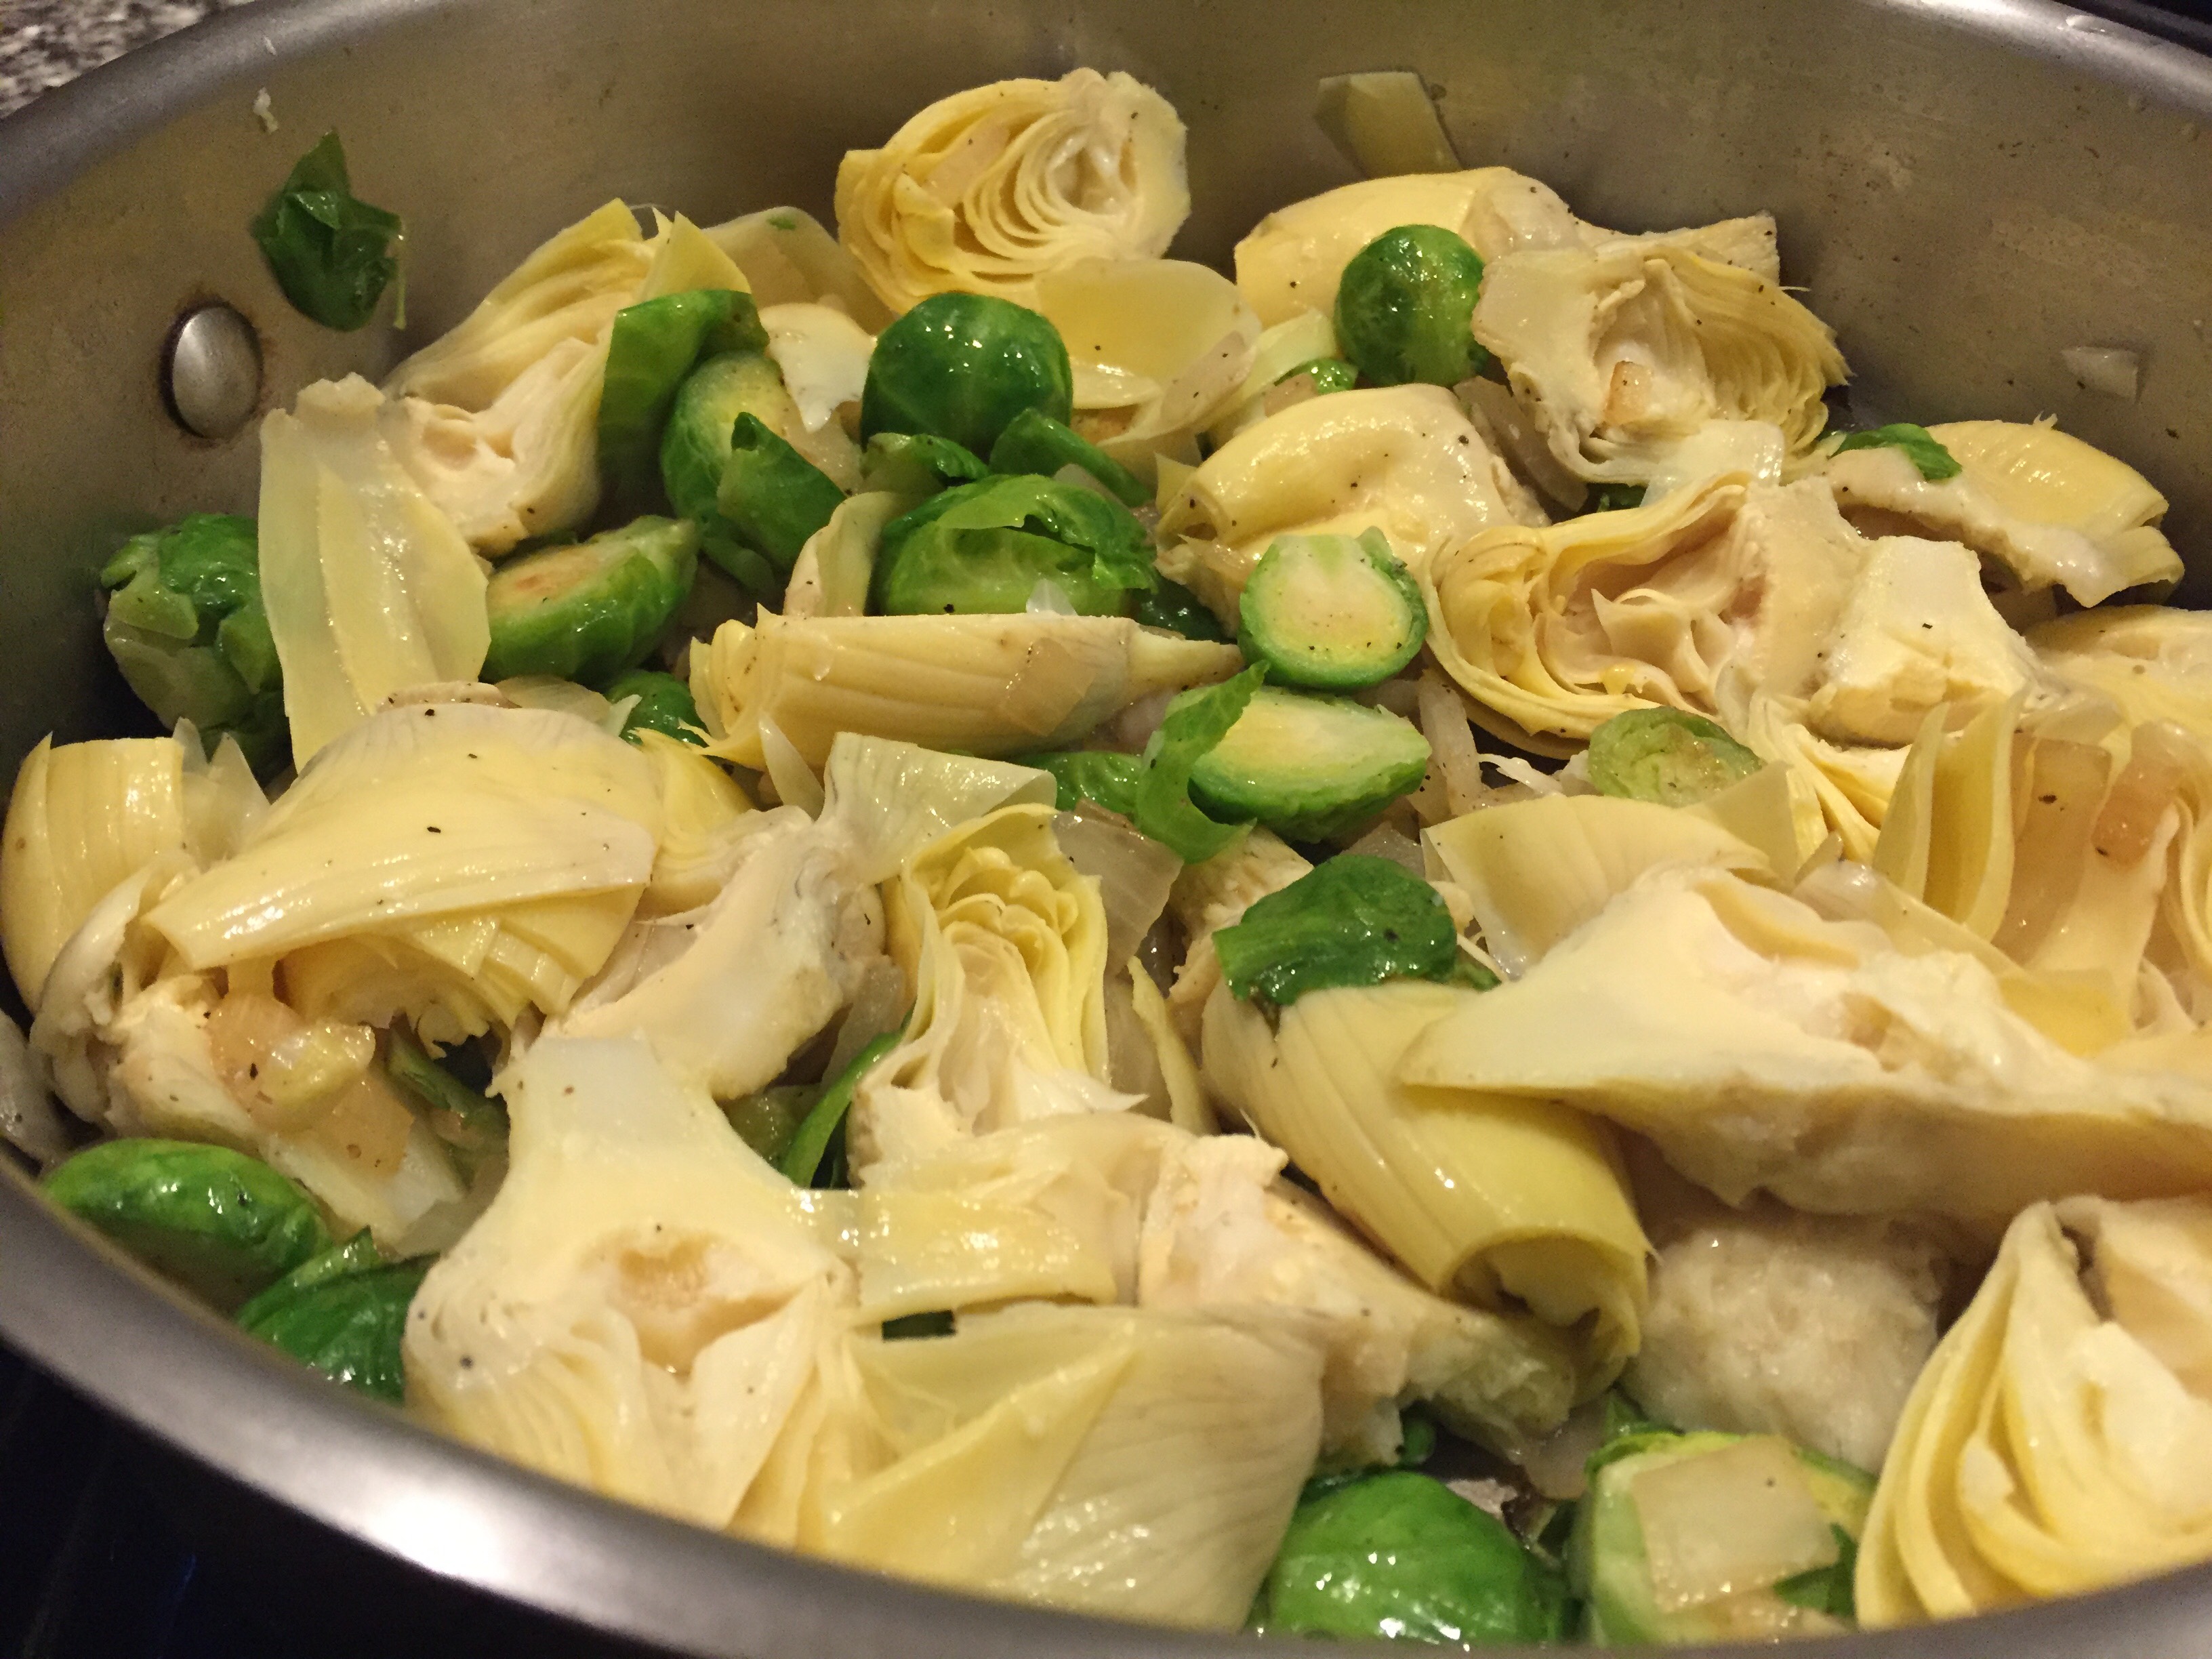
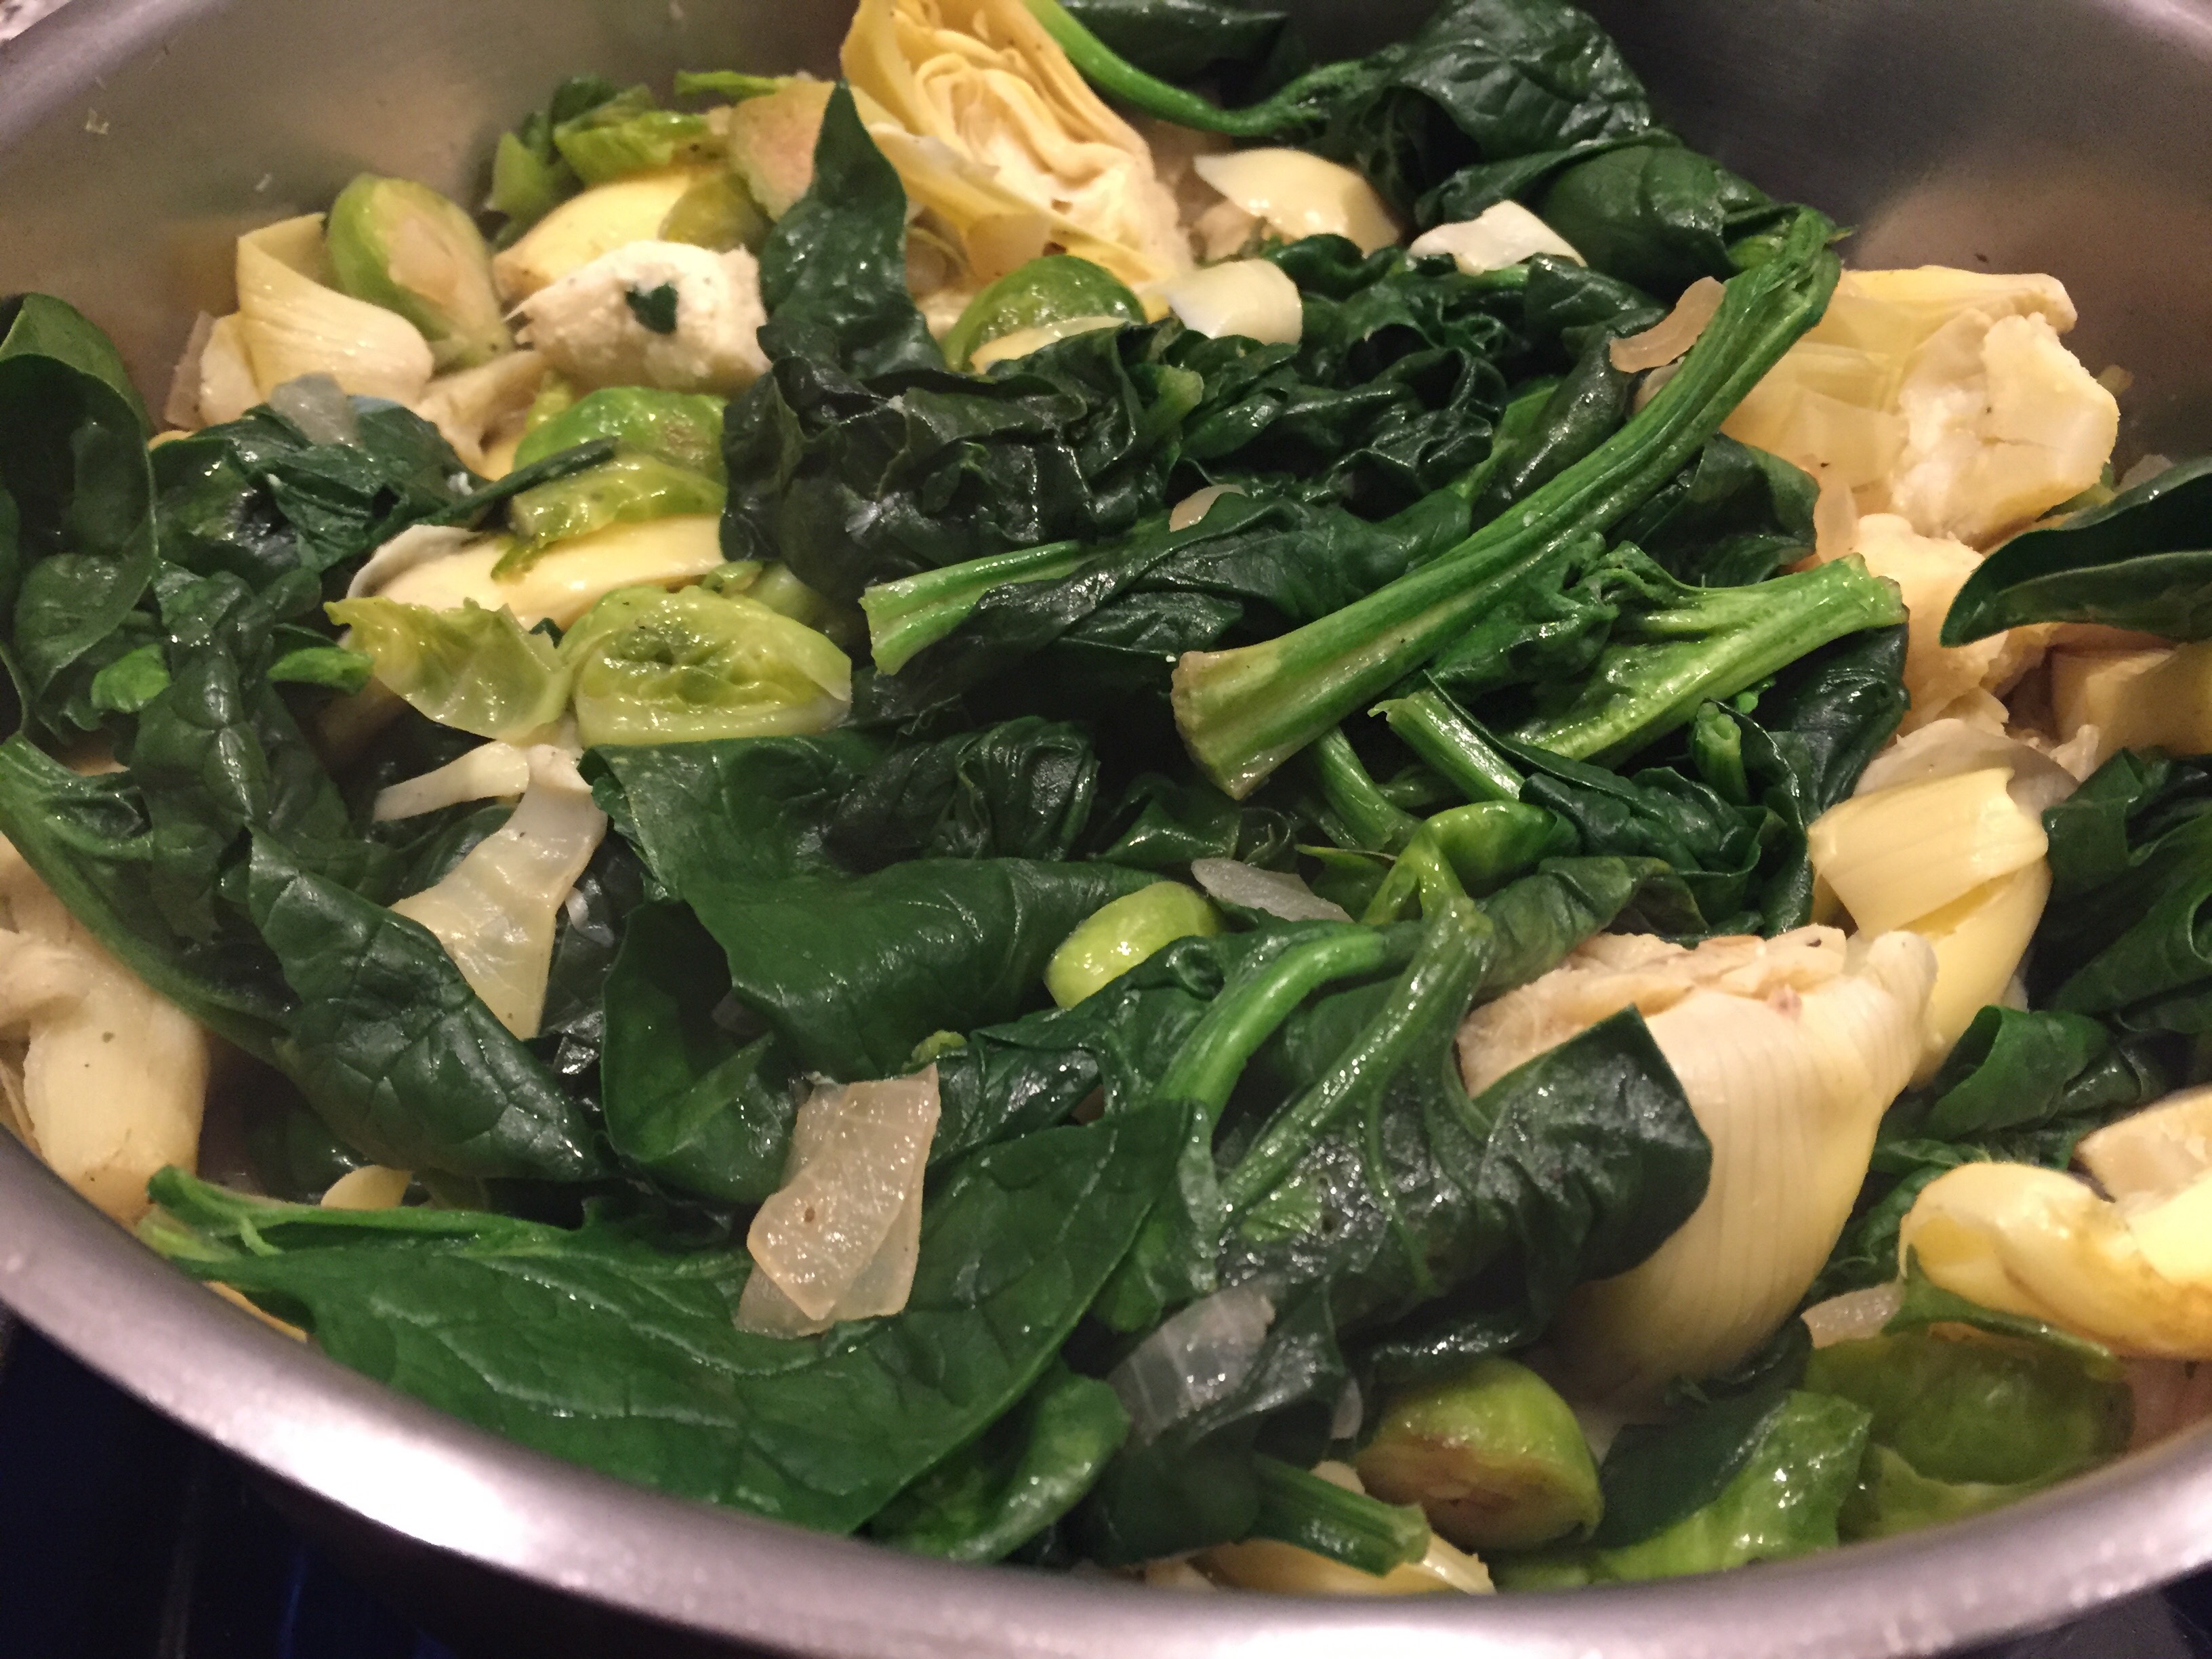
Method: Sauté the onion over medium heat for 5 minutes. Add the garlic and Brussels and sauté 10 more minutes, covered. The Brussel sprouts should start to soften significantly as you cook. Next add the artichokes and cook for 5 minutes uncovered. Add the chopped spinach and cover for 5 minutes, over low heat.
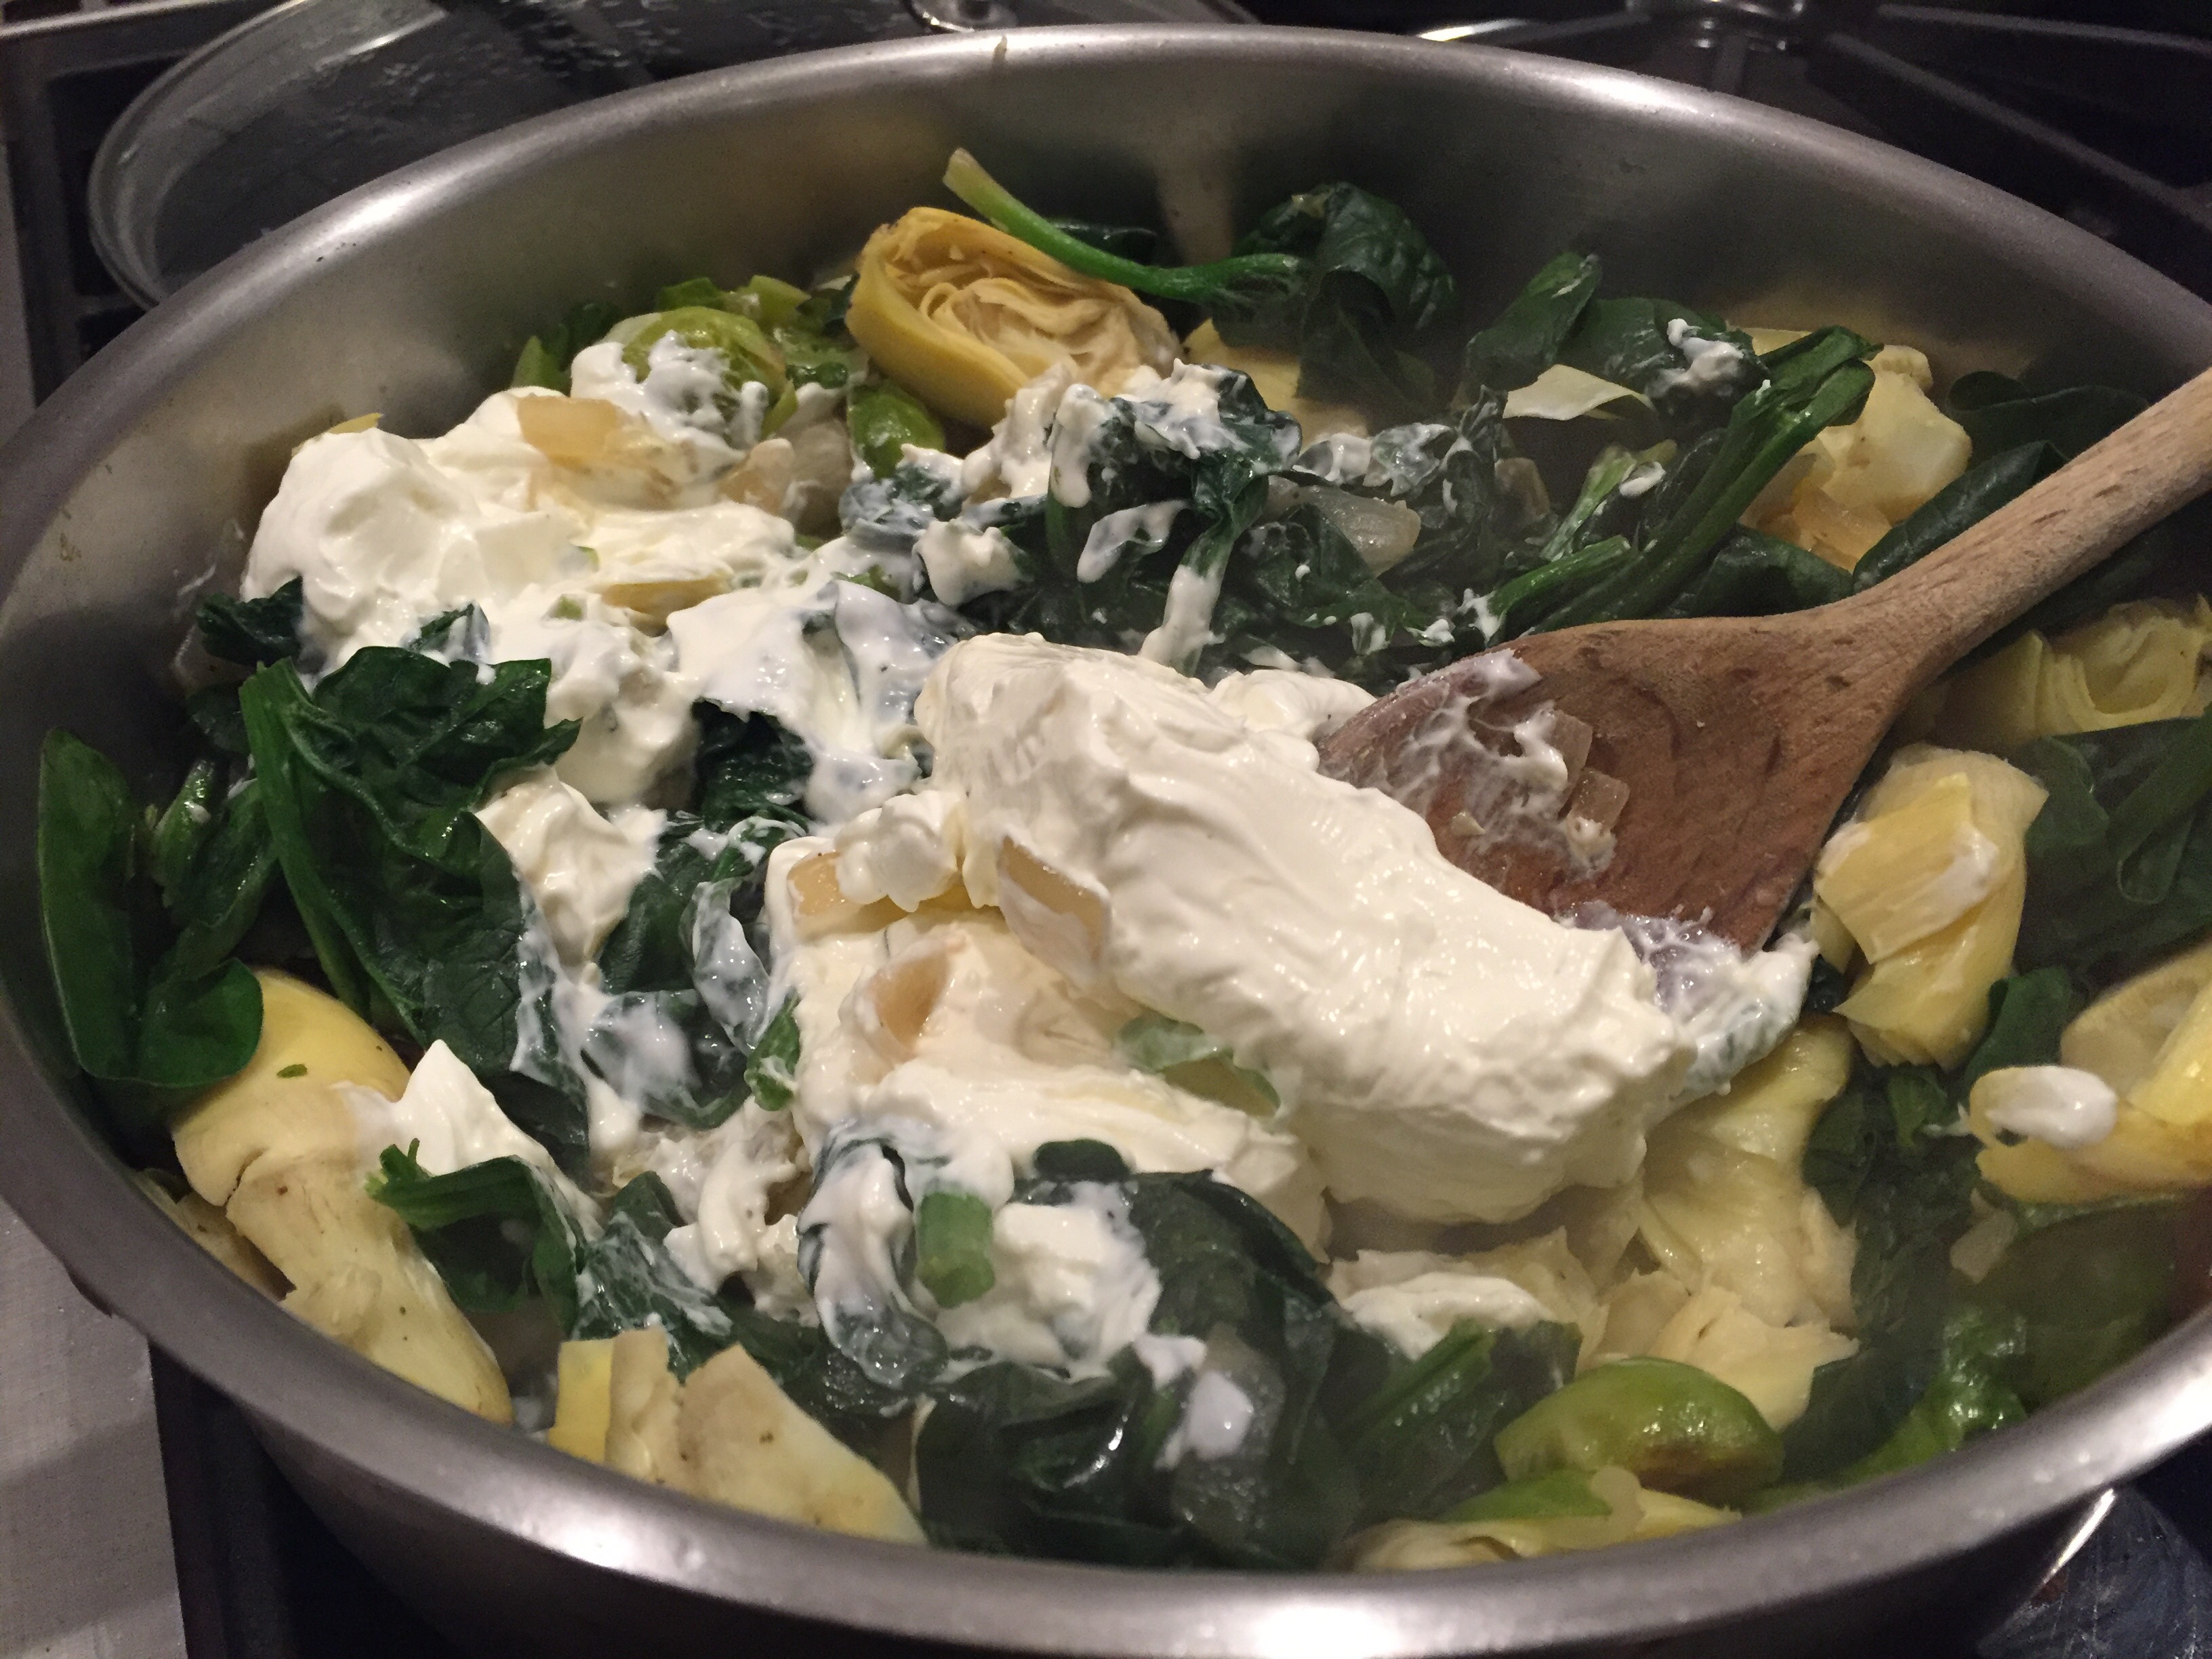
Next add the cream cheese and cover again. Allow the cream cheese to soften before stirring. Add in the Sour cream and grated cheeses. Stir well. Taste before adding salt and pepper. The cheeses can make this pretty salty. I like to add lots of pepper, and sometimes even a dash of cayenne or pepper flakes.
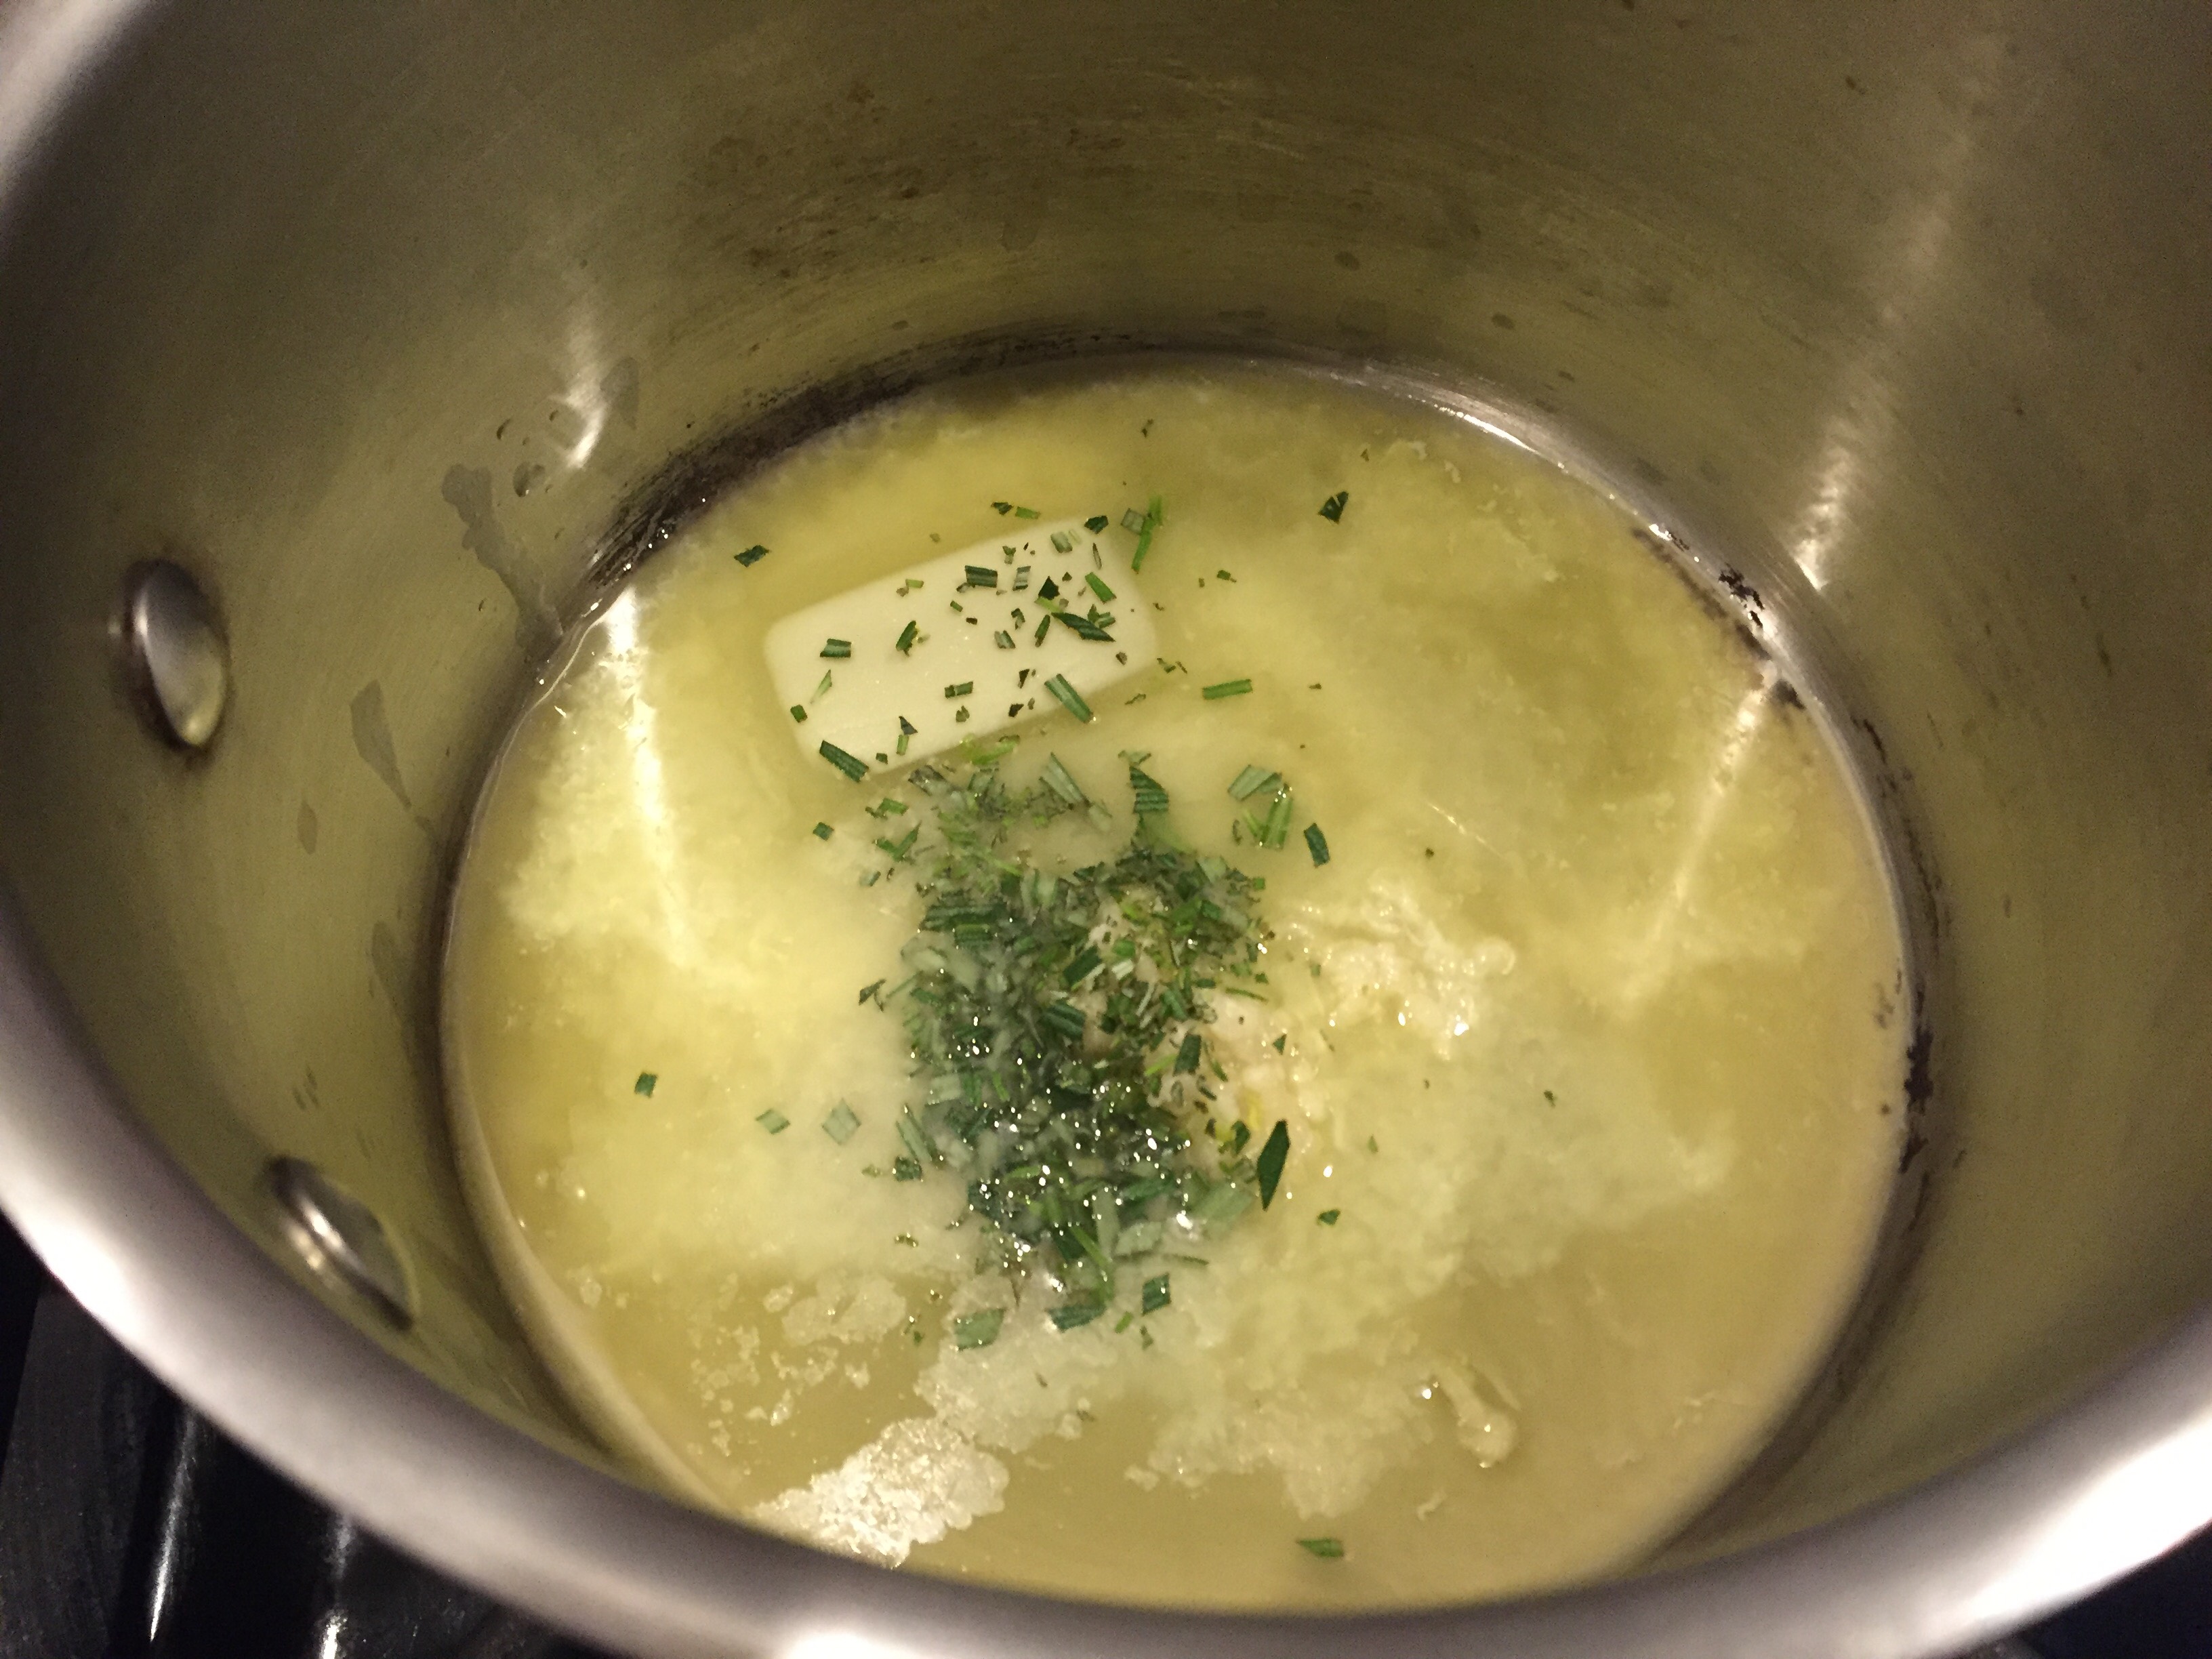
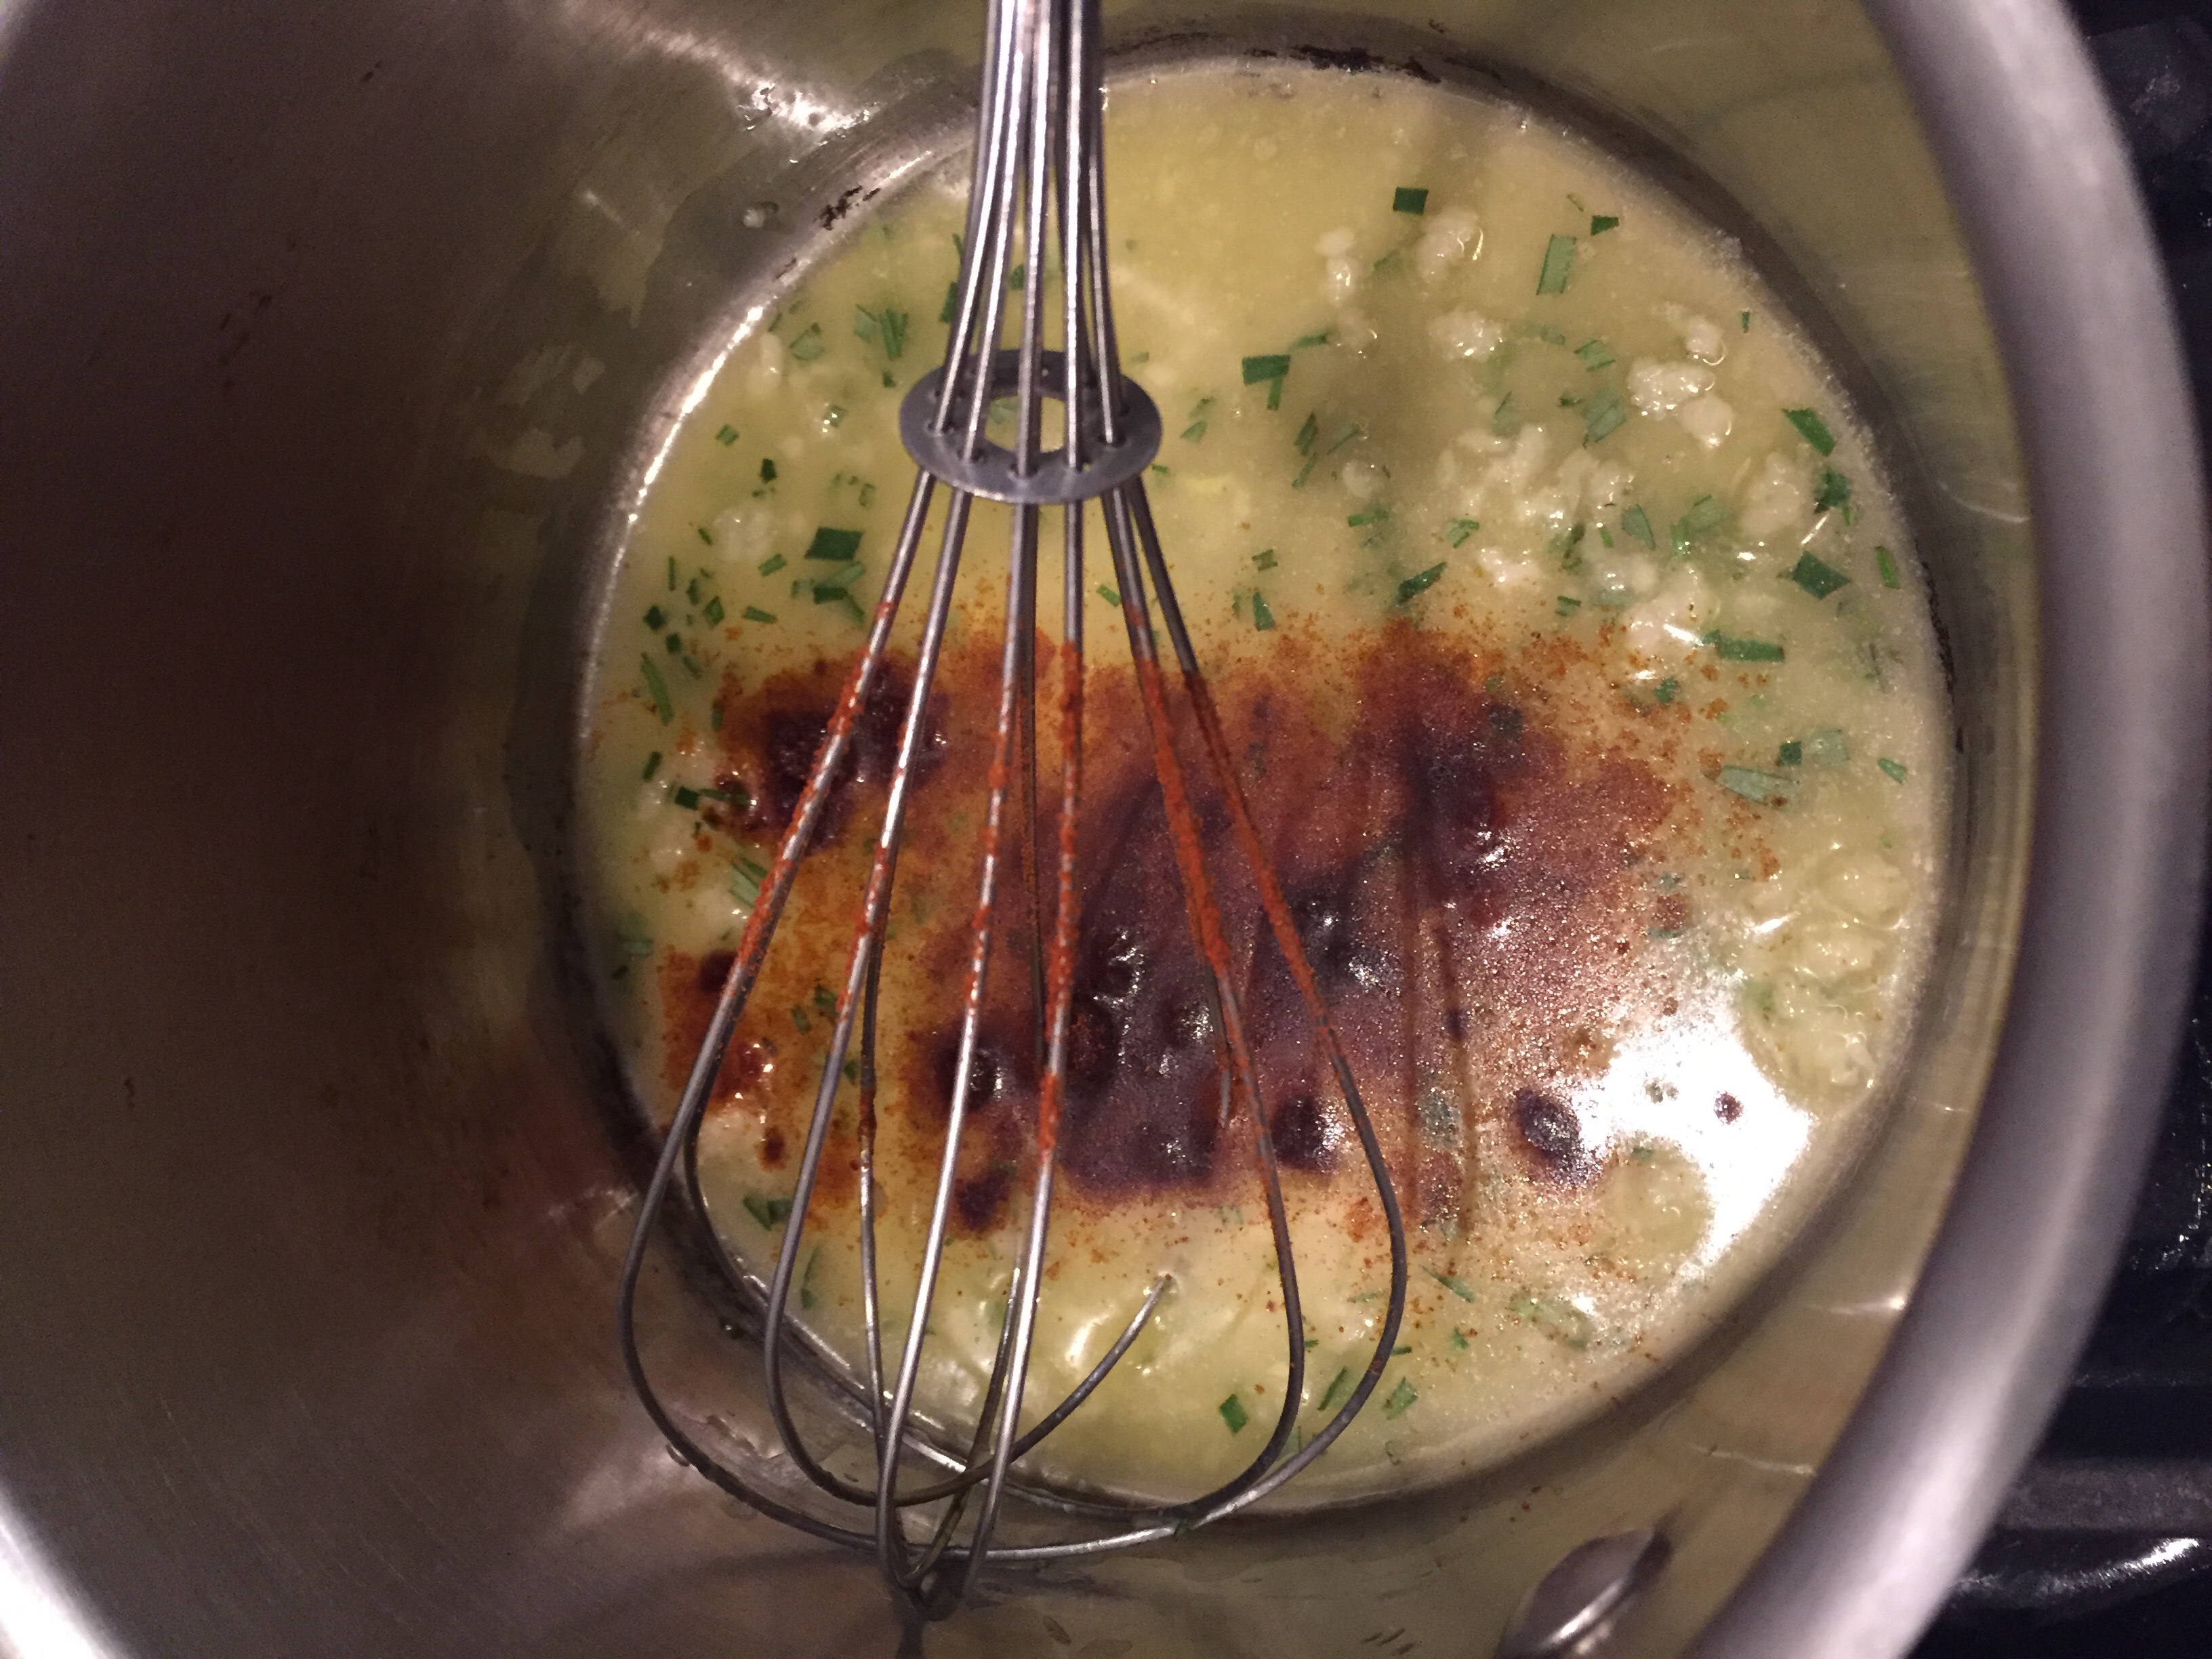
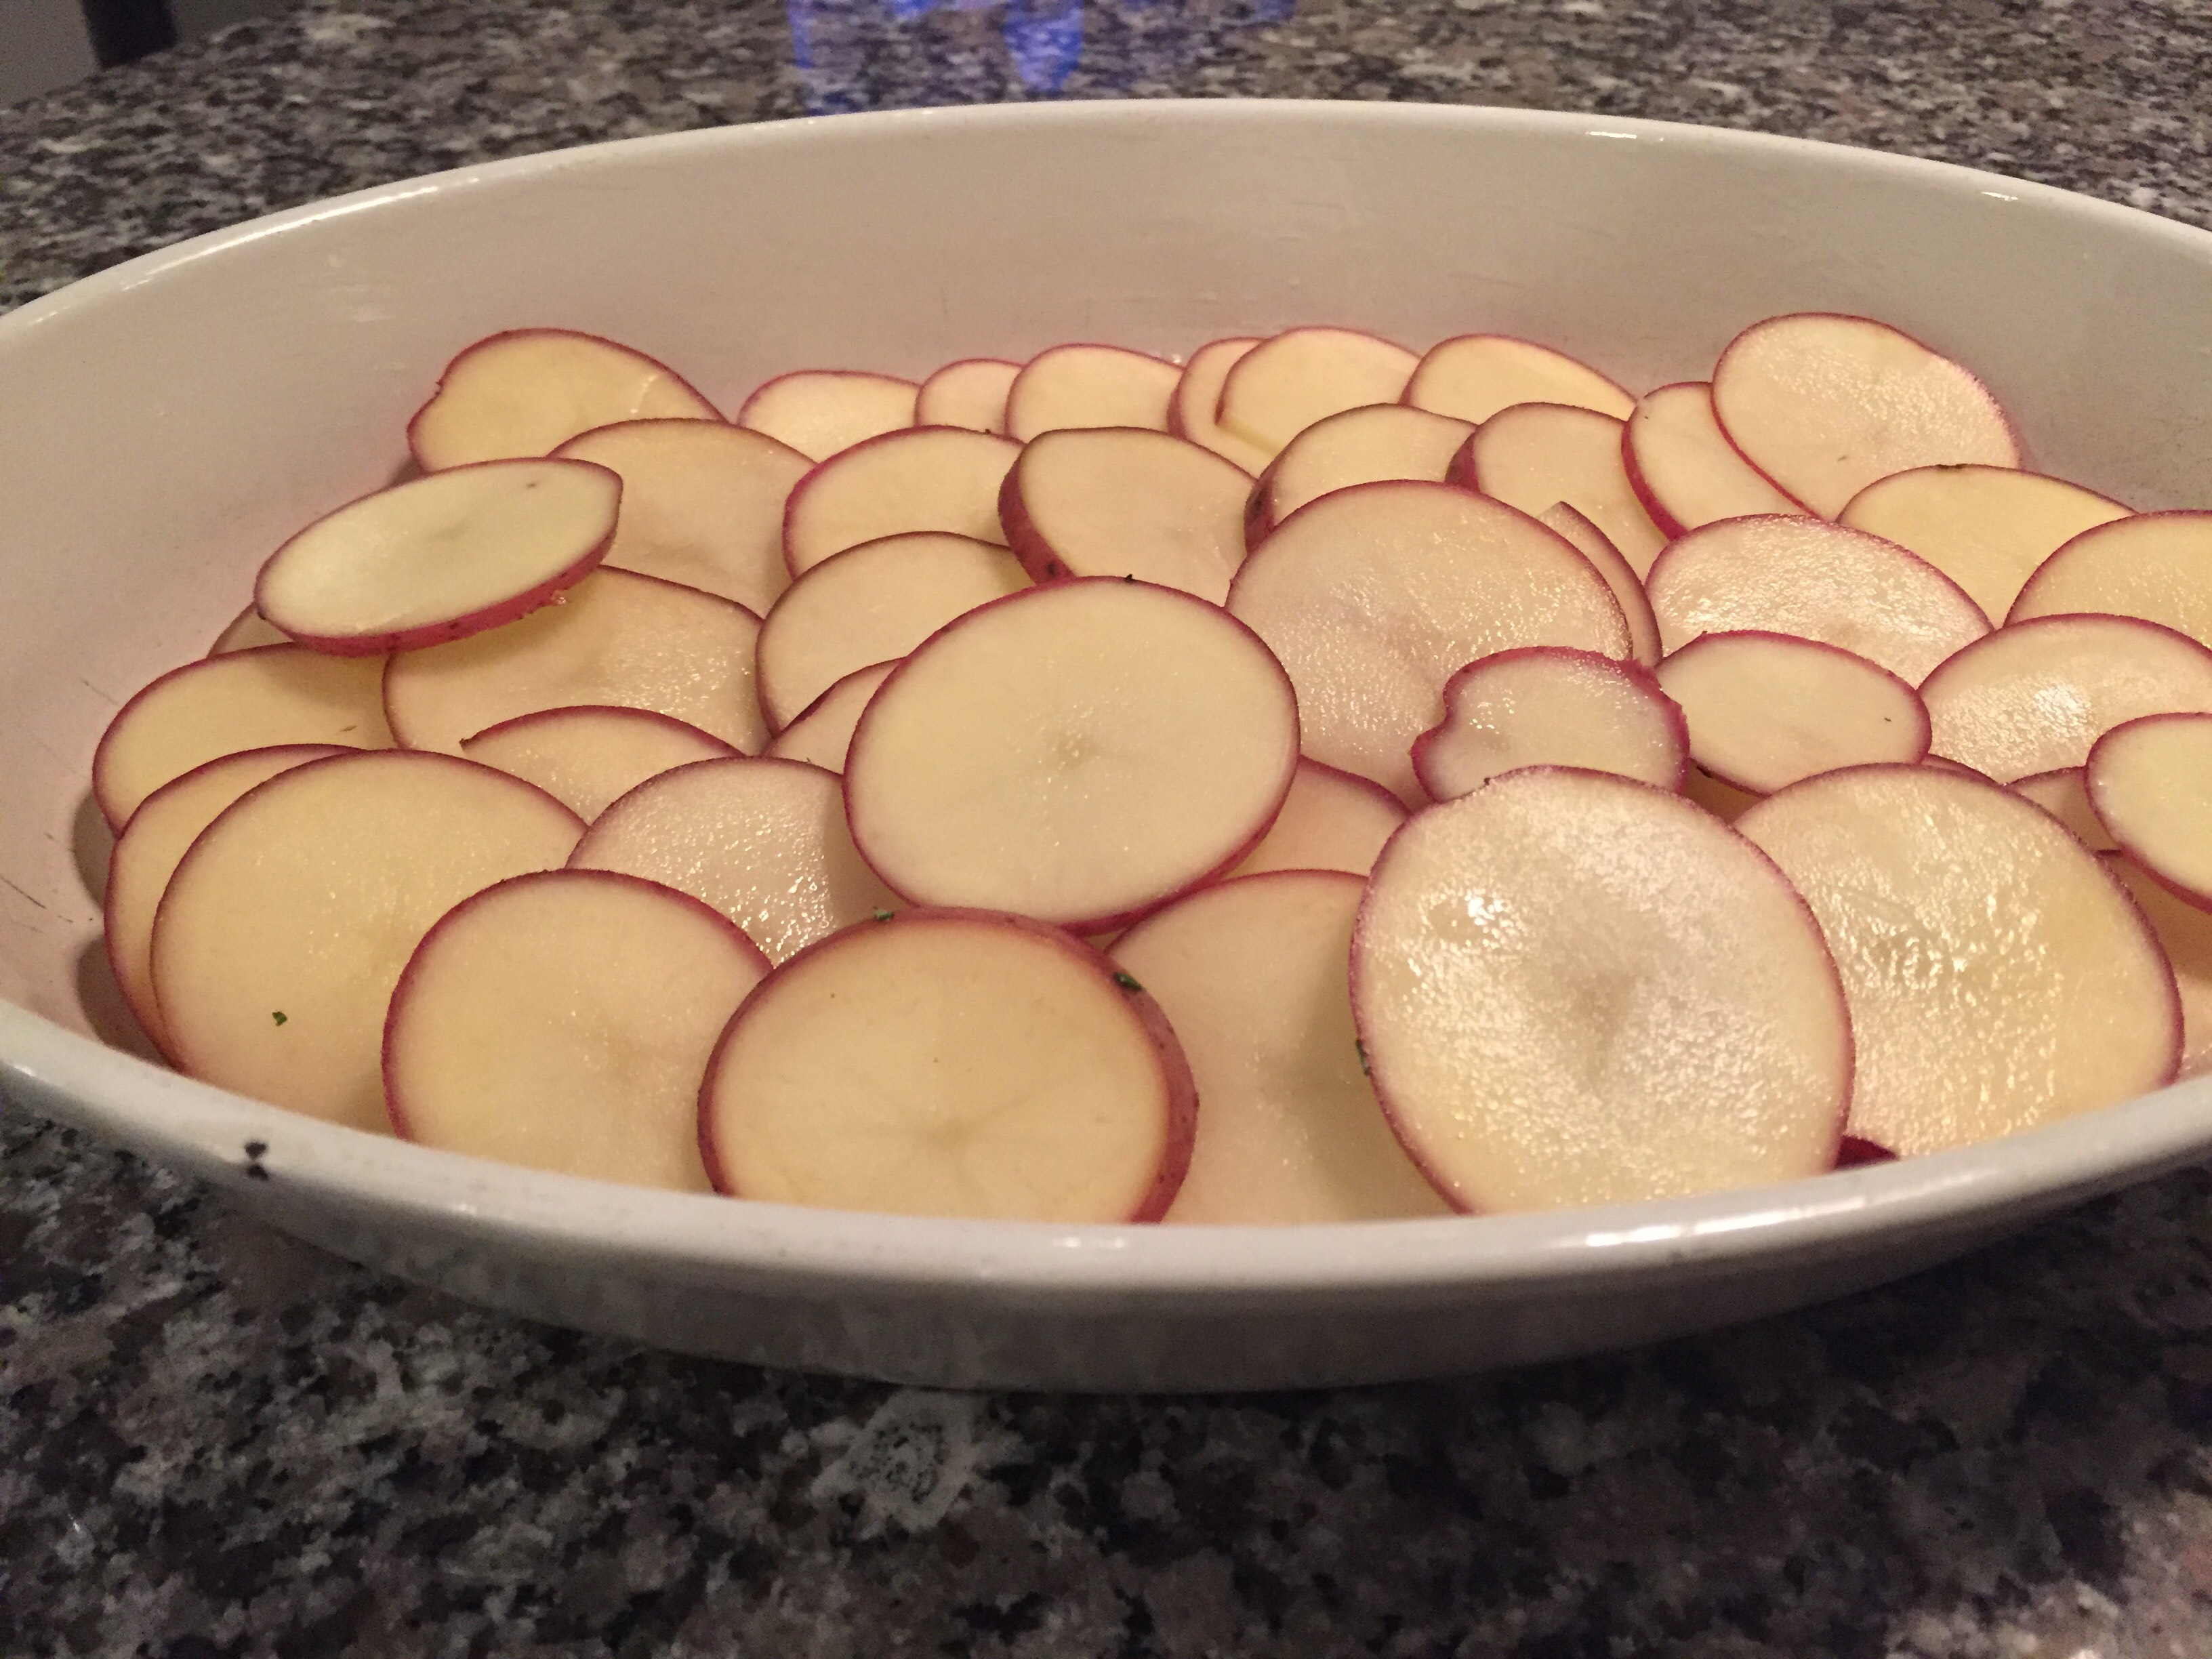
Transfer from the stovetop pan into an oven safe dip dish. I like to use a pie pan or smaller casserole dish. If you want a crispy top, reserve 1⁄2 cup cheese for the top and sprinkle before baking! Bake uncovered for 20 minutes at 350 degrees. Serve with a variety of veggies and crackers! The CSA purple carrots look amazing beside this masterpiece! 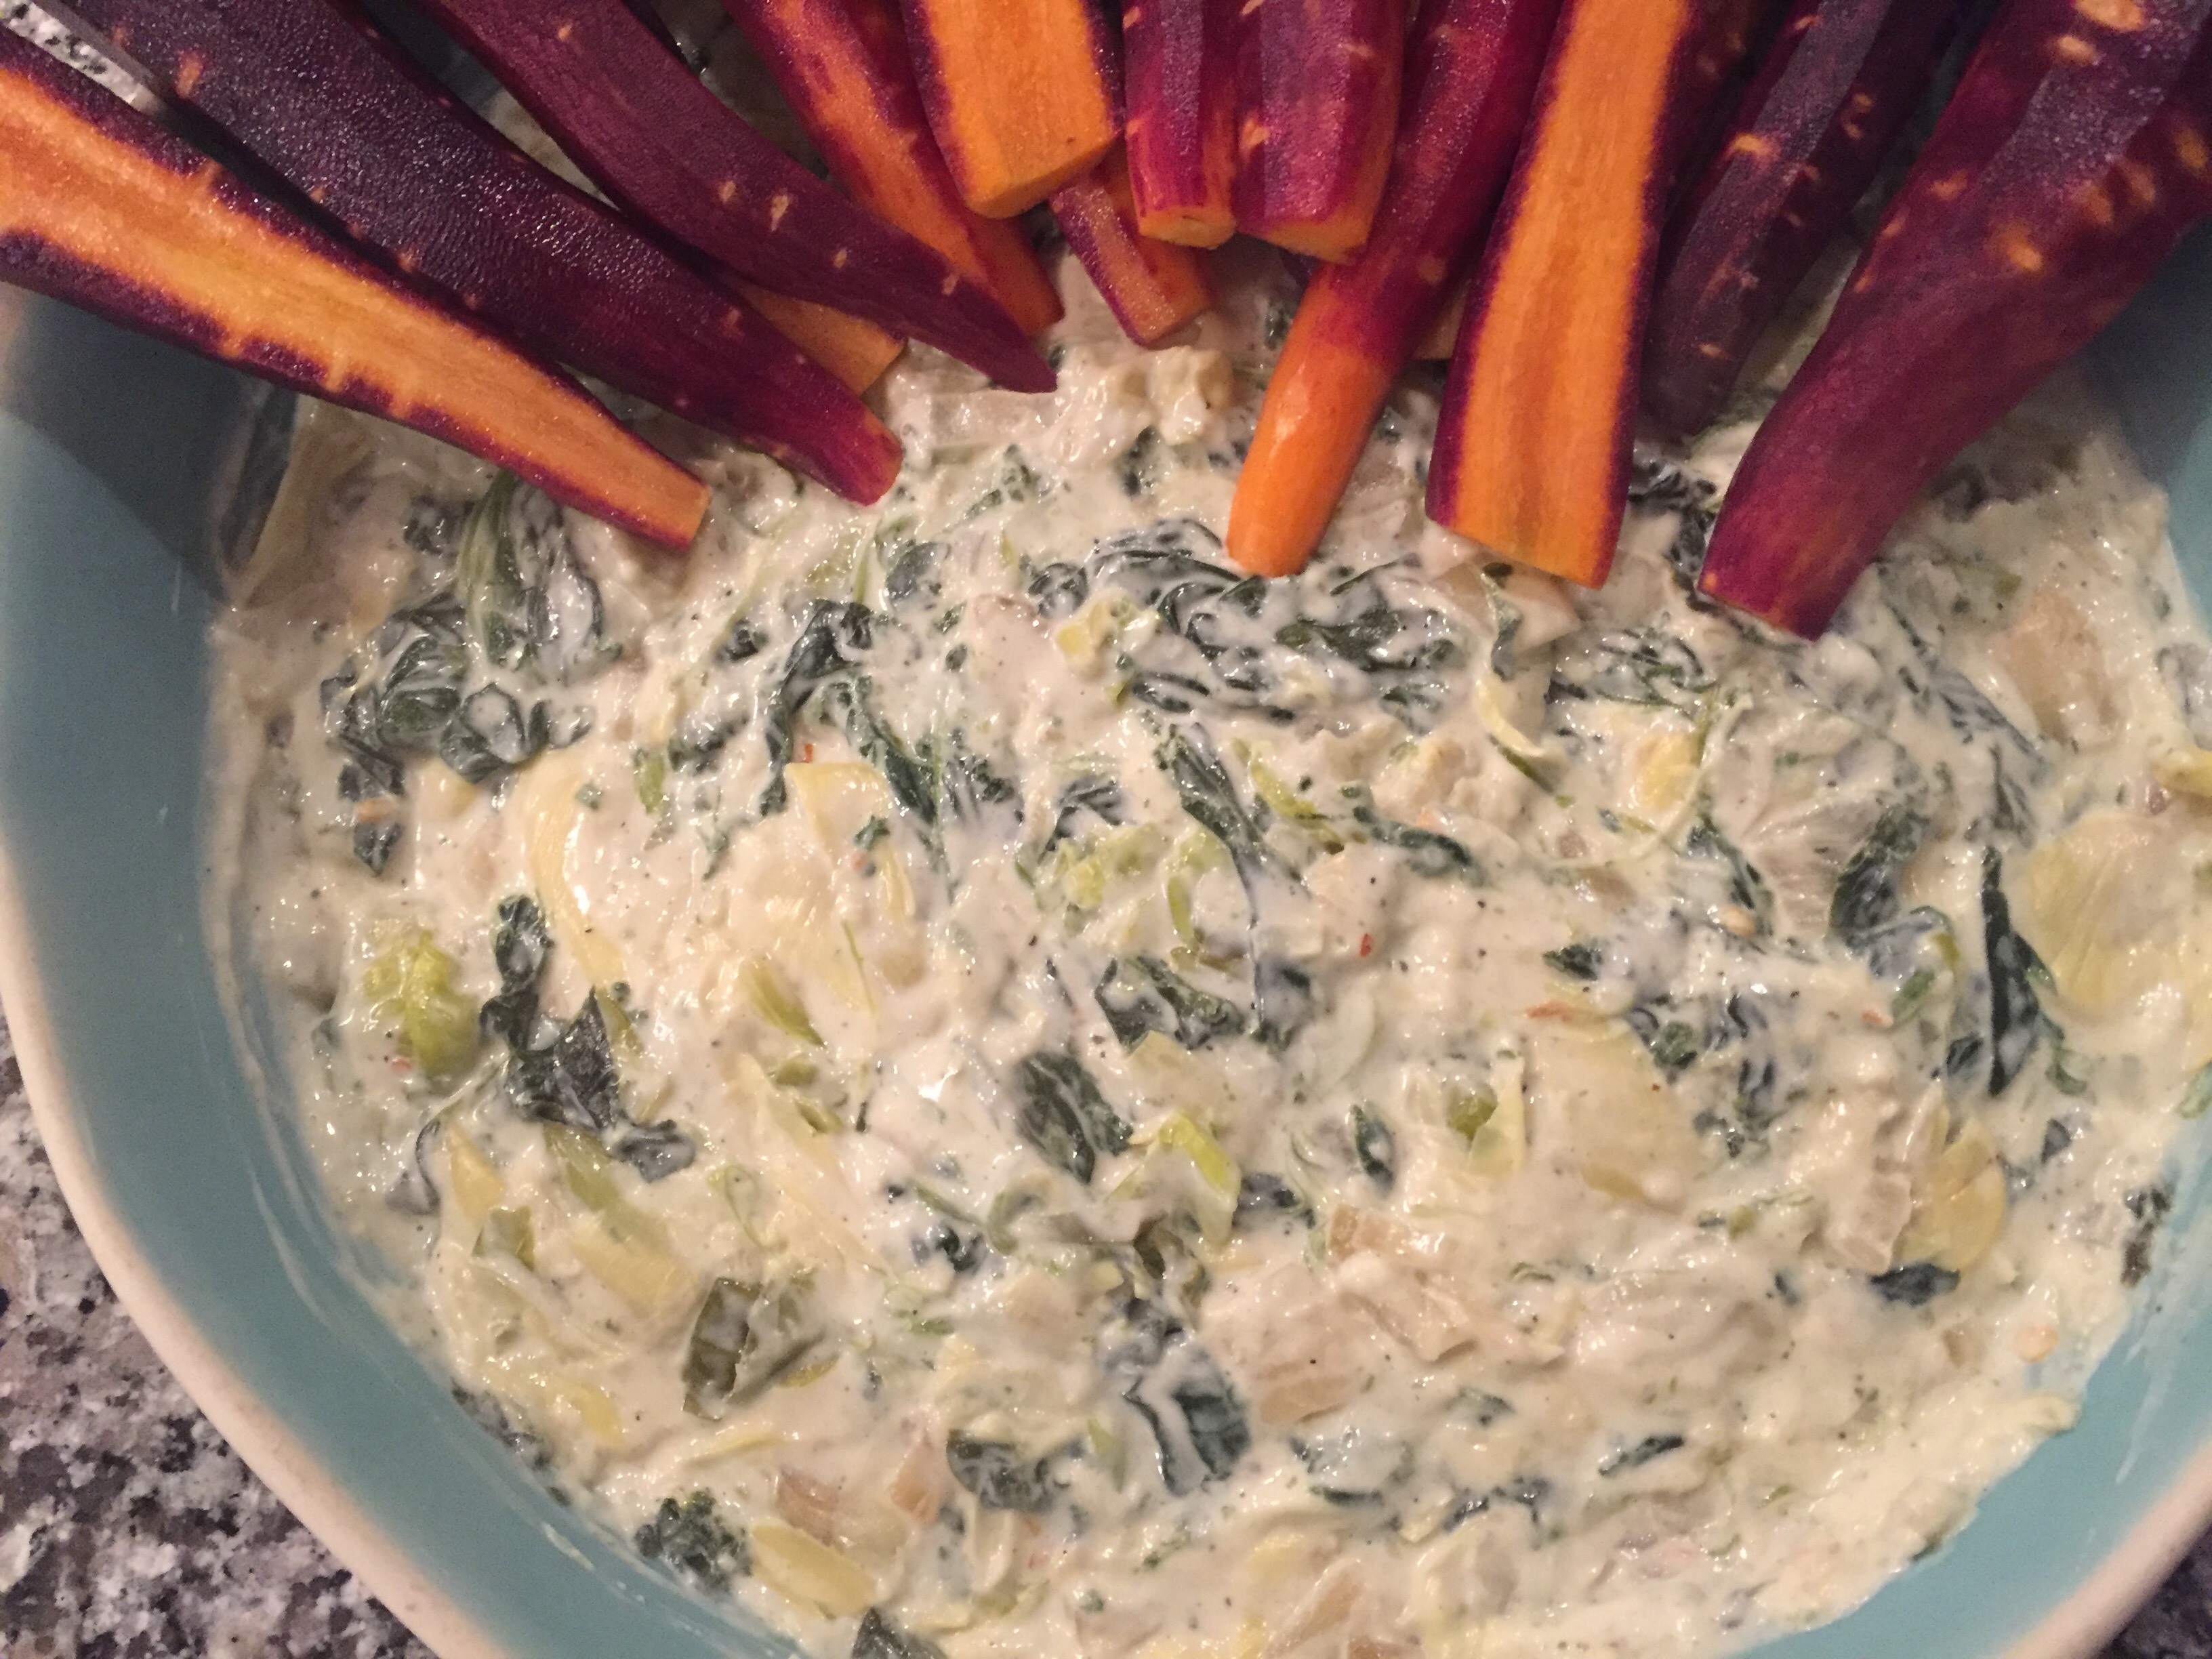 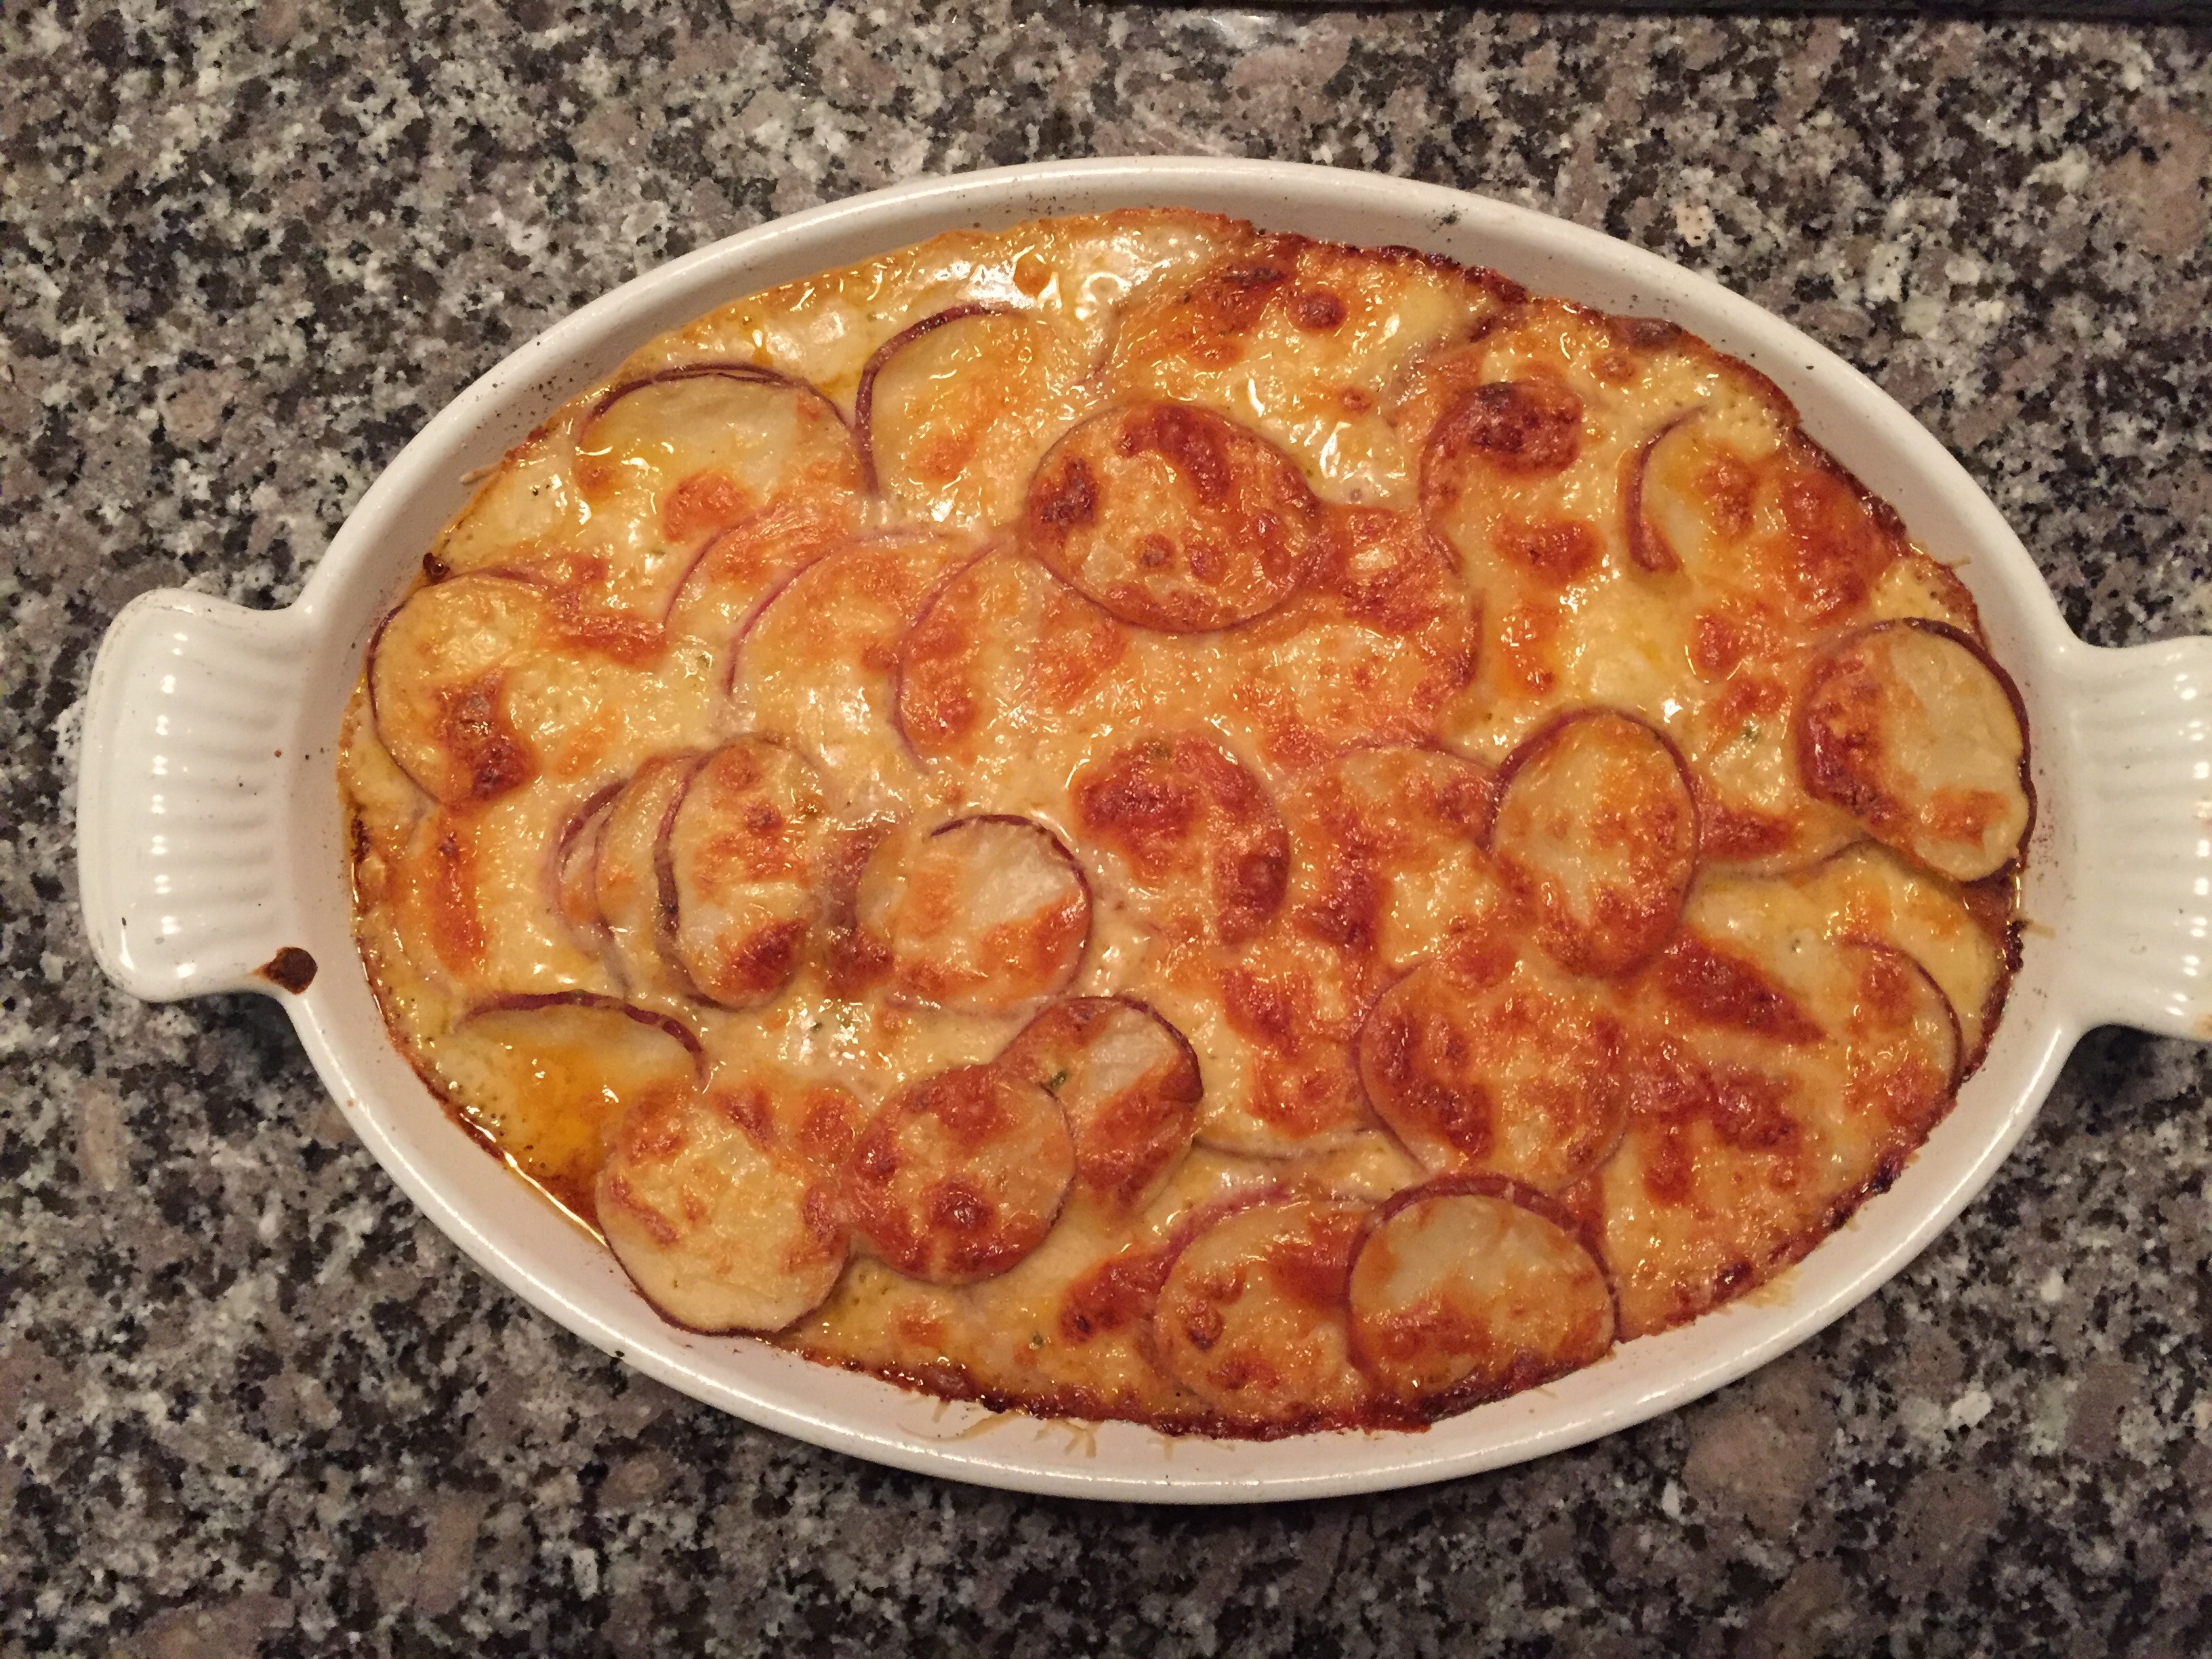 Ingredients: 4 cups thinly sliced potatoes, washed with skins on 3 Tbsp butter 3 Tbsp flour 2 cloves crushed garlic 2 Tsp chopped fresh herbs 1 Tsp dijon mustard 1 1⁄2 cups milk 1 Tsp hot paprika (or cayenne) you can also mix cayenne and regular paprika 1 1⁄2 cups grated cheese (I like parm and cheddar mixture) divided 1 Tsp salt 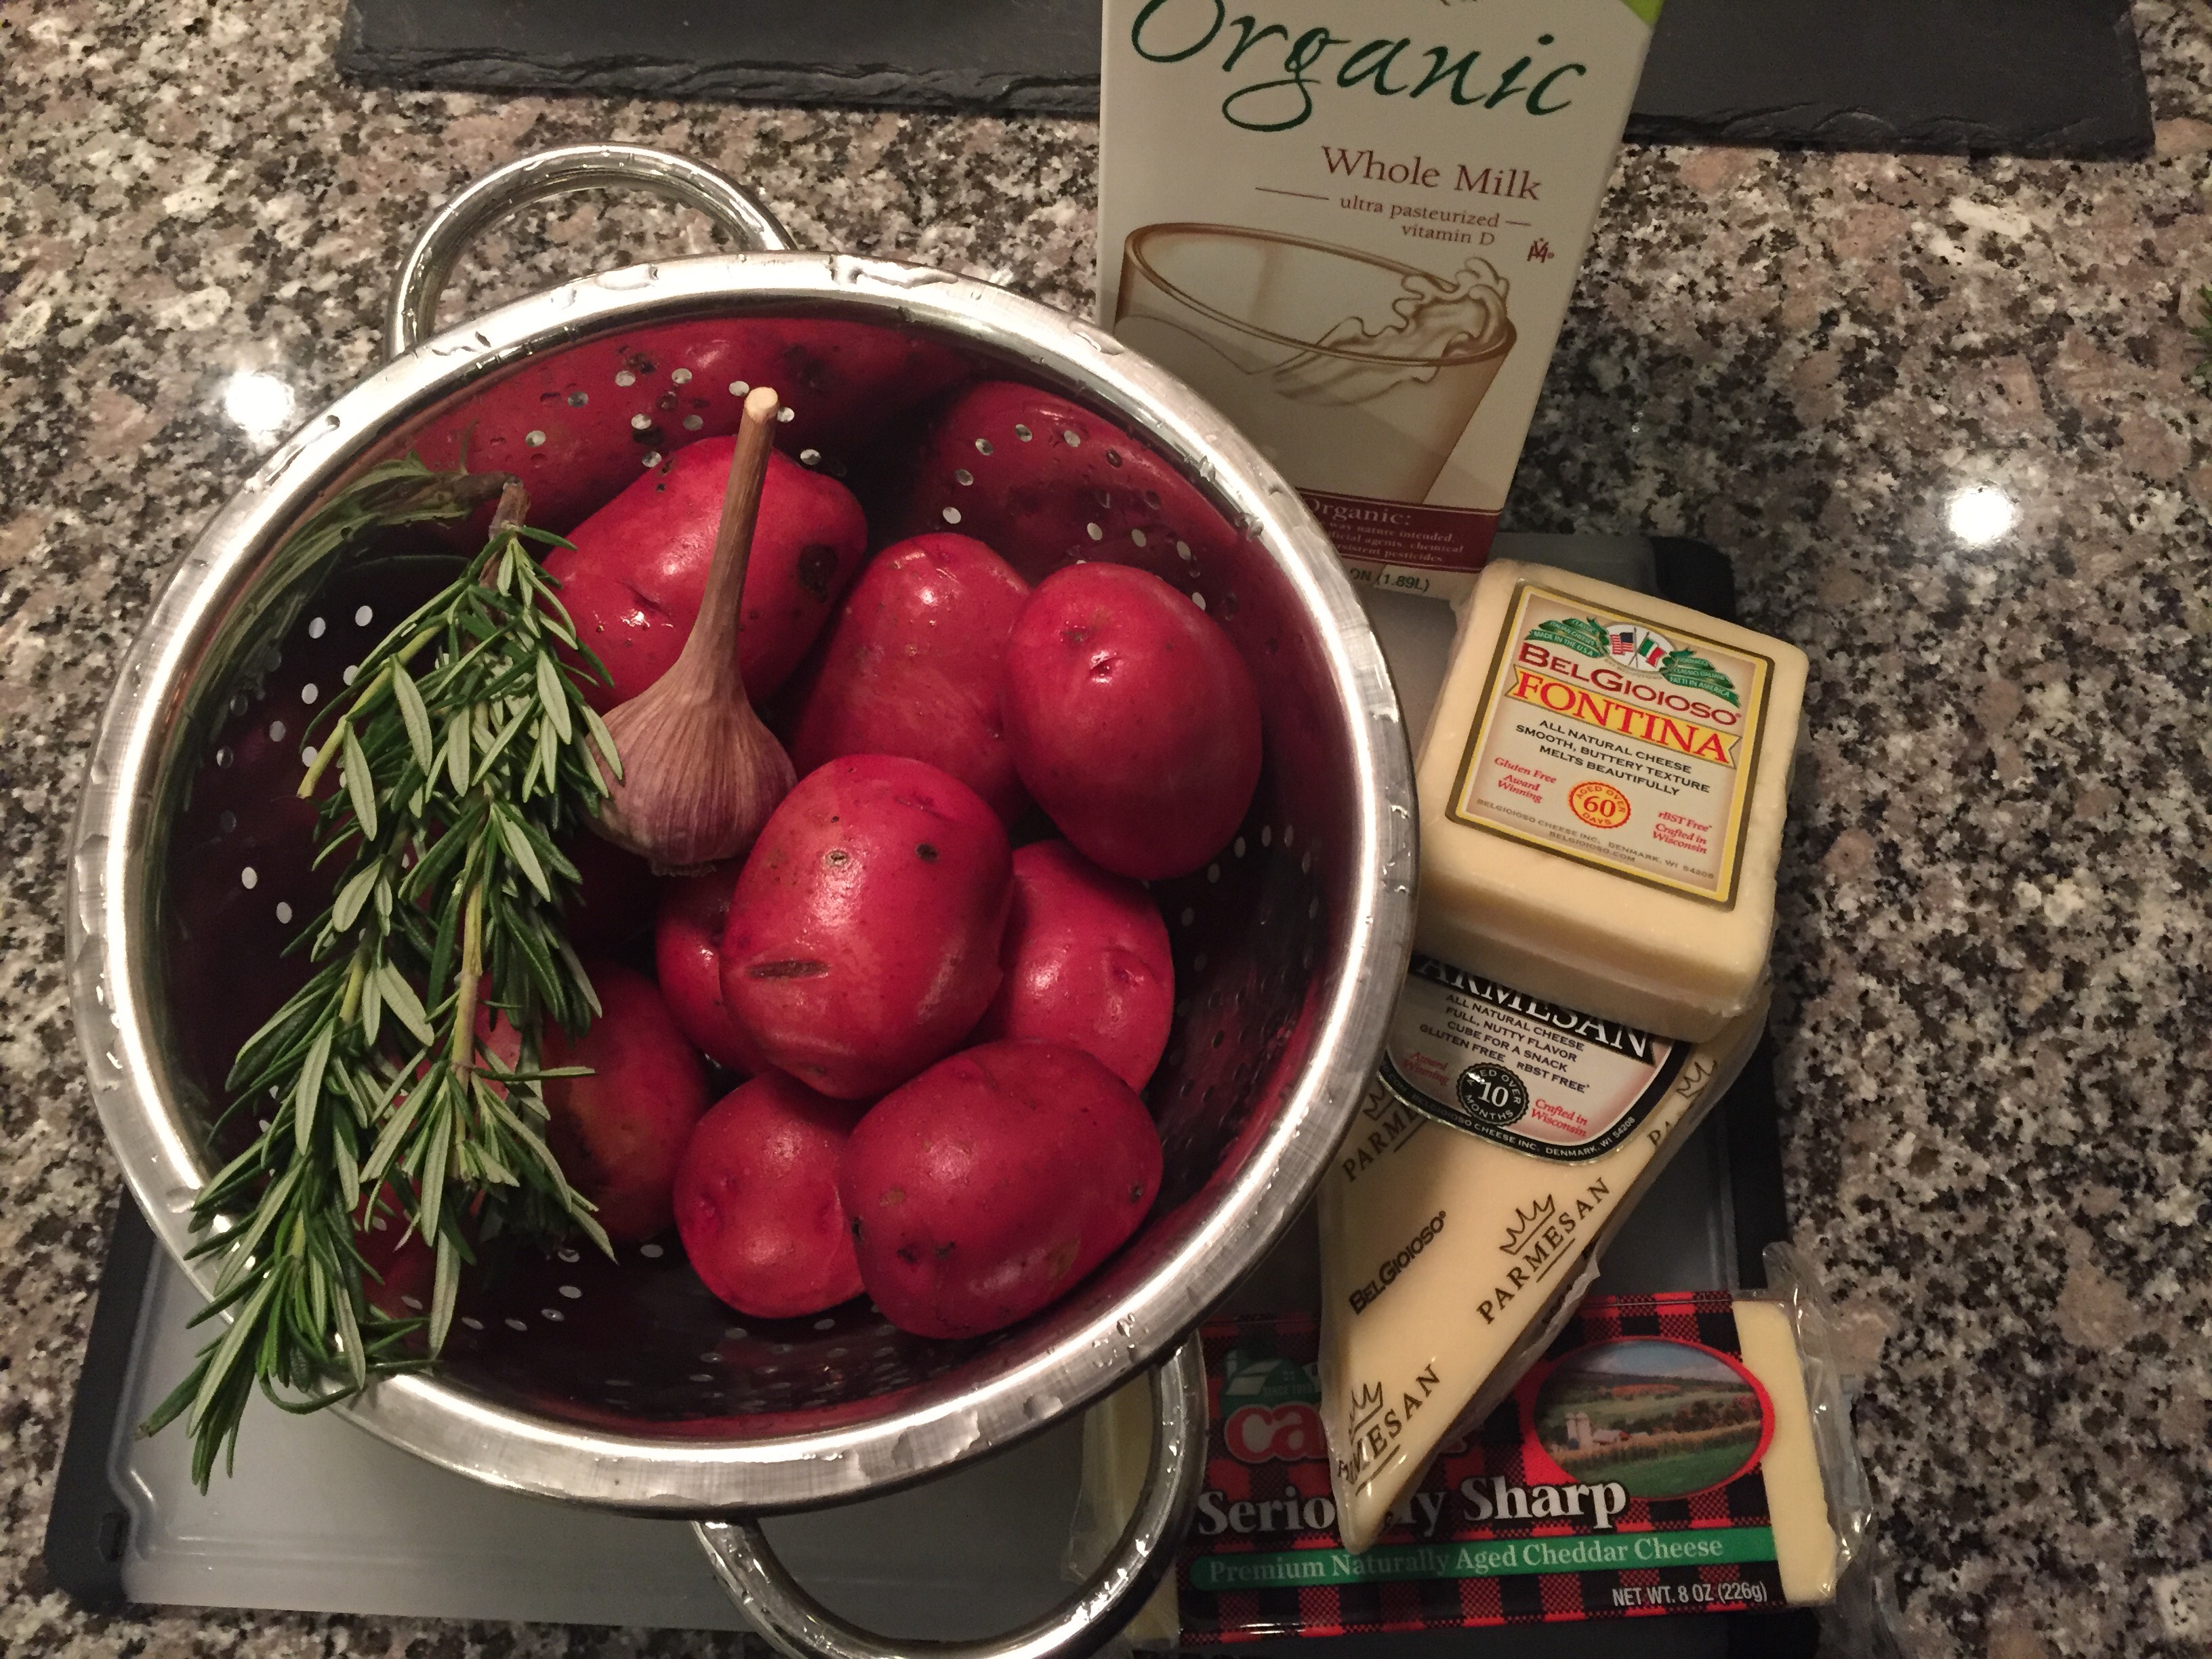 Method: Wash and slice the potatoes and set aside. Preheat oven to 350 degrees. In a large pan melt the butter over medium heat. Add in the chopped herbs and garlic. Stir well for 30 seconds. Add in paprika and salt.
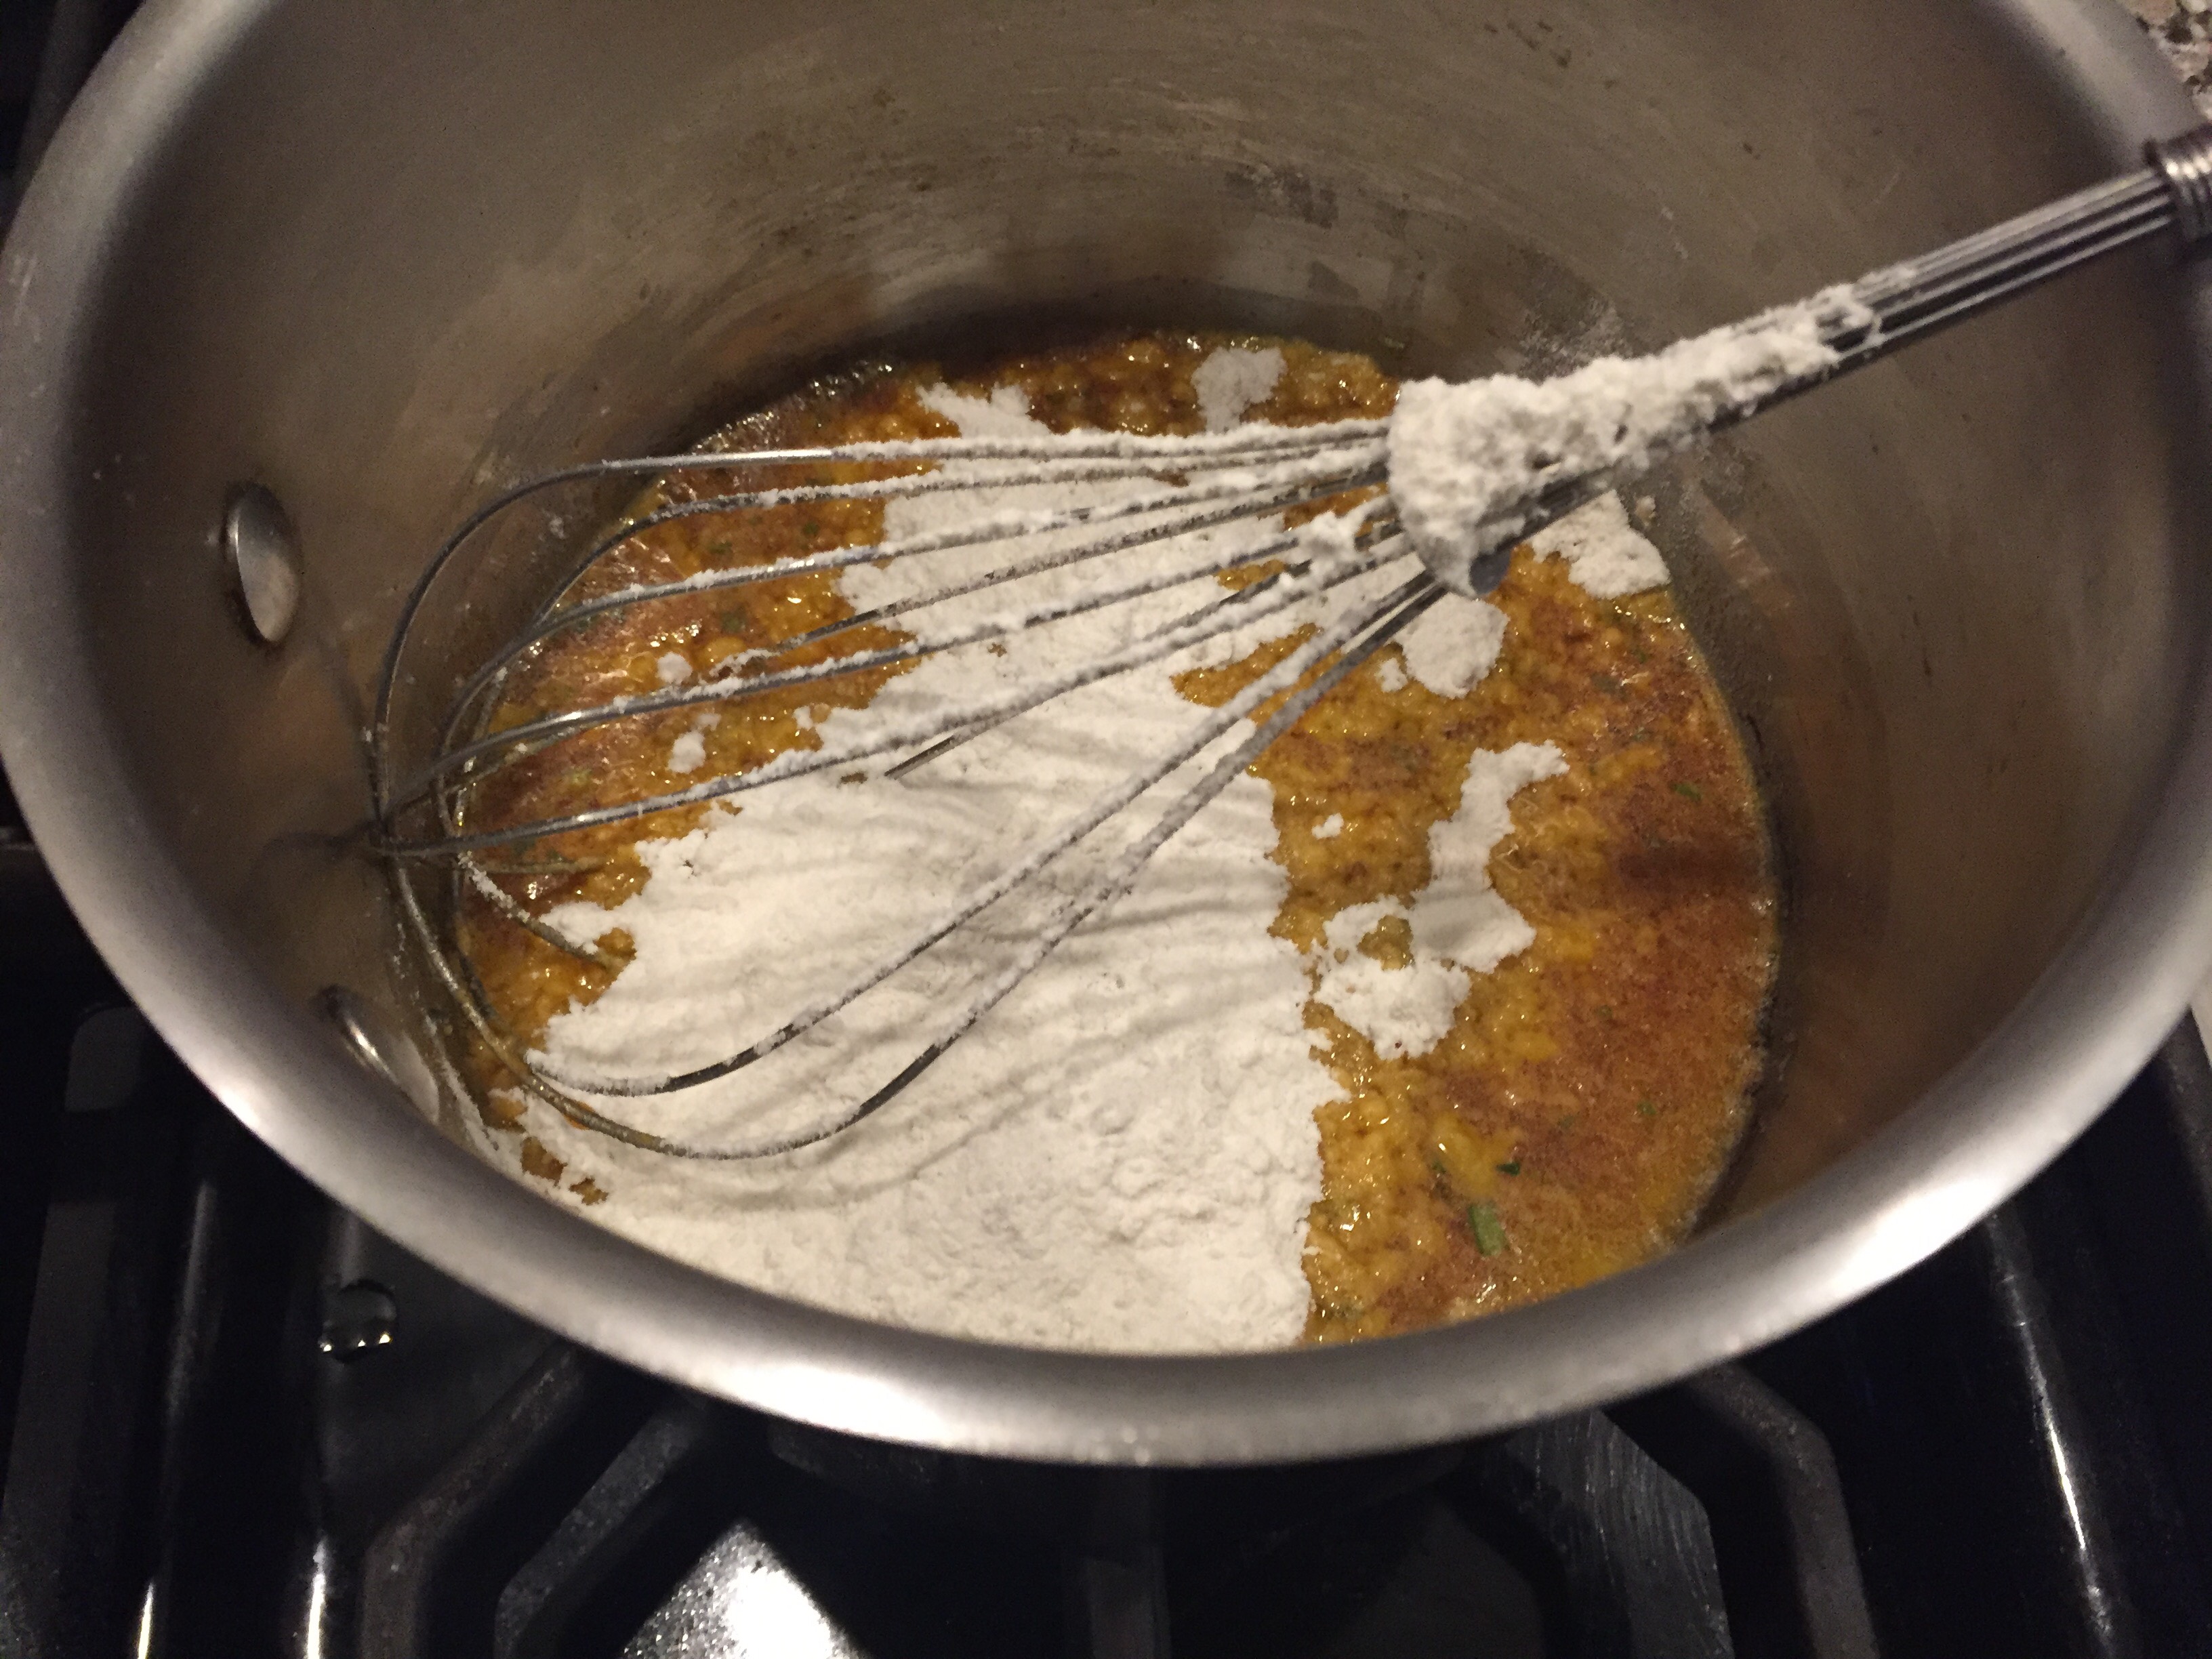
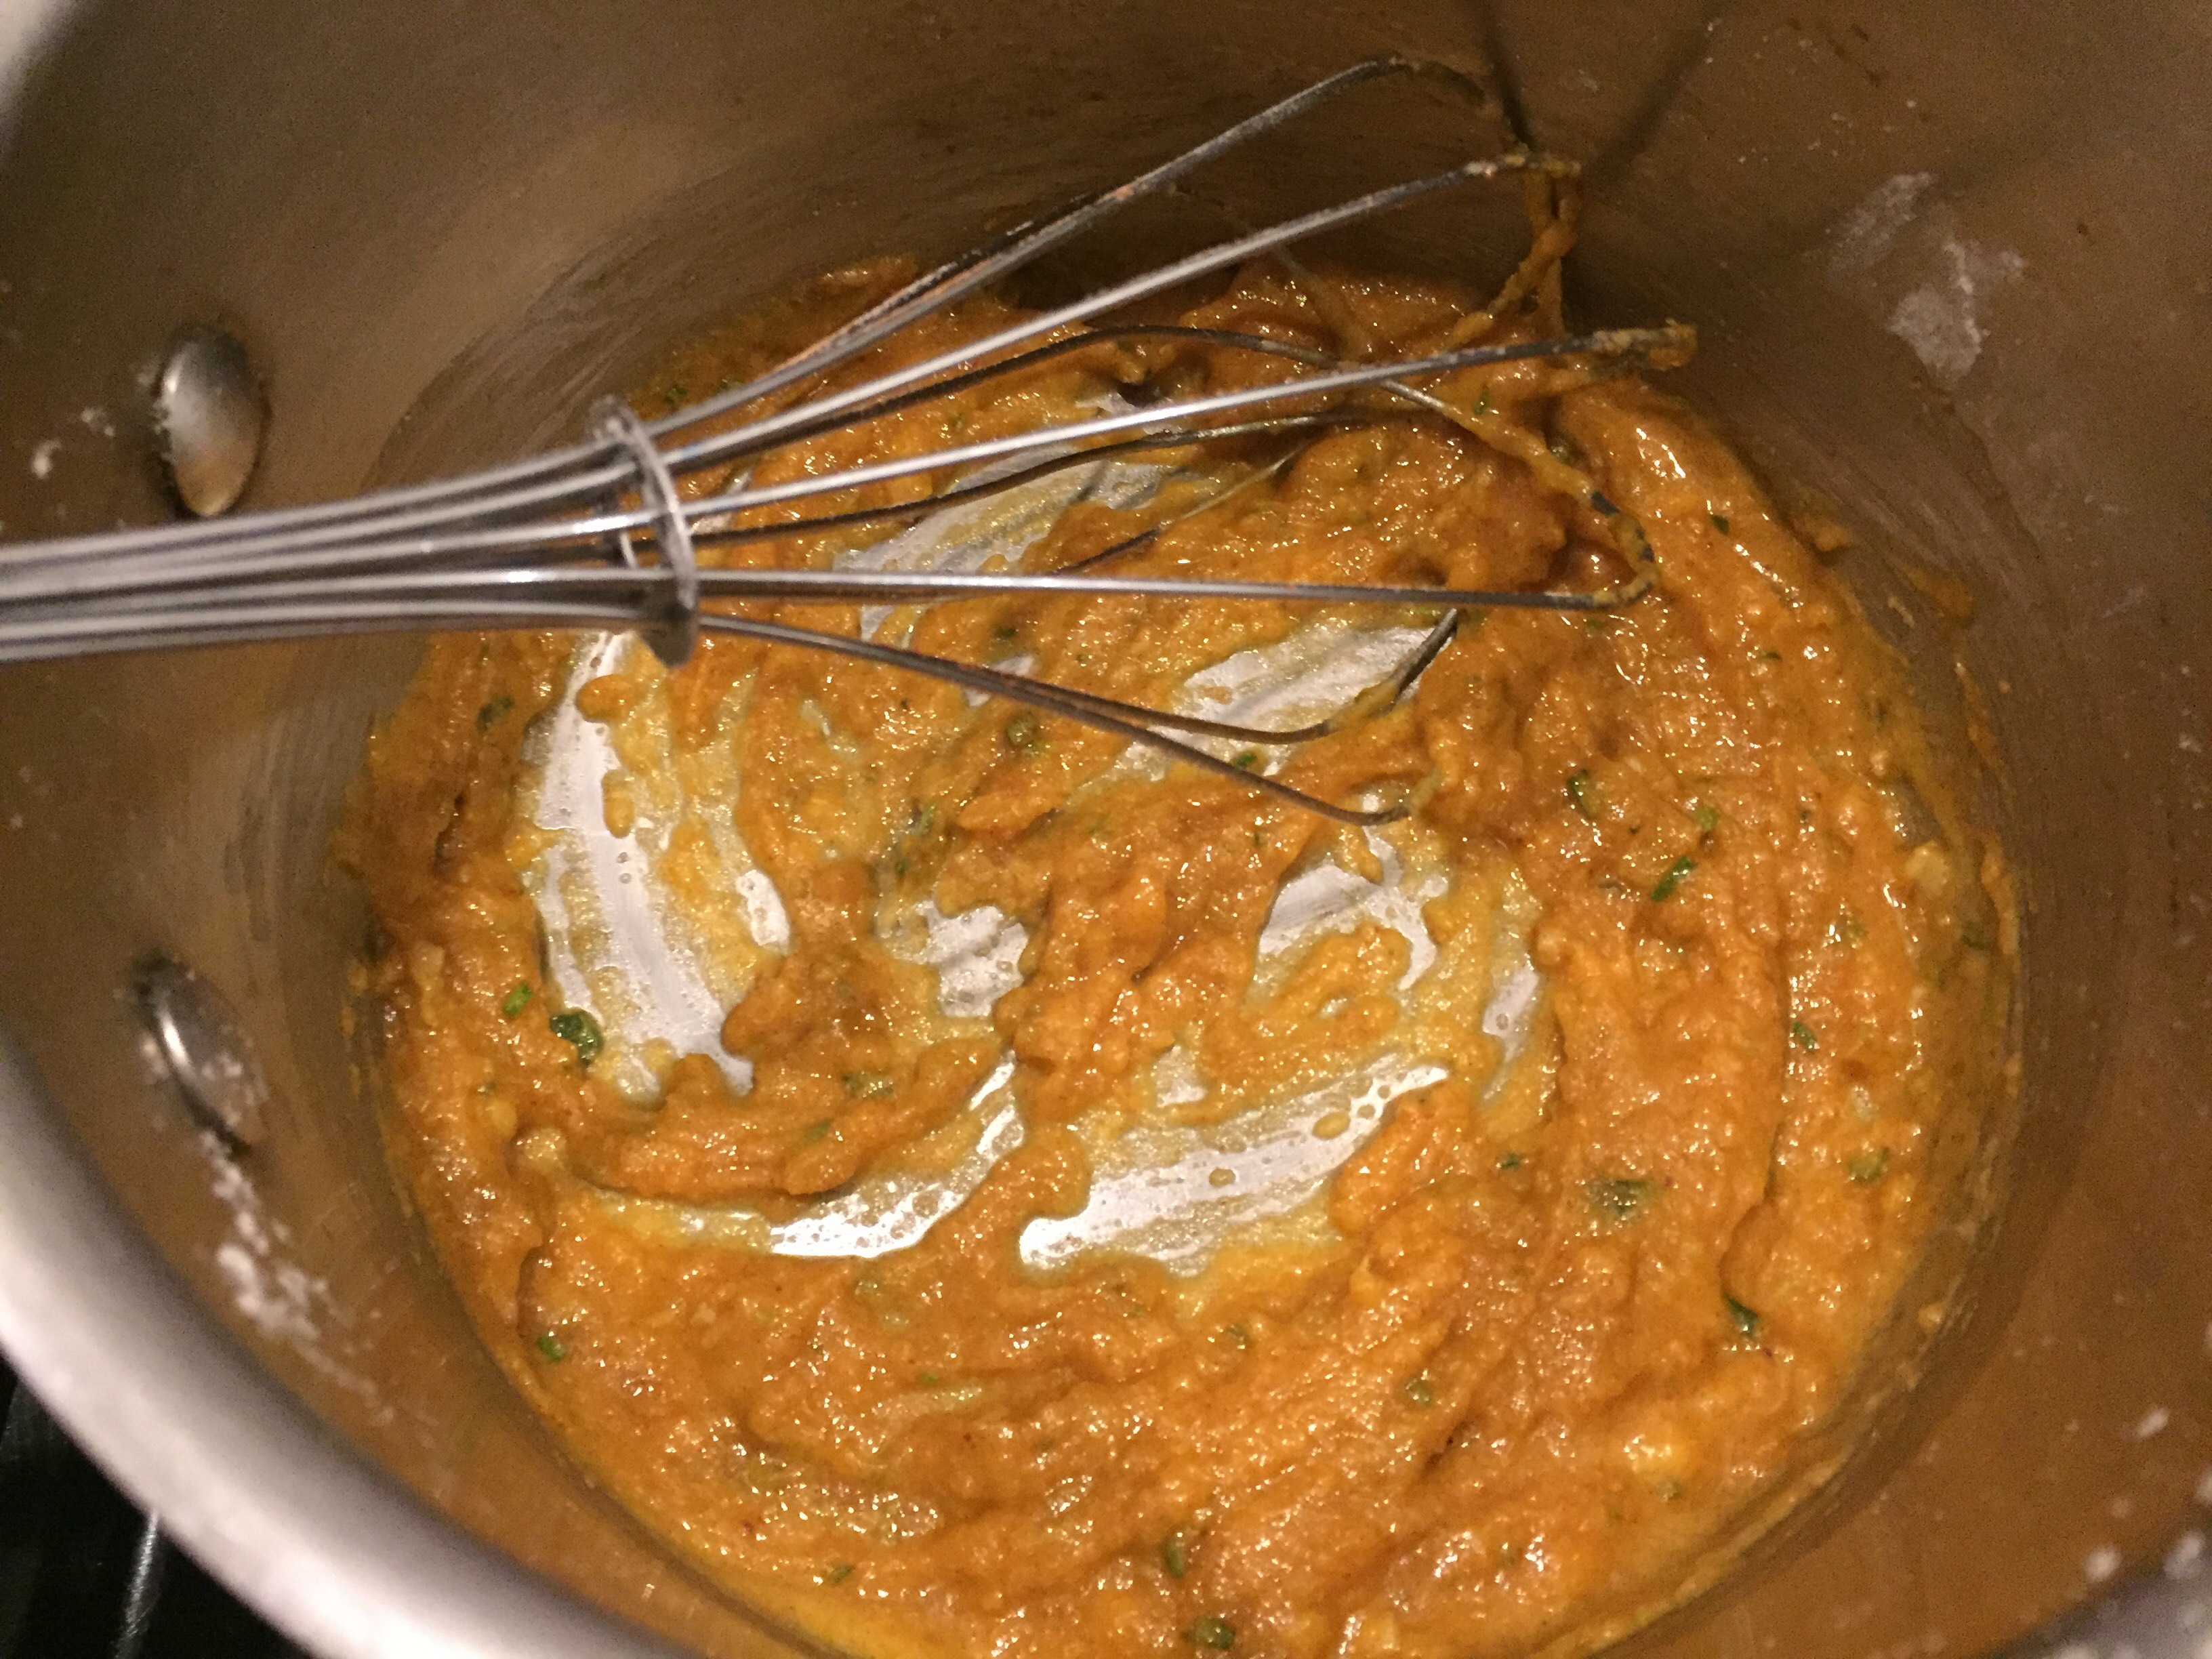
Add in the flour and stir well to combine flour and butter. Once the butter/flour mixture has browned, (about 3 minutes) add all of the milk. Whisk rapidly over medium heat. Continue to stir, creating a thick, creamy looking sauce. Add the mustard.
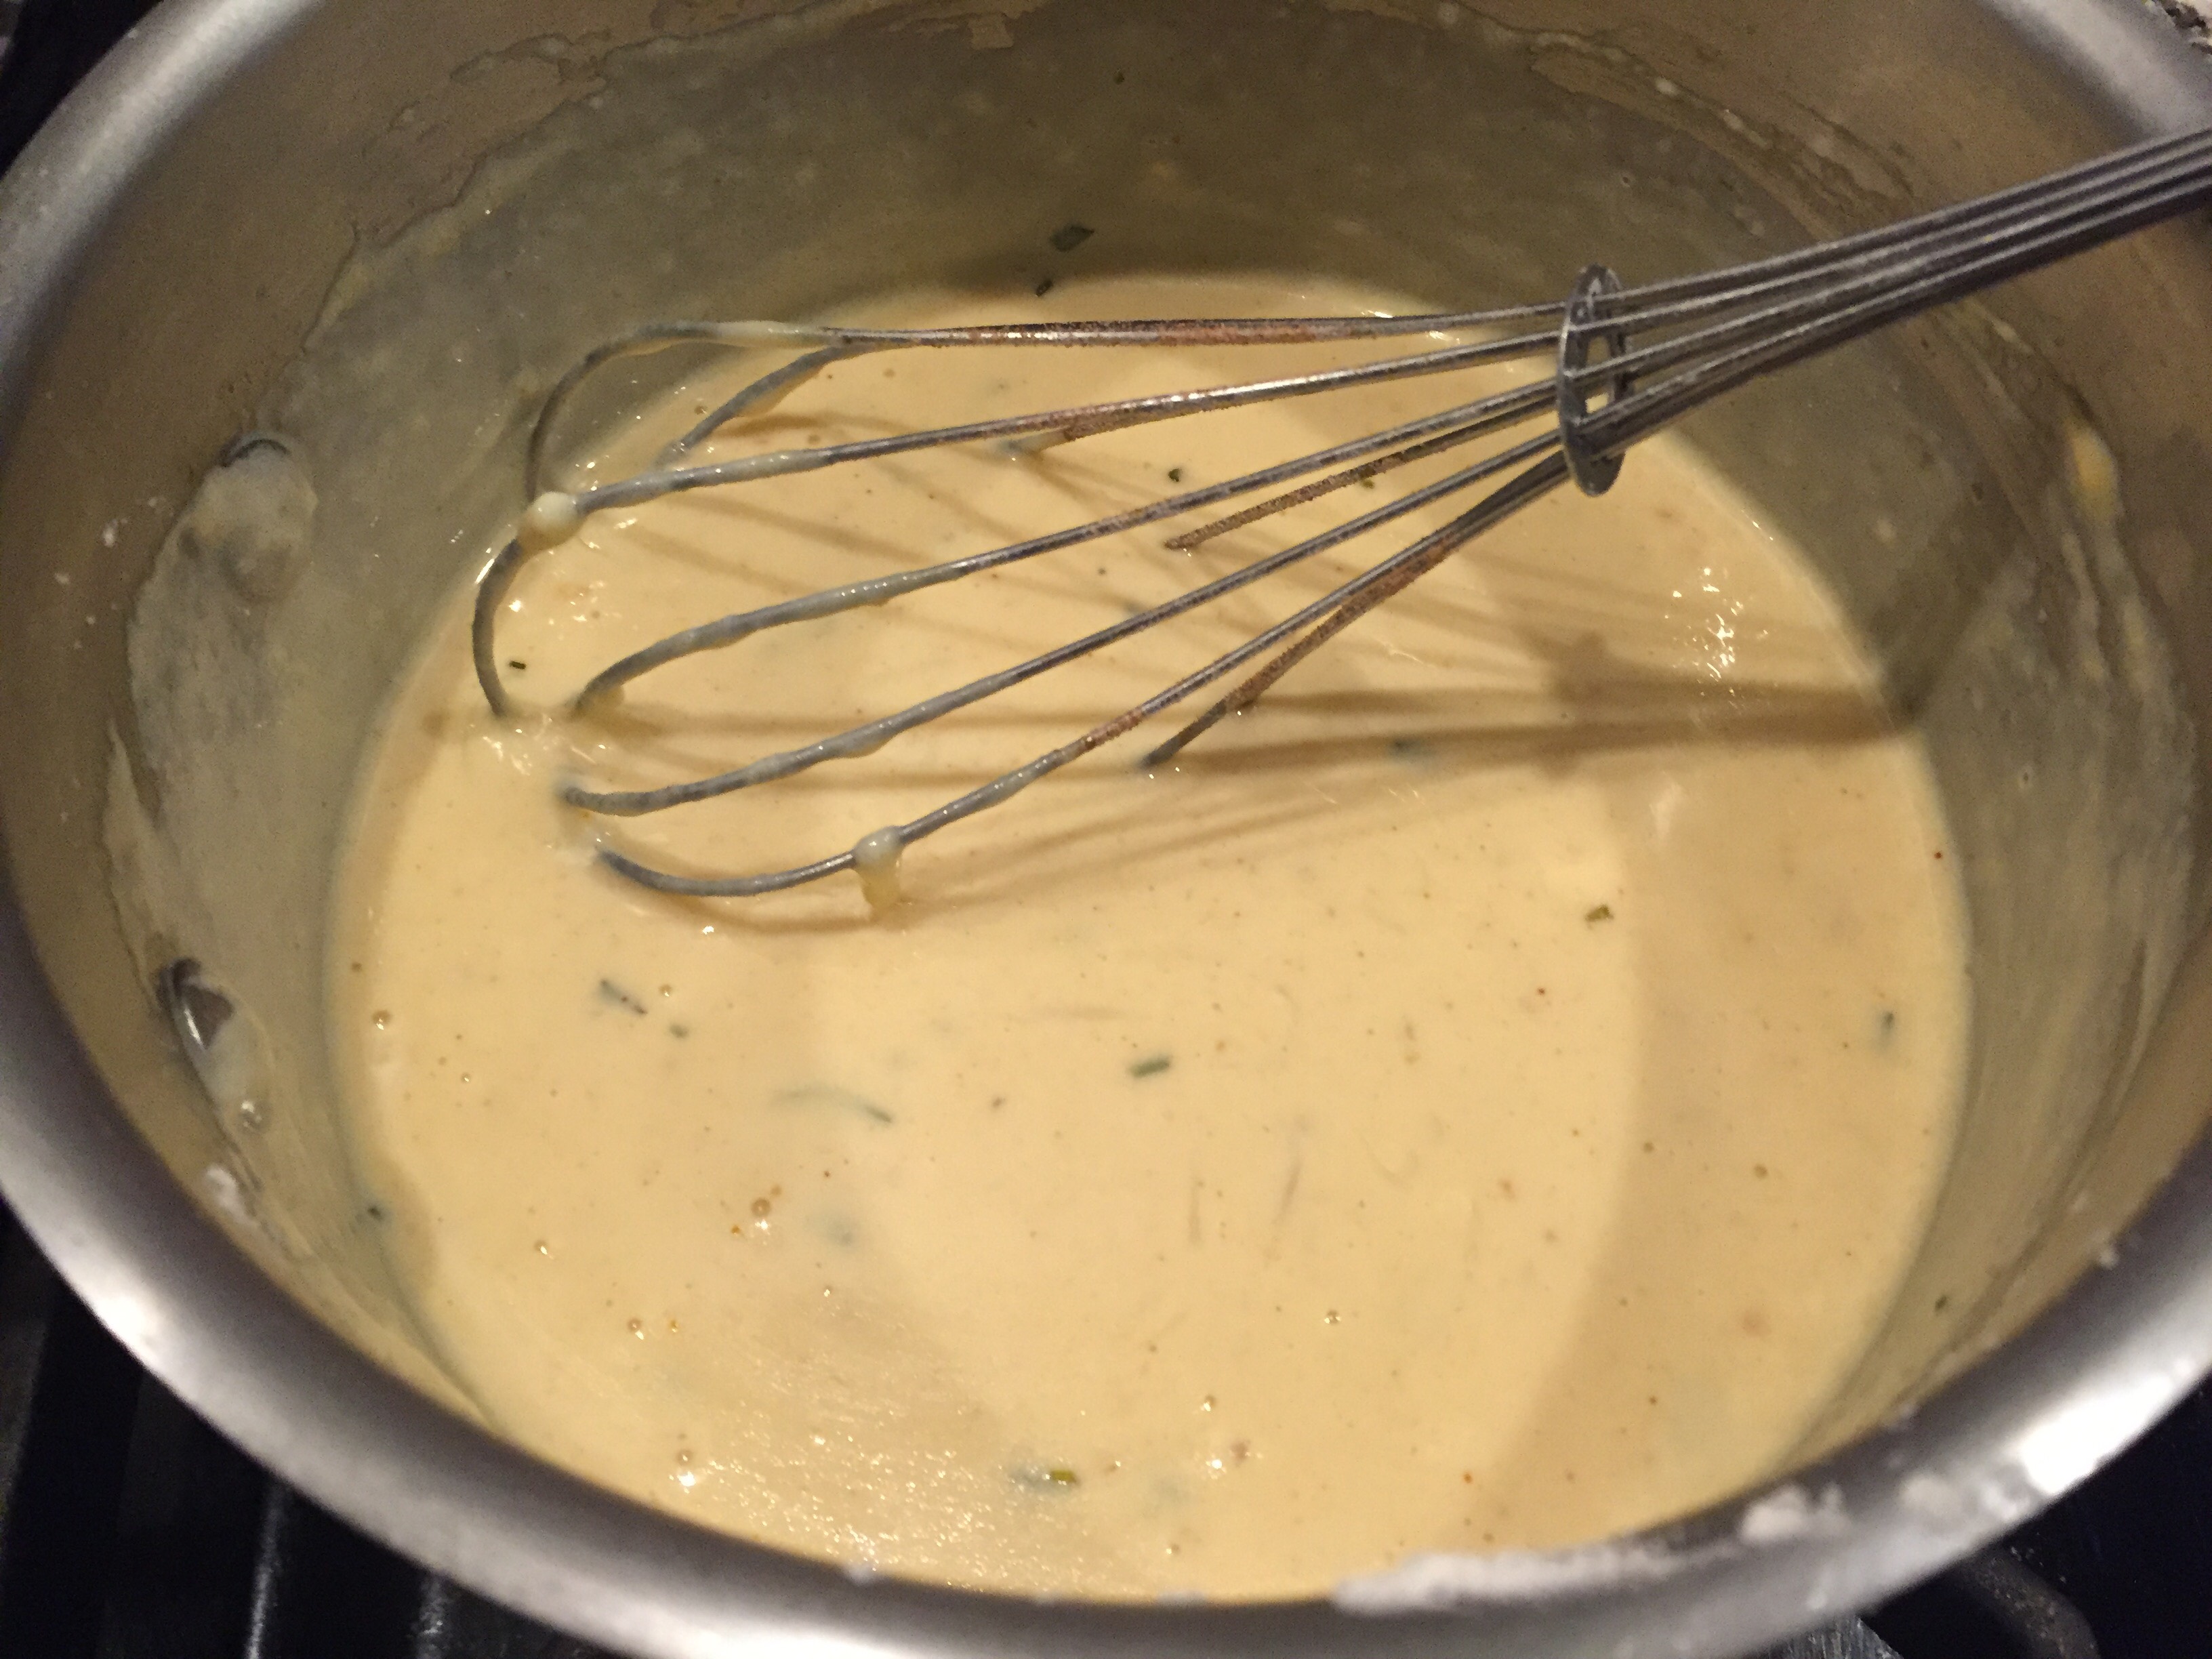 Once your sauce has reached a thick consistency, add in 1 cup of the cheese and stir in until well blended.
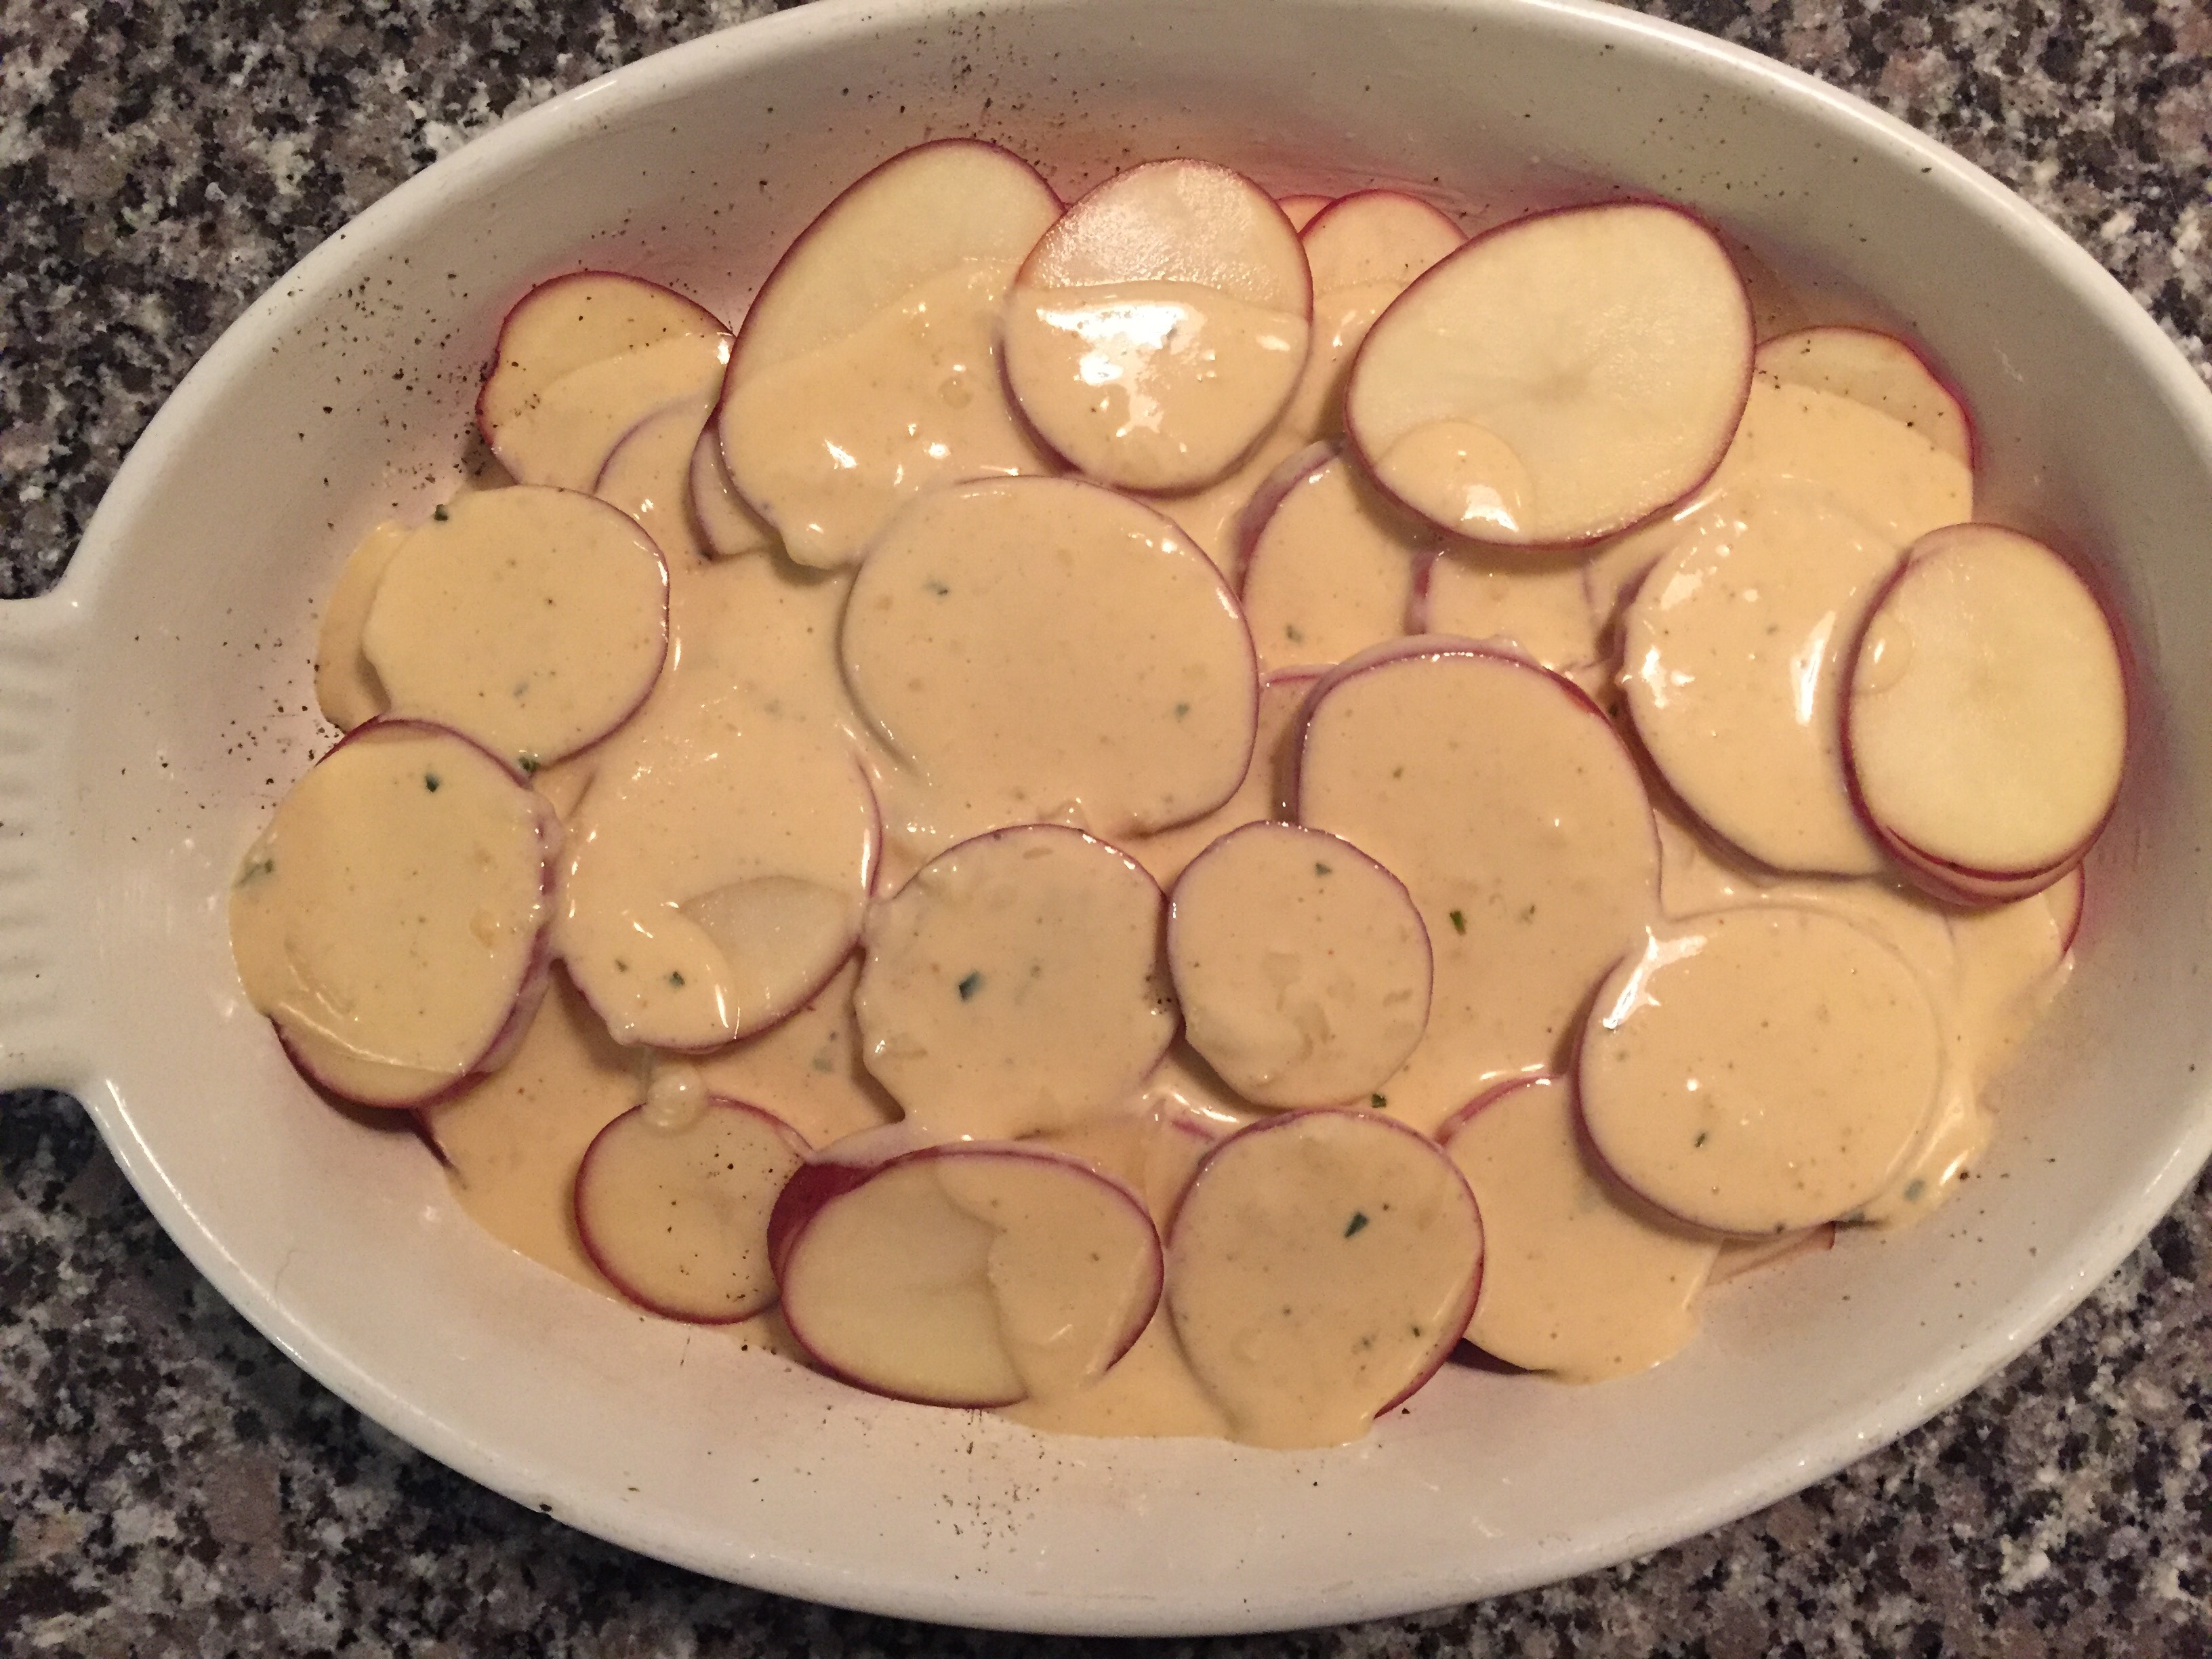
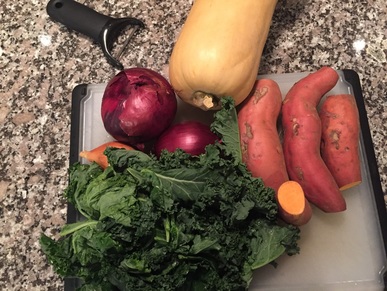
Arrange half the potatoes in a casserole dish. Pour half the sauce over the potatoes. Arrange the rest of the potatoes atop the sauce followed by the remaining cheese sauce. Next, sprinkle the top with the remaining 1⁄2 cheese. Bake the casserole uncovered for about 1 hour or until cheese is golden brown. 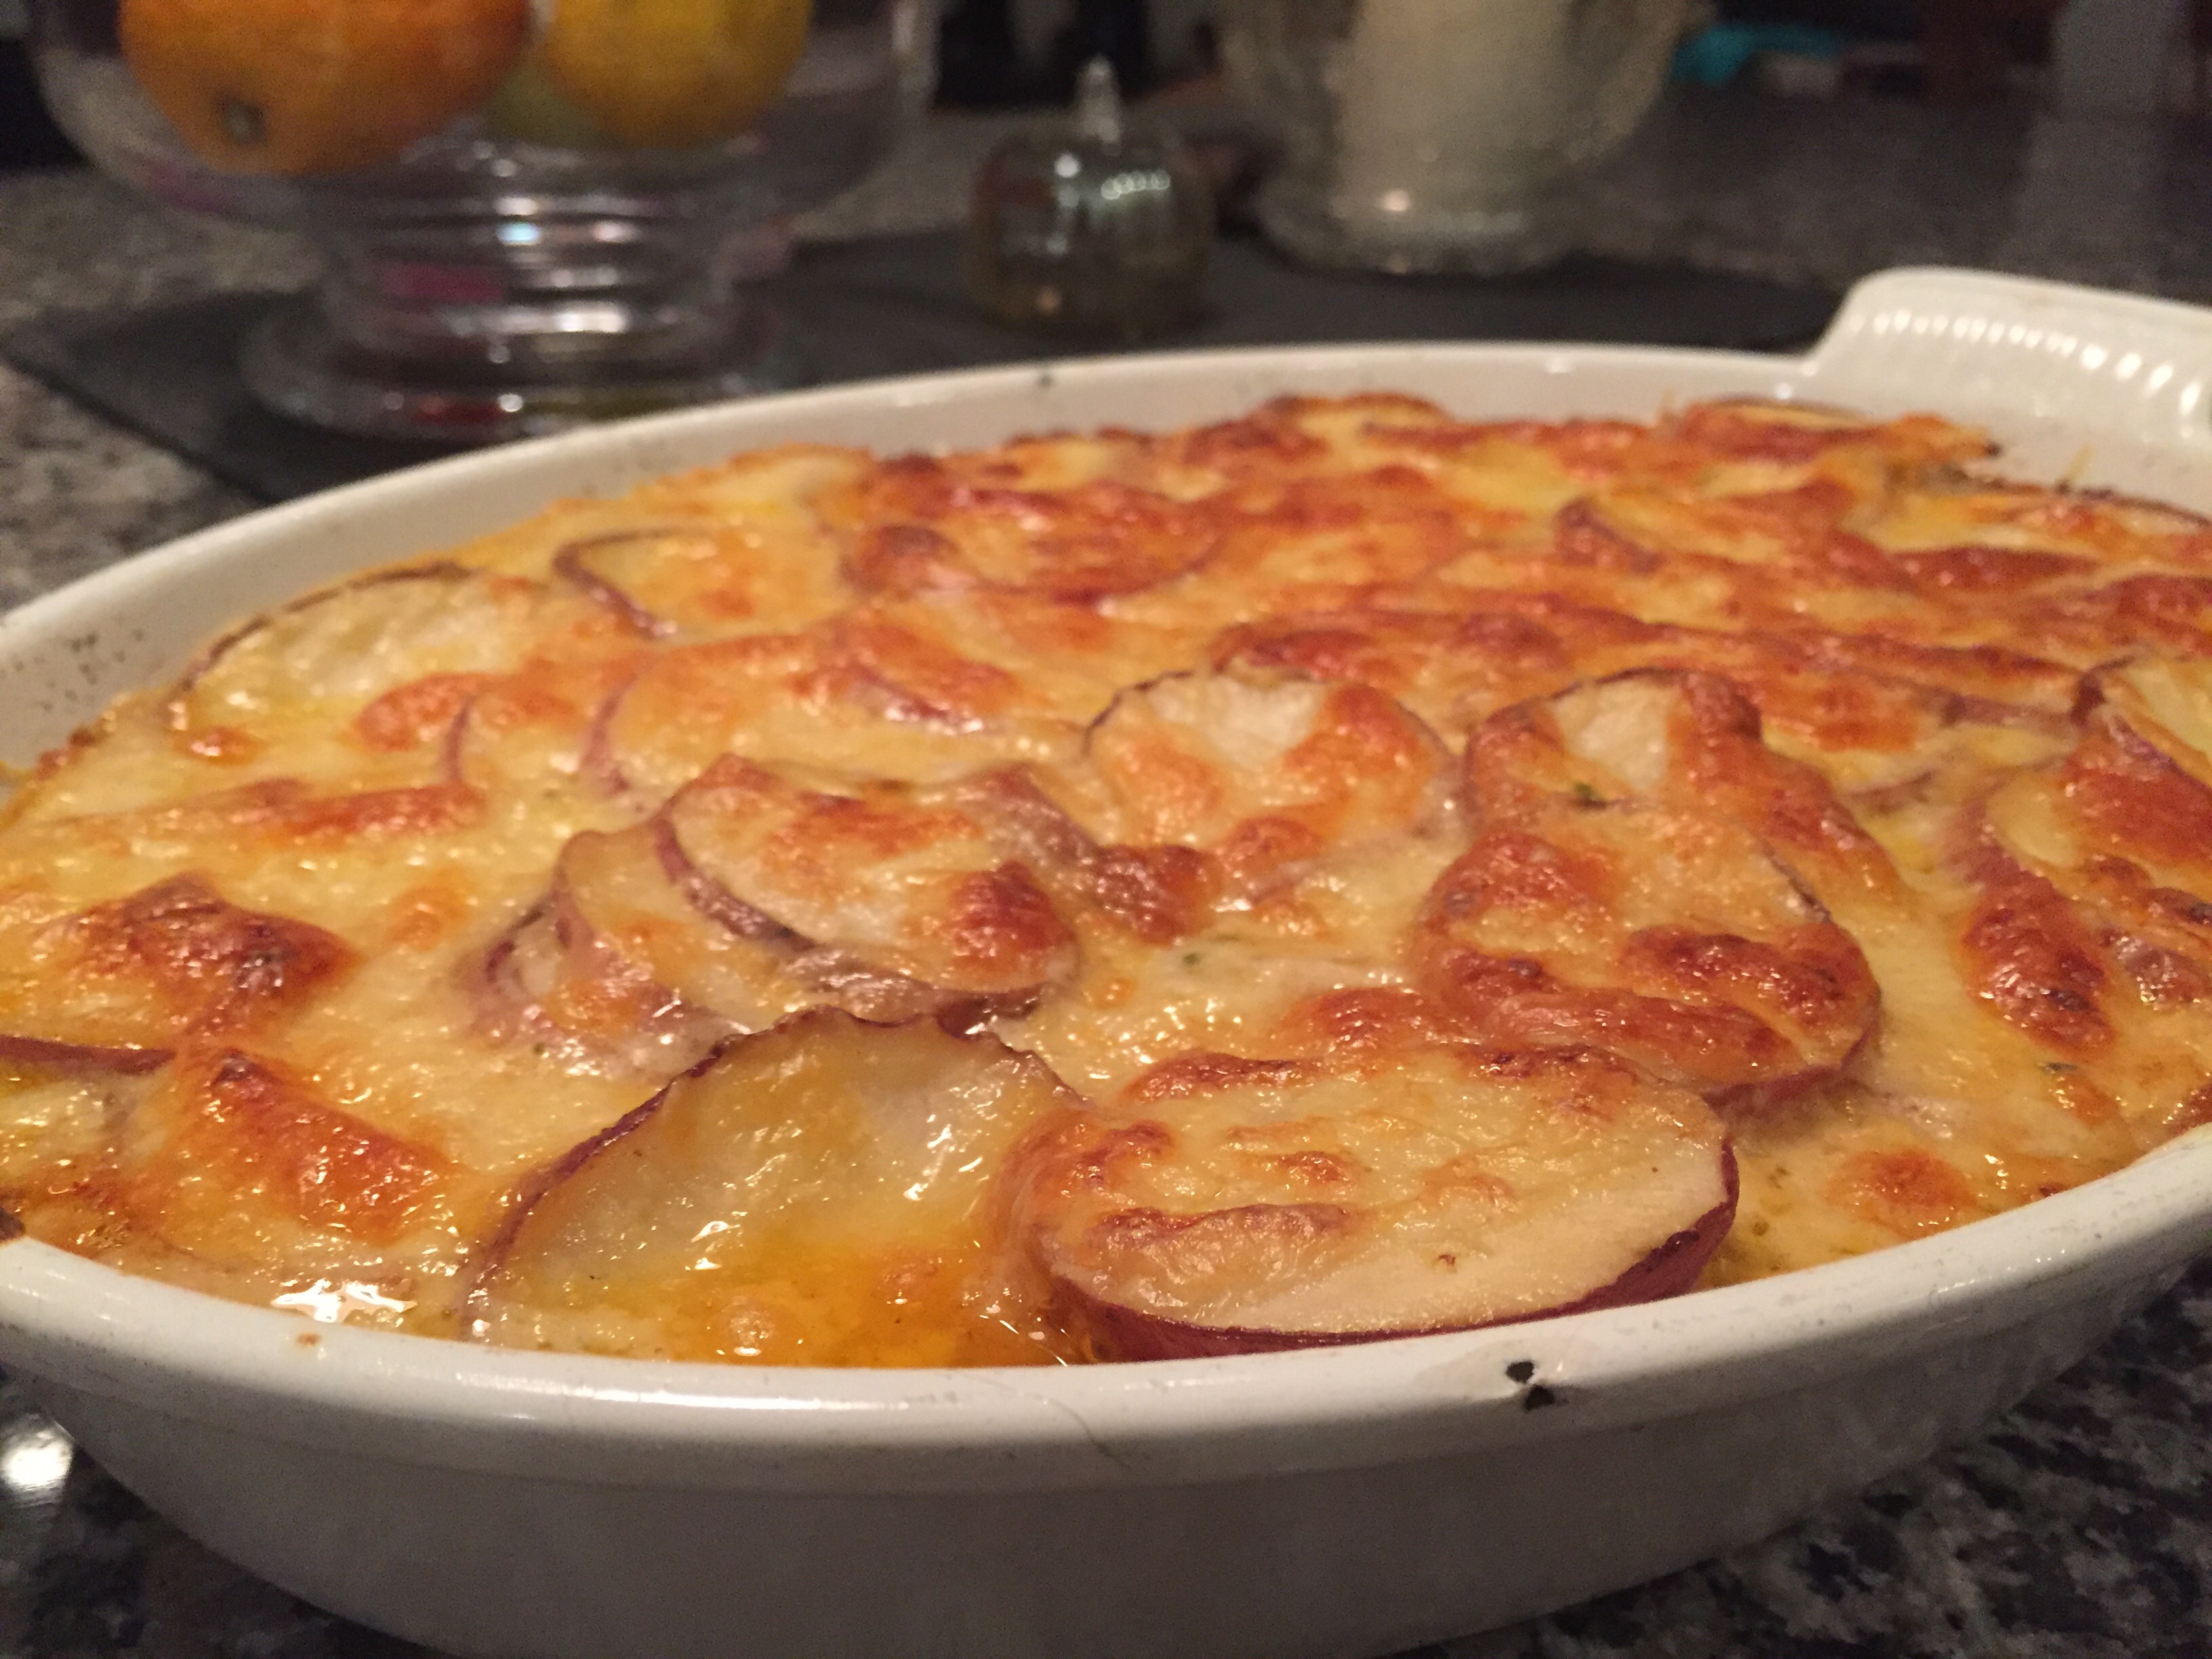 This week's share was bursting with beautiful sweet potatoes and robust kale! A perfect setup for this incredible layered dish! I hope you enjoy as much as we did.
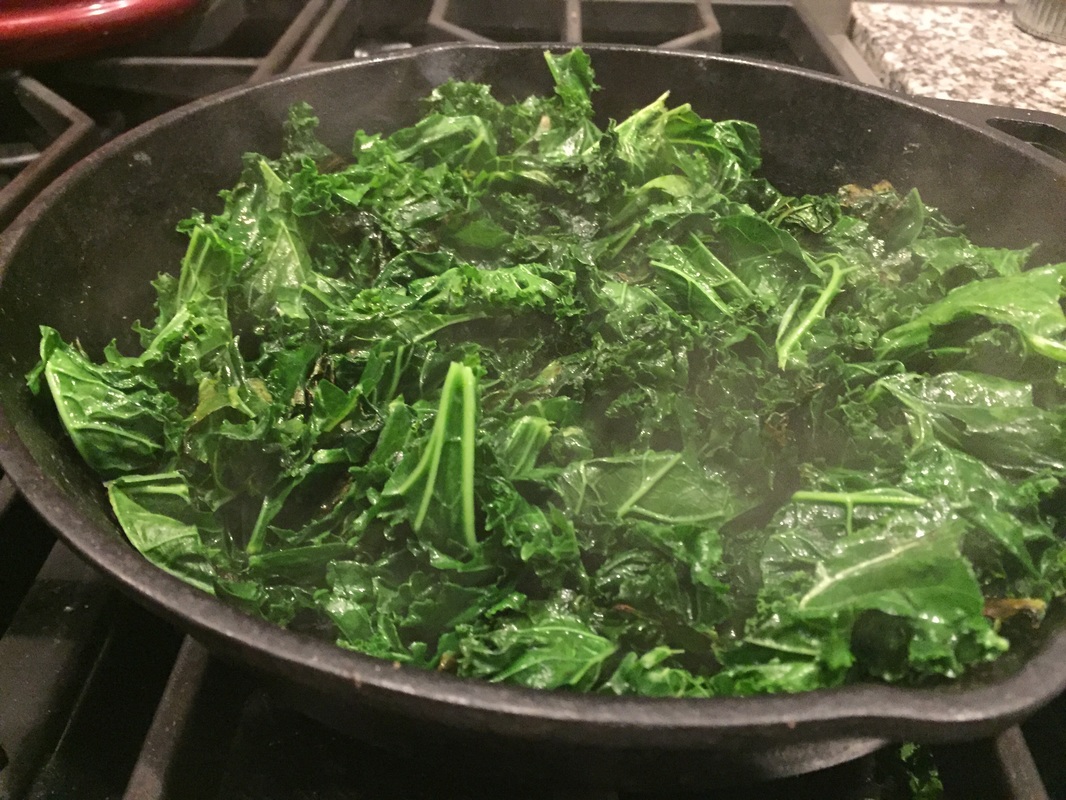
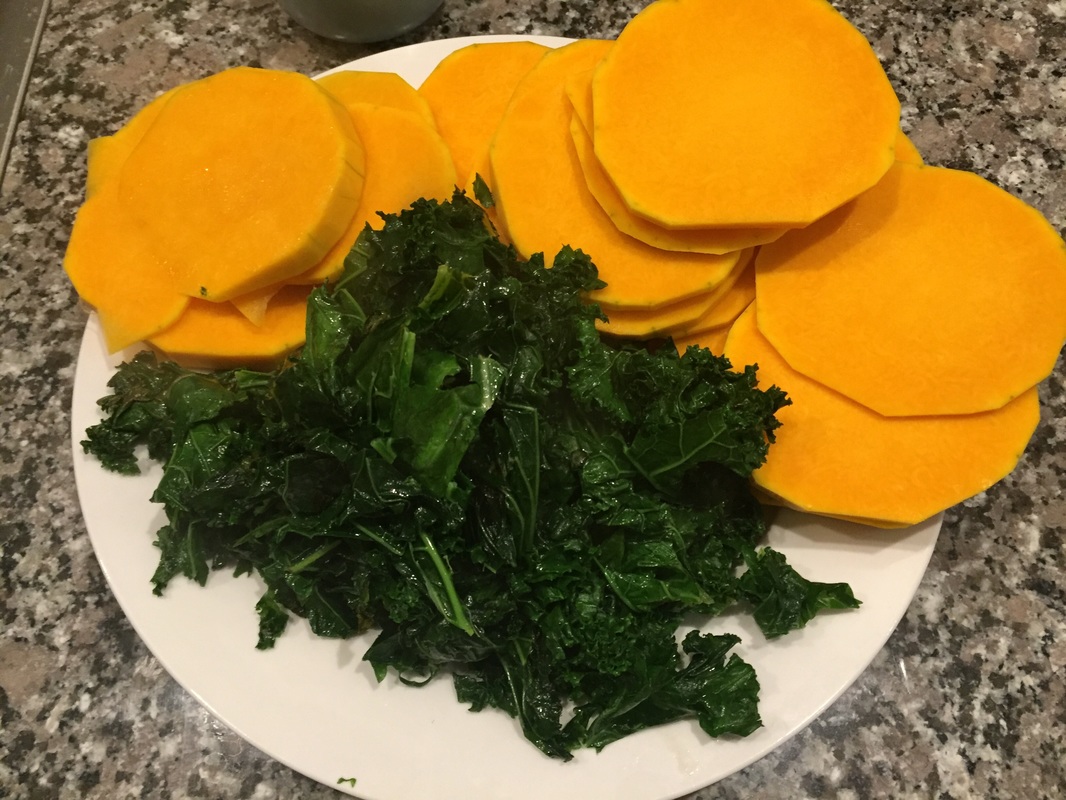
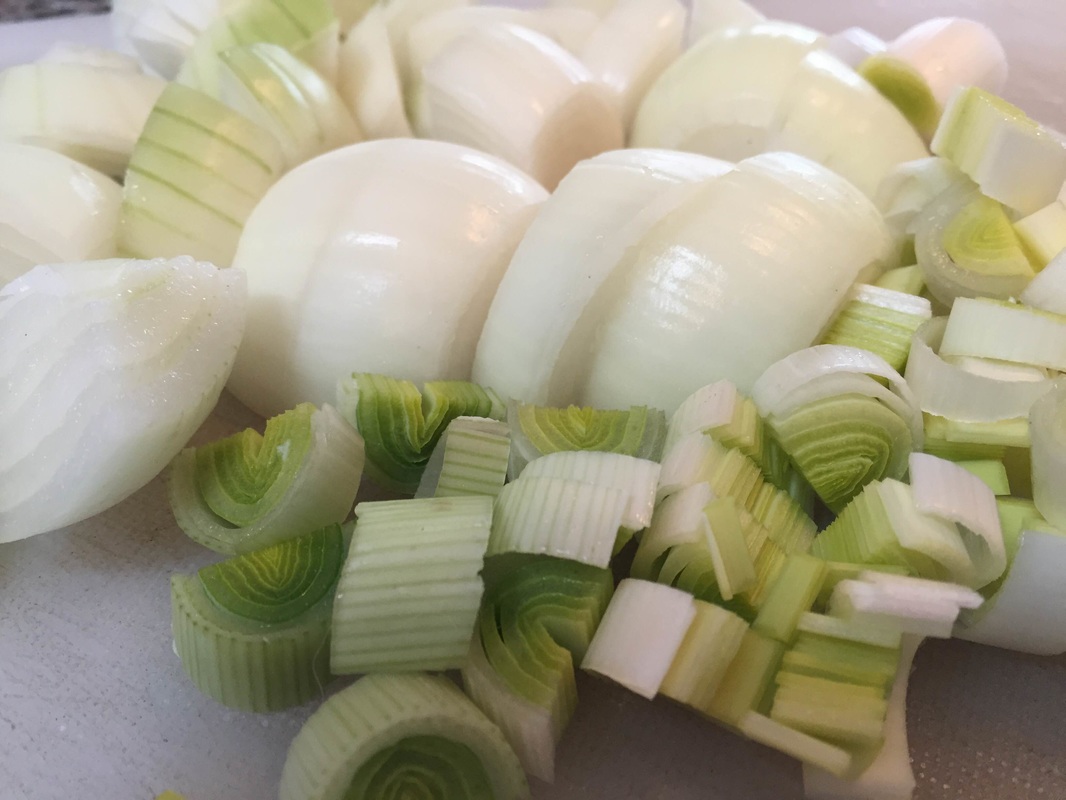
Method: Sauté the prepared kale and onion over medium heat for 4 minutes in 2 tbsp of the butter. Set aside until you're ready to layer.
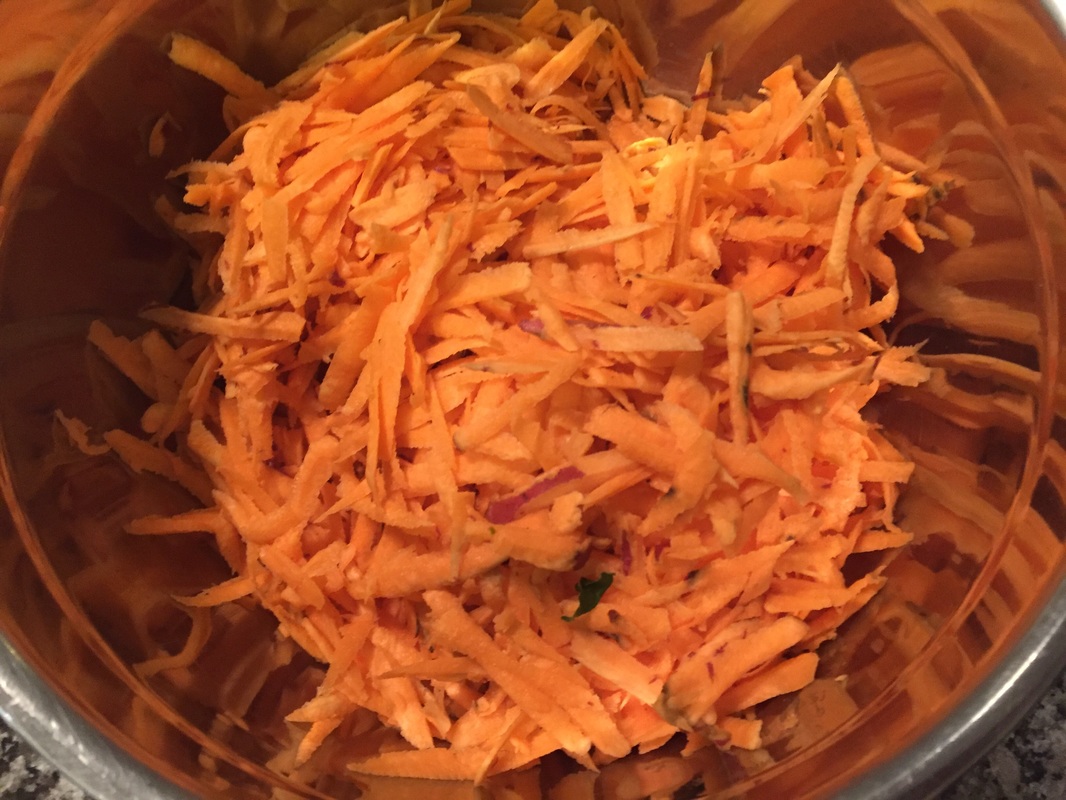
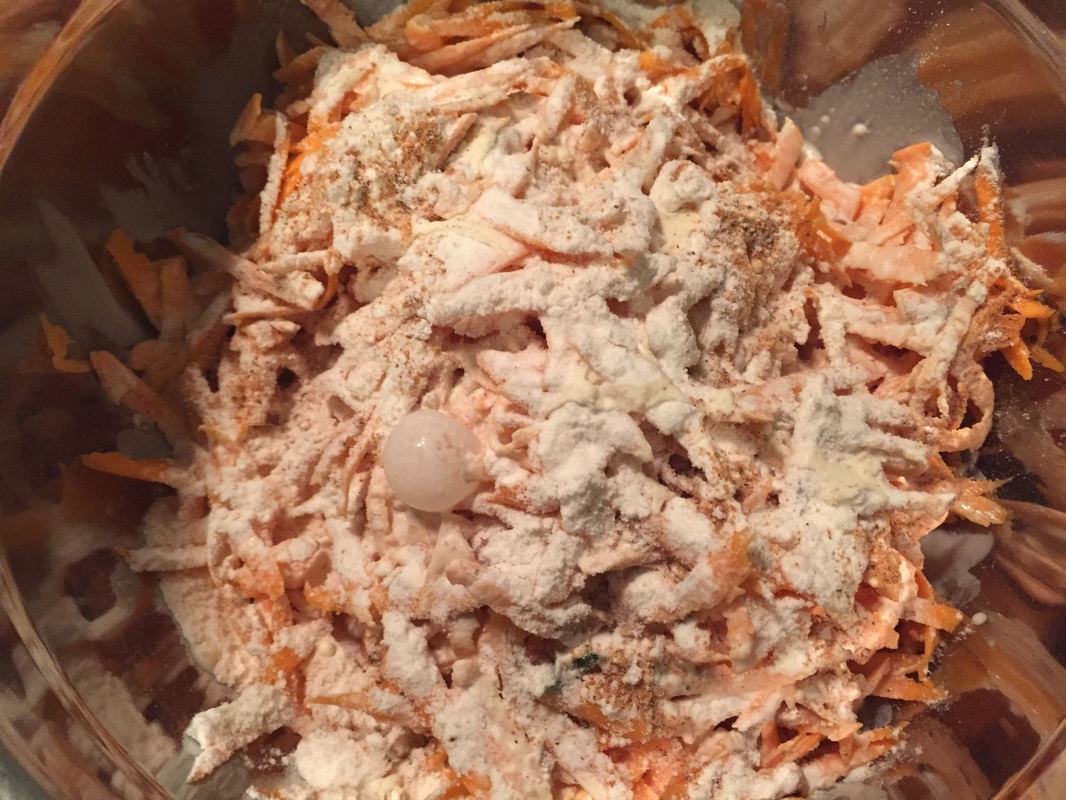
Next: Grate the sweet potatoes and mix with the flour, salt, pepper and nutmeg. Mix in the herbs and toss well, using a fork. Set aside until you're ready to layer.
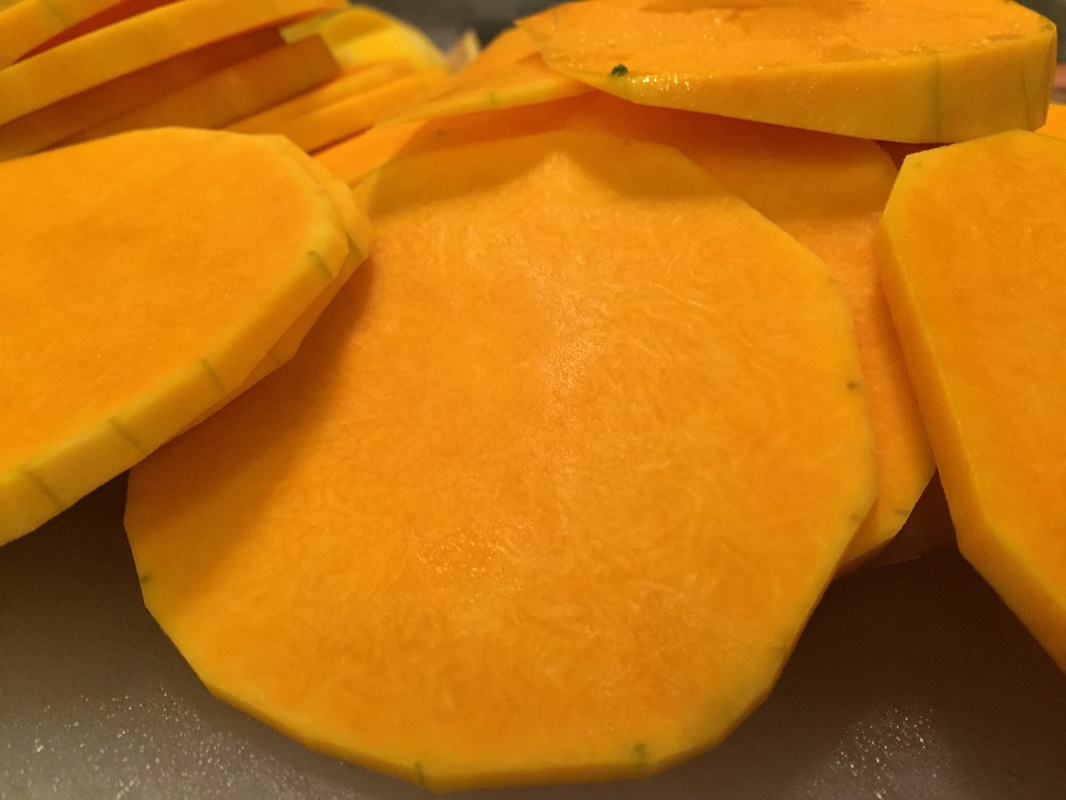
Cut the butternut squash into rounds (as pictured). Set aside to begin layering.
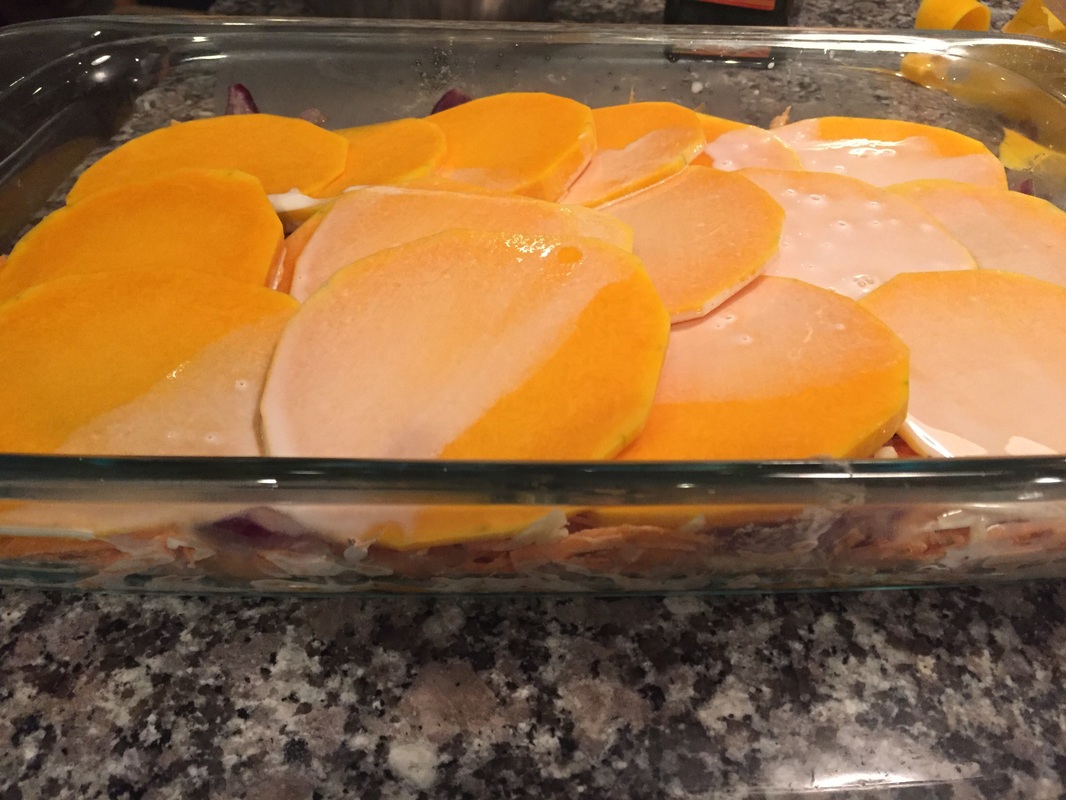
To Assemble: Spread the remaining butter all over the interior or a medium to large baking dish (at least 3 inches deep). Start with half the sweet potato mixture. Spread evenly in dish. Add 1 cup cheese. Next add 1⁄2 cup of the half and half. Now spread half the kale evenly over the cheese layer. Now add half the squash as shown, layering evenly. 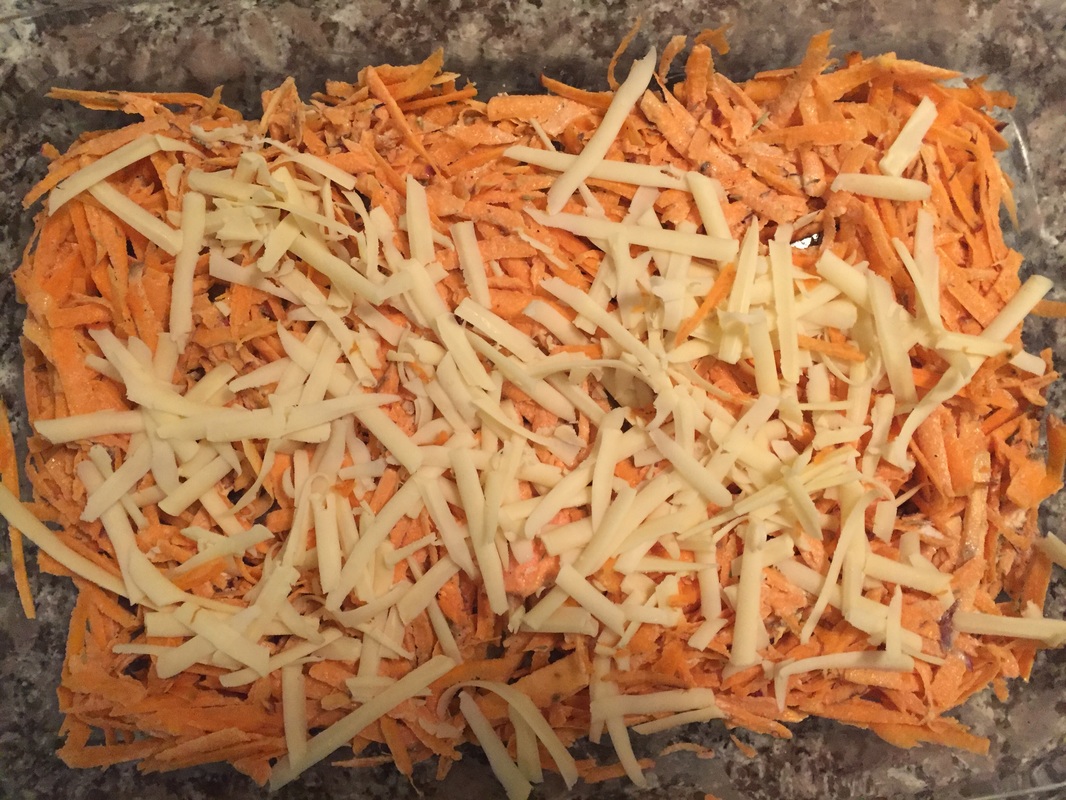 Repeat this process. The order in which you layer does not matter all that much. As long as you start with the sweet potatoes and keep track of what's going on when, you should be in good shape! Reserve about 1⁄4 cup of cheese to top final layer.
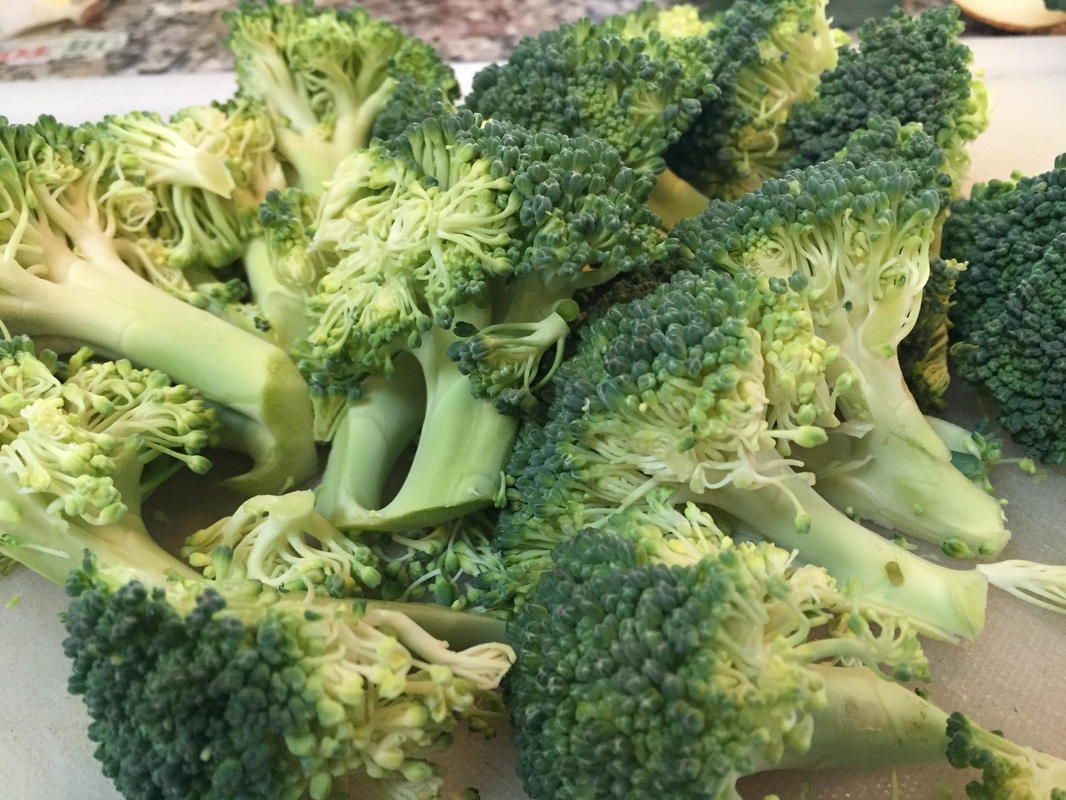
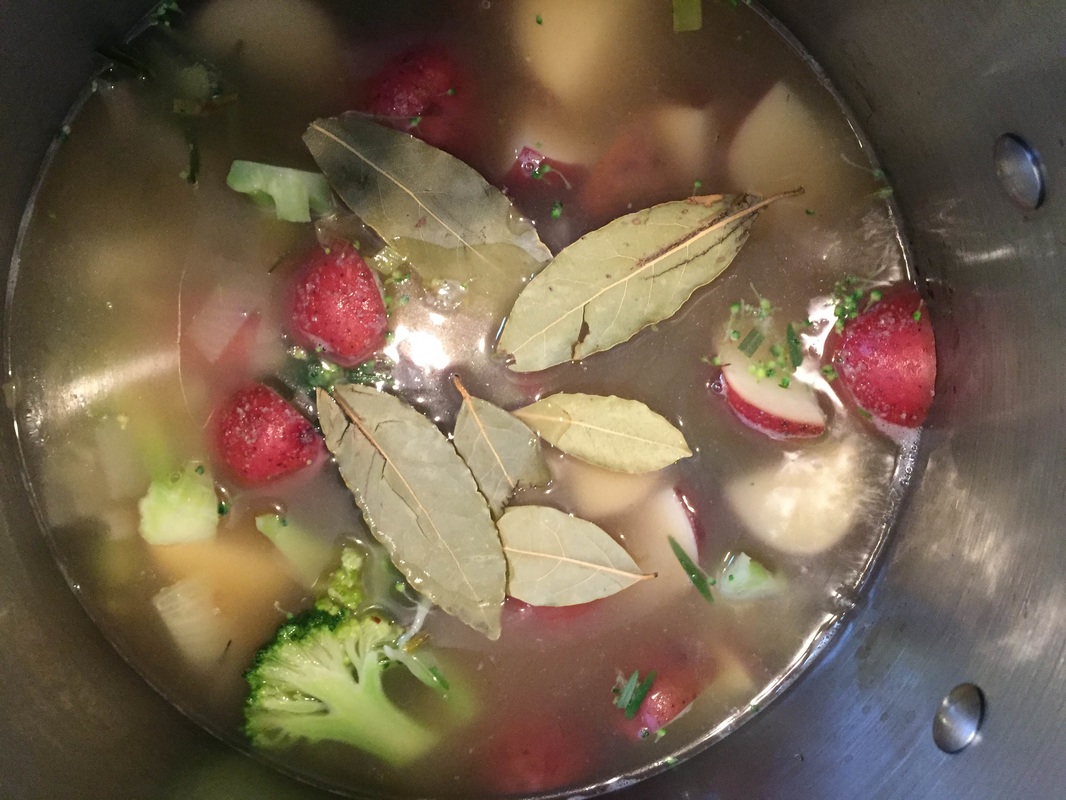
Bake at 375 degrees for 1 hour covered with foil. Remove foil and bake 10 more minutes! Let set for at least 10 minutes before you serve. I like to cut into lasagna style serving. 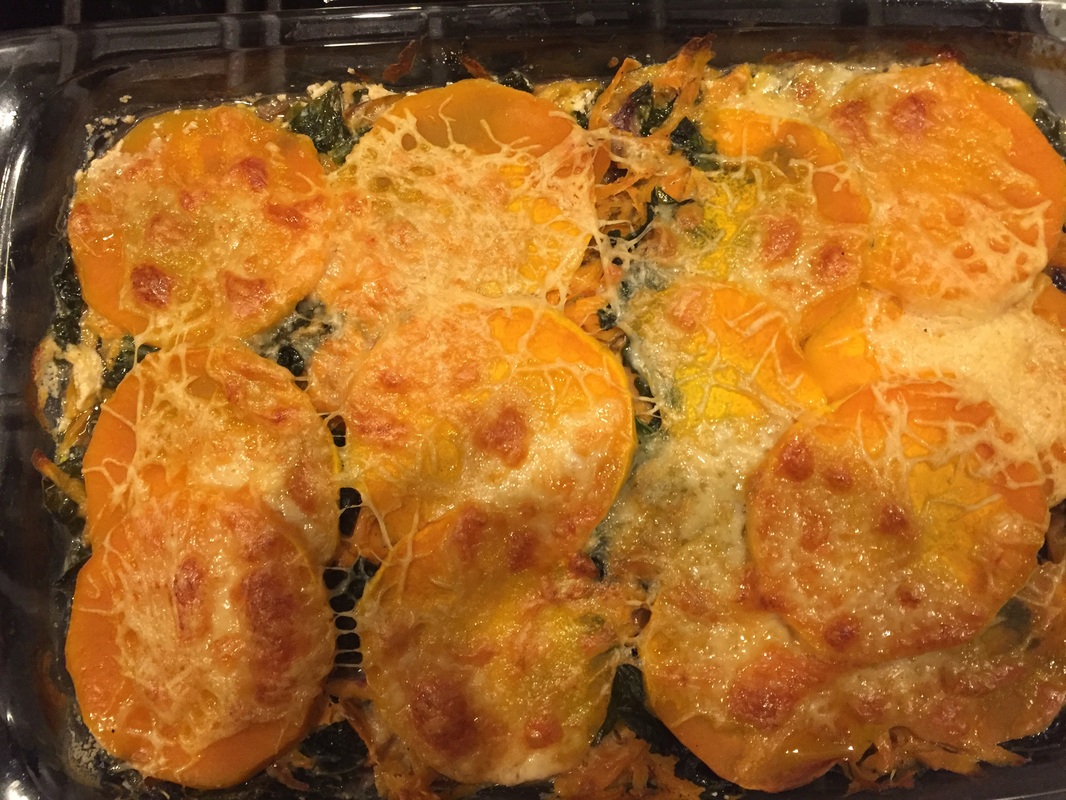 This week’s share was beautiful! Full of fresh herbs, fragrant onions and red potatoes. That combined with last week’s broccoli and some corn we froze this summer made for a delightful soup. Add some pepper jack and you have the perfect warming combo for a chilly fall day. 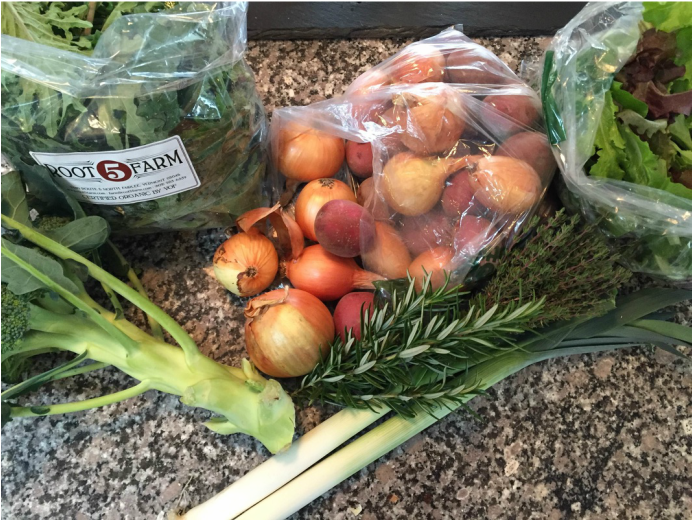 Ingredients: 3 small yellow onions, chopped 8-10 red potatoes, washed and cubed 1 head broccoli, trimmed and chopped 2 cups frozen, sweet corn 1 Tsp butter 6-8 cups water 2 Tbsp fresh herbs of choice, chopped (I used Thyme and Rosemary) 6 Bay leaves 4 oz grated pepper jack cheese 2 oz grated cheddar cheese Salt and pepper to taste (hint-this soup requires a bit of salt)
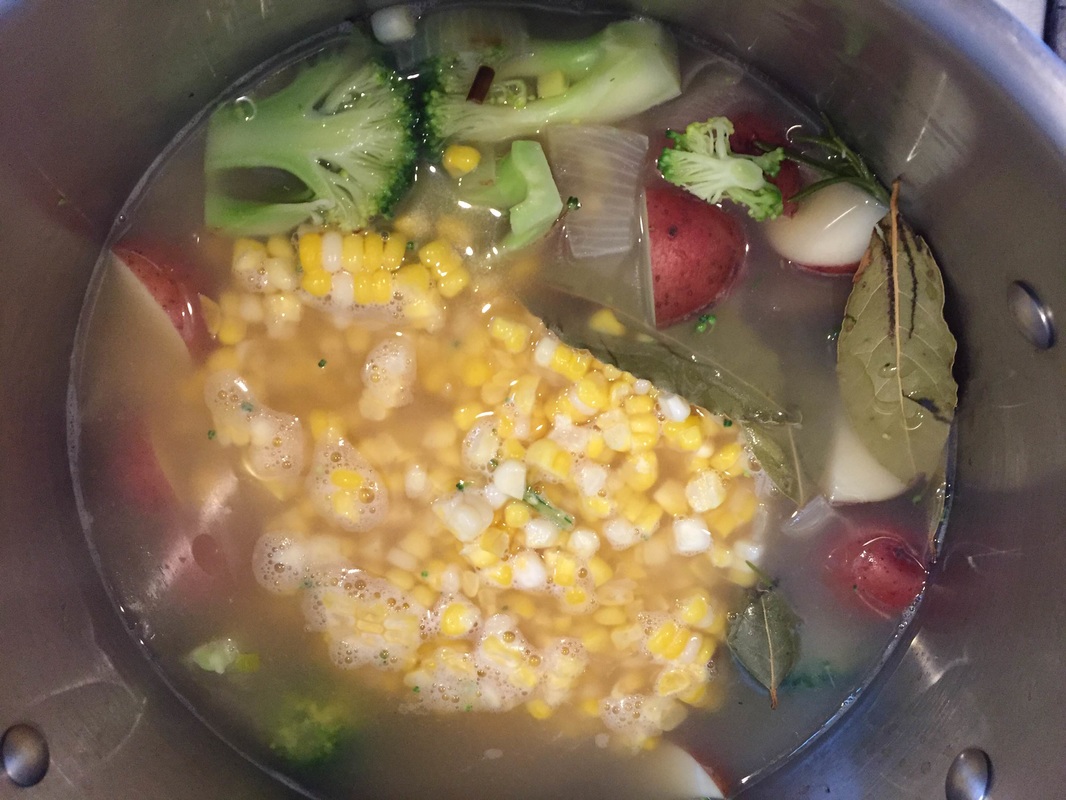
Method: In a large soup pot saute the onions in the butter over medium heat for 5 minutes, uncovered. Add the potatoes and stir well. Now add the broccoli and 2 cups water (enough to just cover the potato/broccoli mixture). Stir with a wooden spoon for 30 seconds to distribute the ingredients evenly. Bring to a boil. 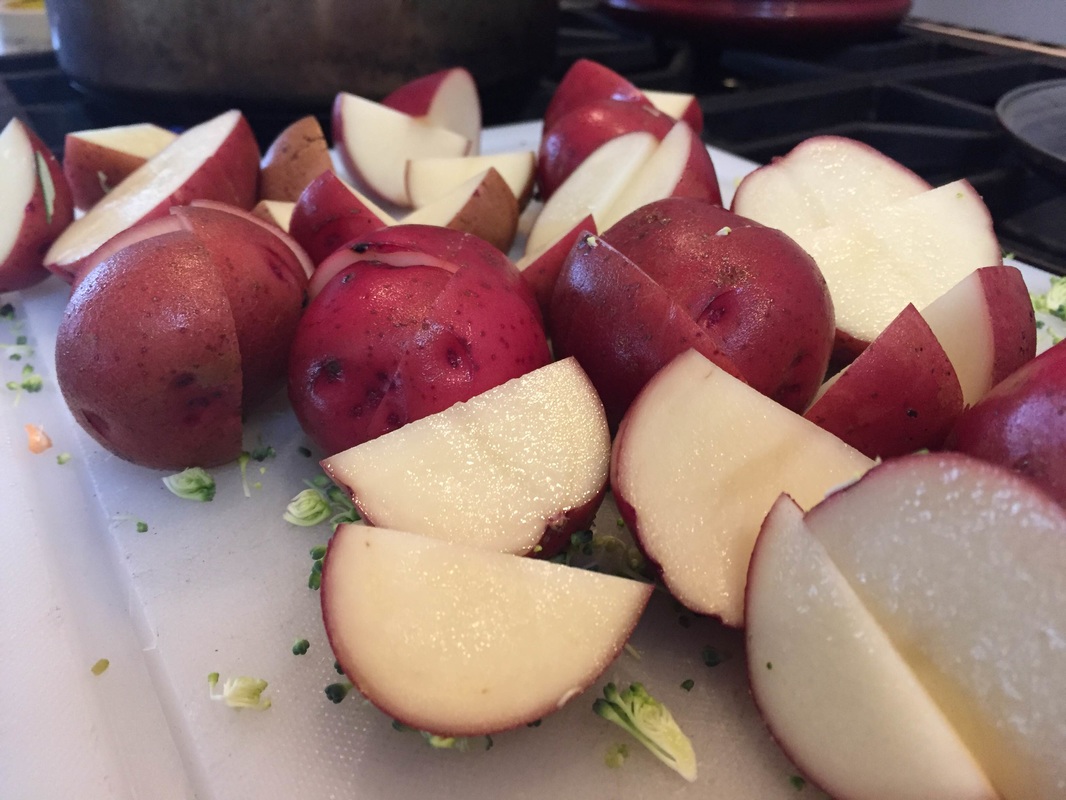 Once your soup has reached a brisk boil, add the corn and 3 more cups of water. Add the herbs and bay leaves. Cook the soup for 30 minutes over medium-high heat, uncovered. Uncover and add the salt and pepper. Cook uncovered for 10 more minutes. Check the tenderness of the potatoes by pressing one up against the pan with a spoon. The potato should crumble to the spoon’s touch.
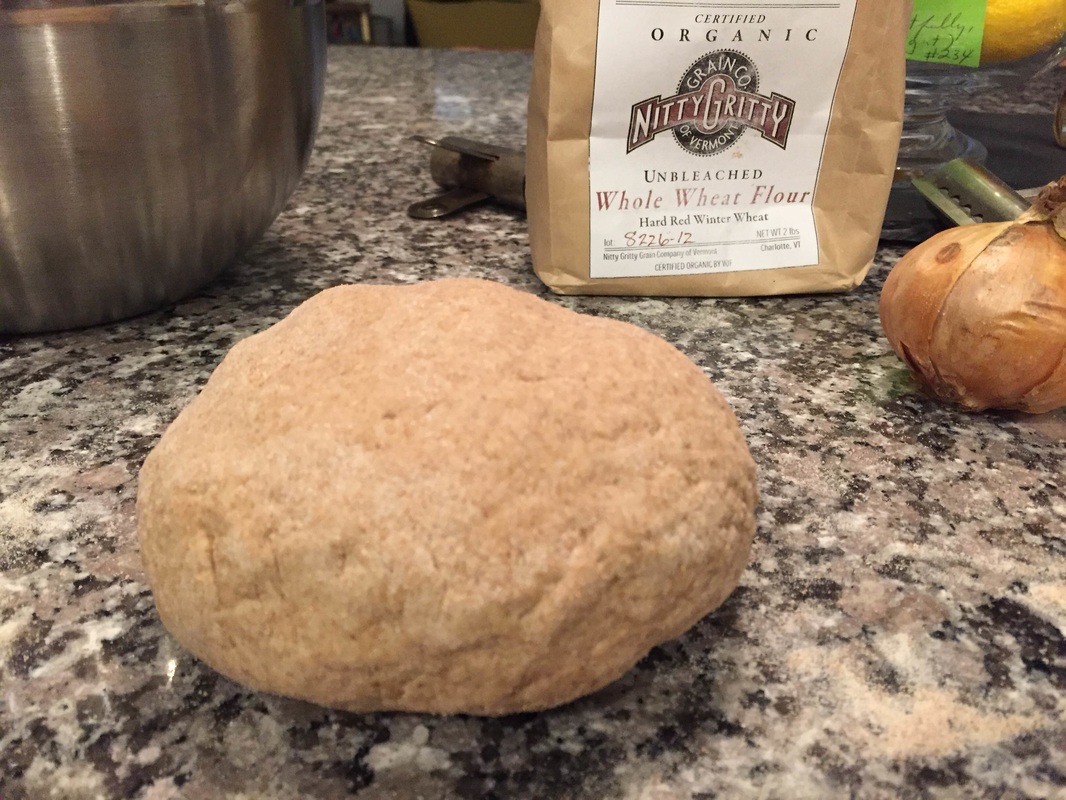
Once the potatoes have reached this consistency reduce heat to low remove all the bay leaves, using tongs or a fork. Using a potato masher smash up the soup until it resembles a thick, chowder looking consistency. Add the cheeses and continue to cook over low heat. If you need to add more water, do so now. Add water until you have reached the thickness you desire. Now check for salt and pepper. You may be surprised by how much is needed, this is a lot of soup! 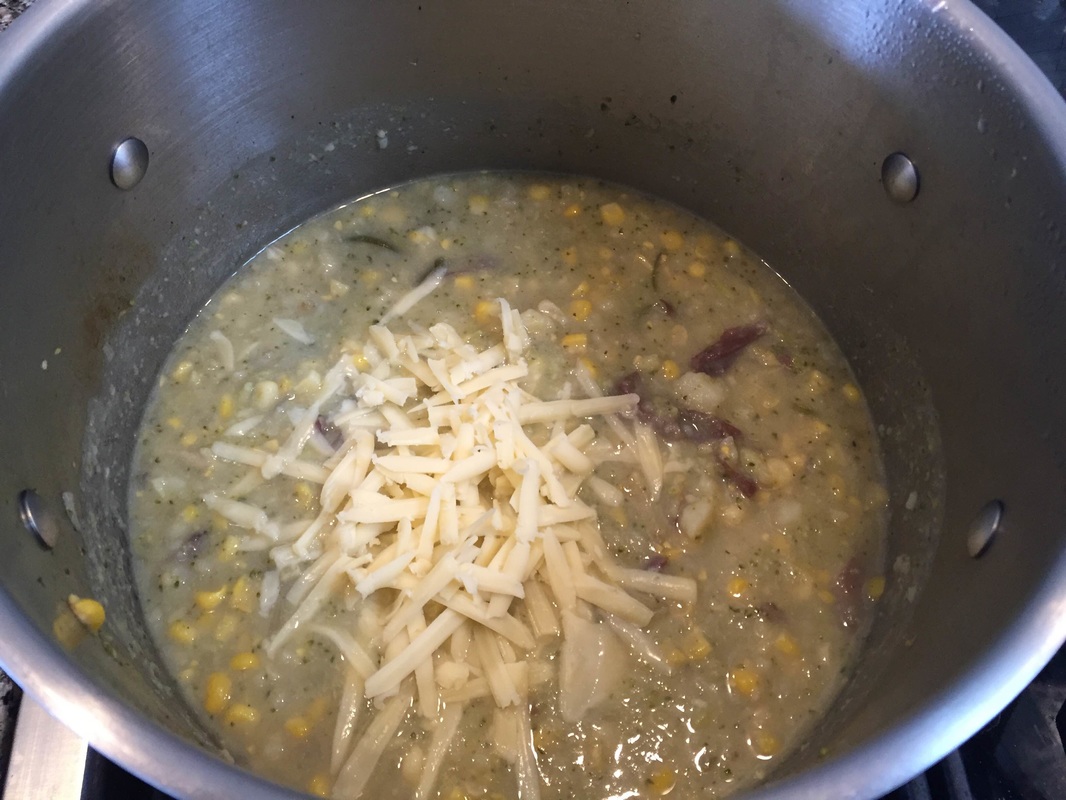 Garnish with more herbs or some extra cheese! Serve hot! I like to jar up leftover for lunches, as featured in this photo. Enjoy! 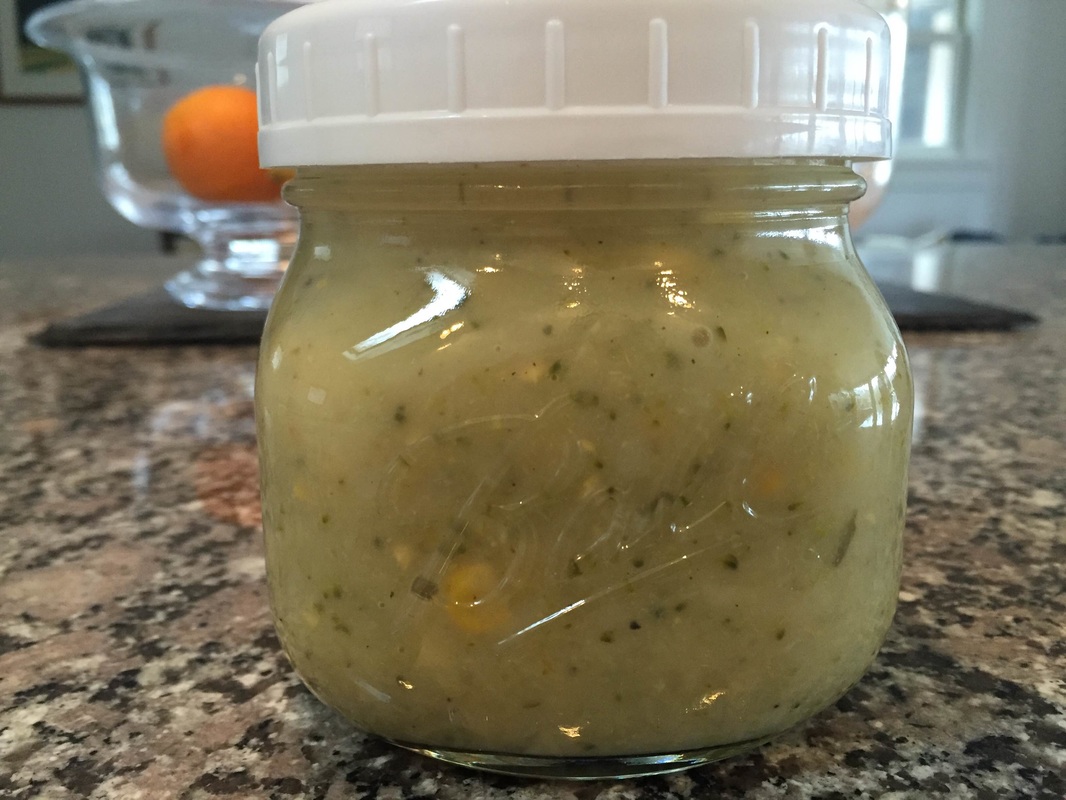 I was at a King Arthur Cooking class for work this past week. We made Indian Chipati that were really fun and EASY. I've adapted the recipe to be my own, and added a twist (or two). These flat breads are amazingly flavorful and super fun. You can stuff them with a variety of seasonal vegetables and make your own version. This week try it with sweet potatoes! 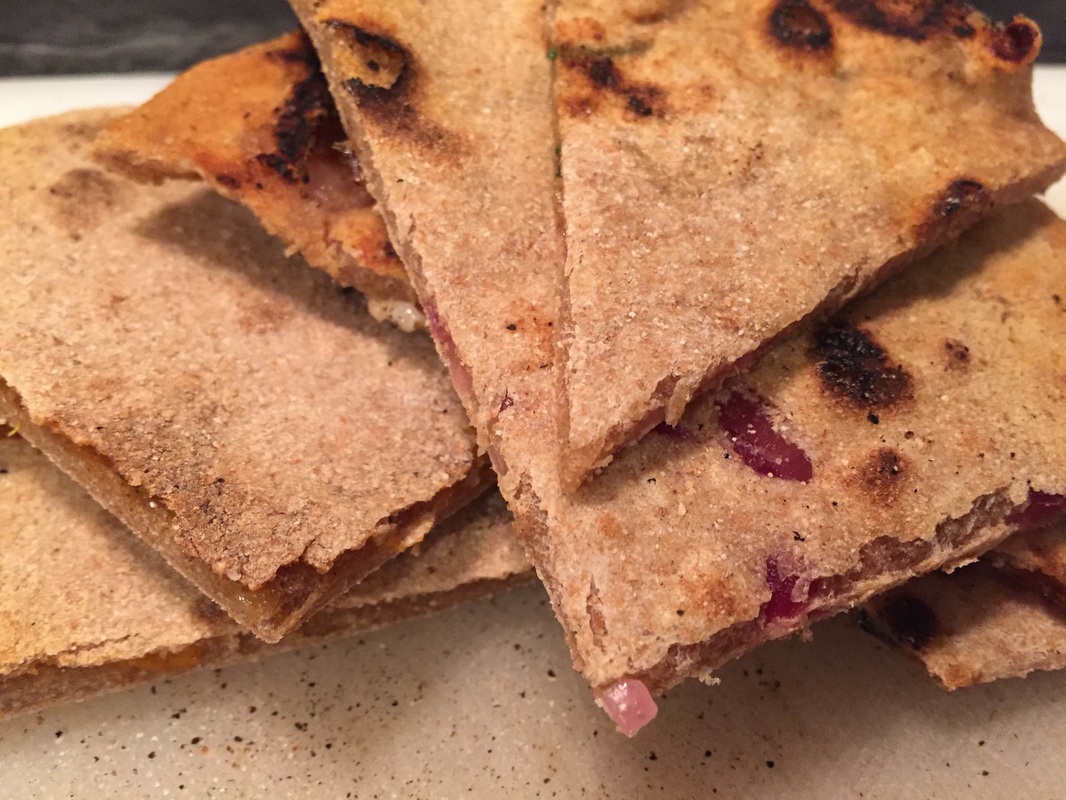 For the Bread Dough: 2 Cups Whole Wheat Flour (or 1 cup whole wheat/one cup all purpose) 3⁄4 cup warm water 1 Tsp salt Method: Mix the flour and salt in a medium mixing bowl. Add the warm water and stir well with a wooden spoon. Work well. Remove dough from bowl and knead for 3-5 minutes gently. Once you have formed a well worked dough ball, wrap in plastic wrap and set aside.
For the sweet potato filling: 1 sweet potato peeled and cubed 1 small onion, chopped finely 1 Tsp olive oil 1 Tsp salt 1 Tsp seasoning of choice (I suggest curry powder or chili powder) 1⁄2 cup water
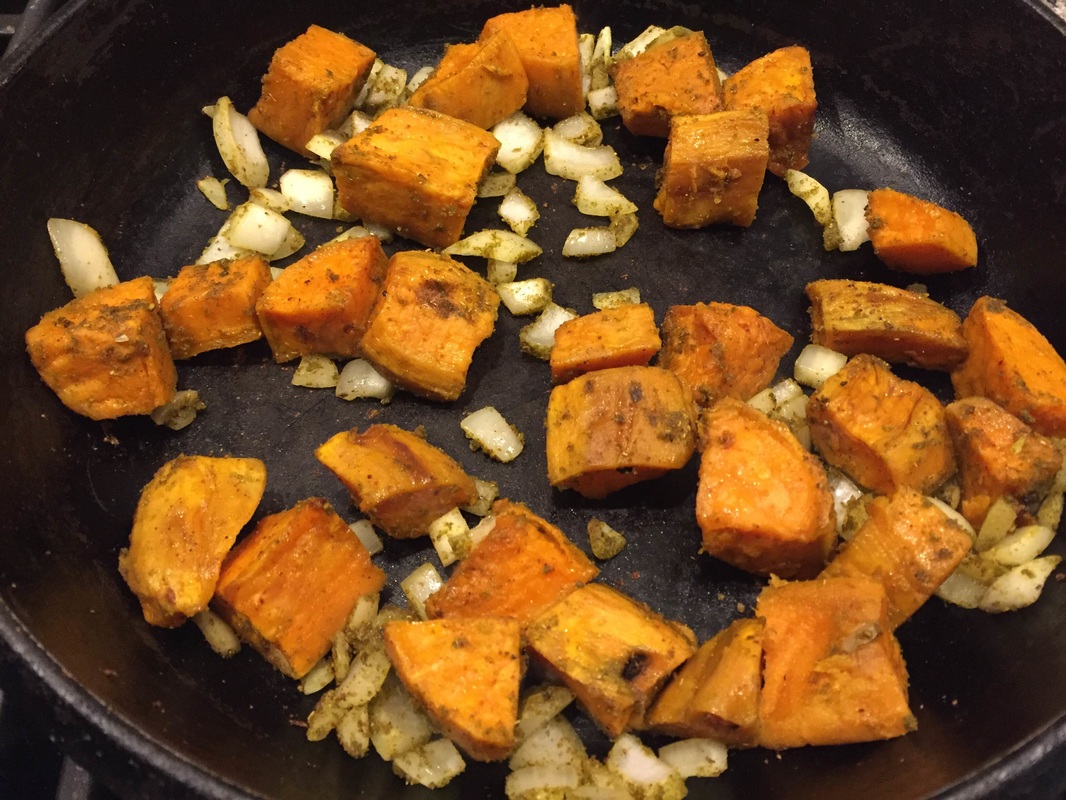
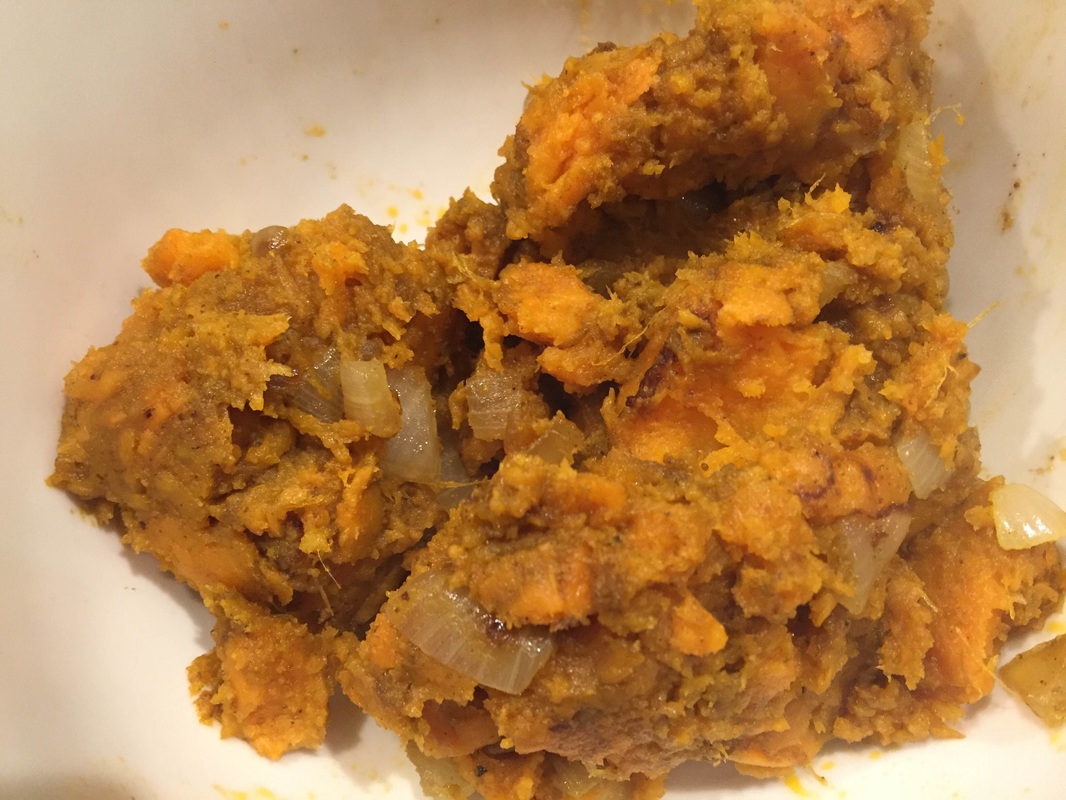
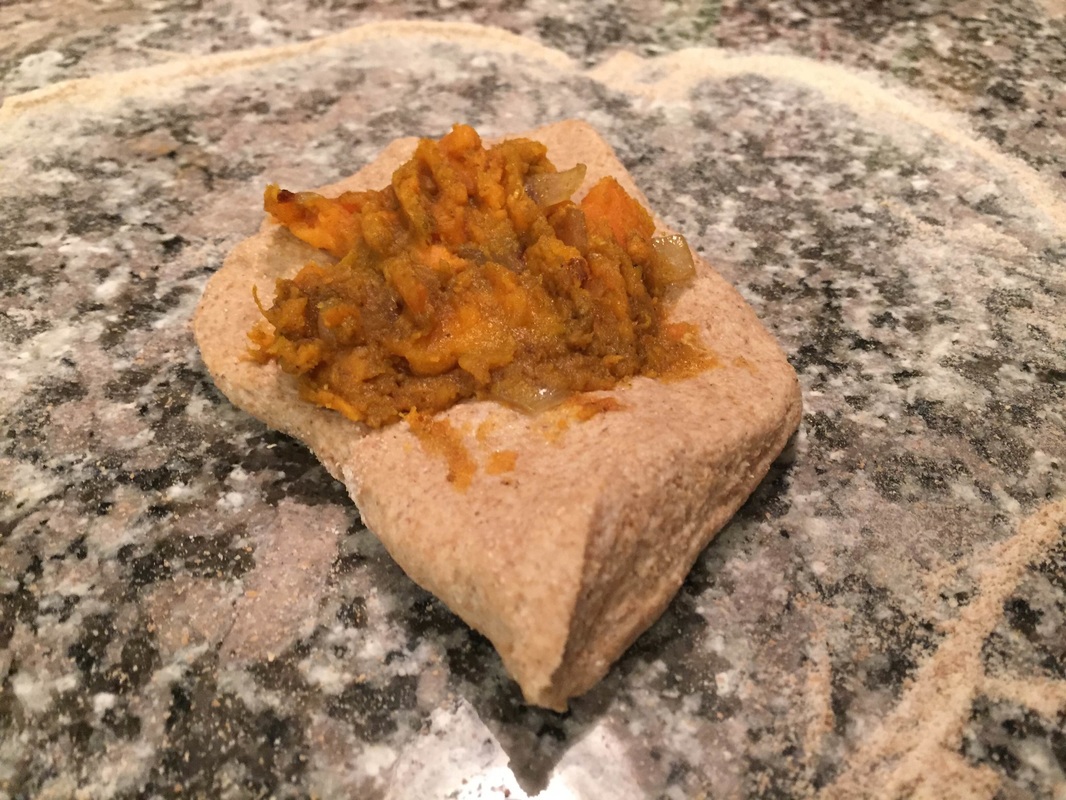
Method: Saute the onions in the olive oil for 5 minutes, over medium heat, add the spice and salt. Stir well. Now add the sweet potatoes. Add 1⁄4 cup of water at a time. Allow the water to evaporate completely before adding remaining water. After about 5-10 minutes of cooking in the water, the potatoes should start to soften. Once they are soft to the touch of a spoon, mash up the mixture. Removed from heat and transfer to a bowl. 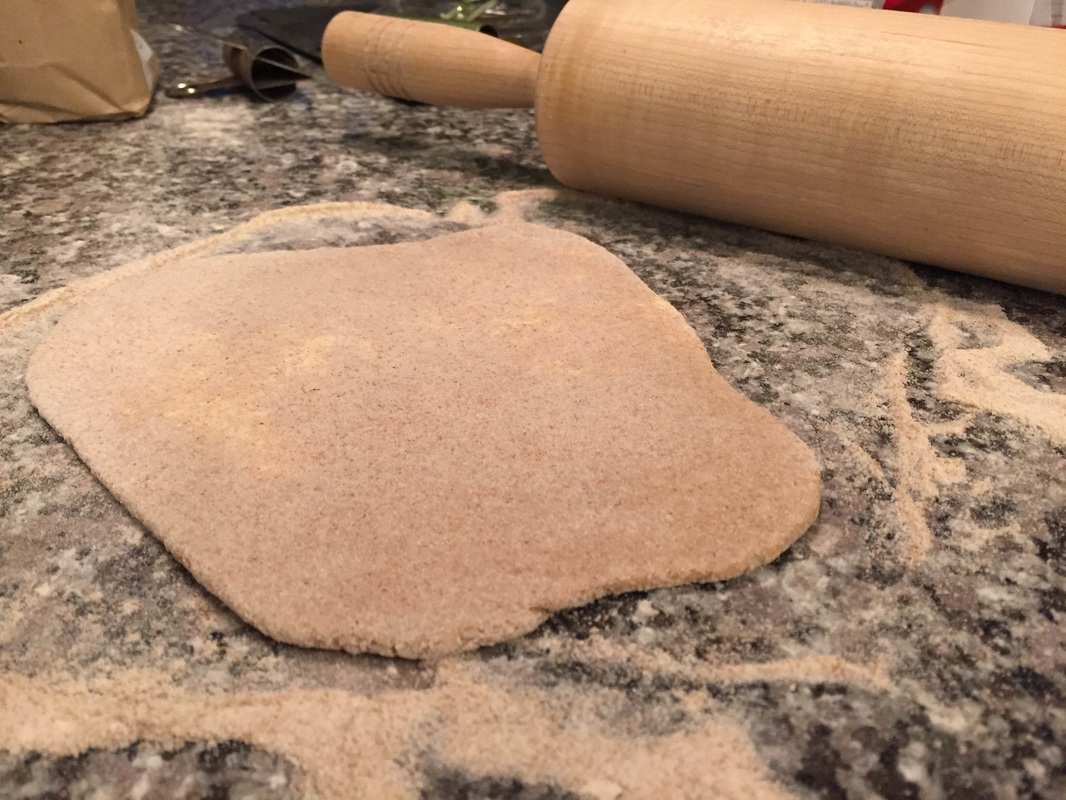 To assemble and cook: Unwrap the dough and cut the ball into 8 equal parts.Working on a lightly floured surface, use a rolling pin to roll each section into small rectangles. Place about 1 Tbsp of the sweet potato filling in the center of the rectangle, as pictured. Fold edges in on each corner of the rectangles to create a small, dumpling-esque shape. The rectangles should now resemble slightly, circlish shapes. Flip over-smooth side on top. Roll each into about a 6-8 inch round.
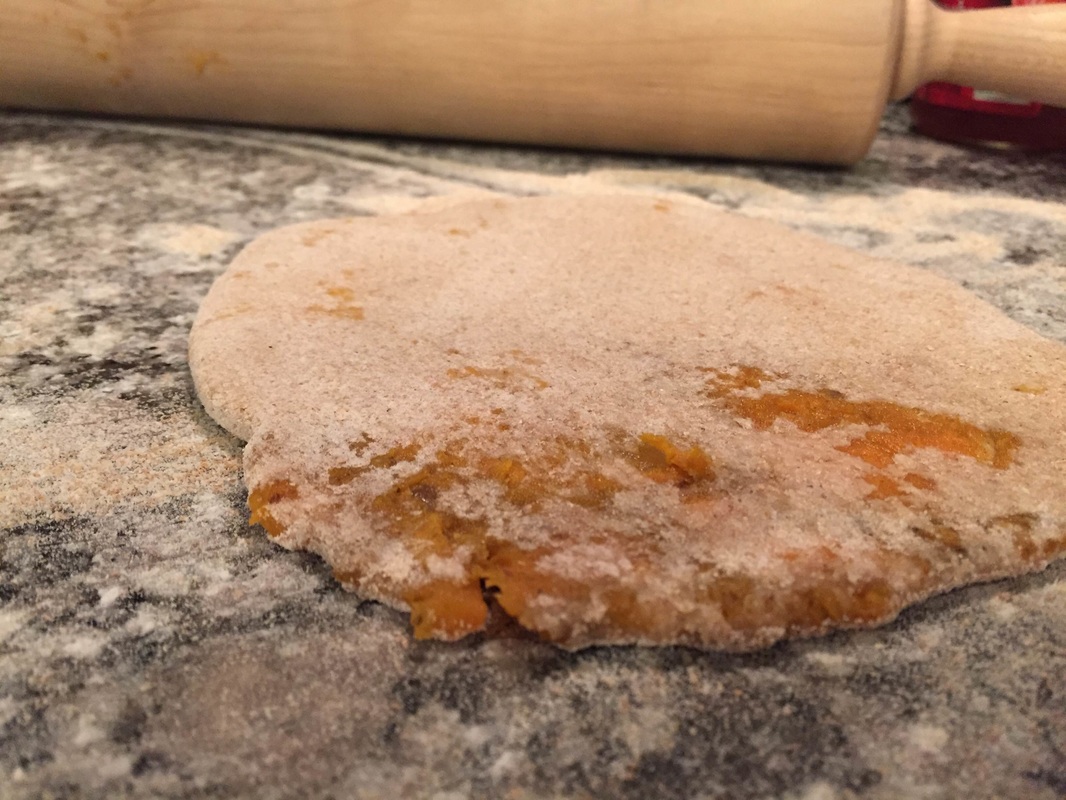 Heat a cast iron pan to high. Once the pan is very hot, dry cook each side of the flat bread for about 1-2 minutes. The flat breads will start to puff up a bit as they reach optimal heat. There should be small areas of browning on each round. The pan will start to get hot and smokey, so turn on your fan! 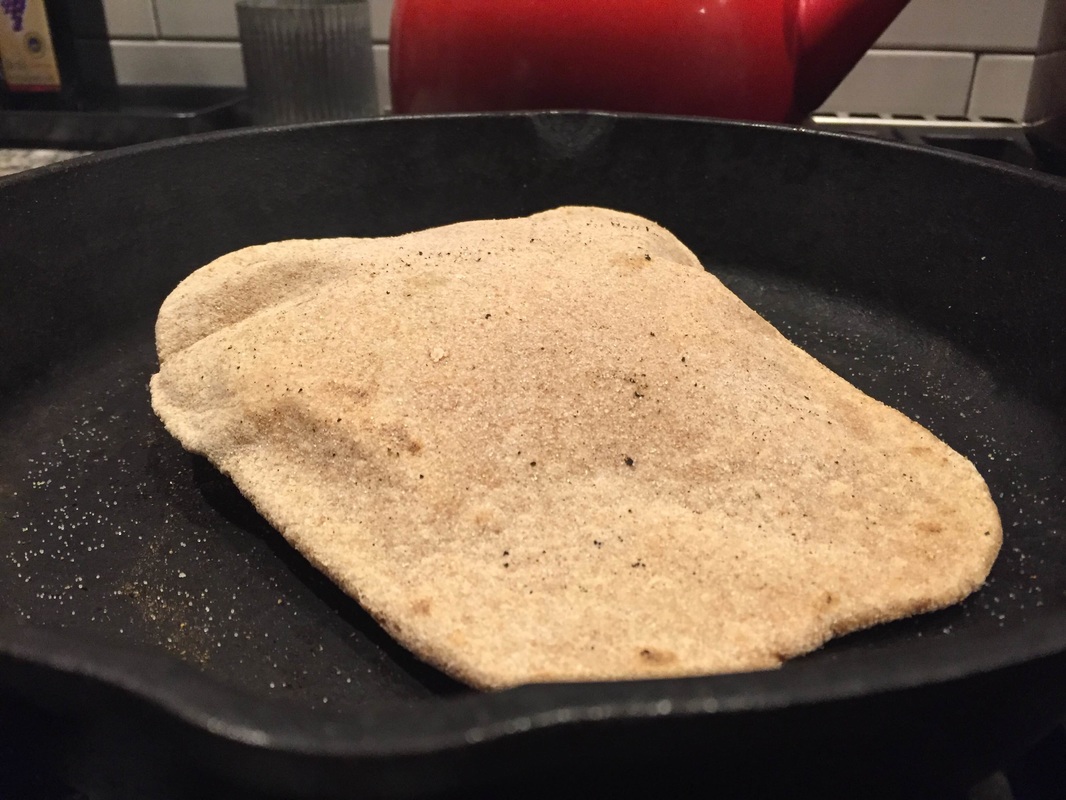 TIP: You can stuff these with mashed potatoes, sautéed spinach, cream cheese....ANYTHING that's in season! I hope you enjoy as much as I did! 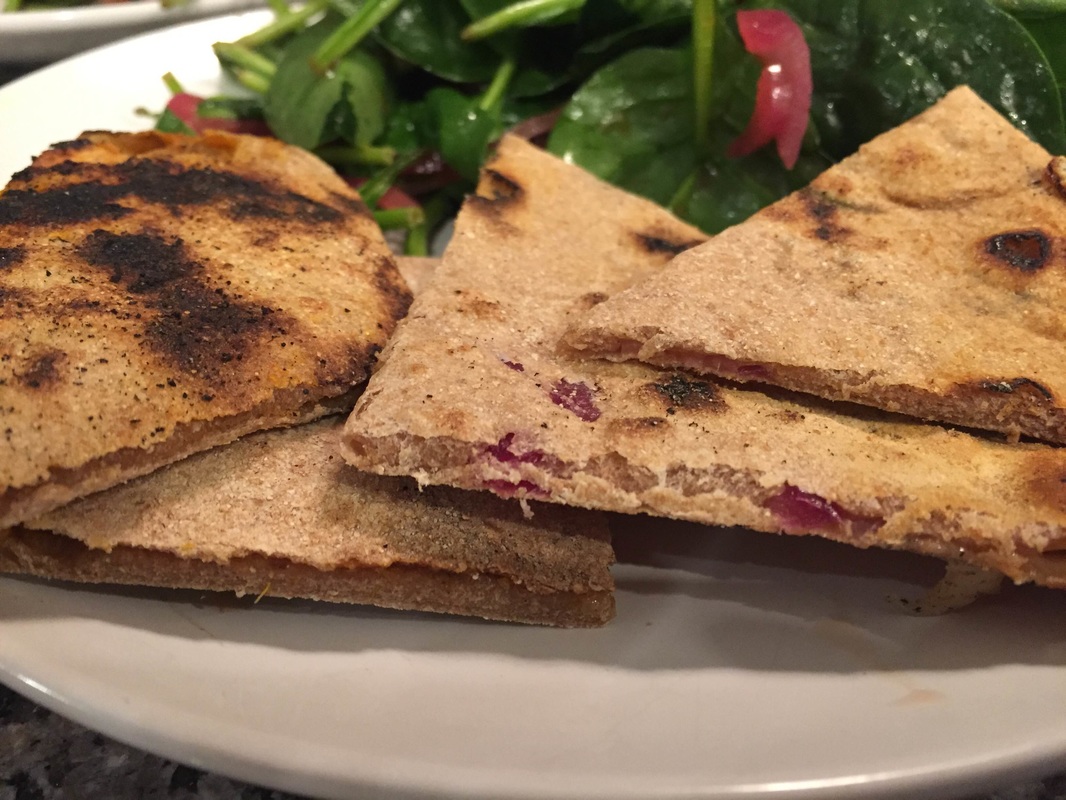 |
Search Recipes by Ingredient
All
Search Recipes by Month:
December 2016
AuthorAli Price |


 RSS Feed

Root 5 Farm
Danielle Allen & Ben Dana 2340 US Route 5 North Fairlee, Vermont 05045 (802) 923-6339 [email protected] [email protected] |
|